Once in a while, when I’m working on the van in the parking lot behind my apartment and my jigsaw isn’t buzzing and the newborn in the end unit is not crying, I’ll suddenly hear someone softly chewing behind me. A slow, indifferent type of chewing, like a llama pulling at last year’s grass.
I mean, that’s exactly who it is behind me—a llama. I live on the edge of town, next to a horse and llama farm. Really, it’s a bunch of horses and just one llama. For more than a year now, I’ve been waiting for the llama to befriend the horses, maybe even to begin to mistake herself for a horse, kicking up dust with the rest of them. But the closest I ever see the llama to anyone is when she’s trying to get at the long grasses that sprout out of the edges of her barbed wire enclosure (barbed to keep the coyotes out, I think), and I happen to be standing on the other side of the fence. If I talk to the llama in a high enough pitch for long enough, she will look at me, not with what appears to be annoyance, but worse—pure disinterest, her jaw slack, her eyelids closing.
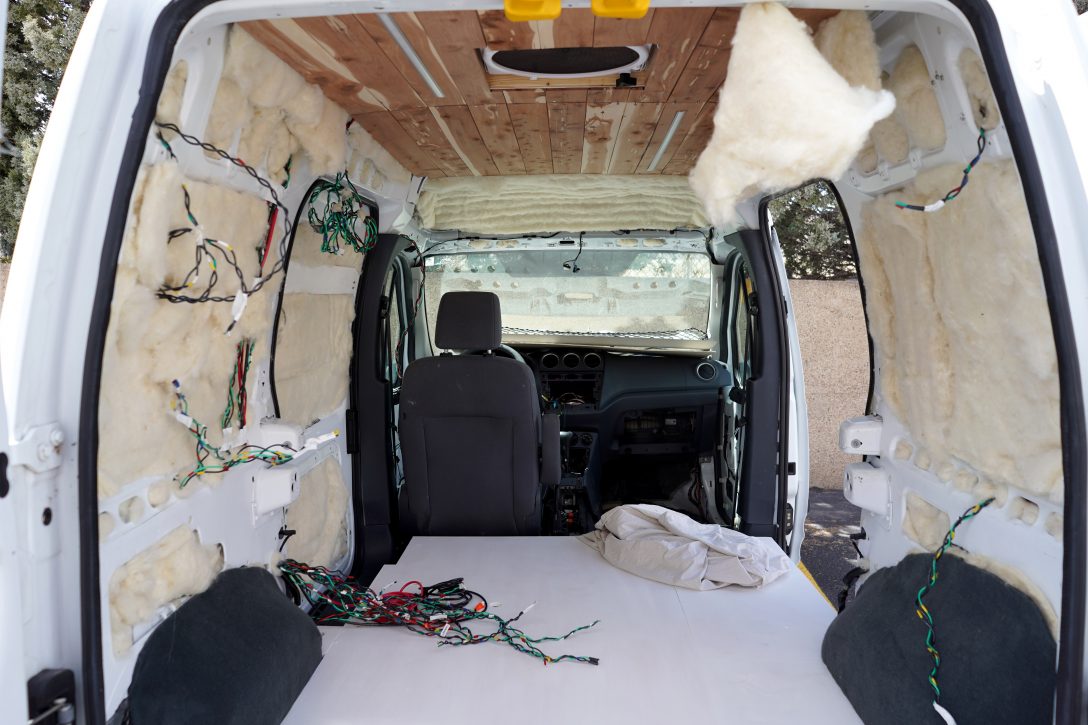
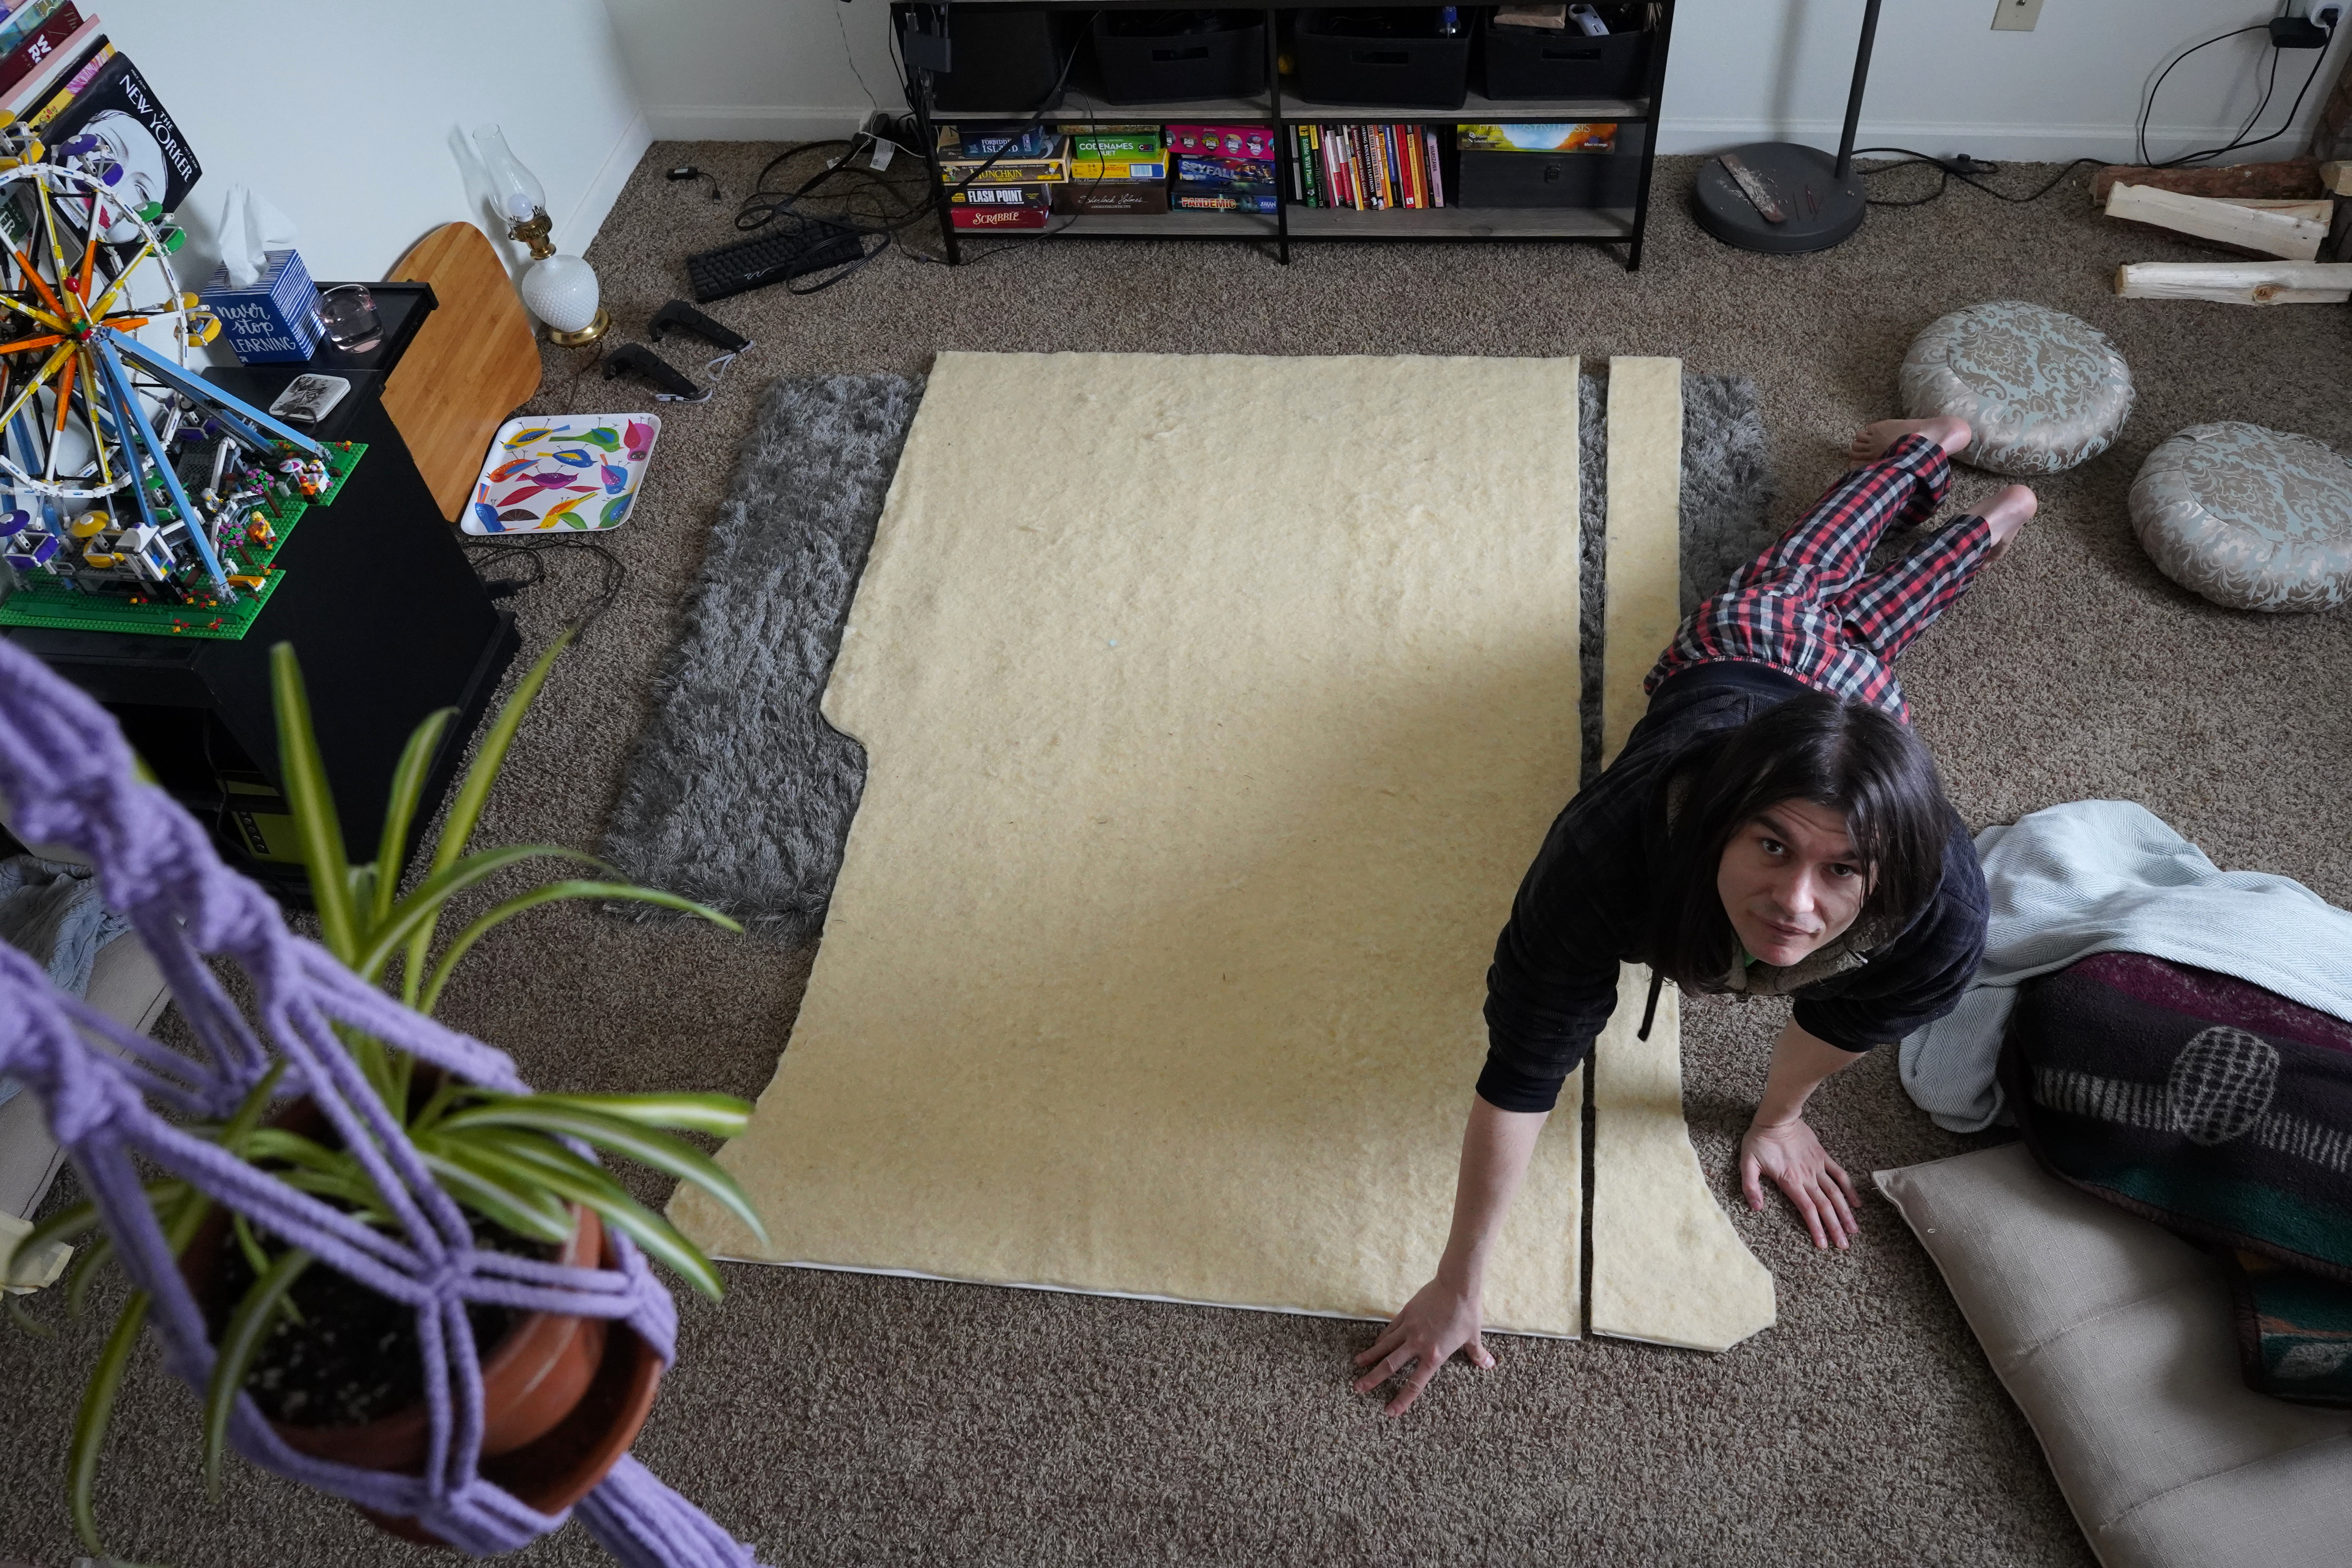
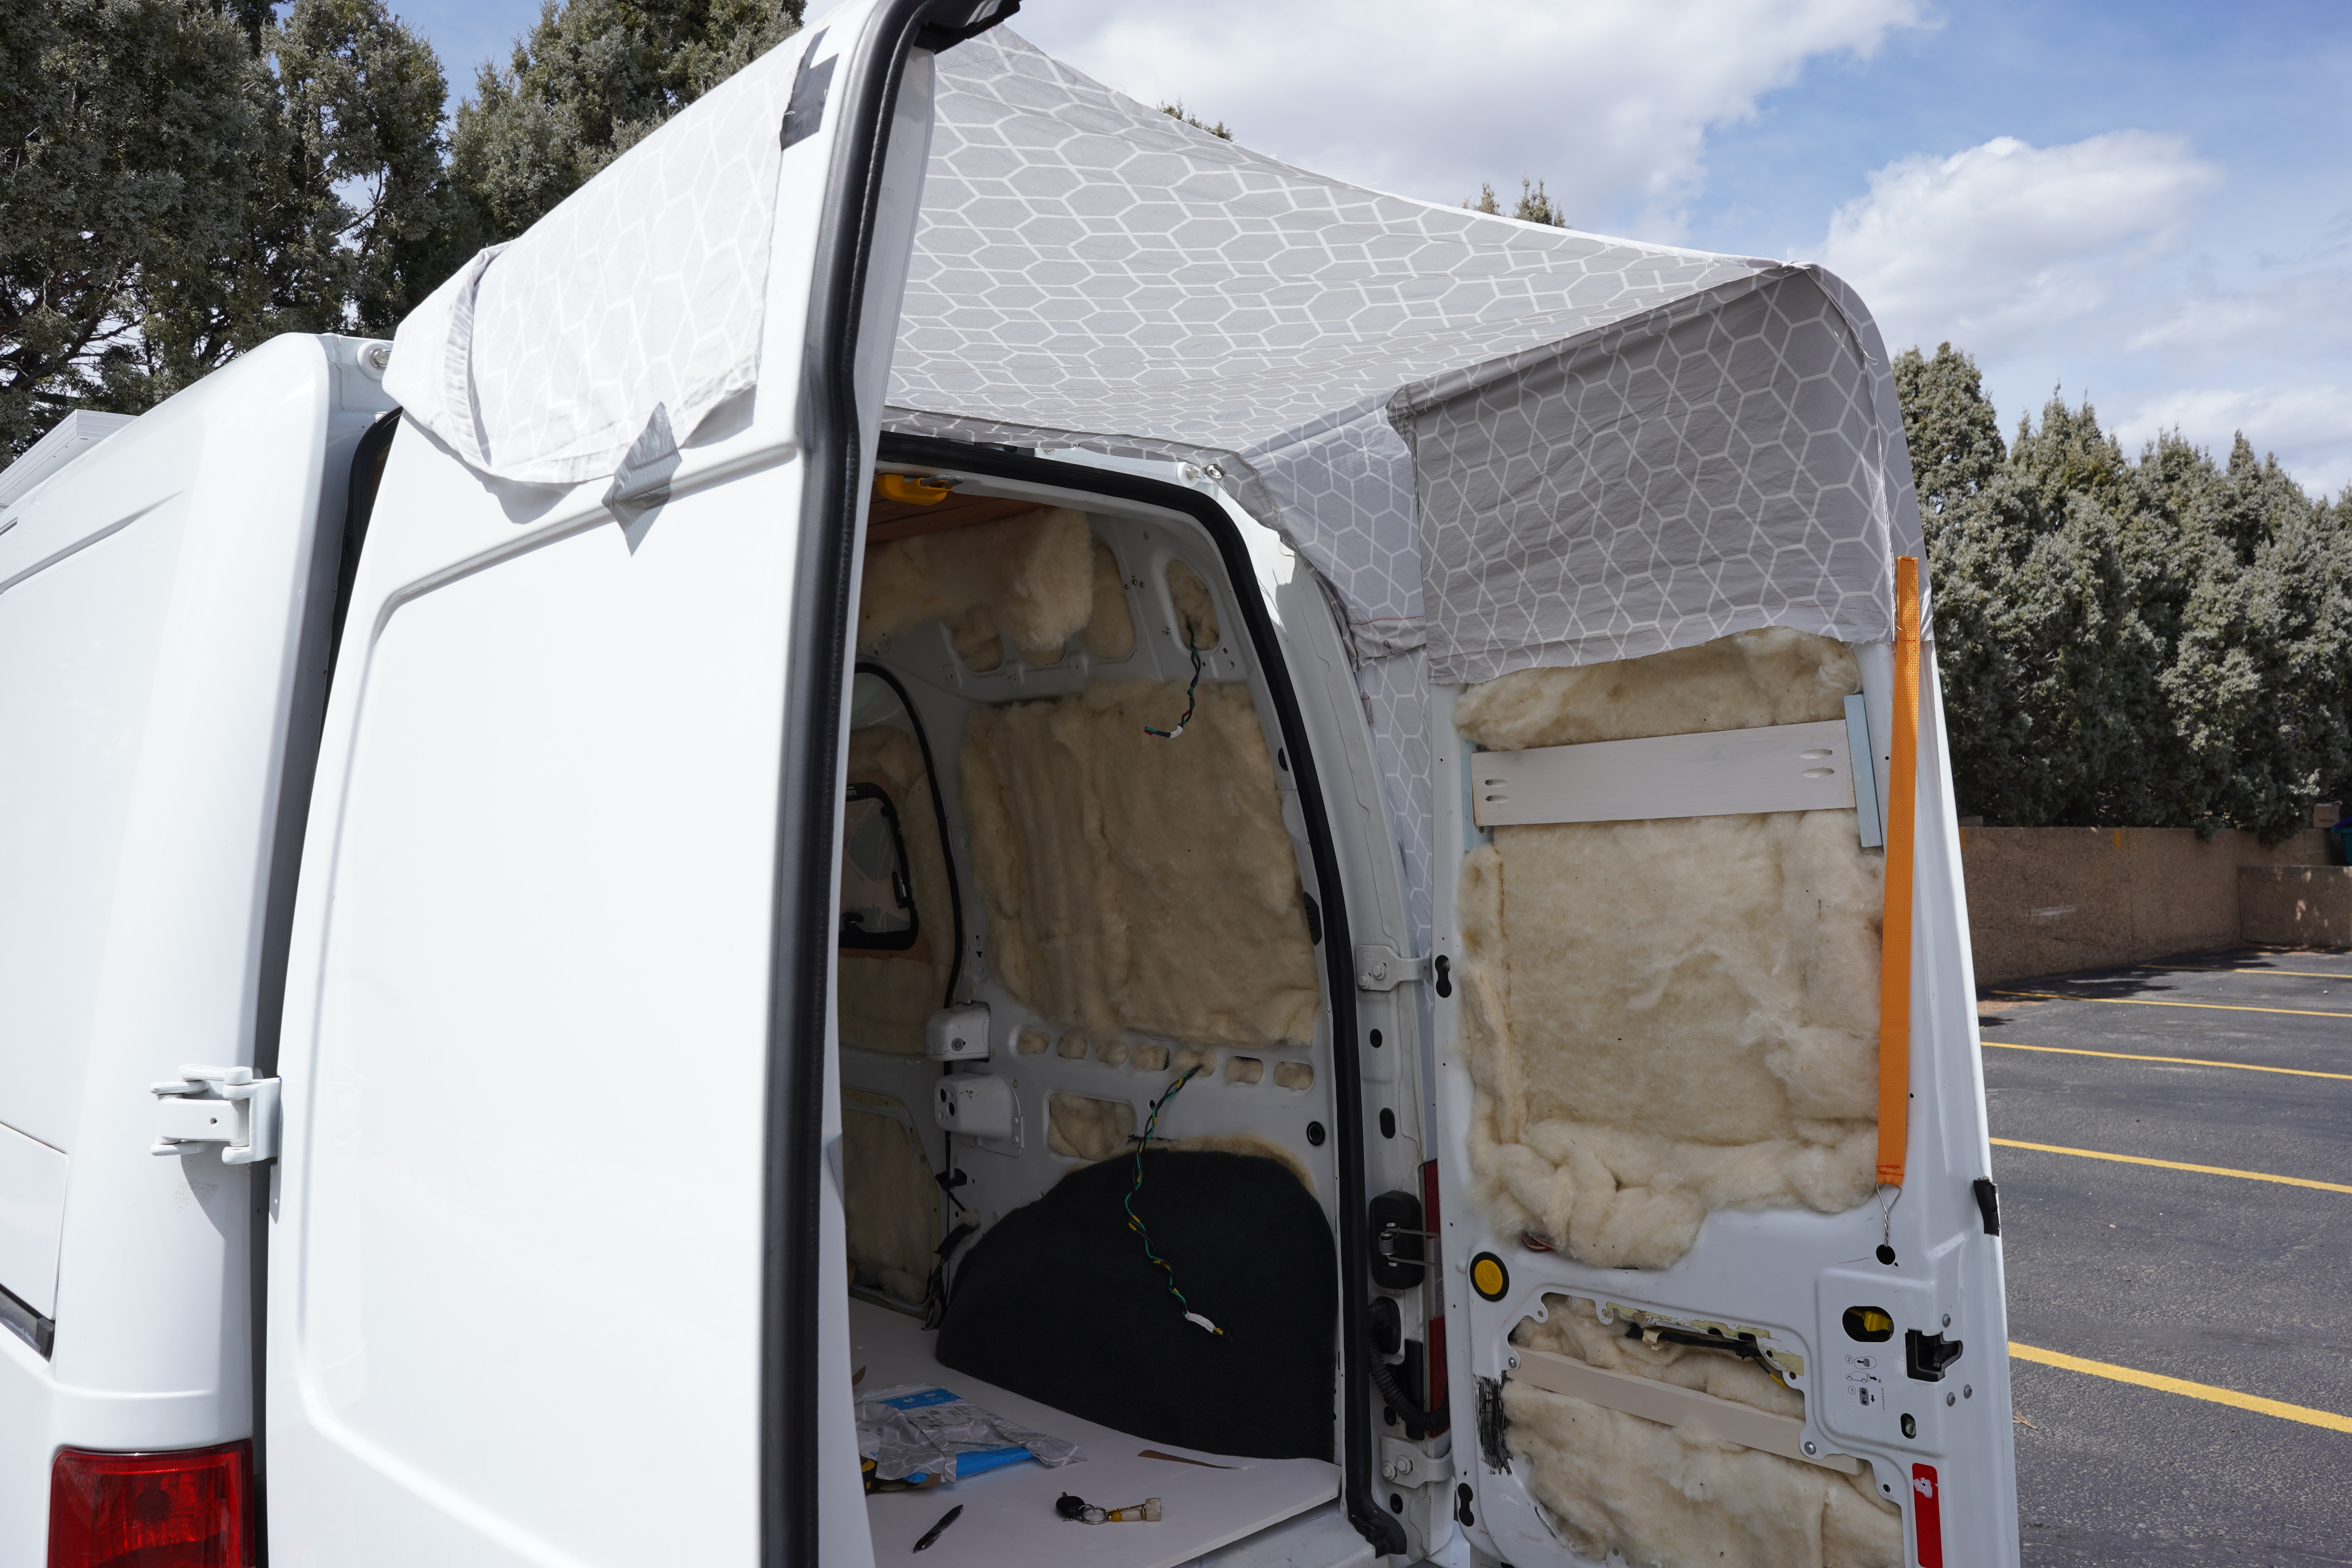
Meanwhile, the inside of my van is looking more like the llama every day. Insulated with wool batting, the van now sends small tufts of hair into the air when I leave the doors open to the wind. The hairs rise up above the van, out of the shade, where the sun changes them from cream-colored to white. The llama’s fly-away hairs do the same thing. At a certain time of day, with the light hitting her a certain way, the llama looks as if she’s standing in a cloud of powdered sugar.

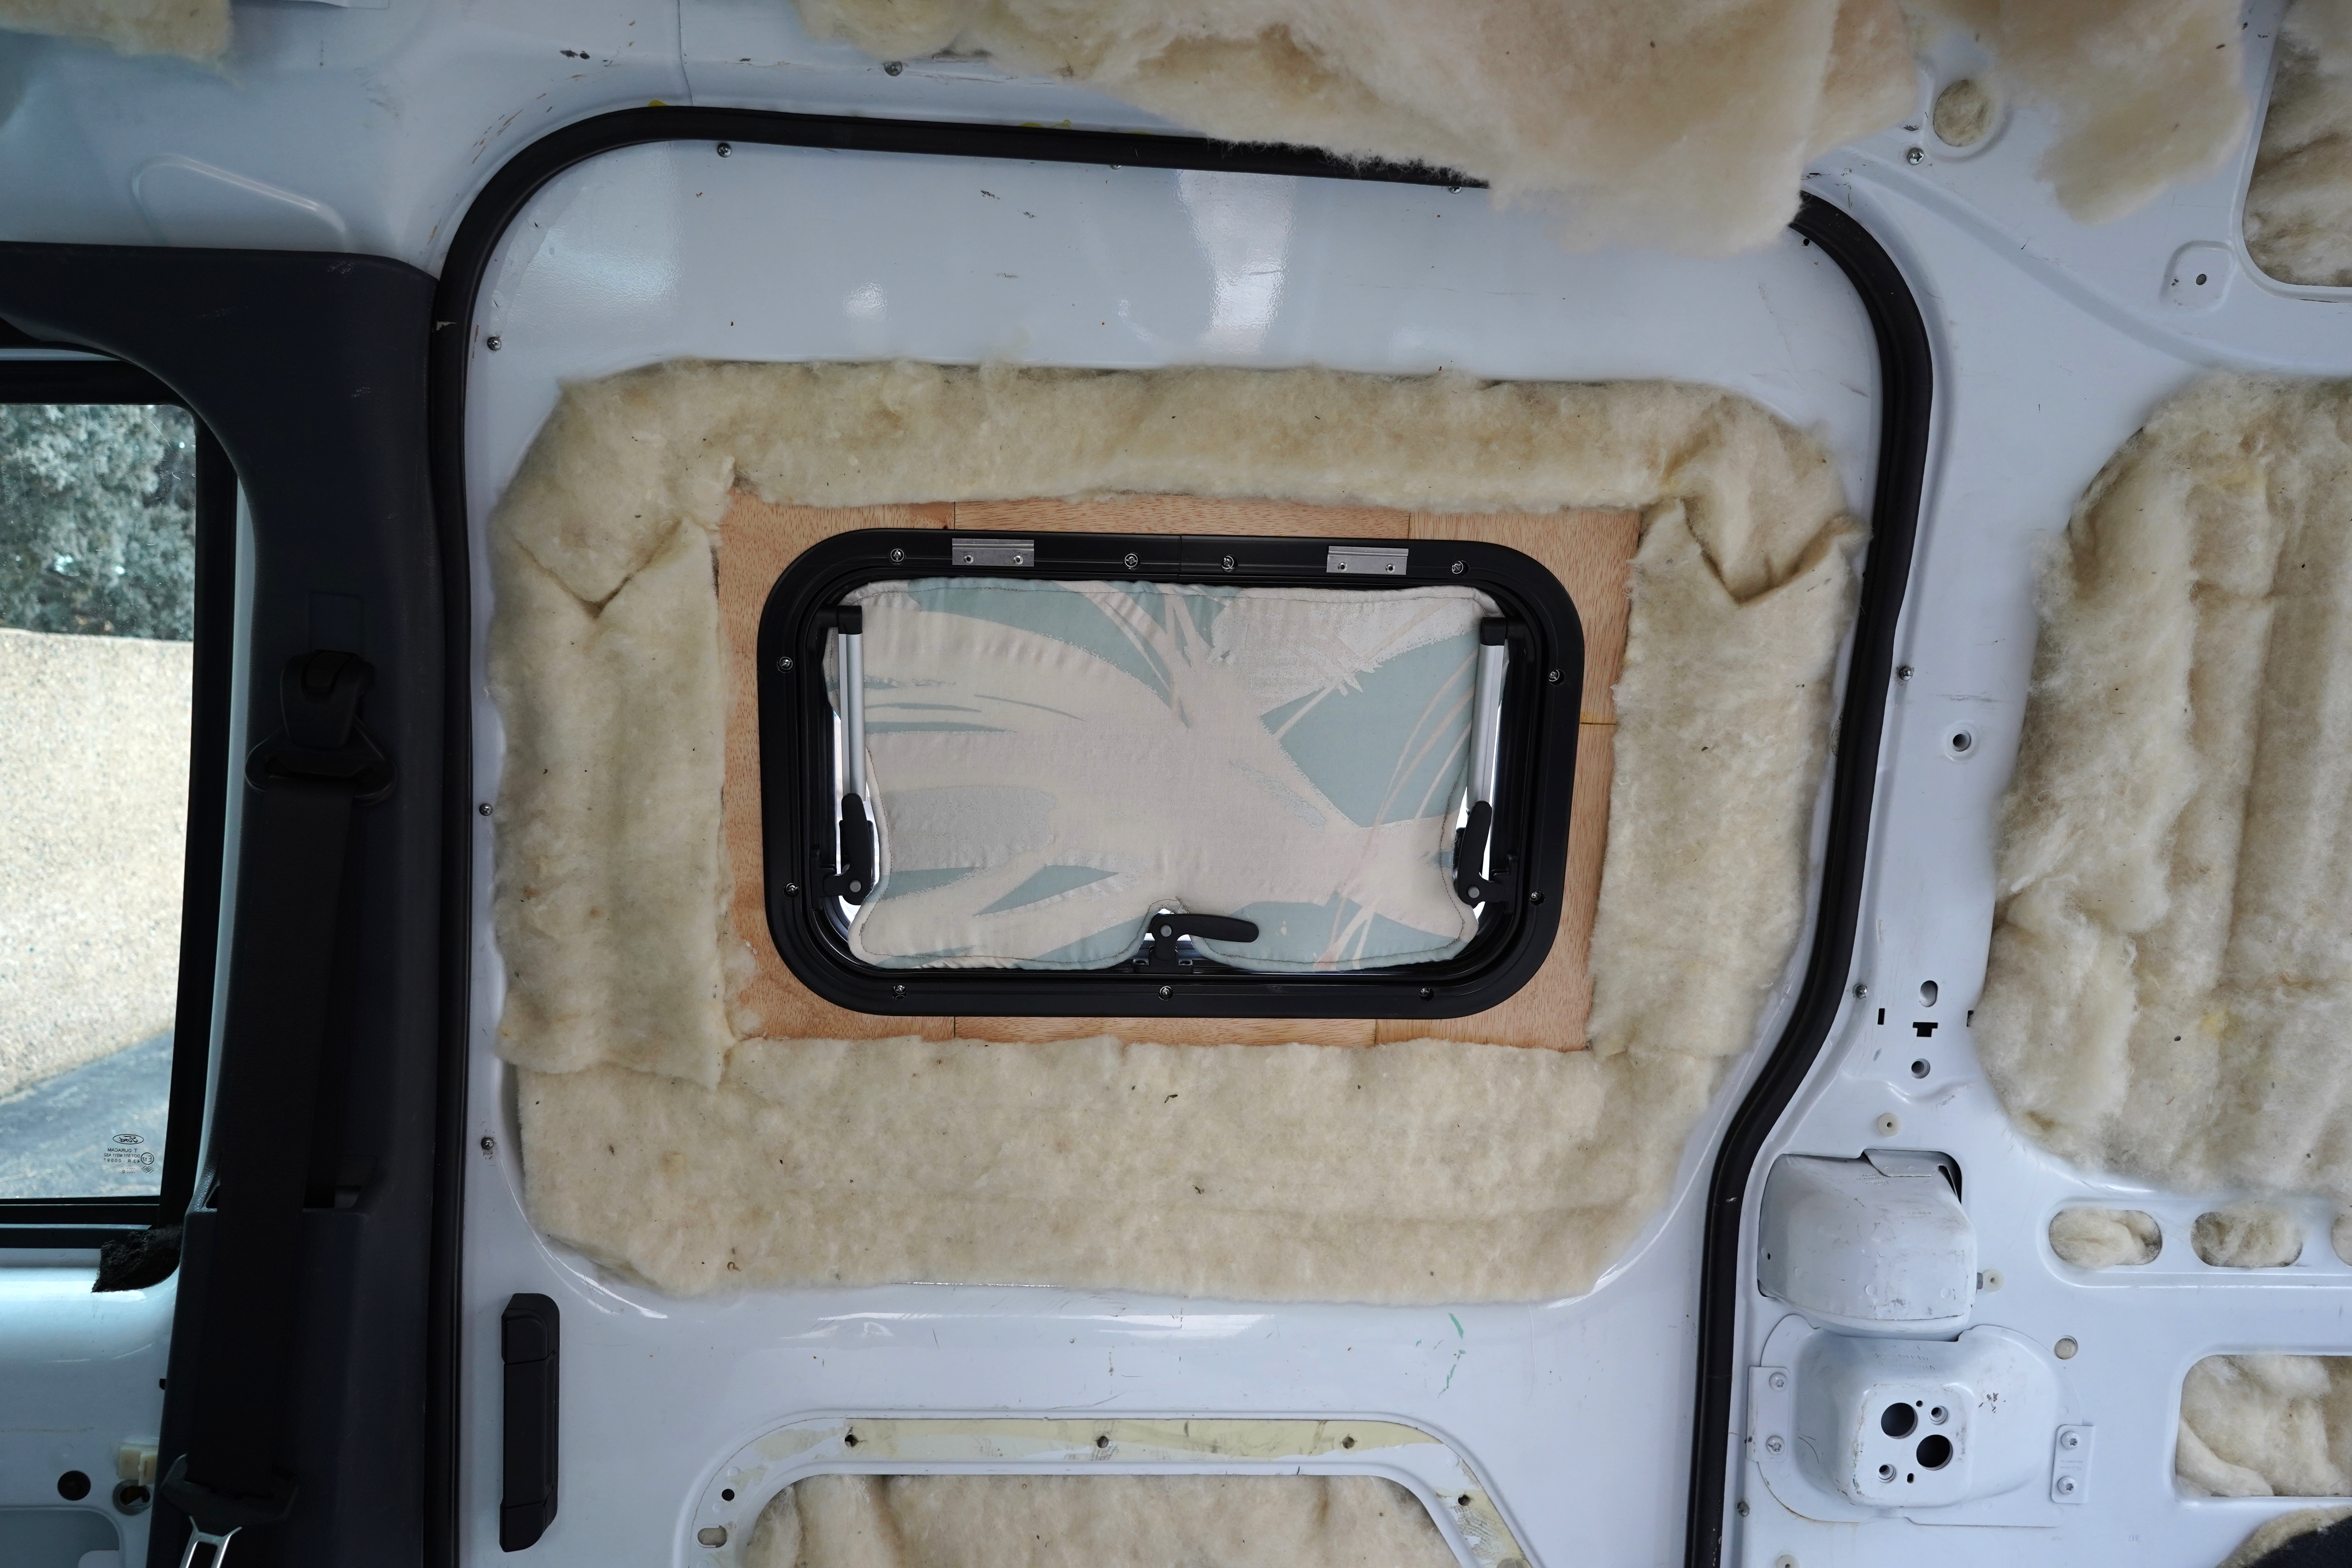
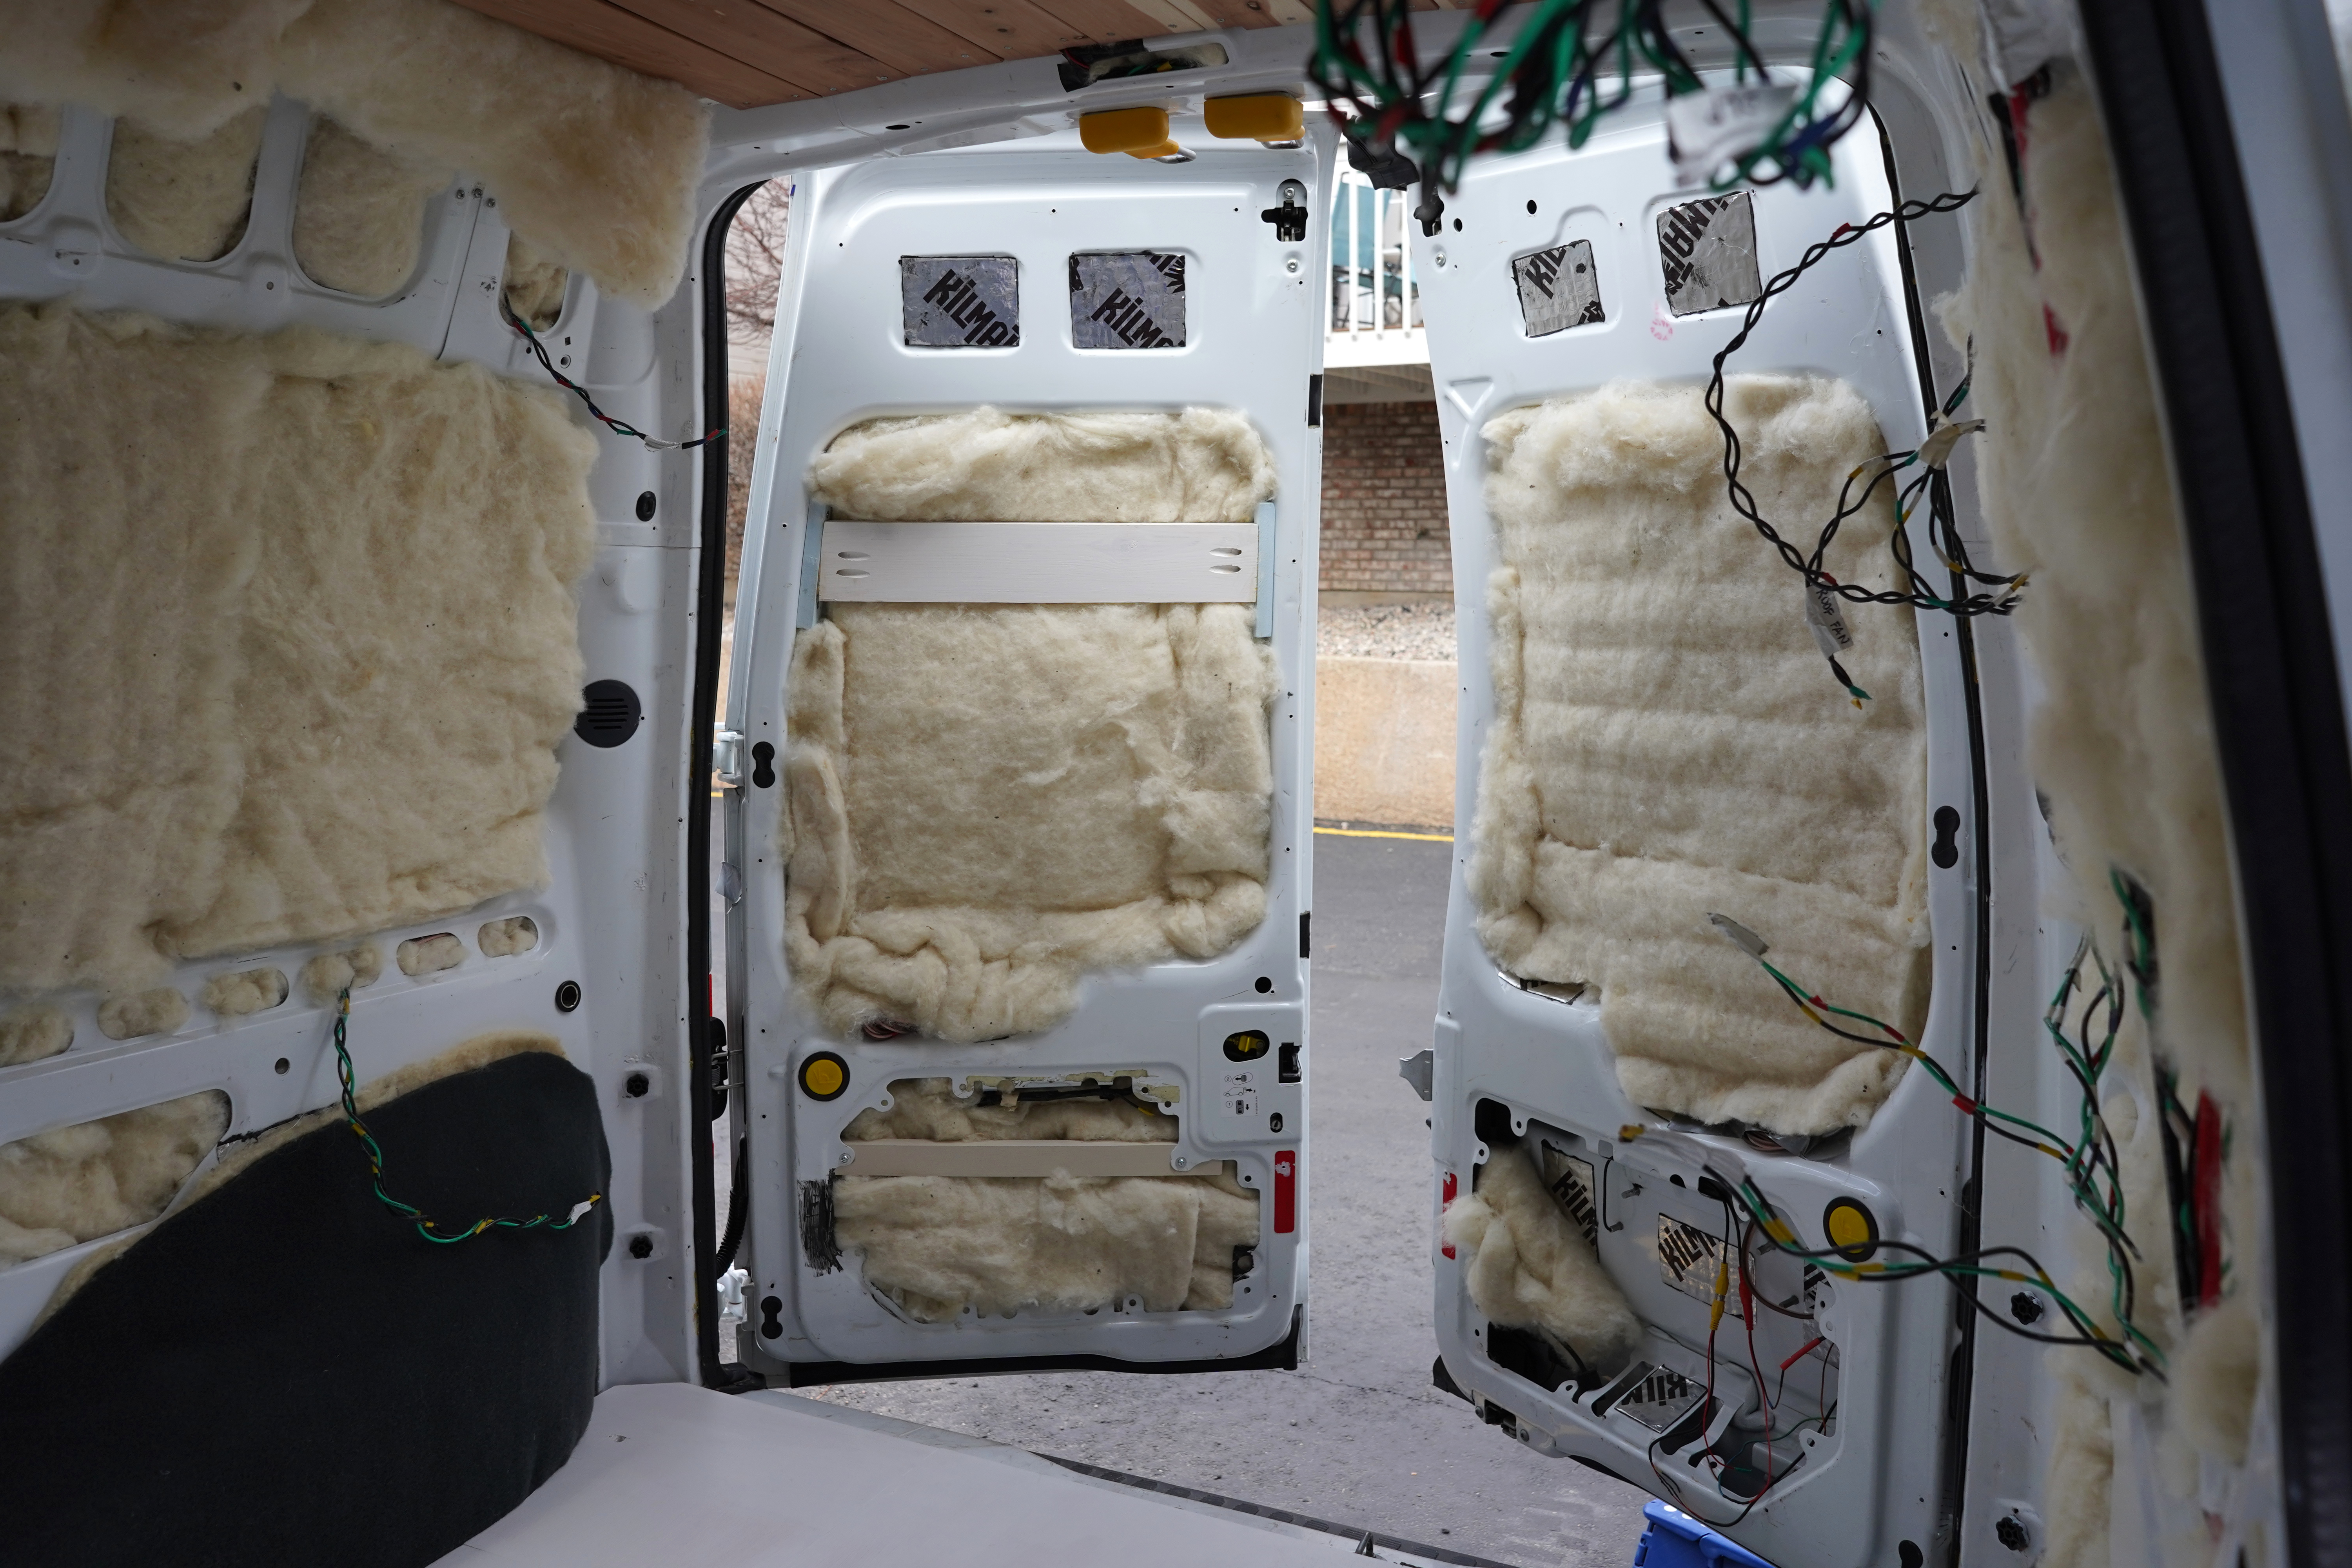
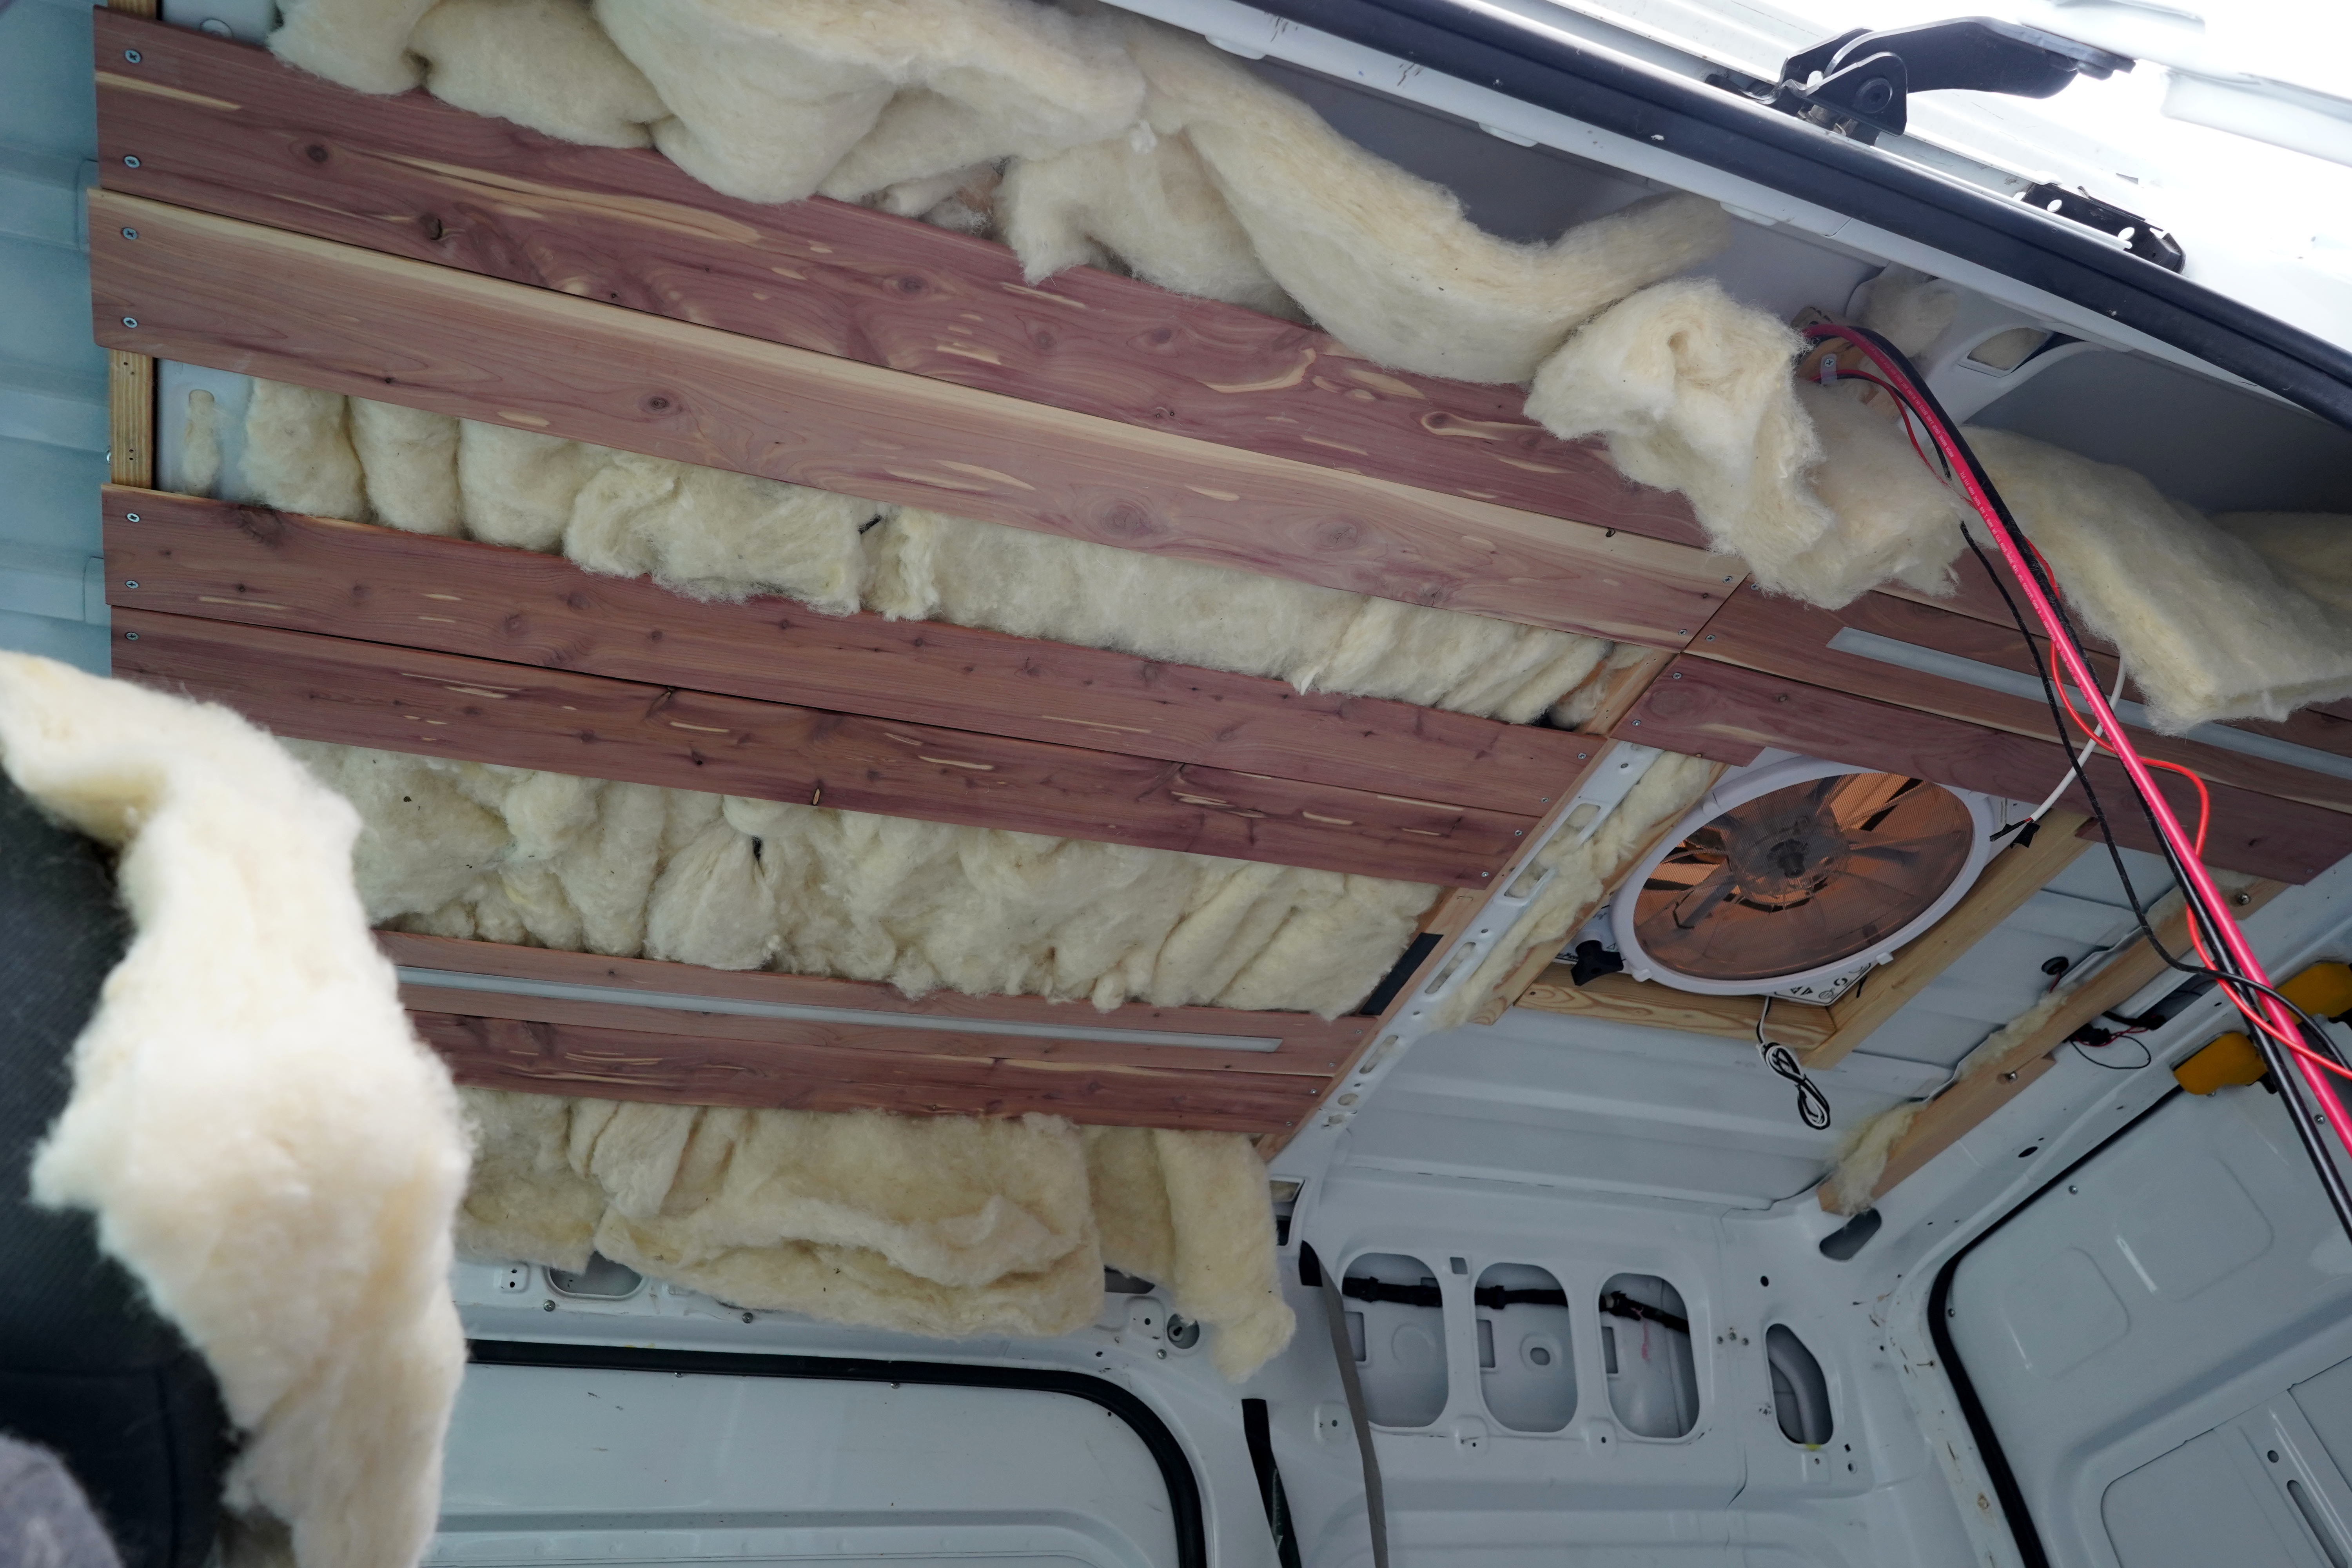
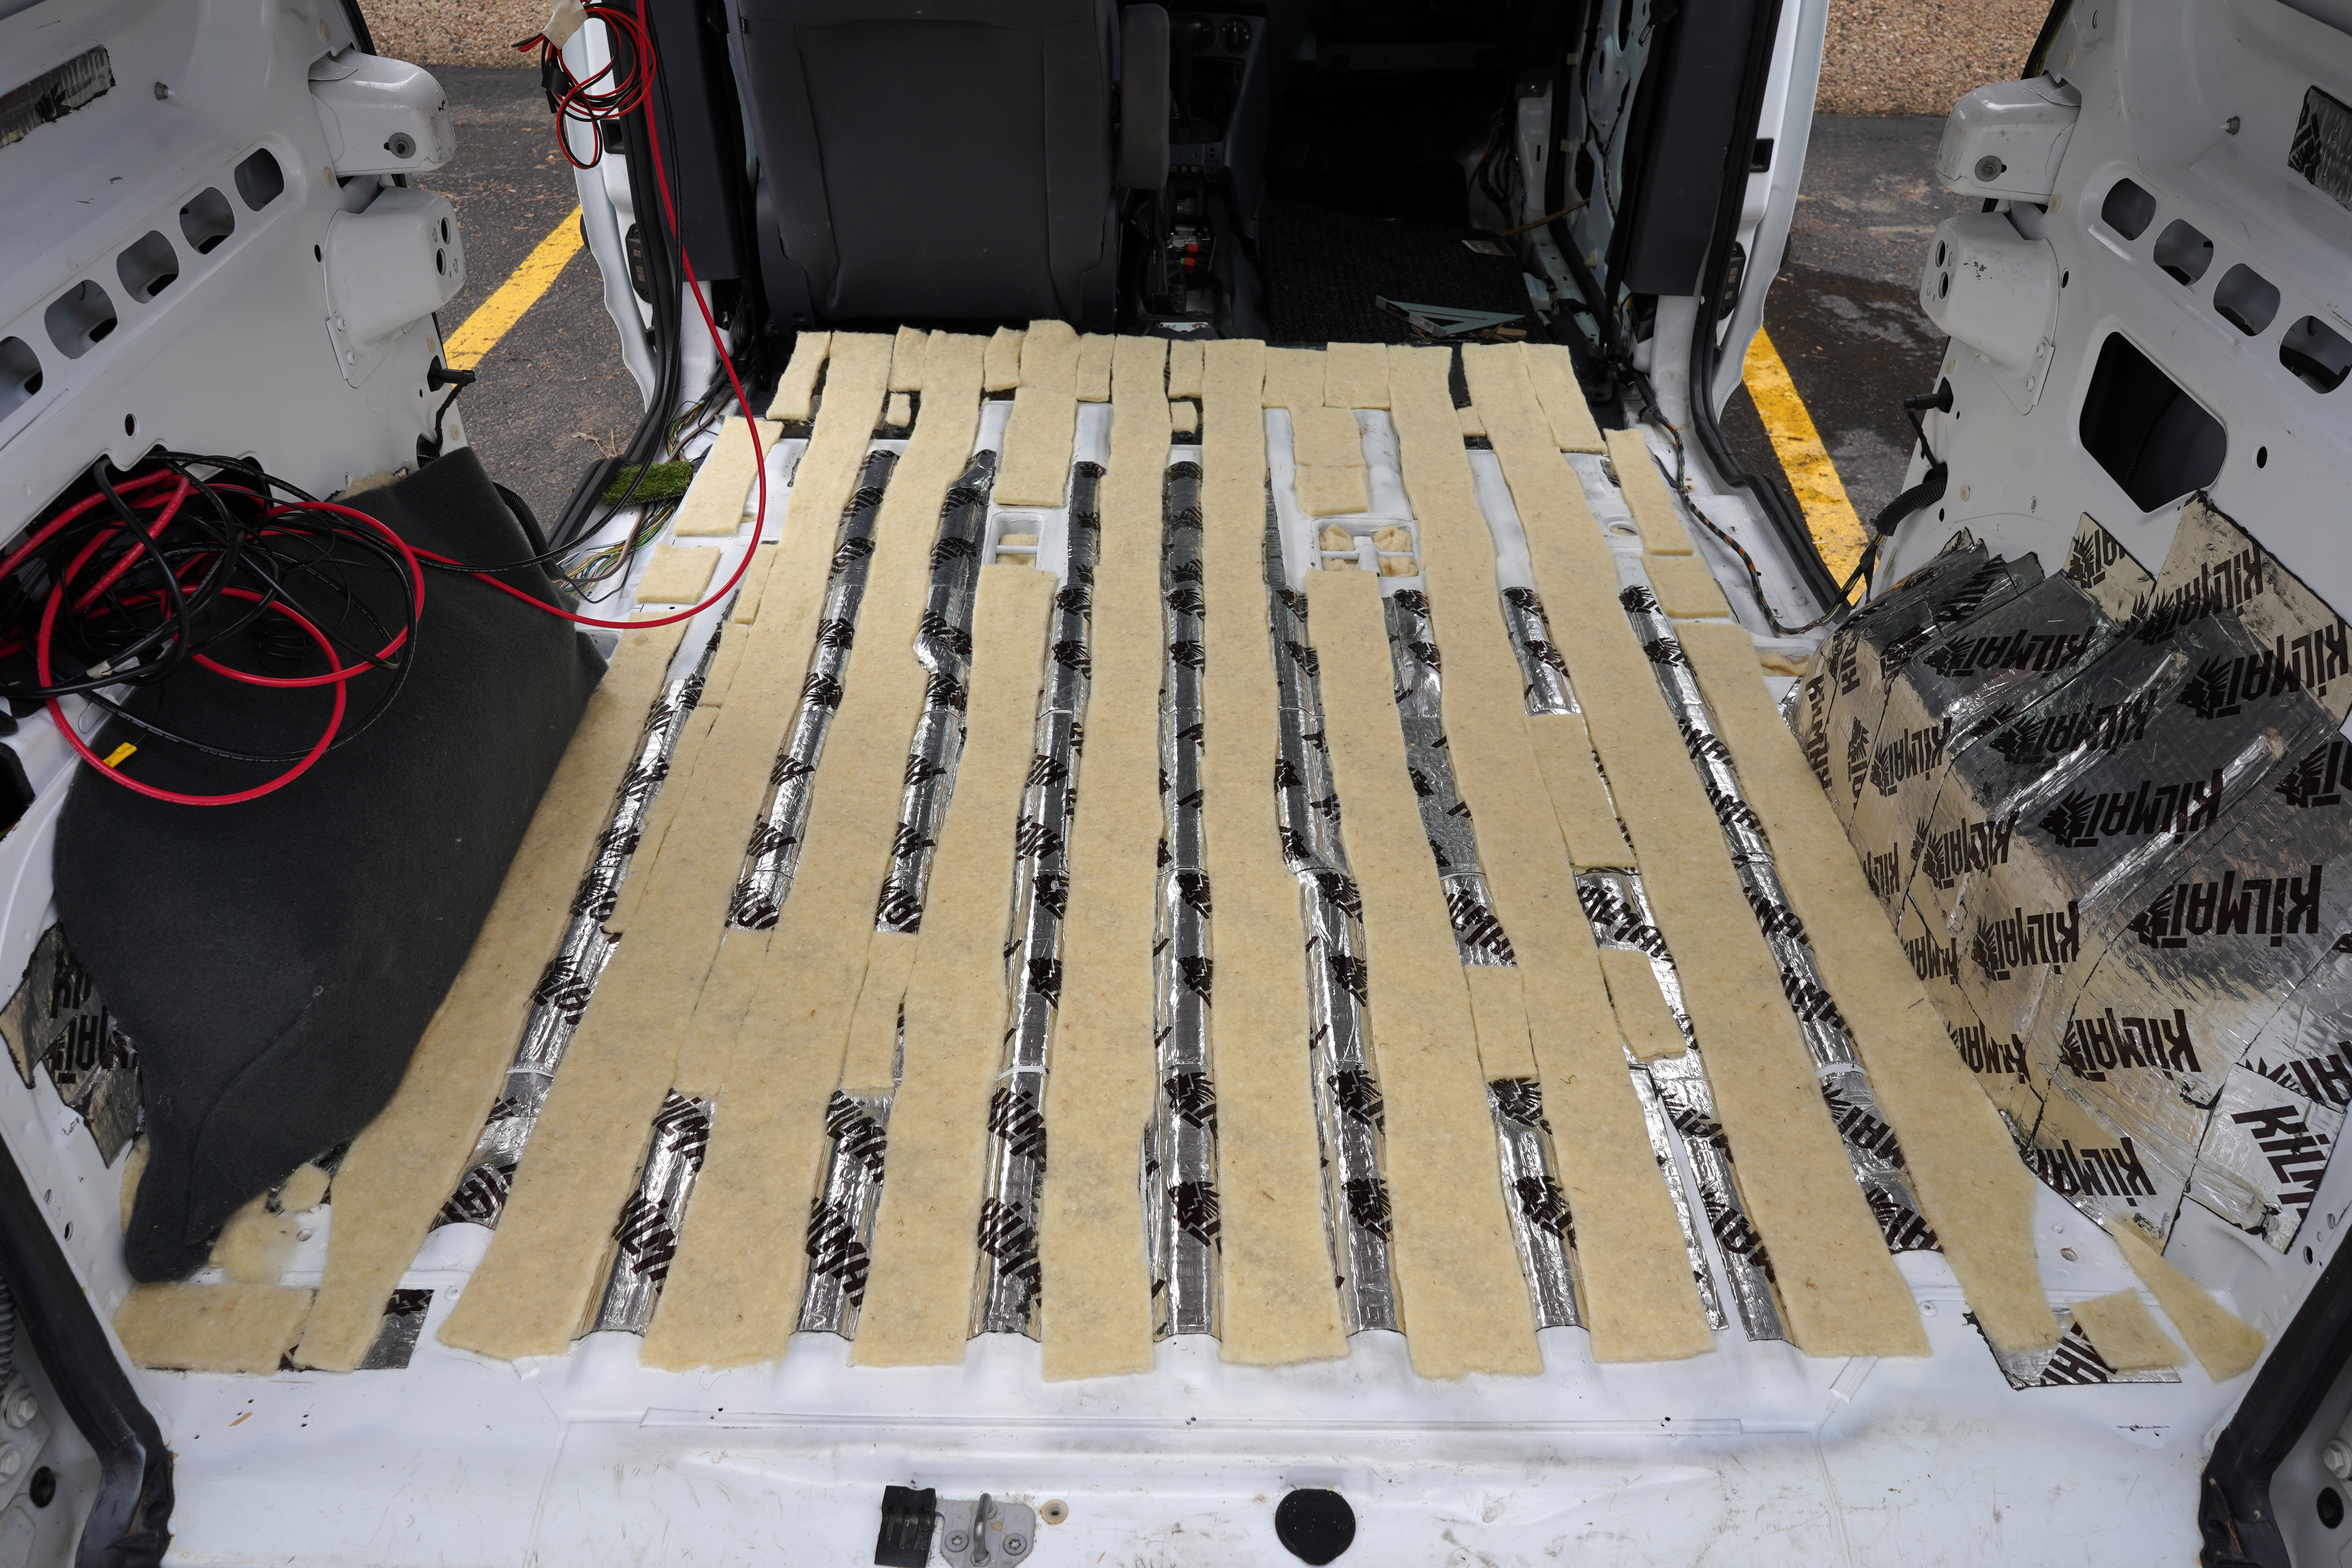
There are lots of options for insulating a van. (Here’s a great rundown of insulation types by Gnomad Home.) I chose wool because it’s nontoxic, unlike fiberglass (the pink batting that insulates most U.S. houses and requires a respirator to apply). Wool is also good at regulating moisture. In wet weather, it absorbs most of its weight in water without feeling wet to the touch, and then, when the humidity eventually drops, it slowly releases its water reserves.
Lining the van with wool was easy. I just cut the wool to size and attached it with hot glue.
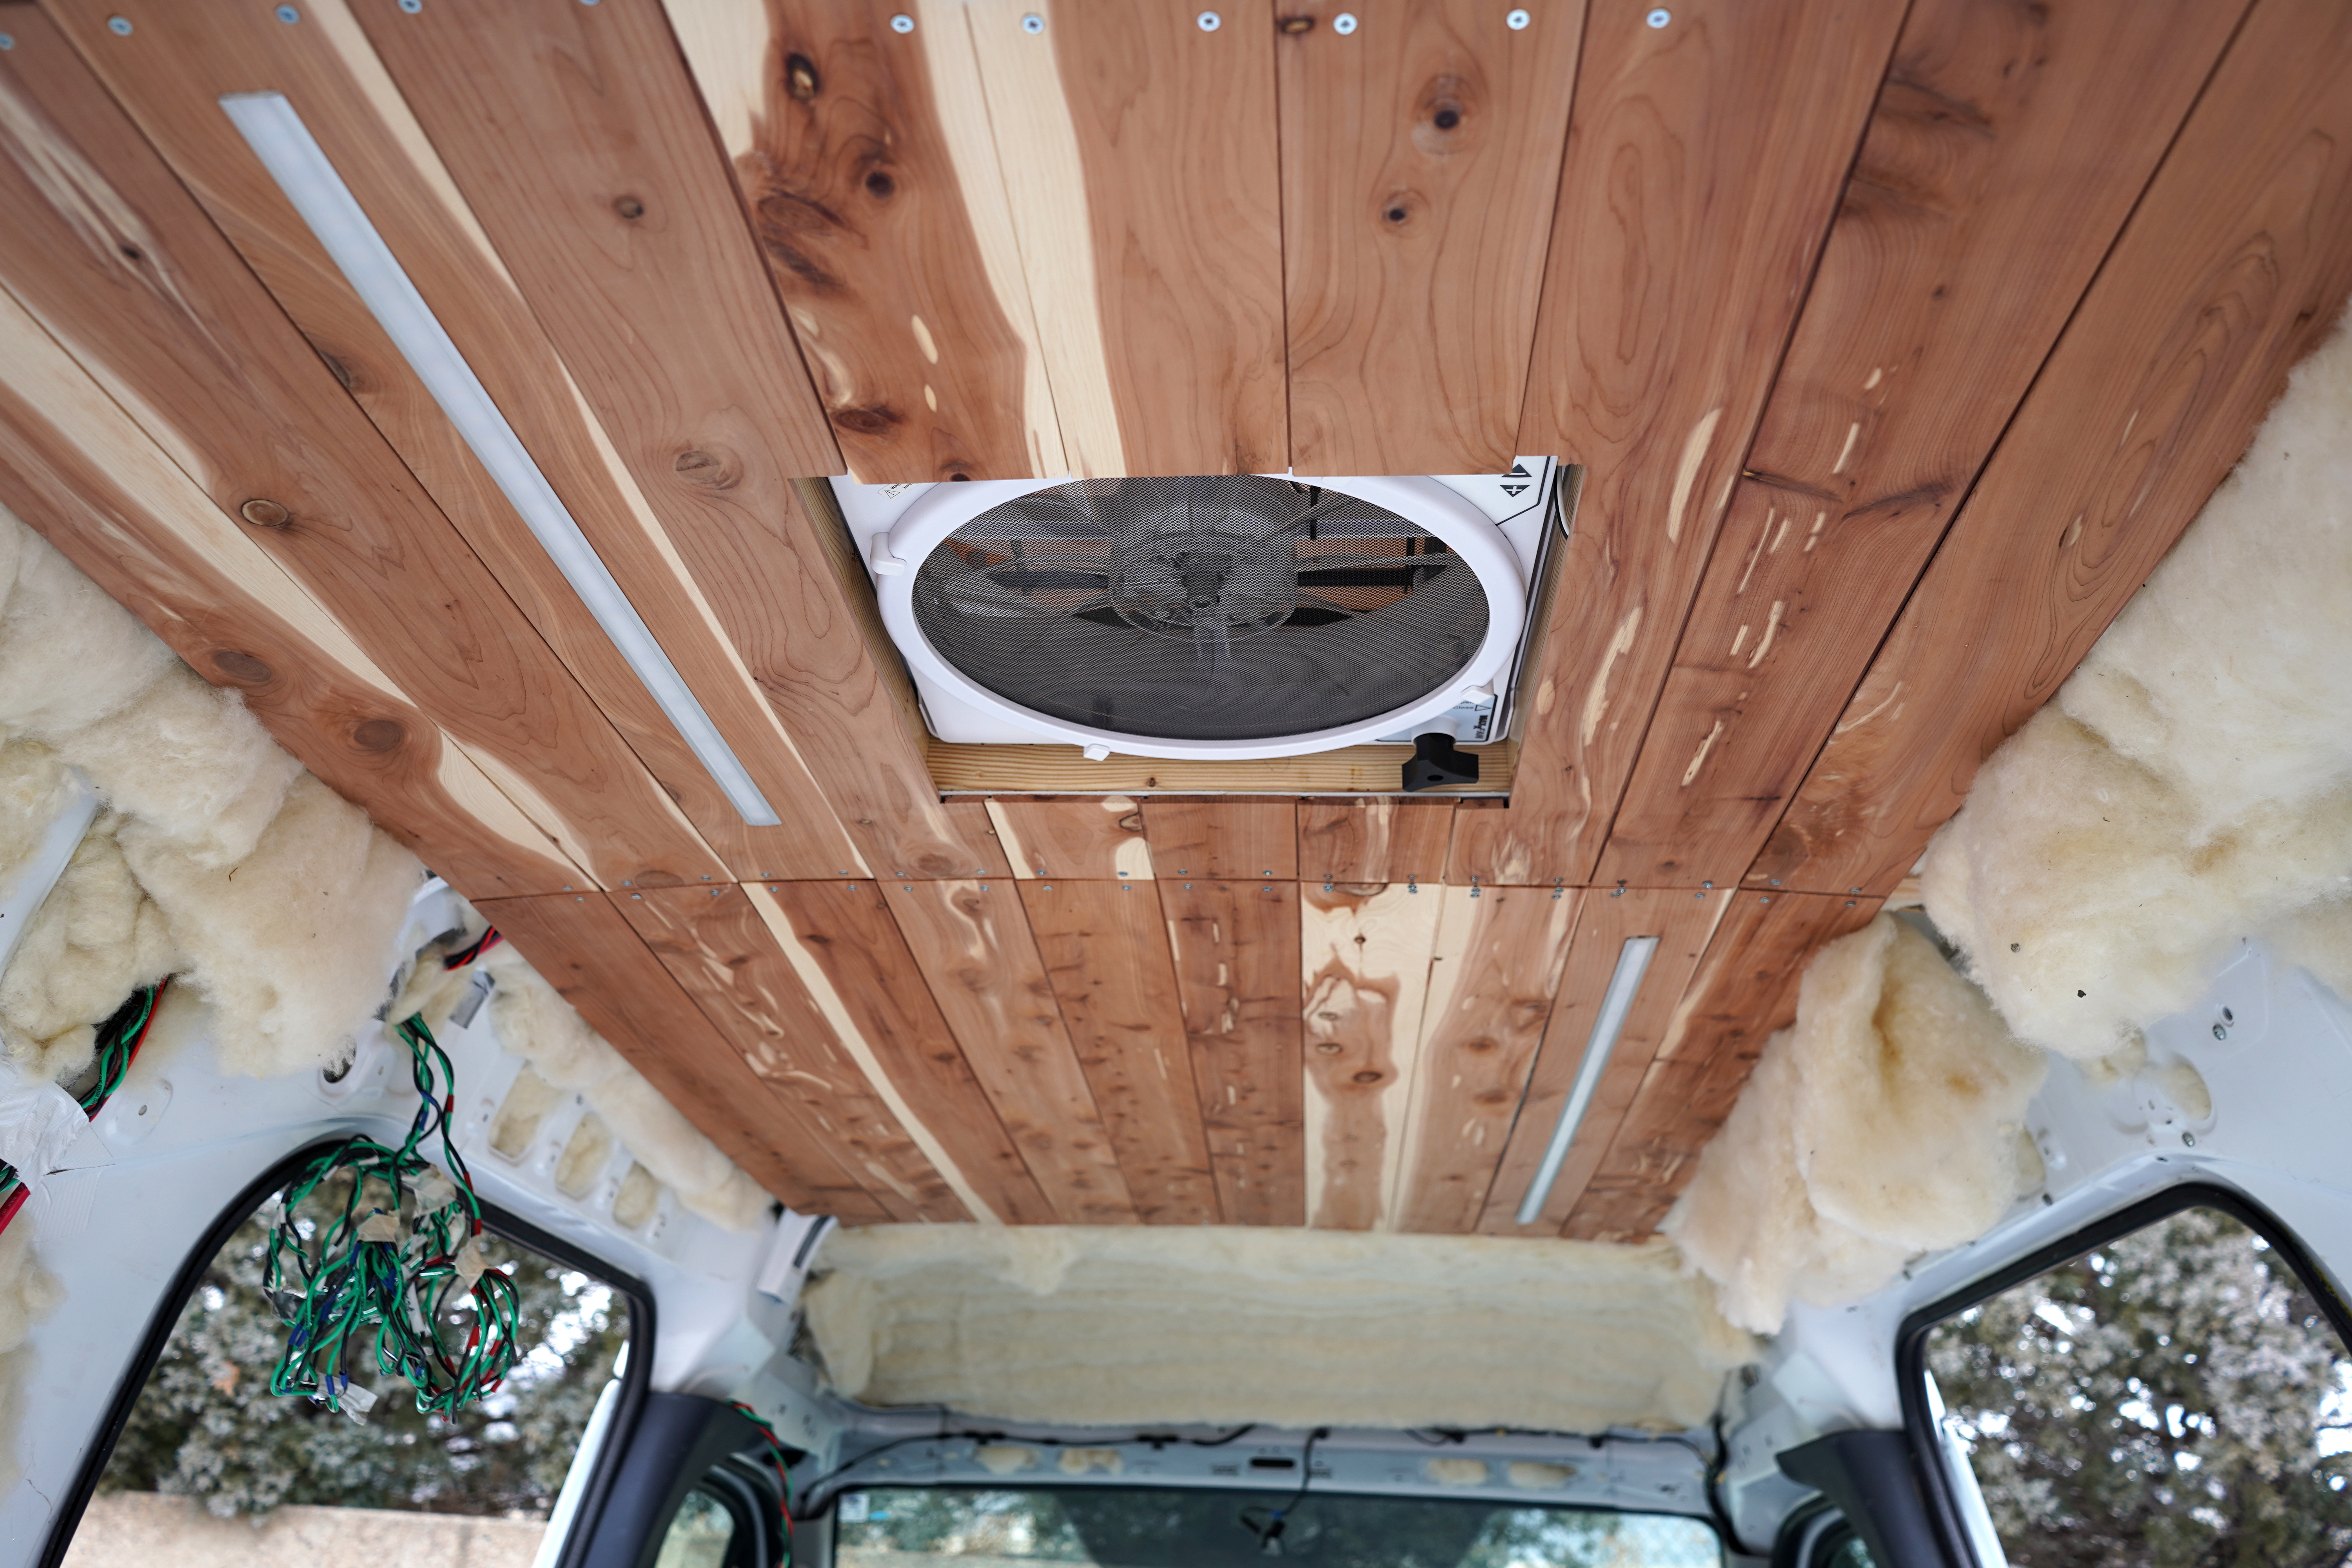
What was challenging was everything I did to the van before the insulation step. For instance, the ceiling—that’s where I left off in my last blog post. When I went to screw in my first cedar plank, it splintered and fell on my head.
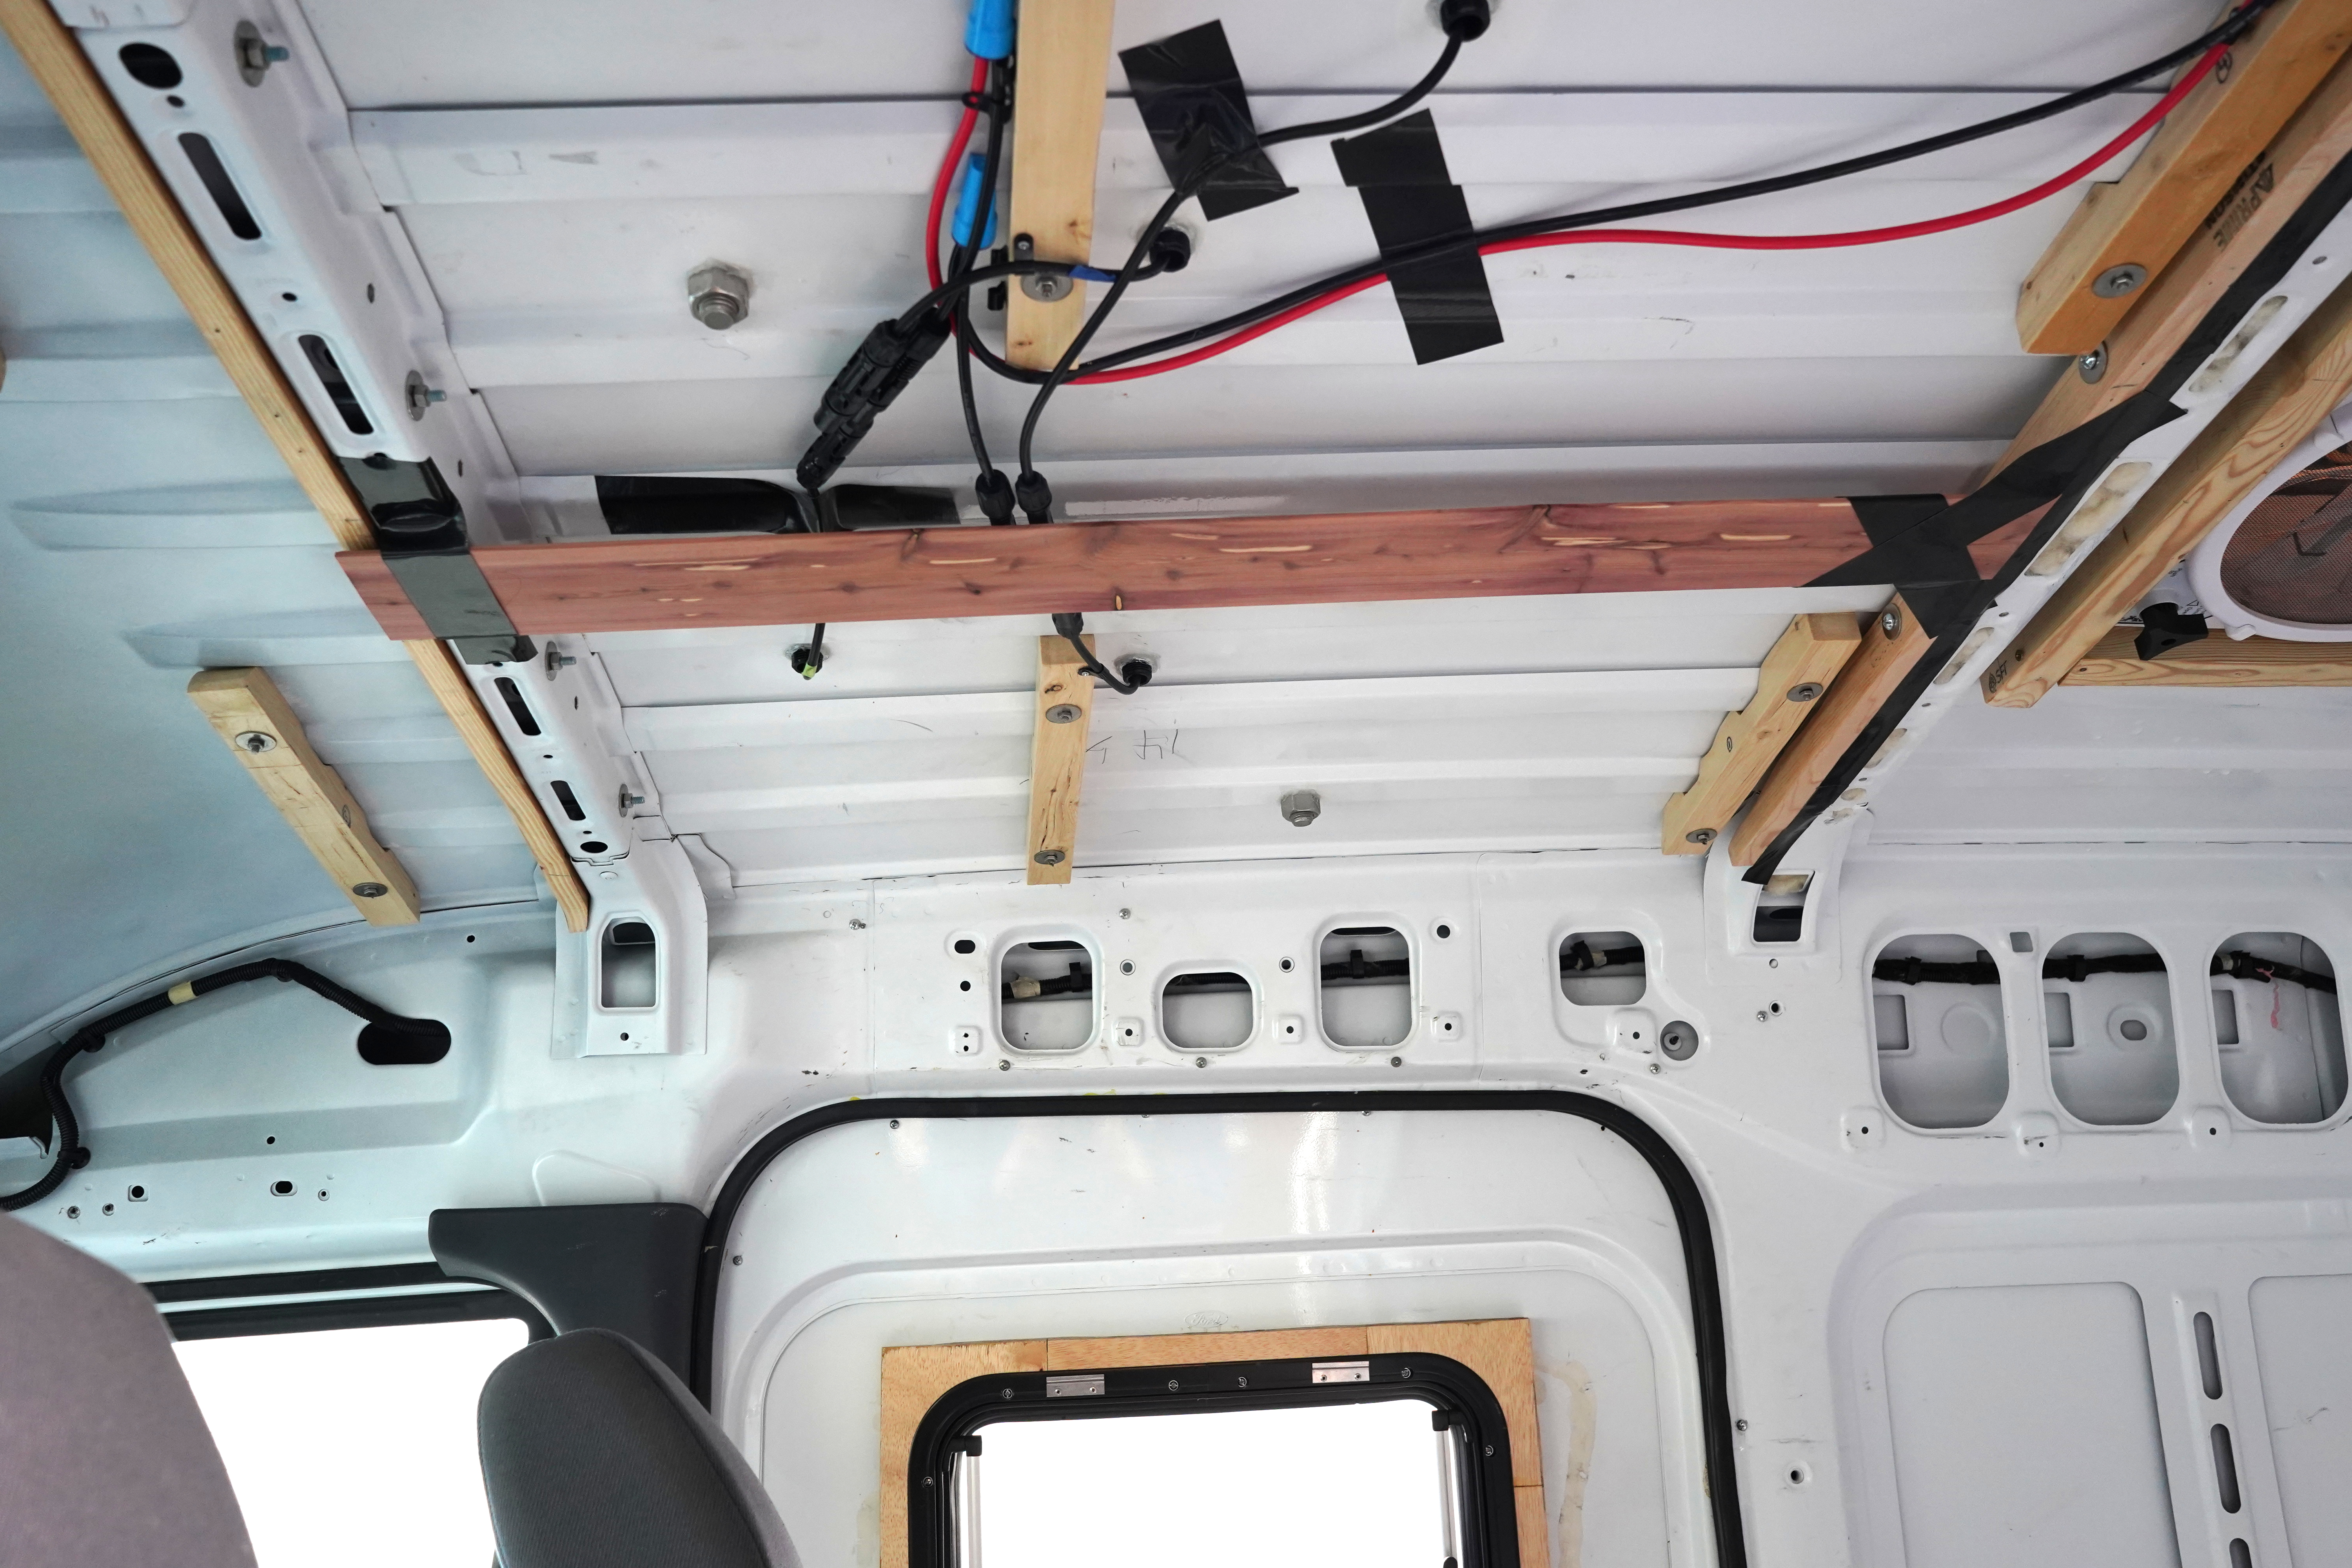


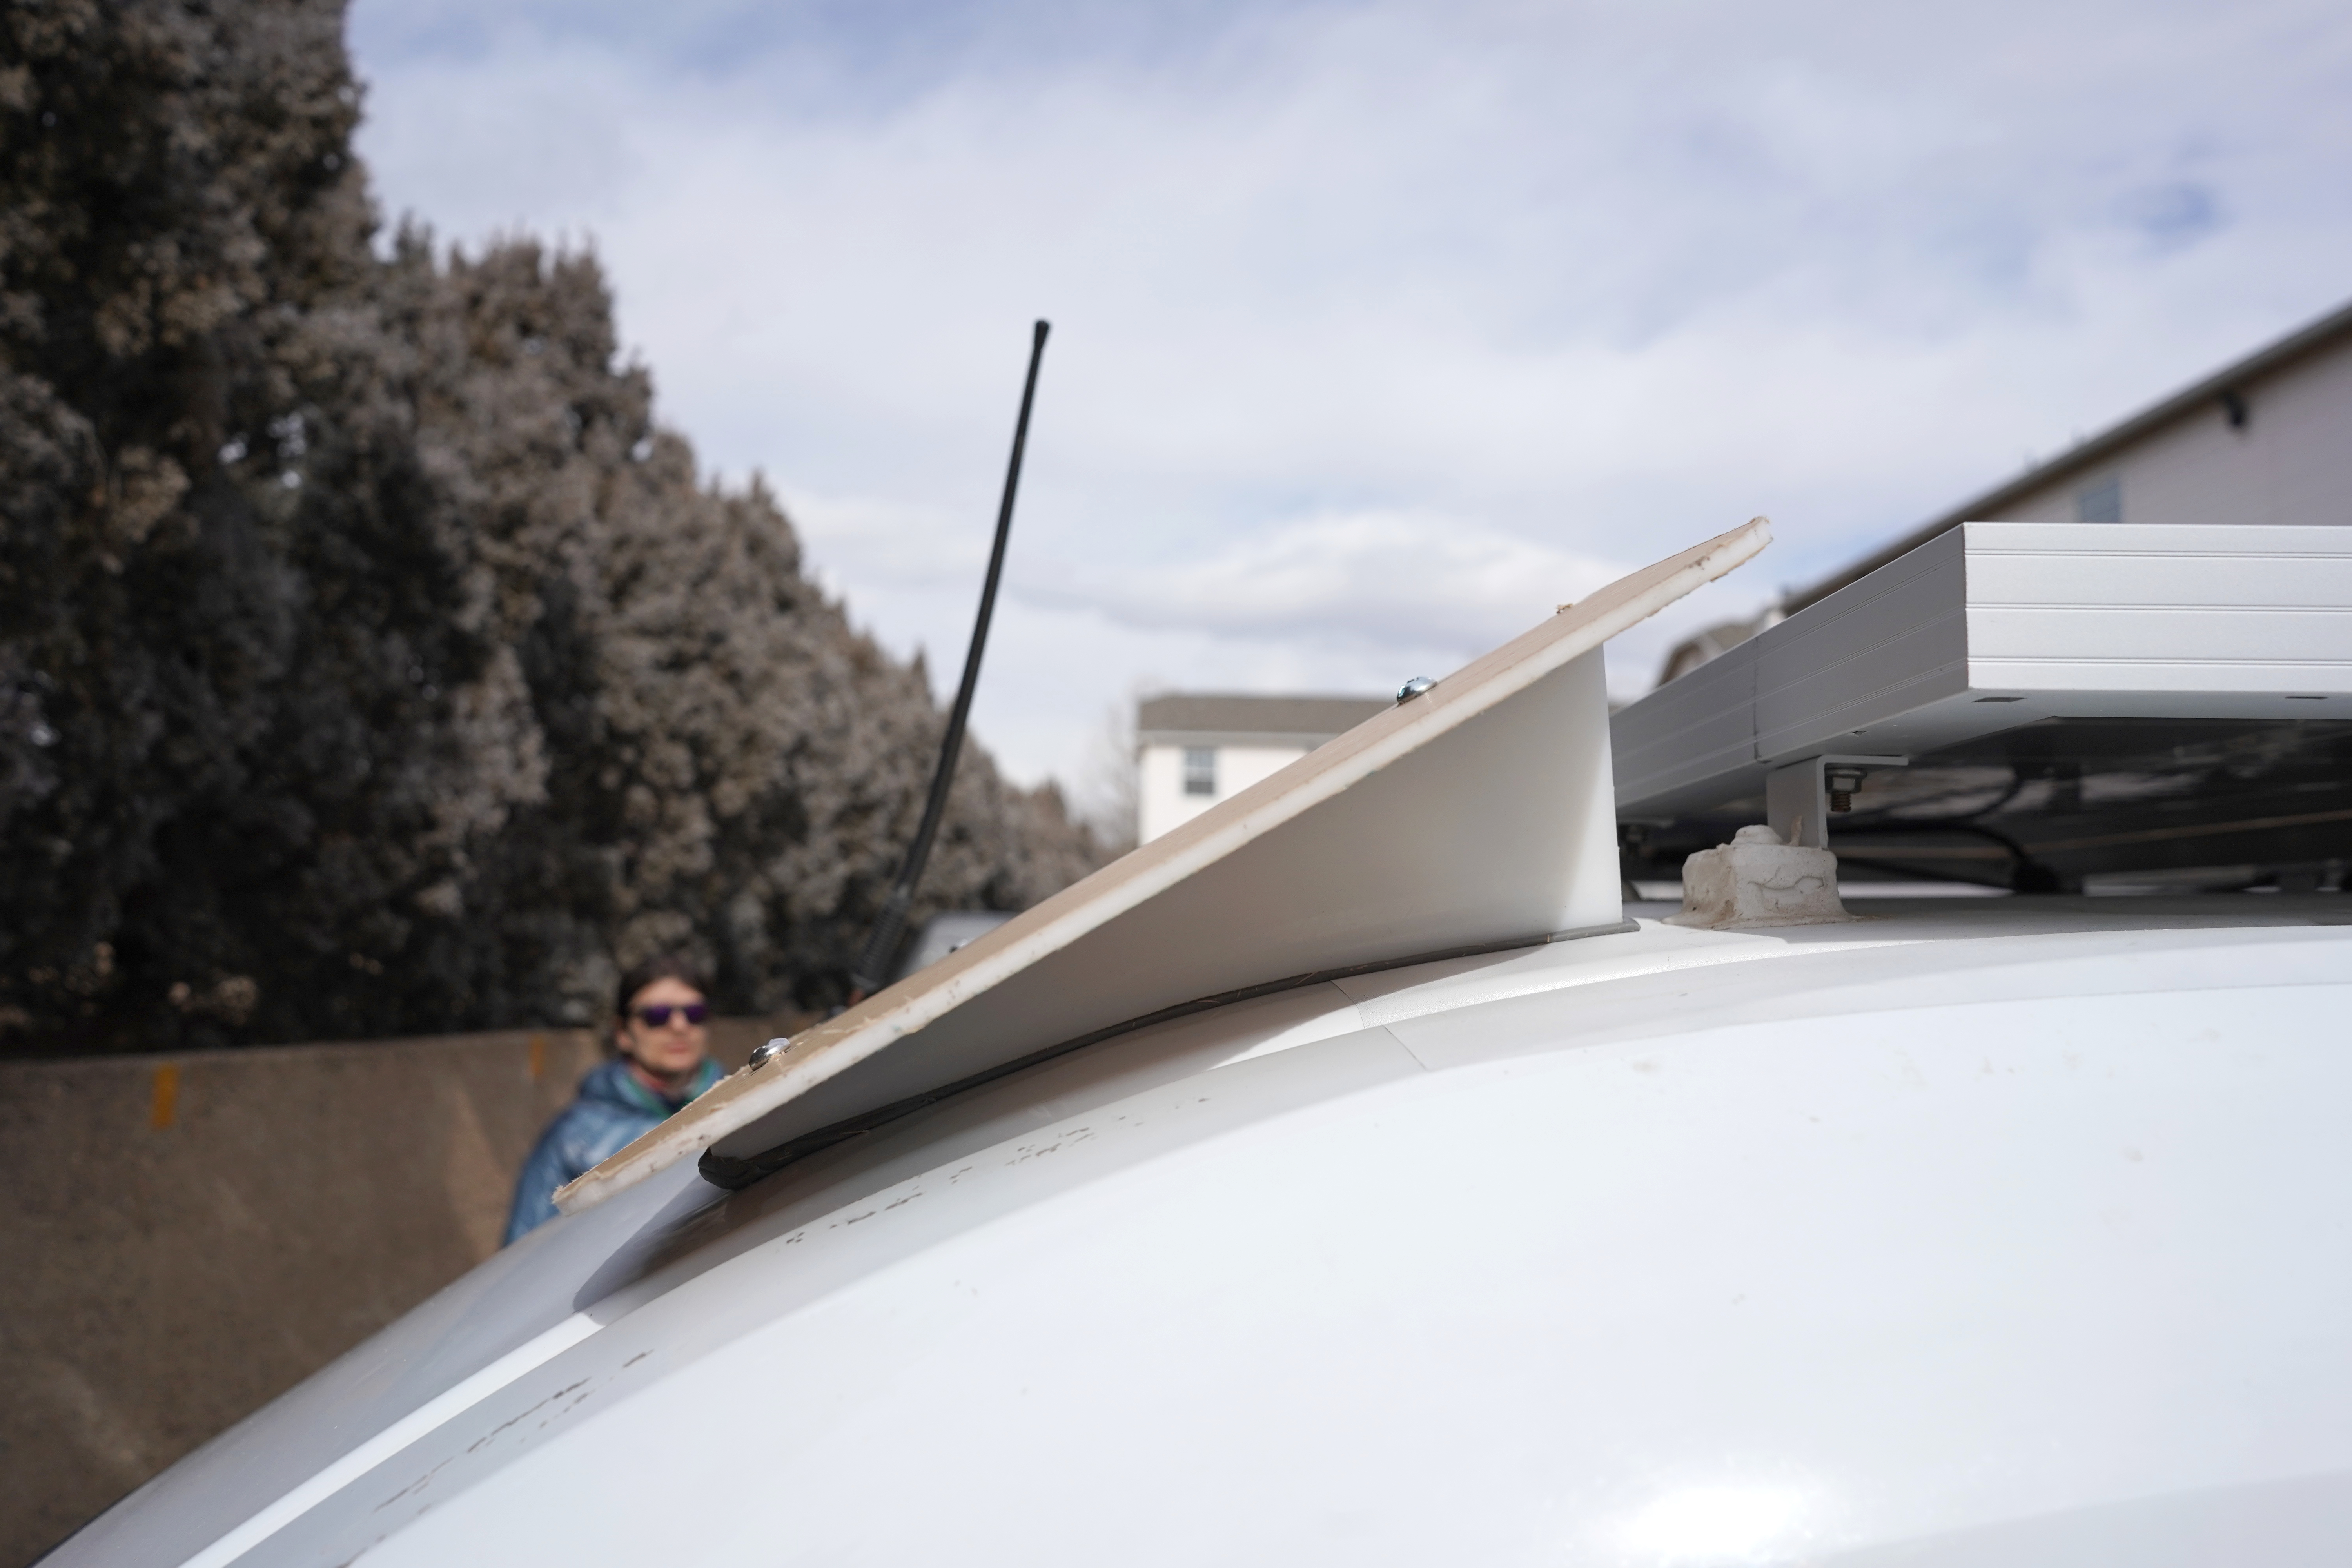
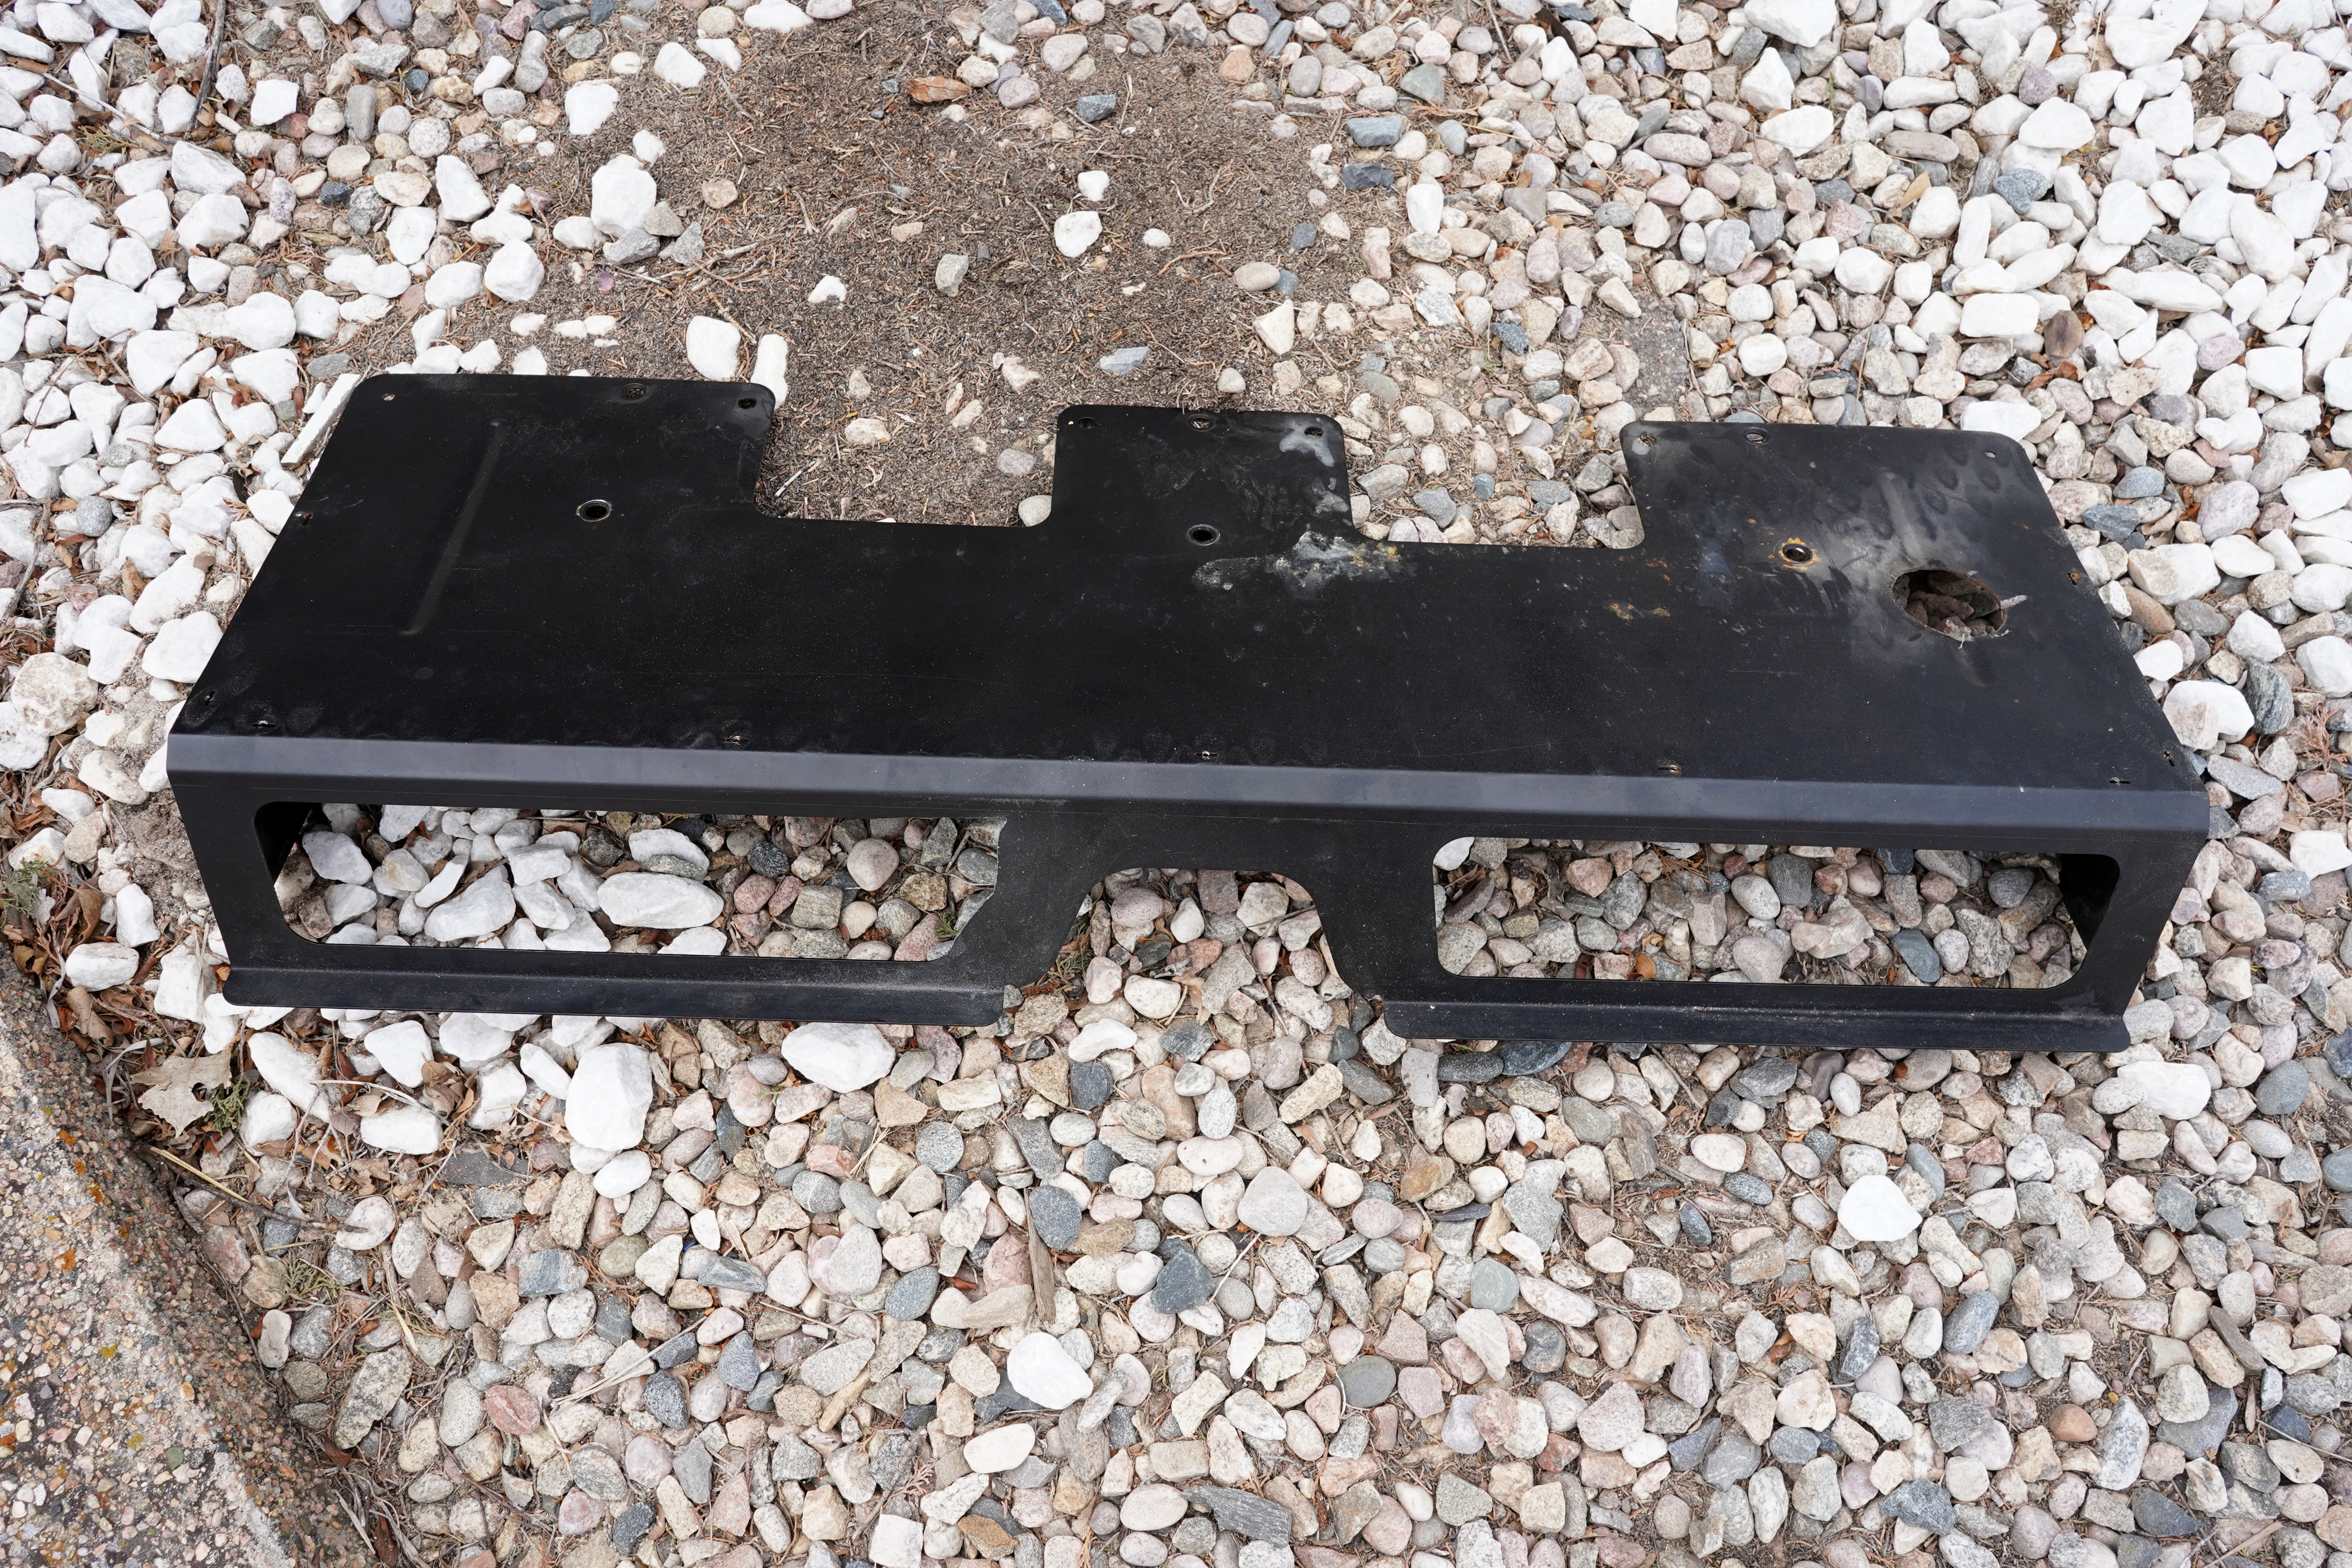
After the ceiling, my next big project was the wind fairing. Months ago, shortly after installing the solar panels, I noticed that, because of the wind passing under the panels, the van now produced more road noise. The additional wind resistance likely reduced the van’s gas mileage, too. I decided to fix this problem by installing a wind fairing in front of the solar panels. But I didn’t want to buy a wind fairing because most of the fairings on the market are made to fit roof racks, which my van doesn’t have. Plus, they’re unreasonably expensive. So I made one.


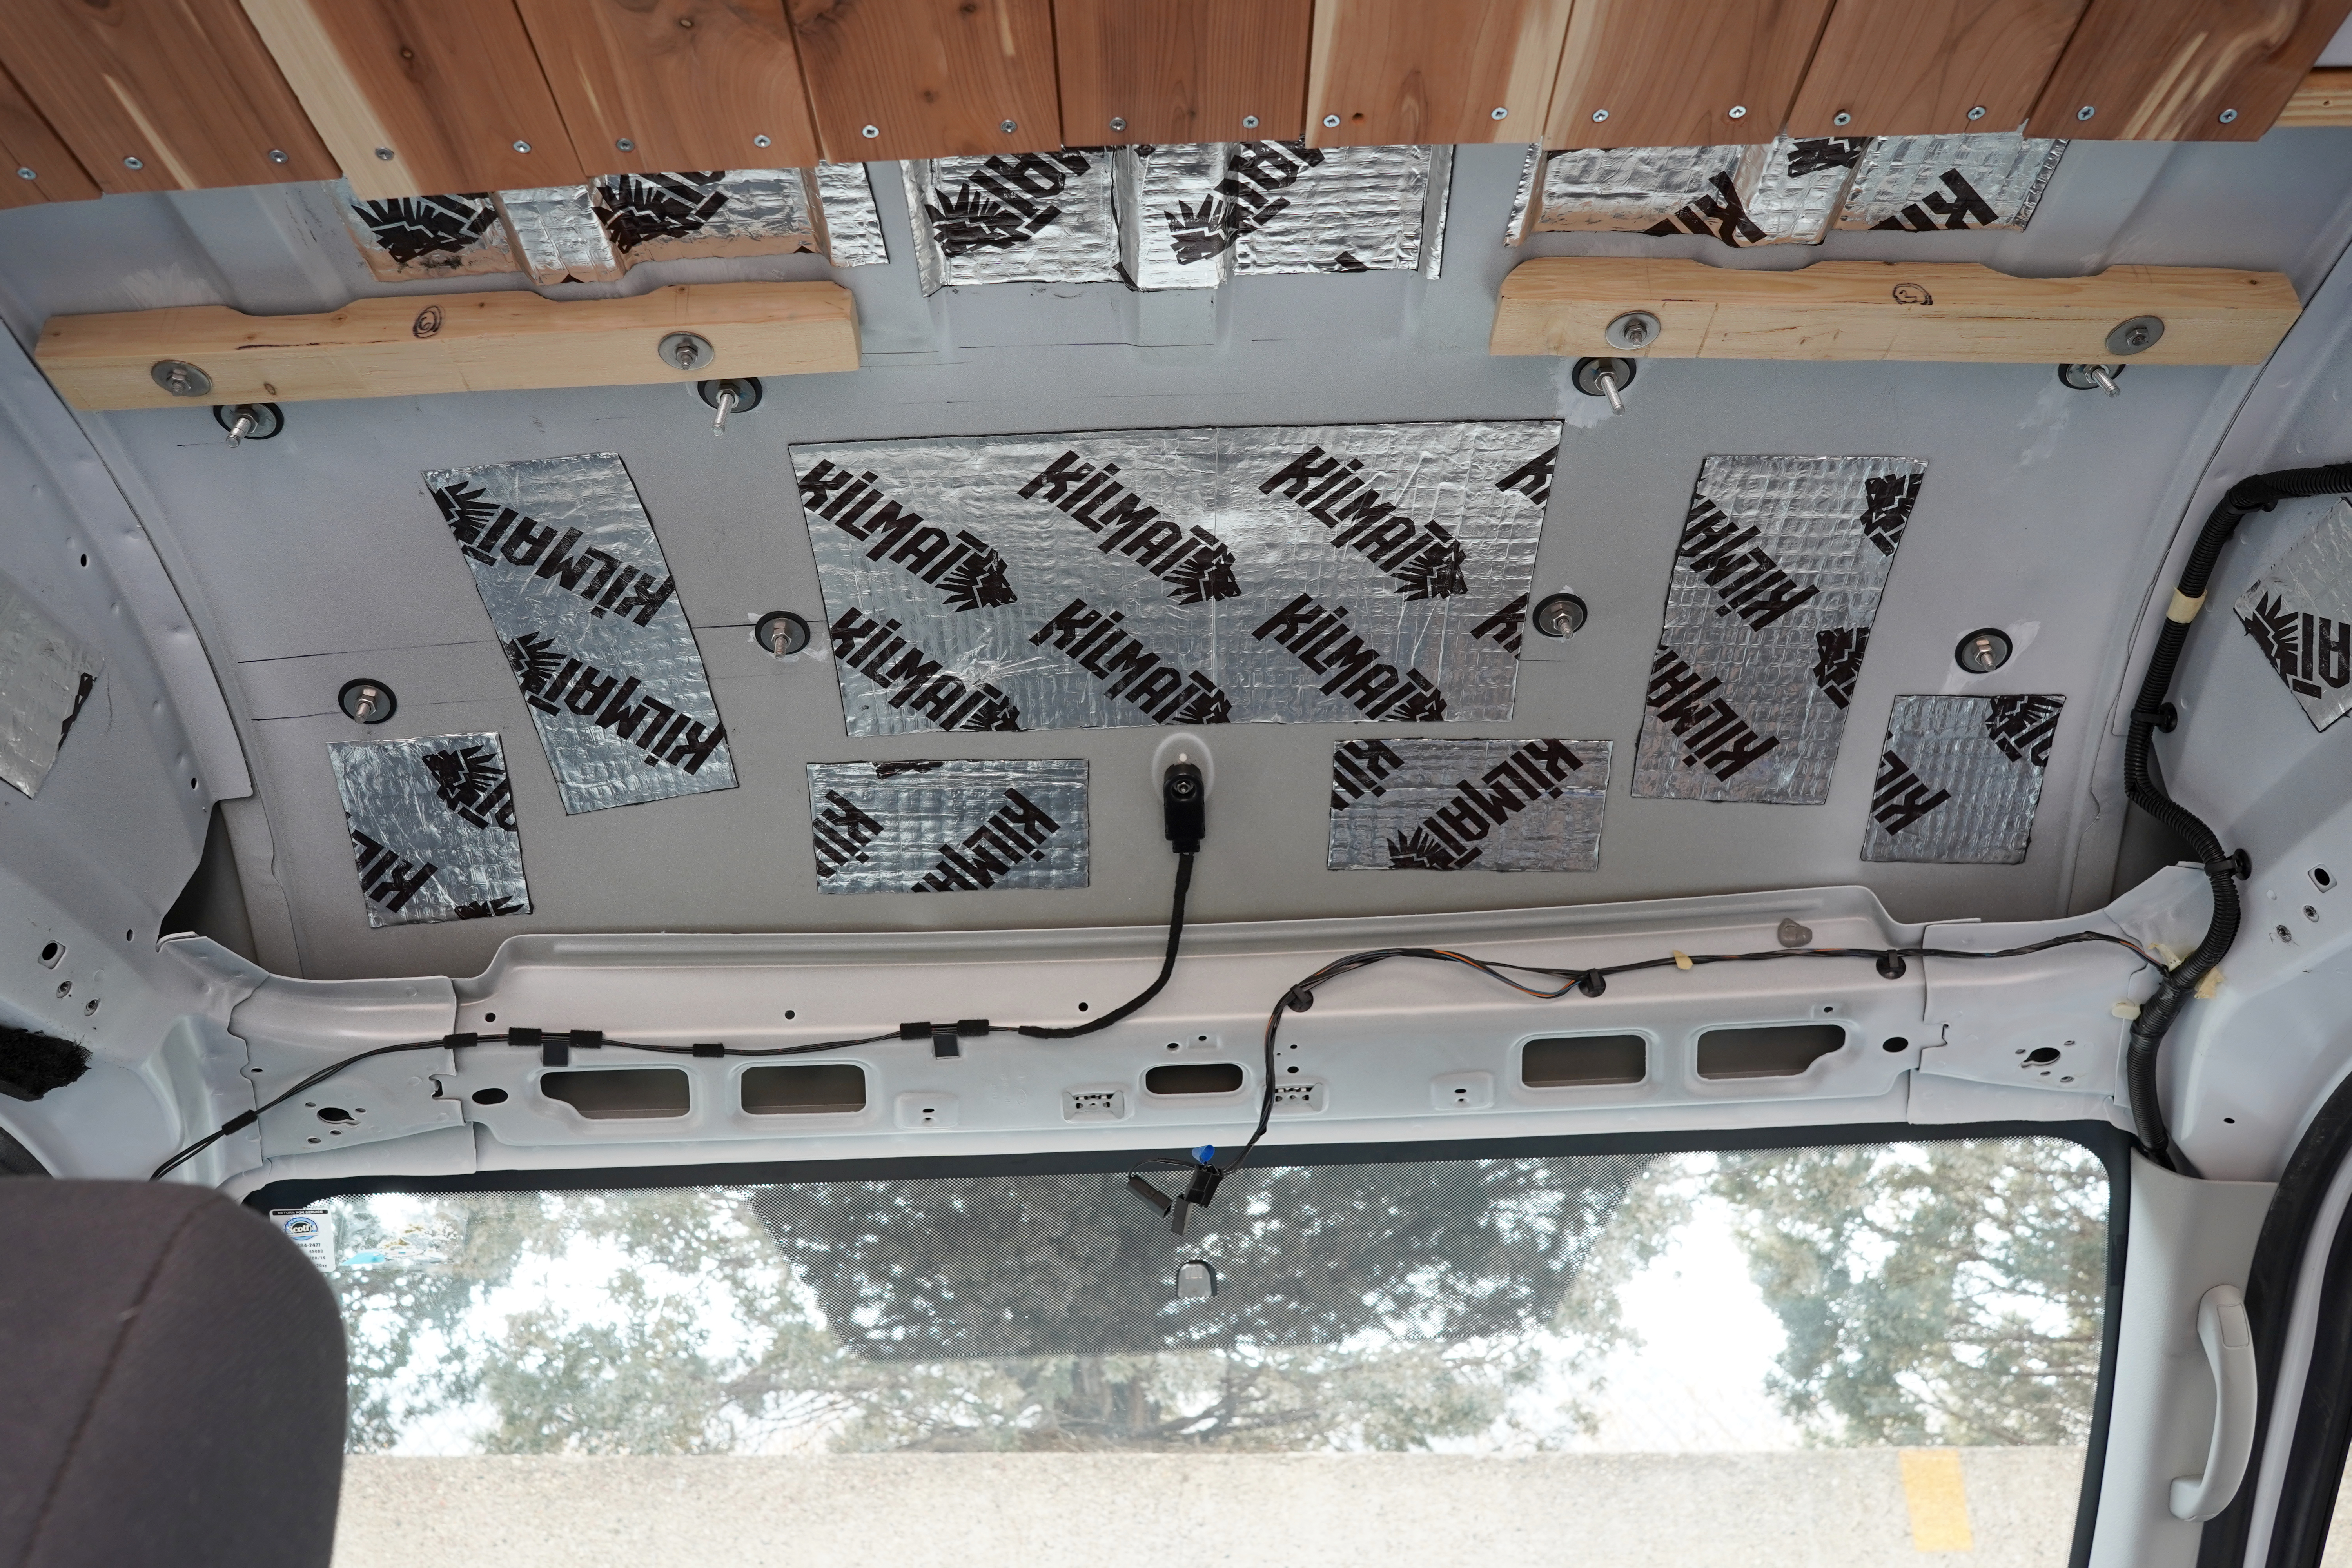
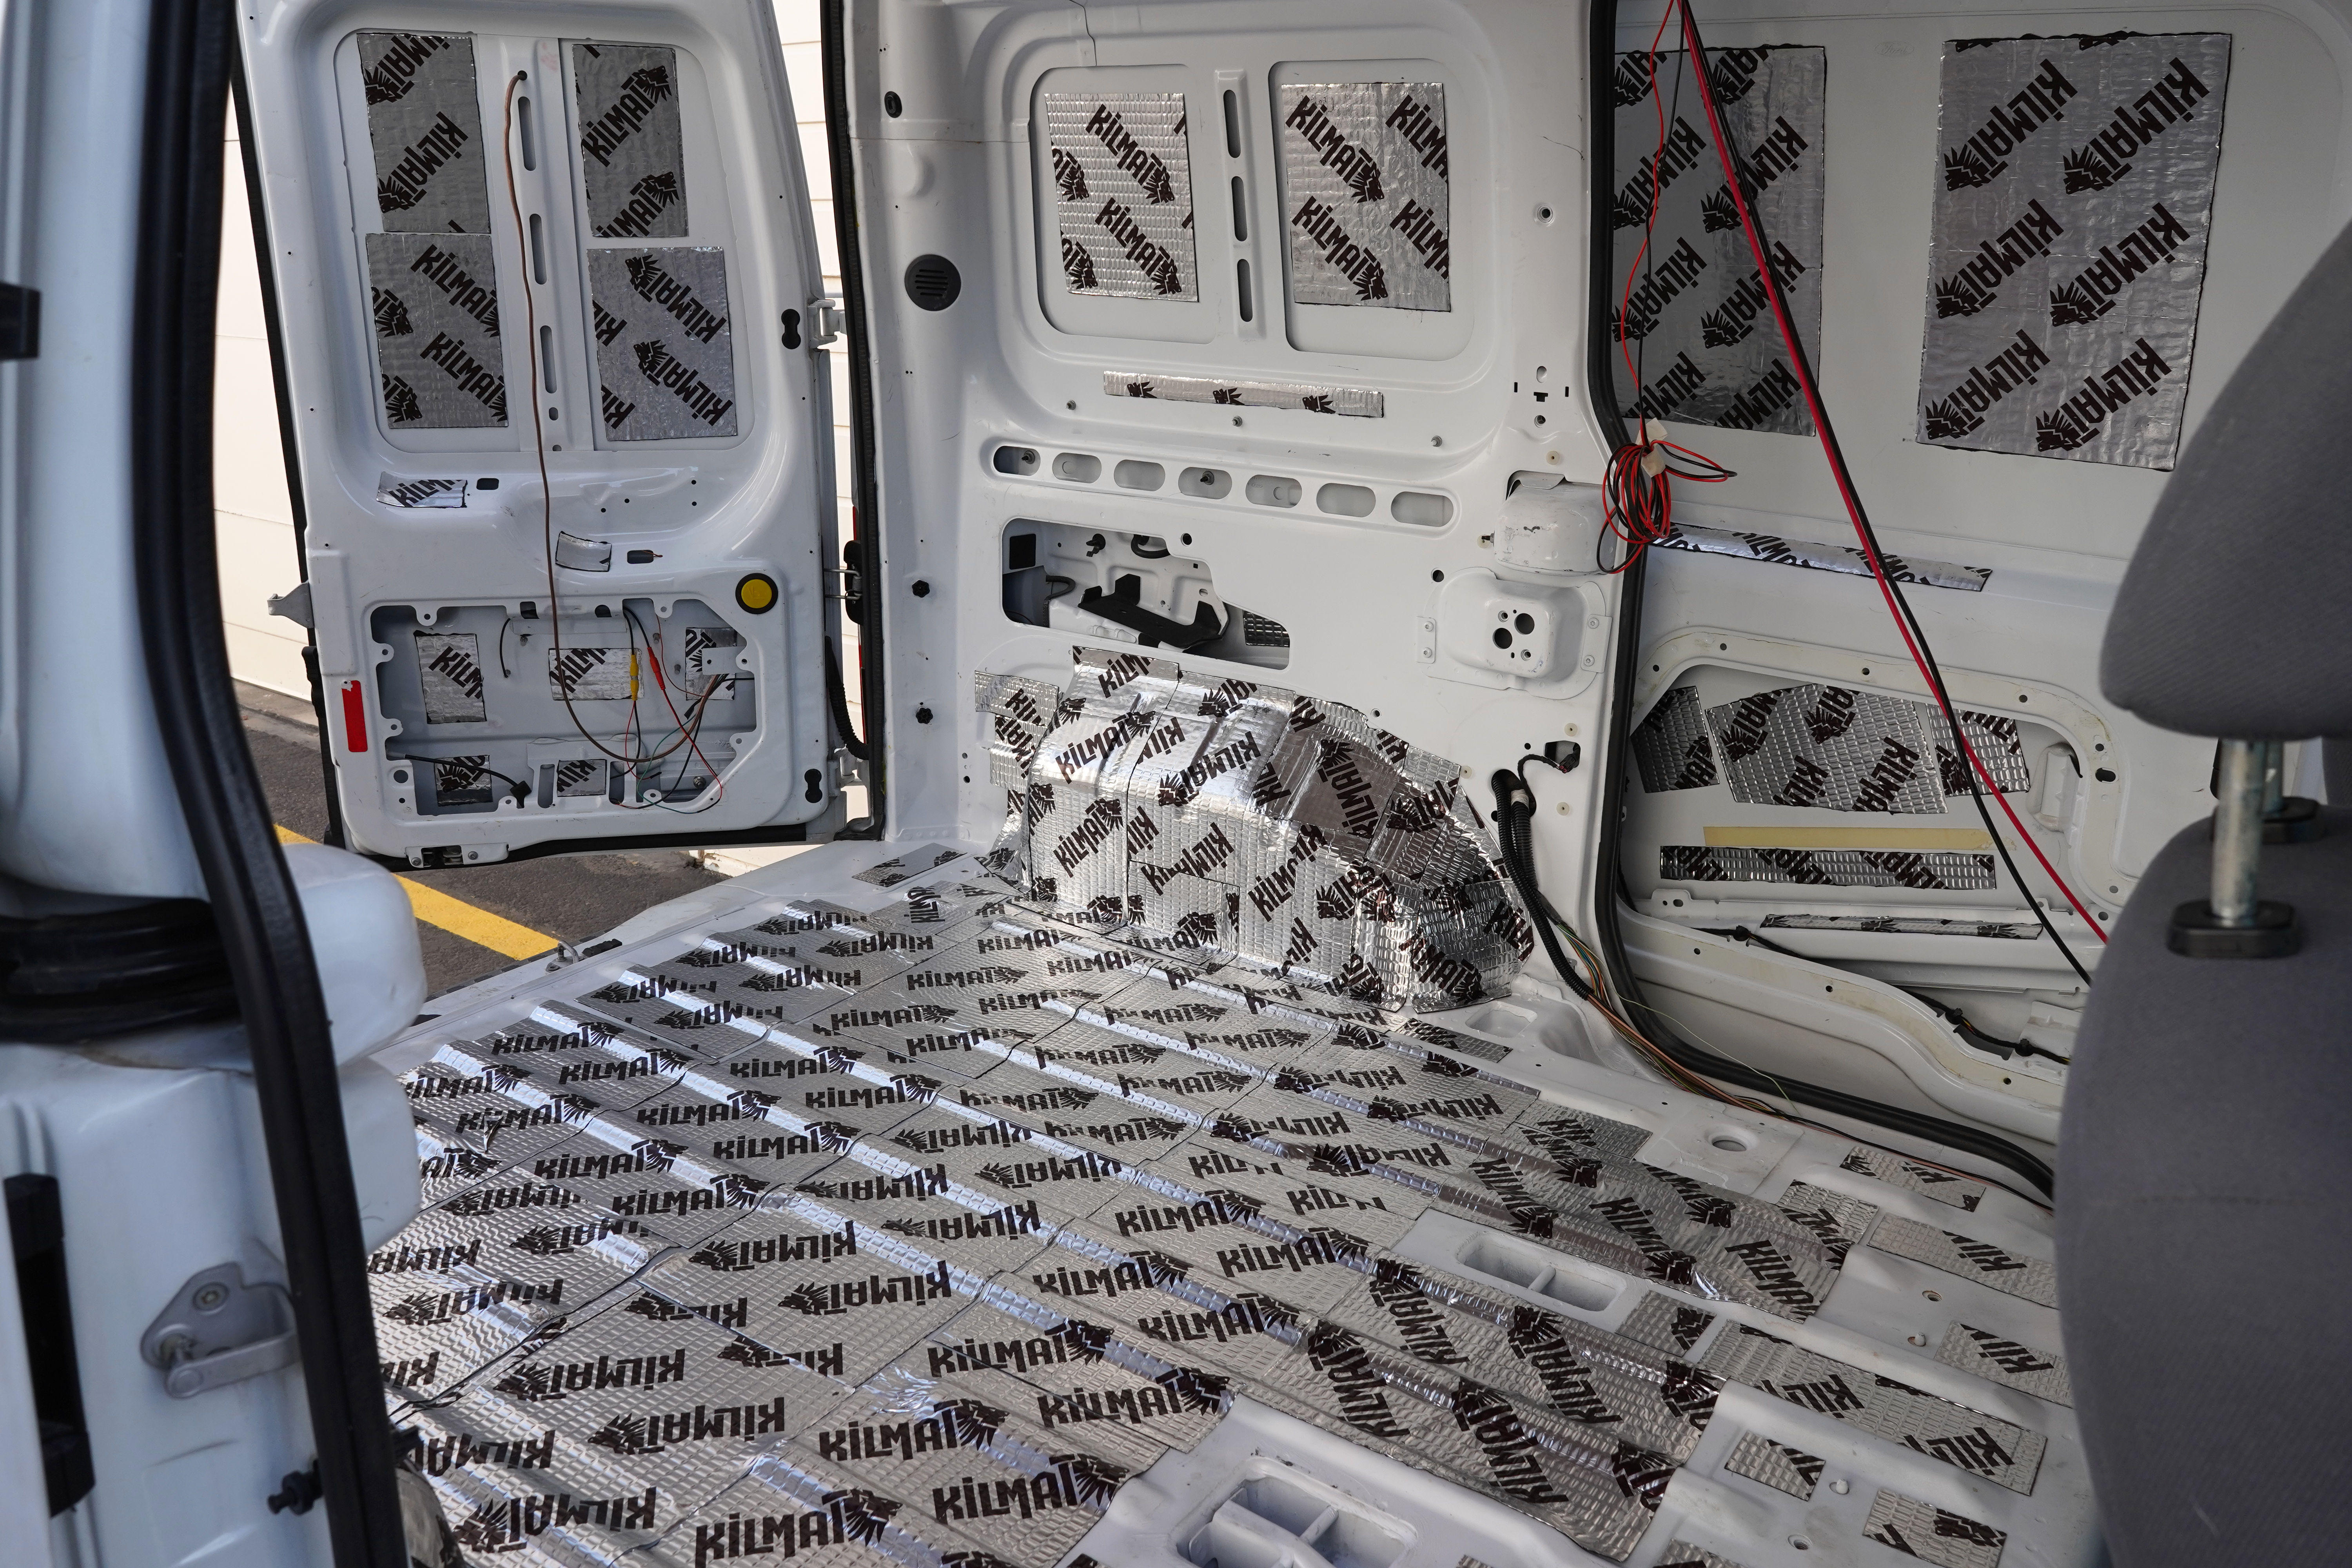
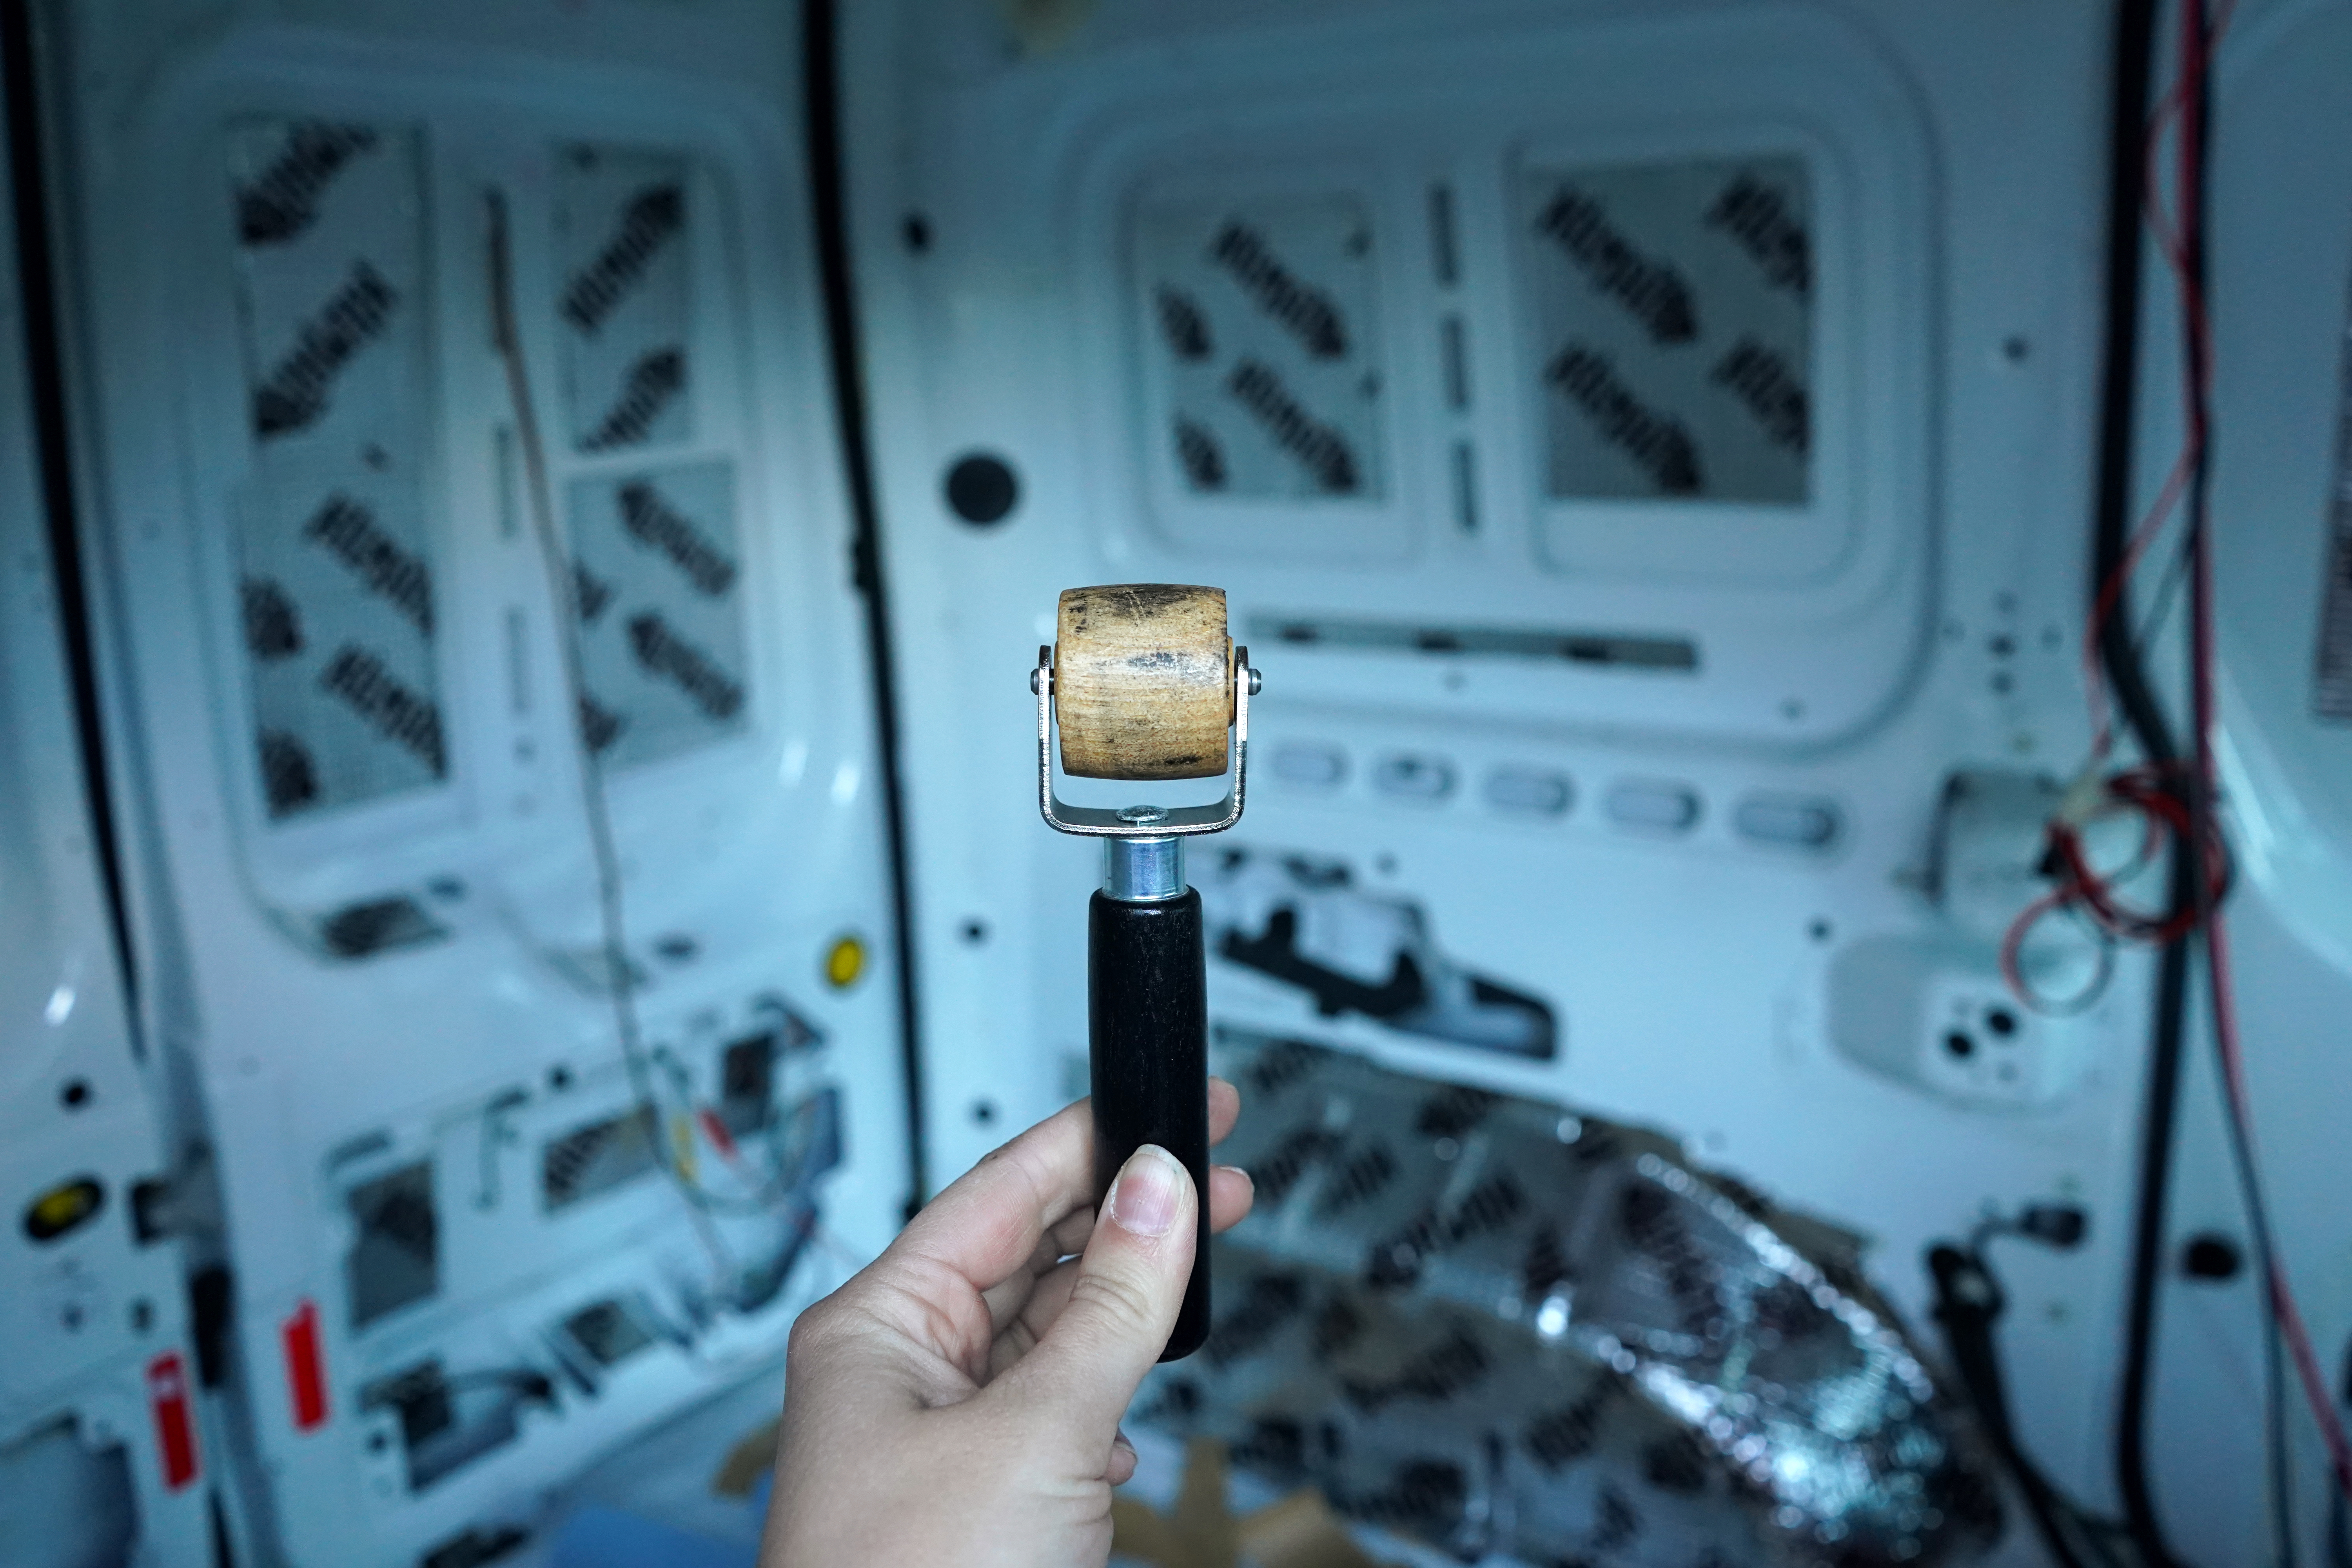
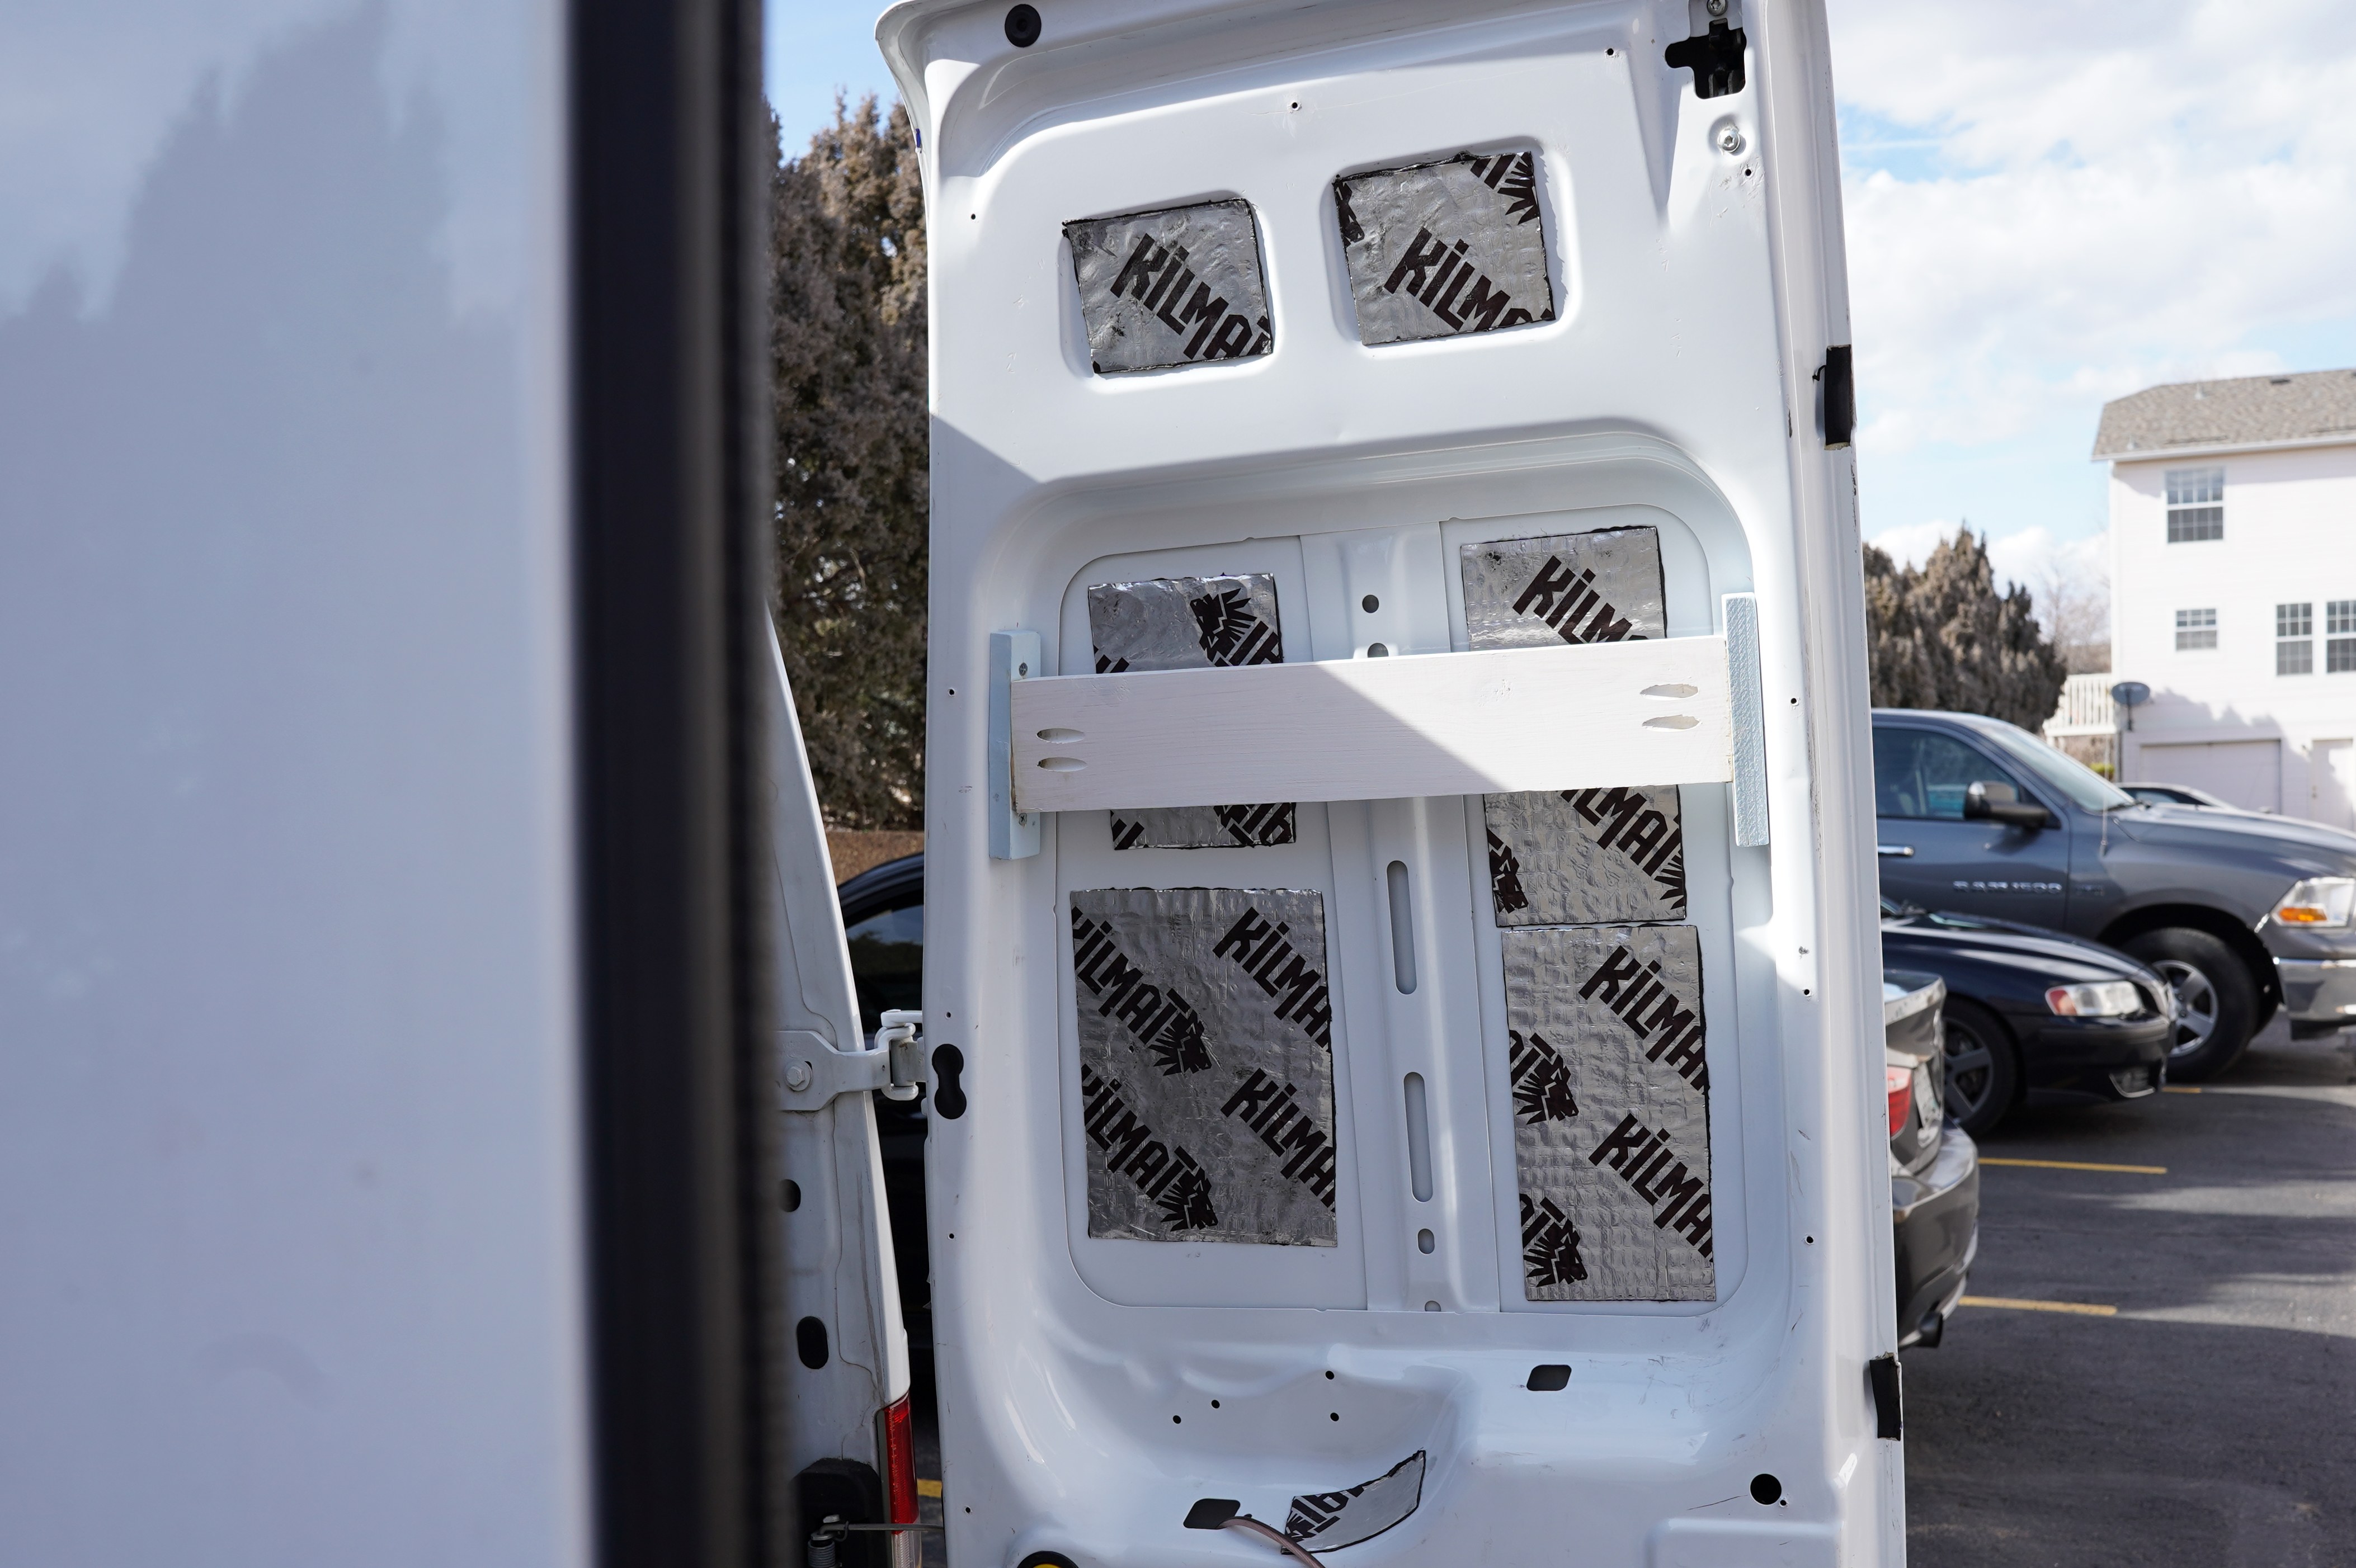
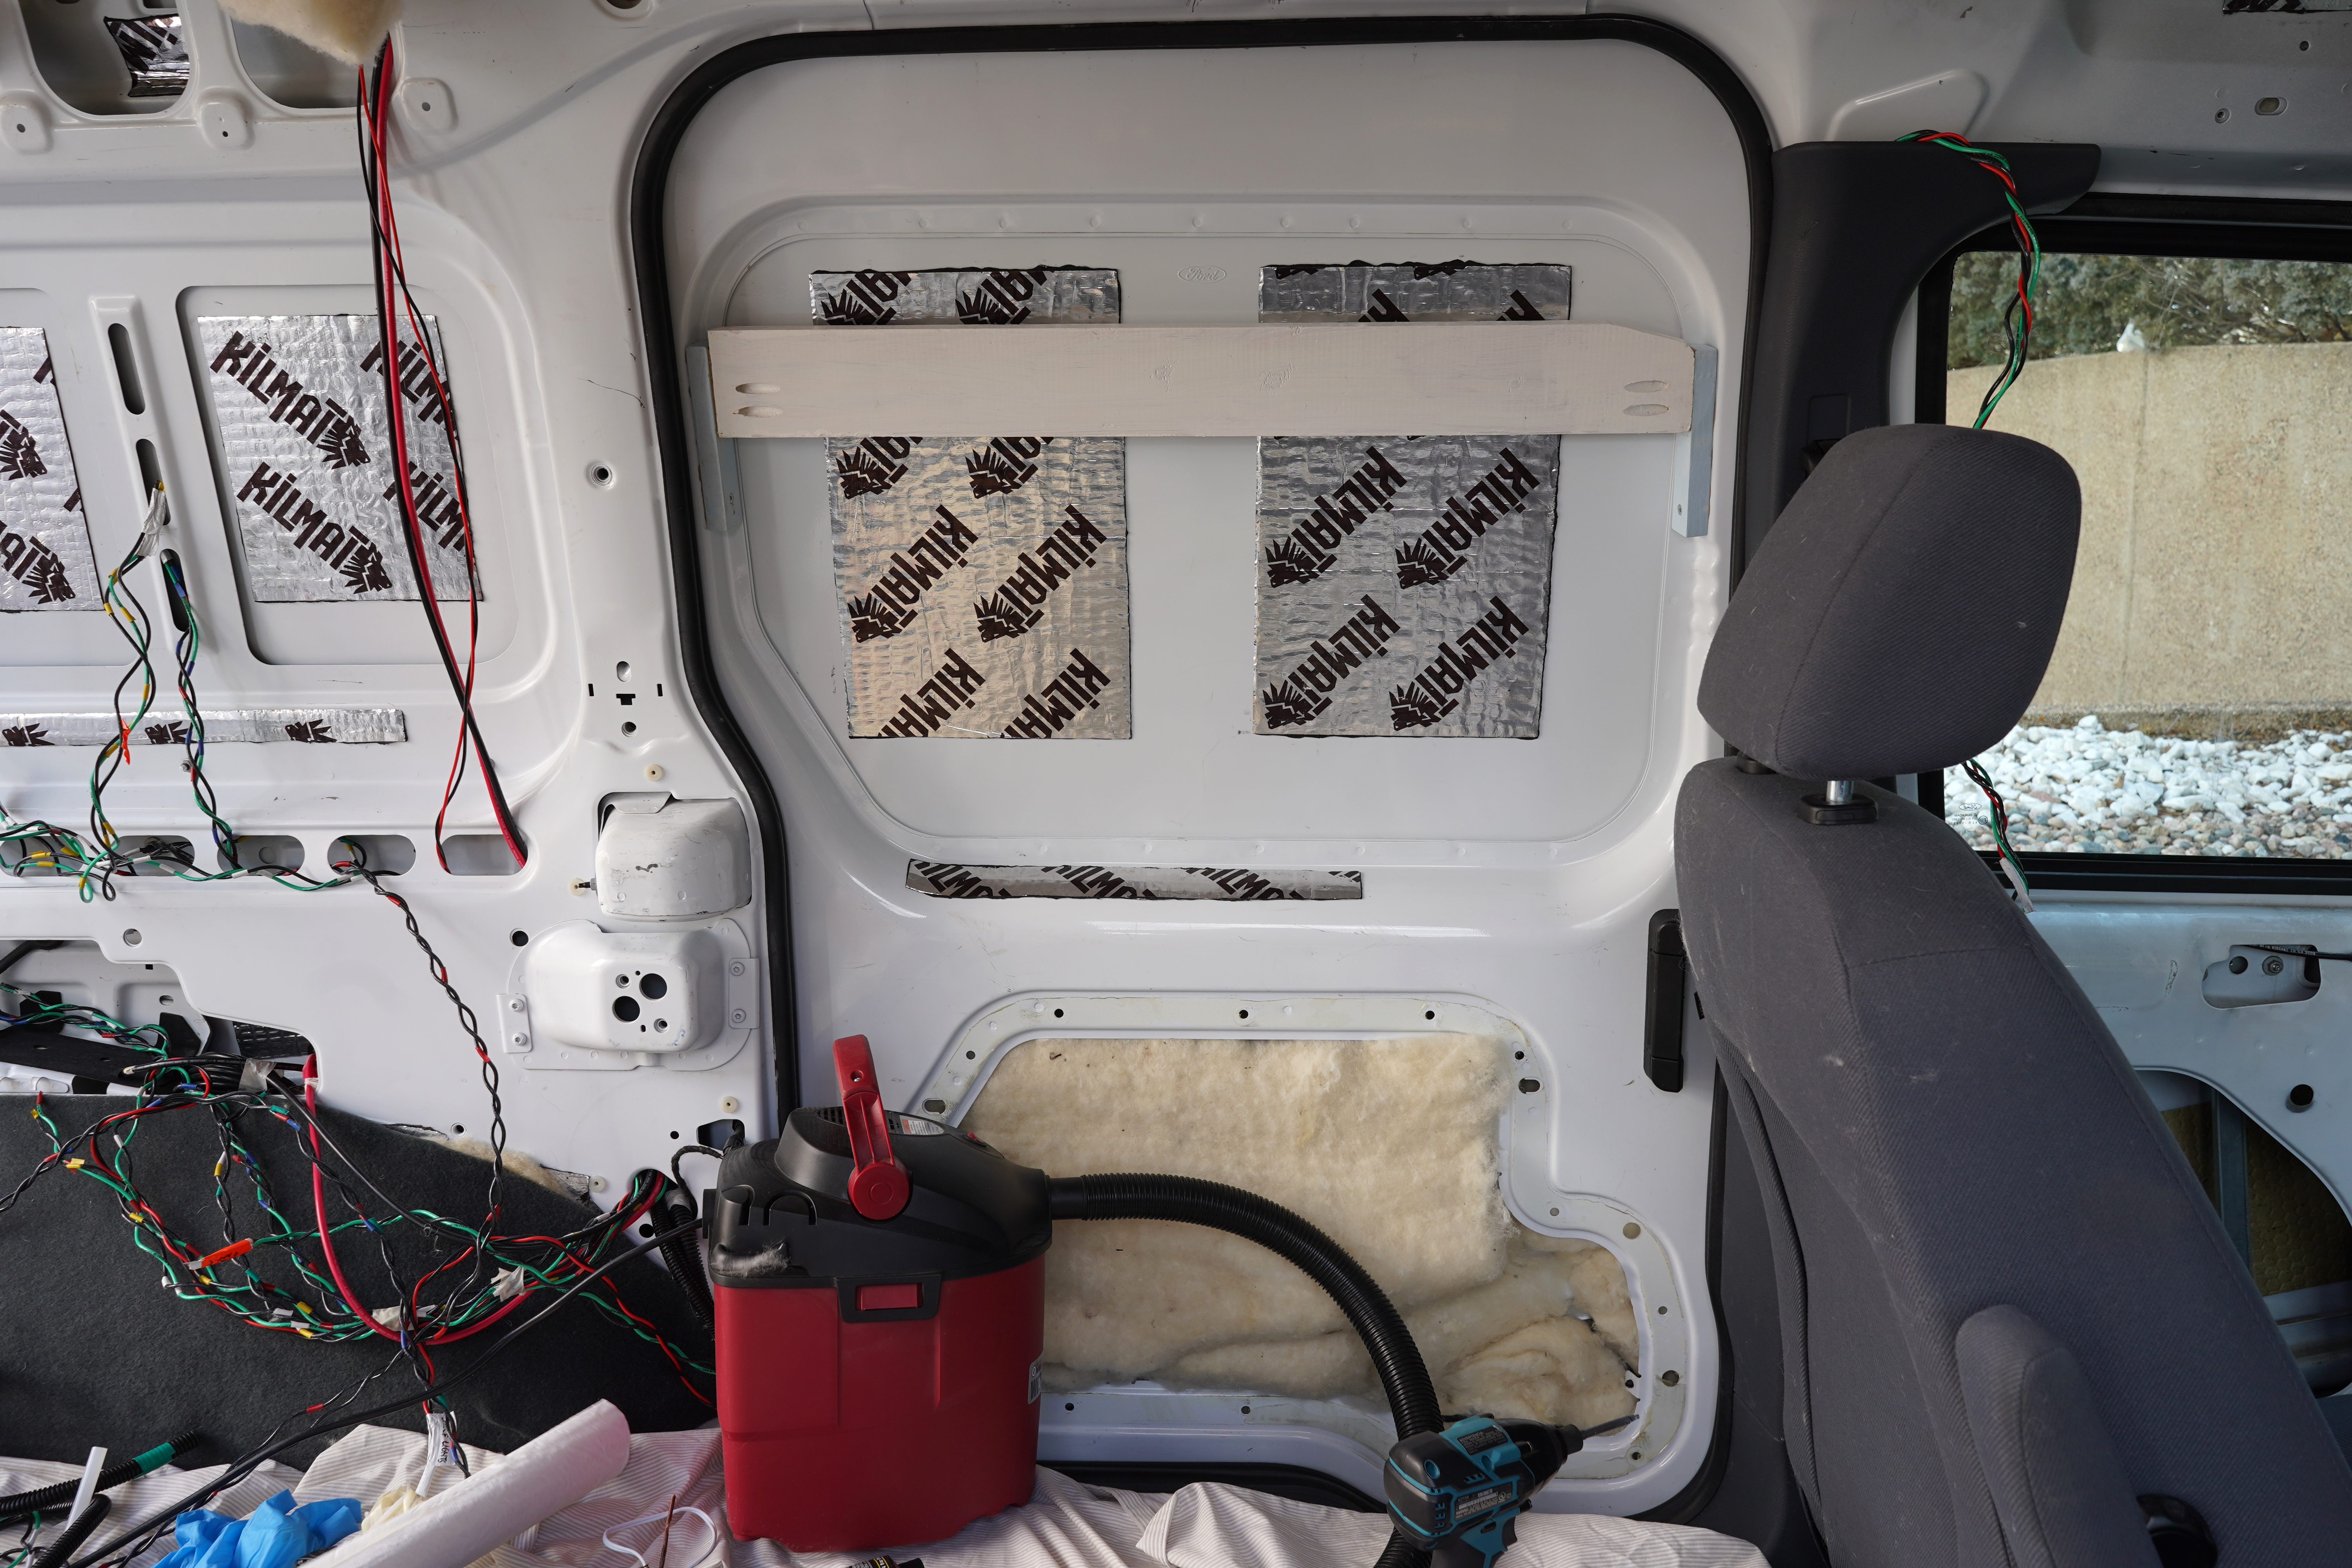
Now that I’d tuned my ears to road noise, I wanted the van even quieter. Before adding wool to the cabin ceiling, I lined it with Kilmat, a sound deadener. One of the sources of road noise is vibrating sheet metal, and sound deadeners kill these vibrations.
Onwards!
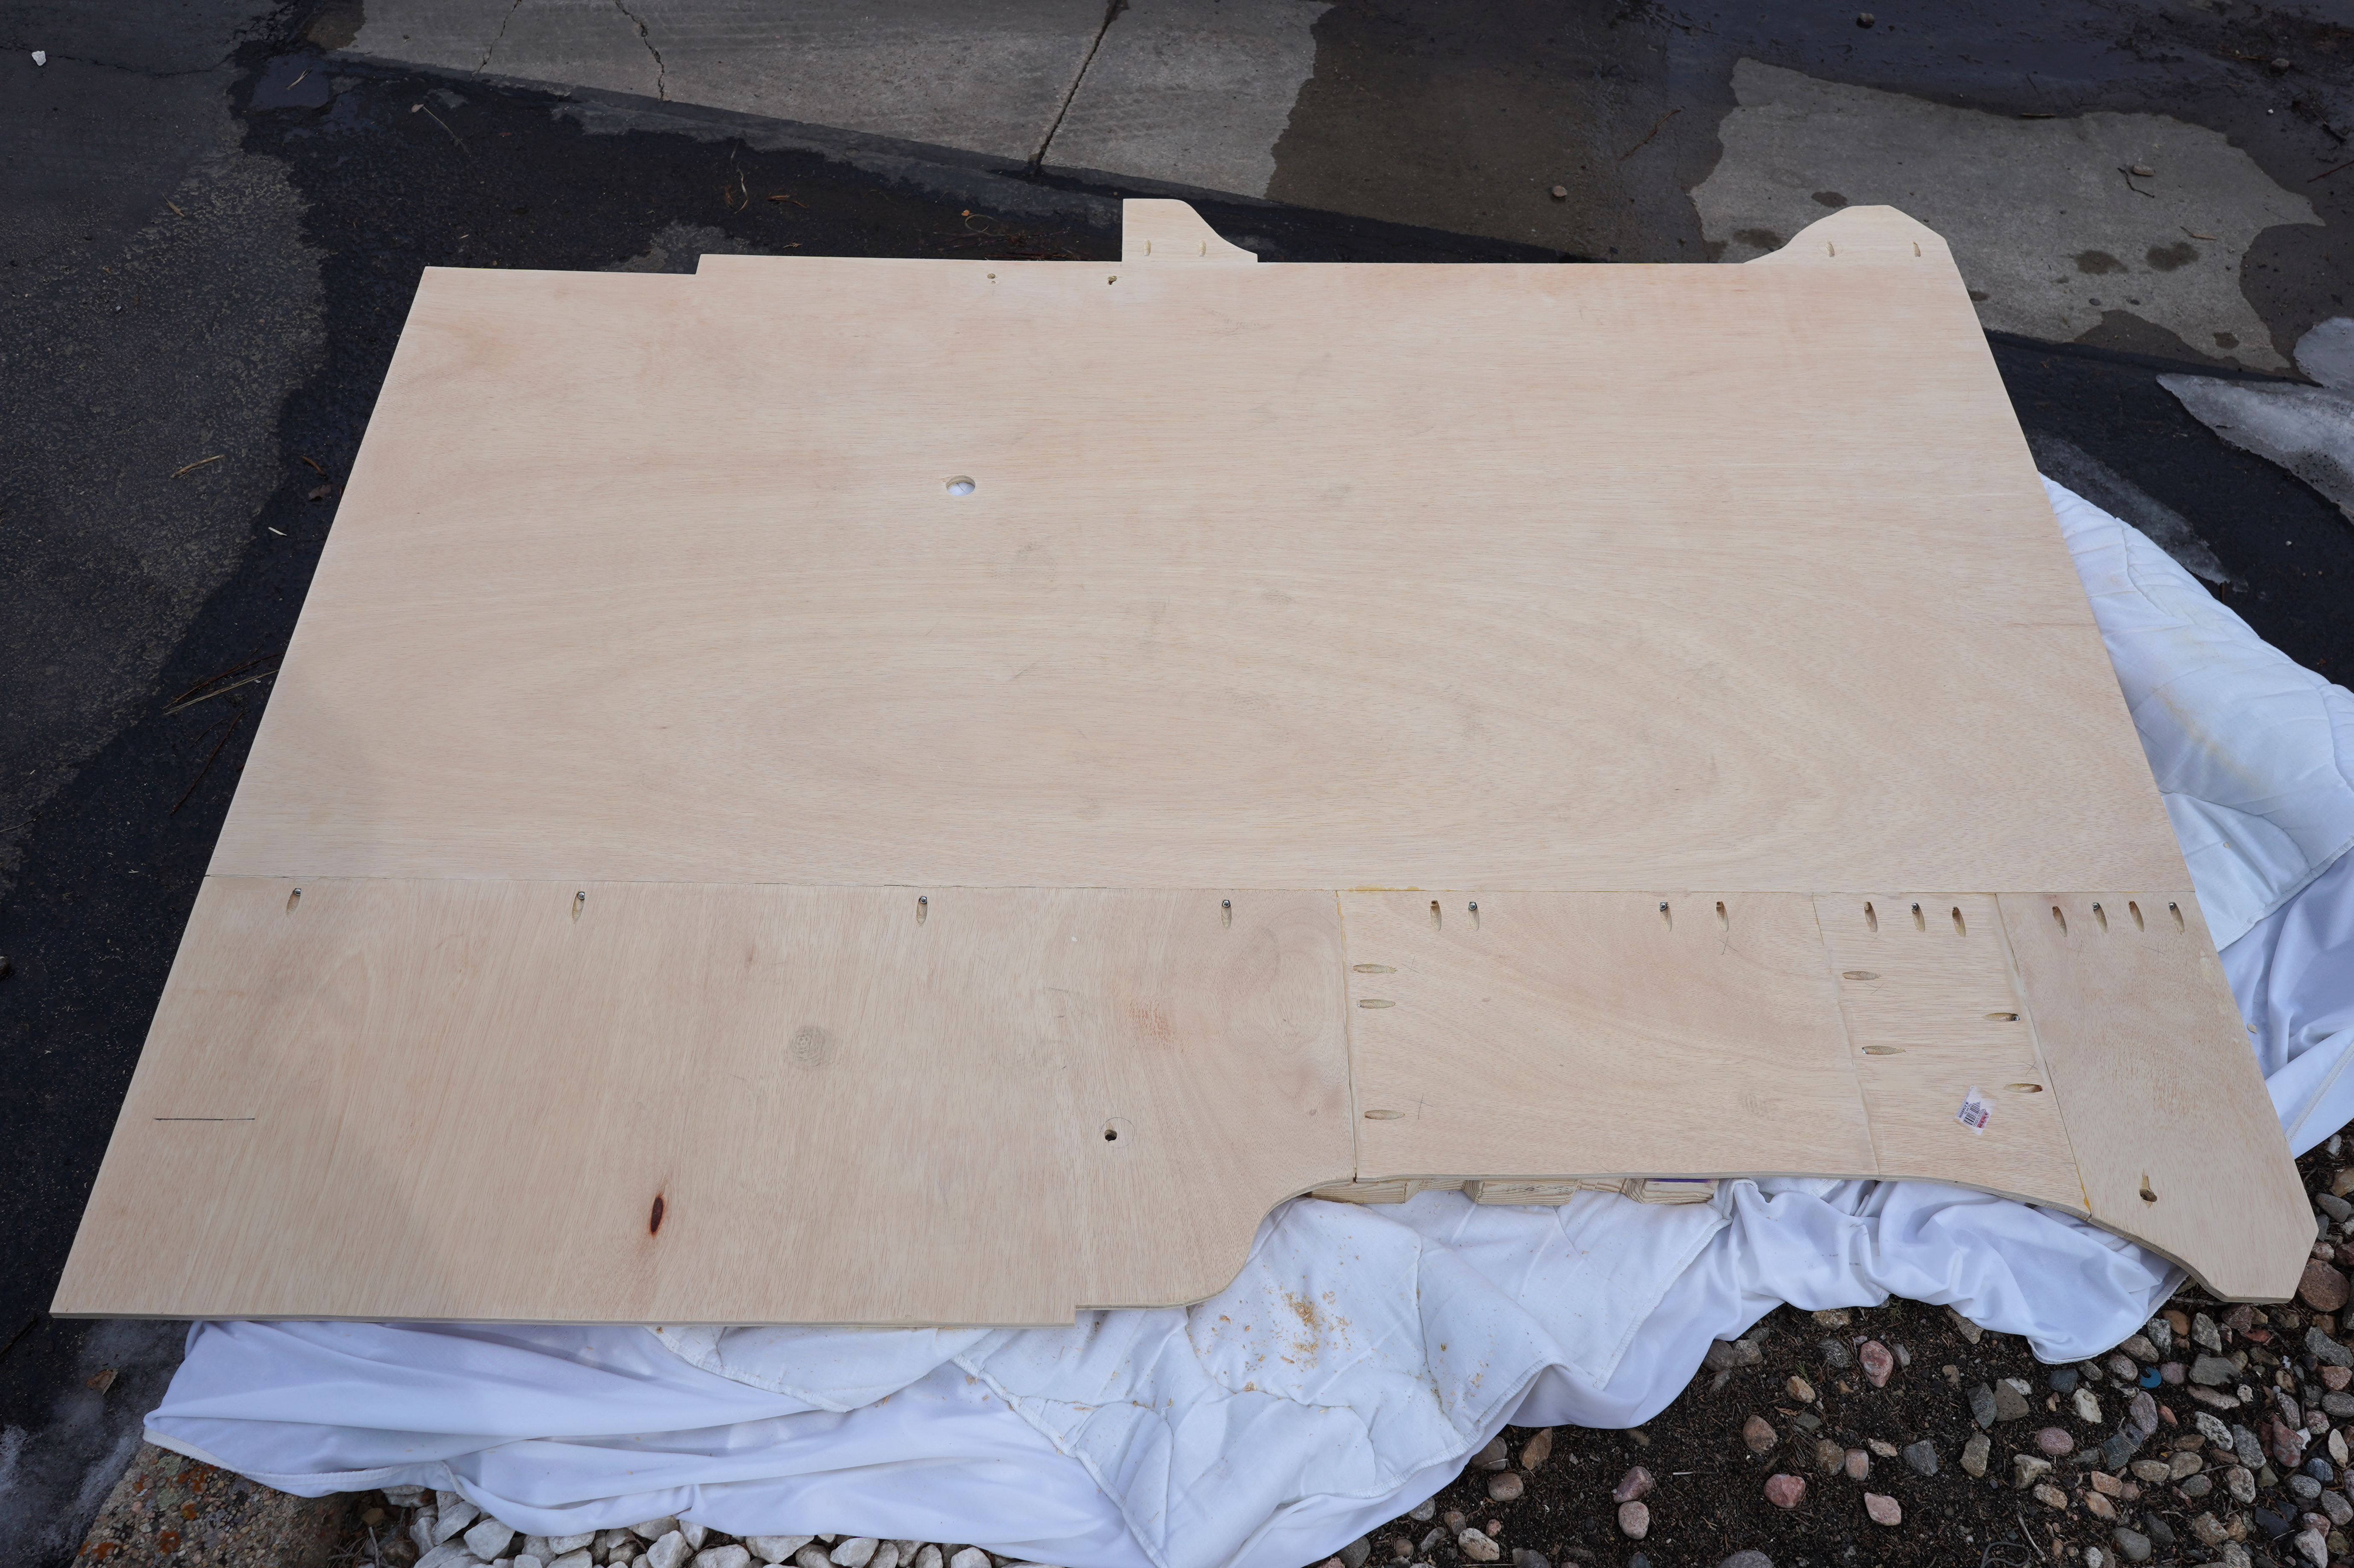
Next I banged out the floor.


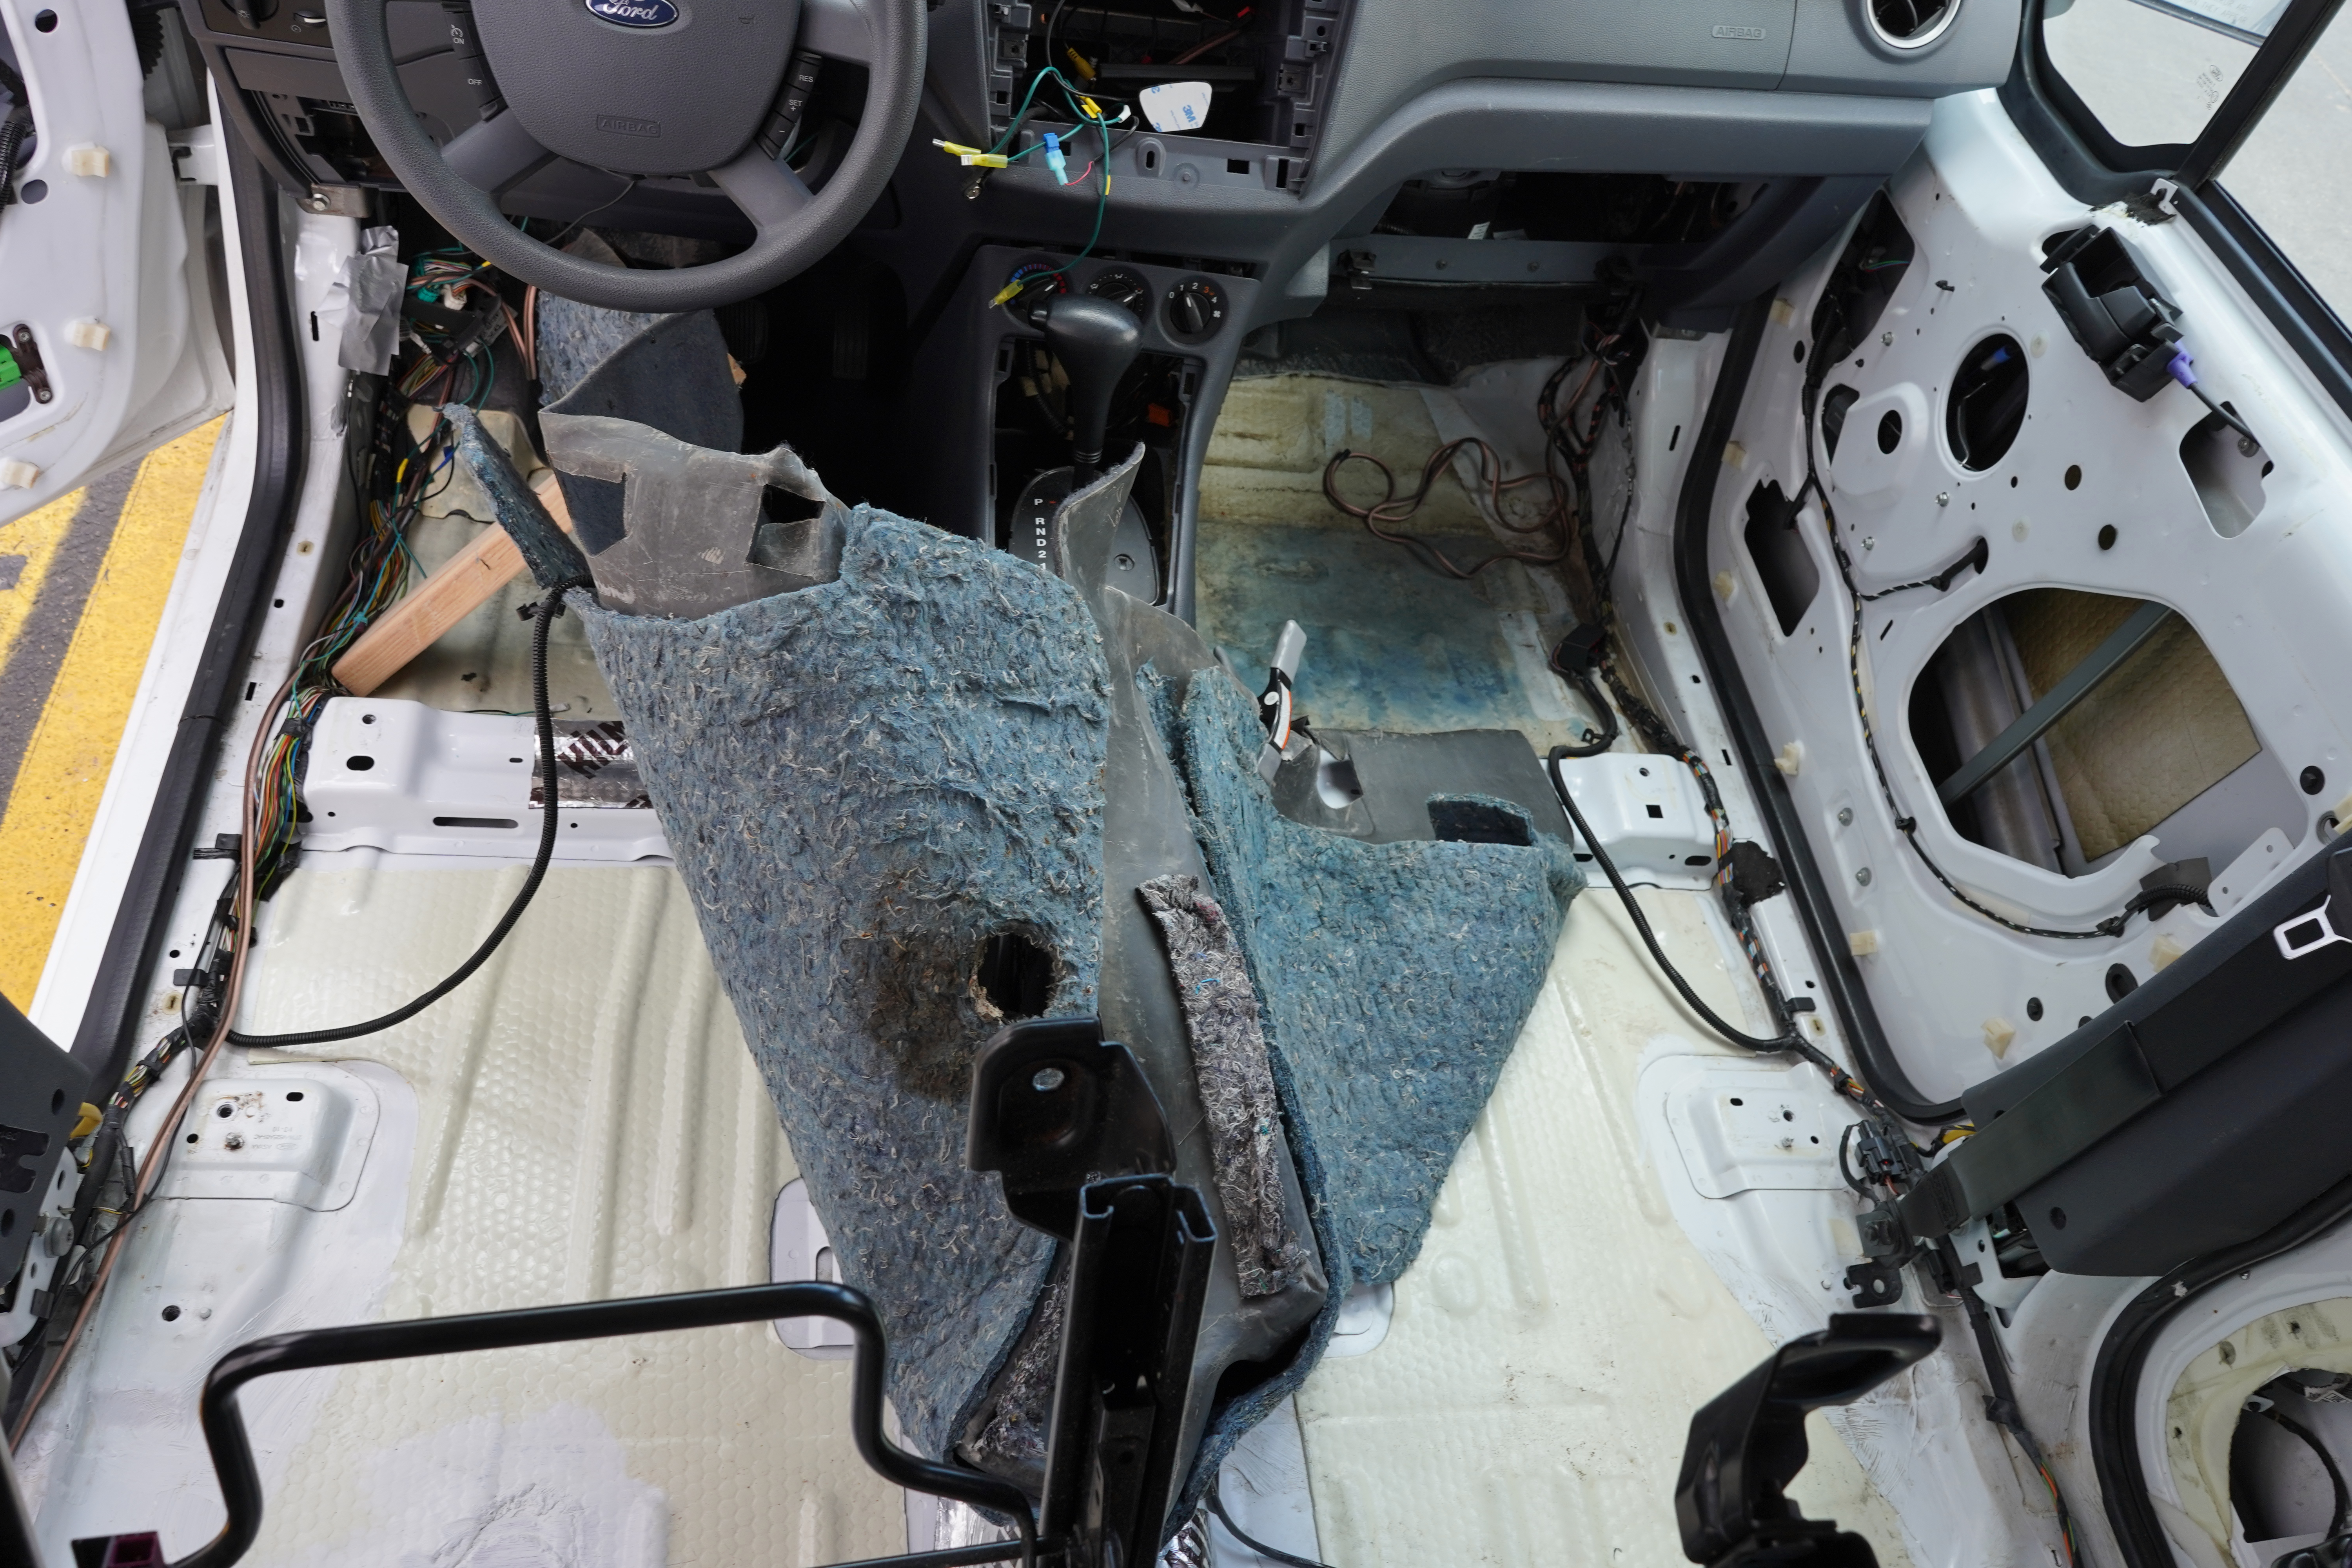
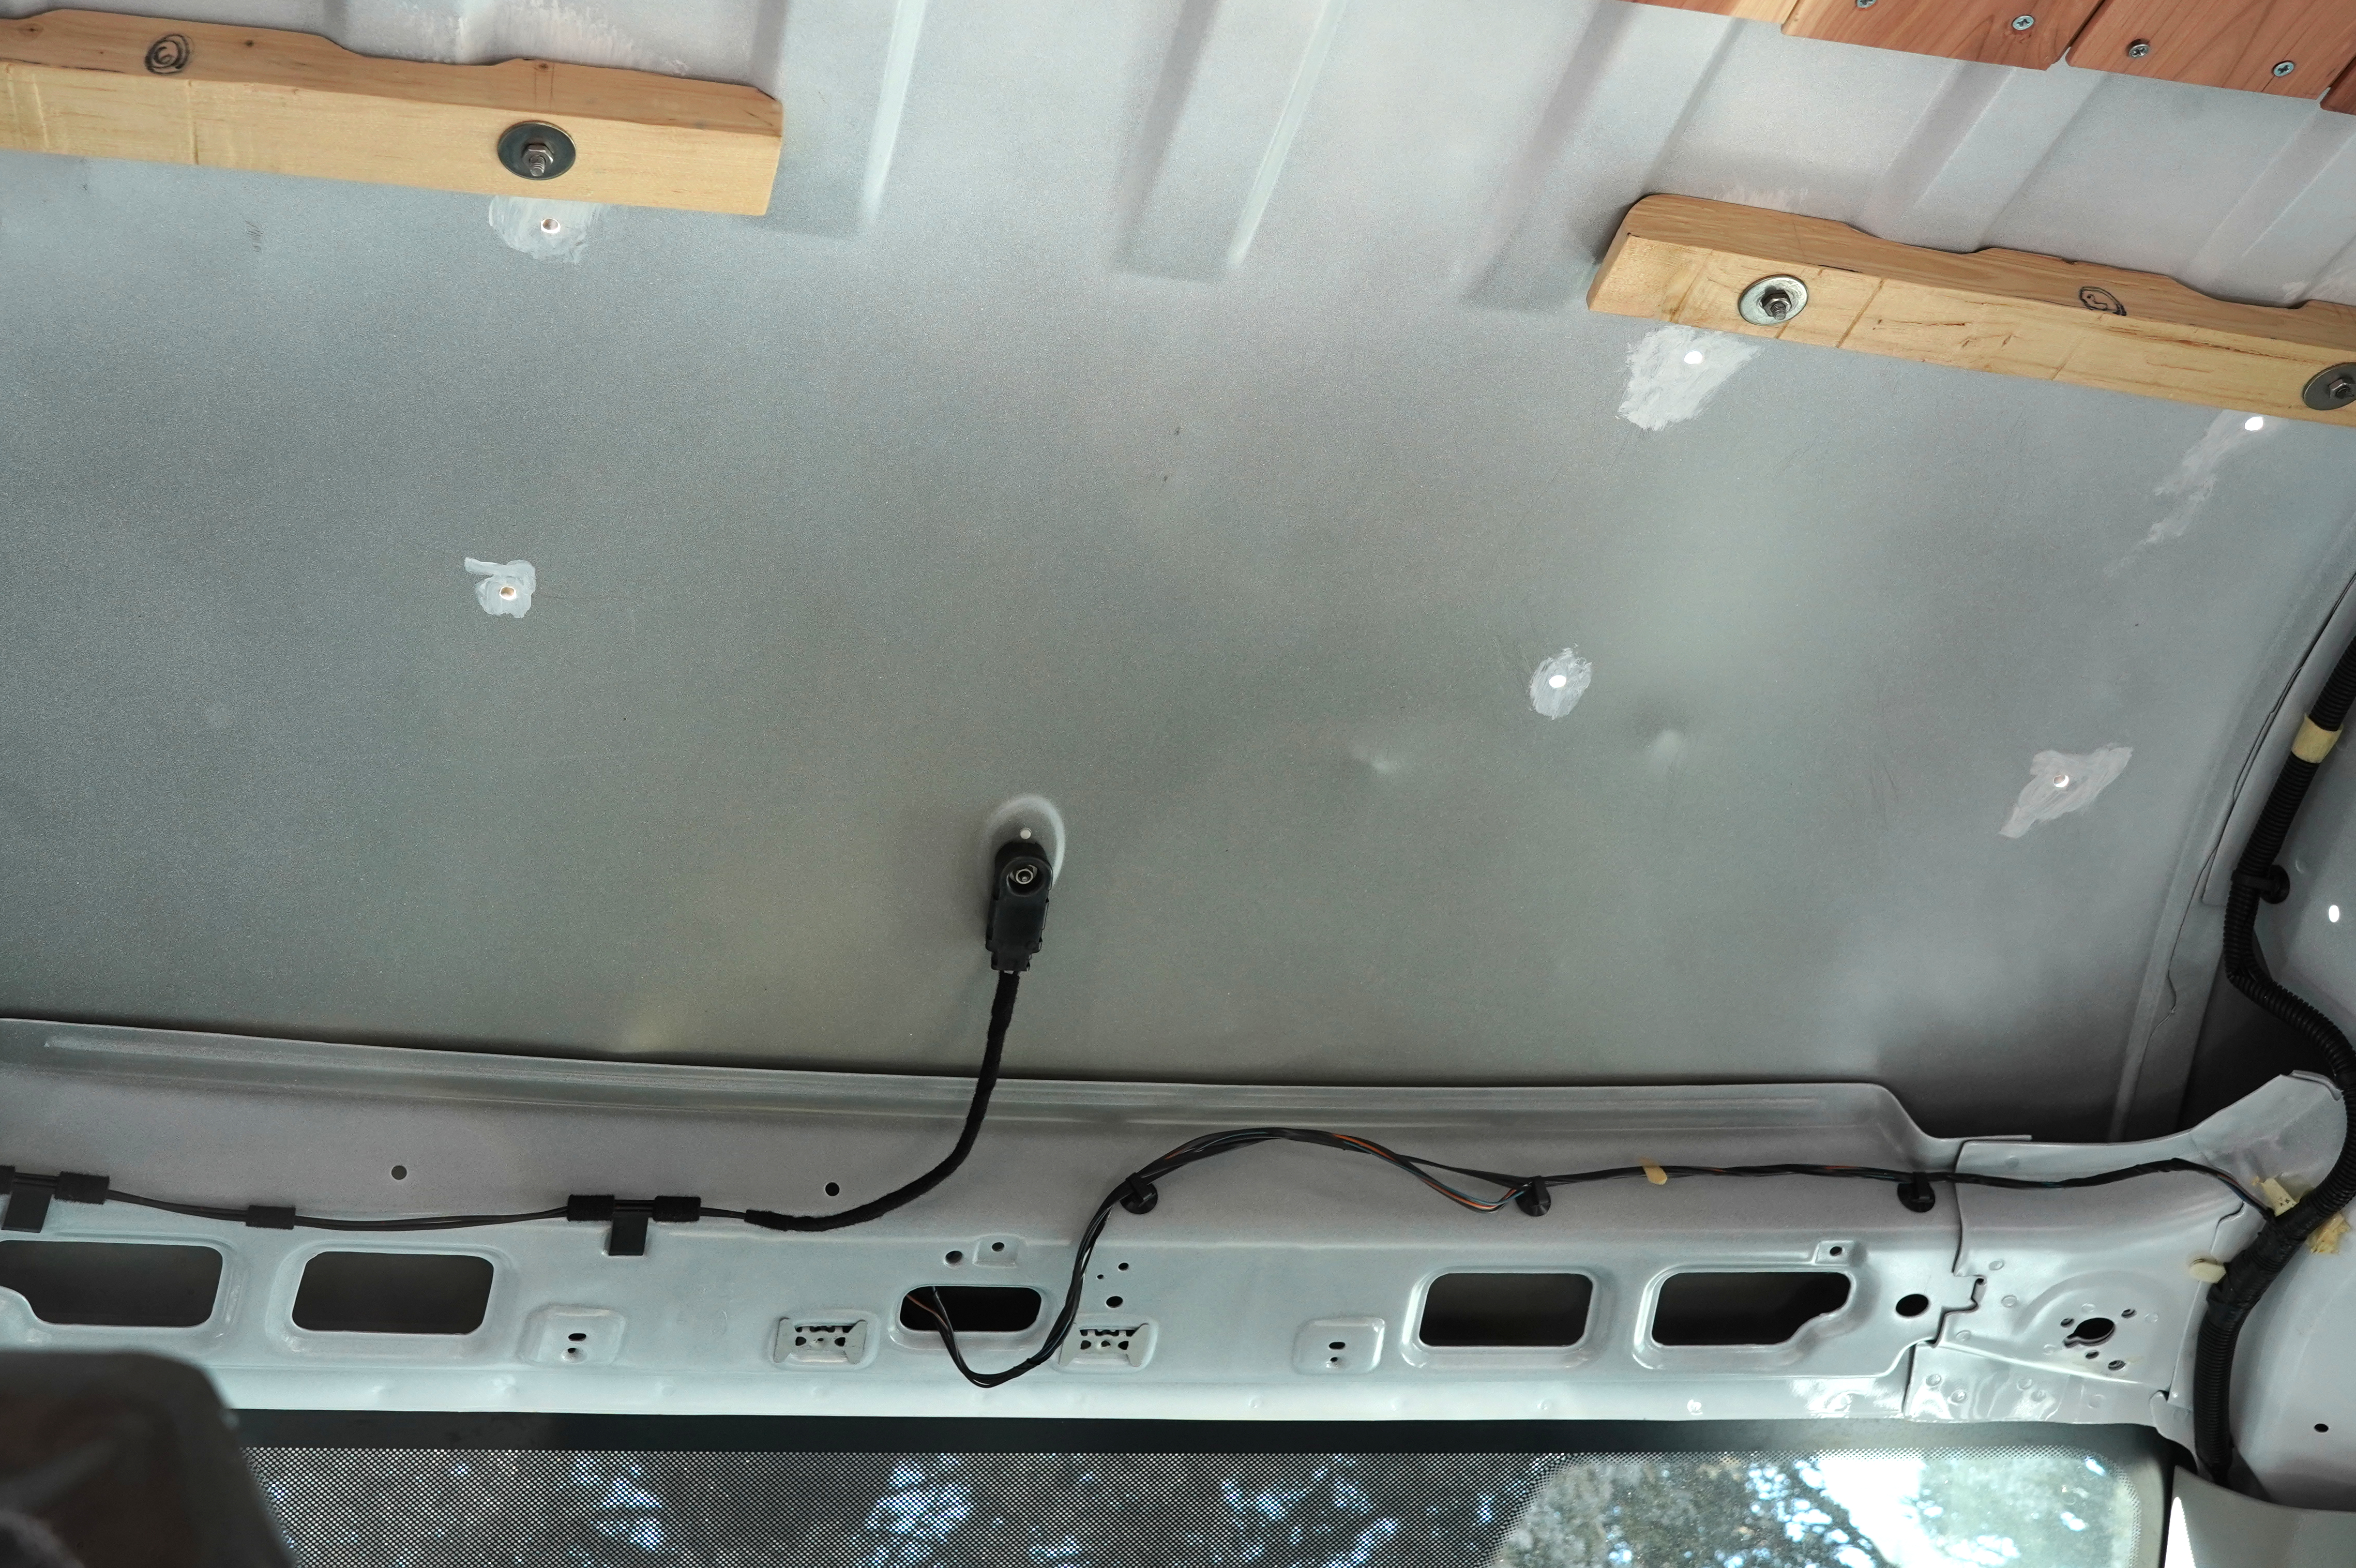
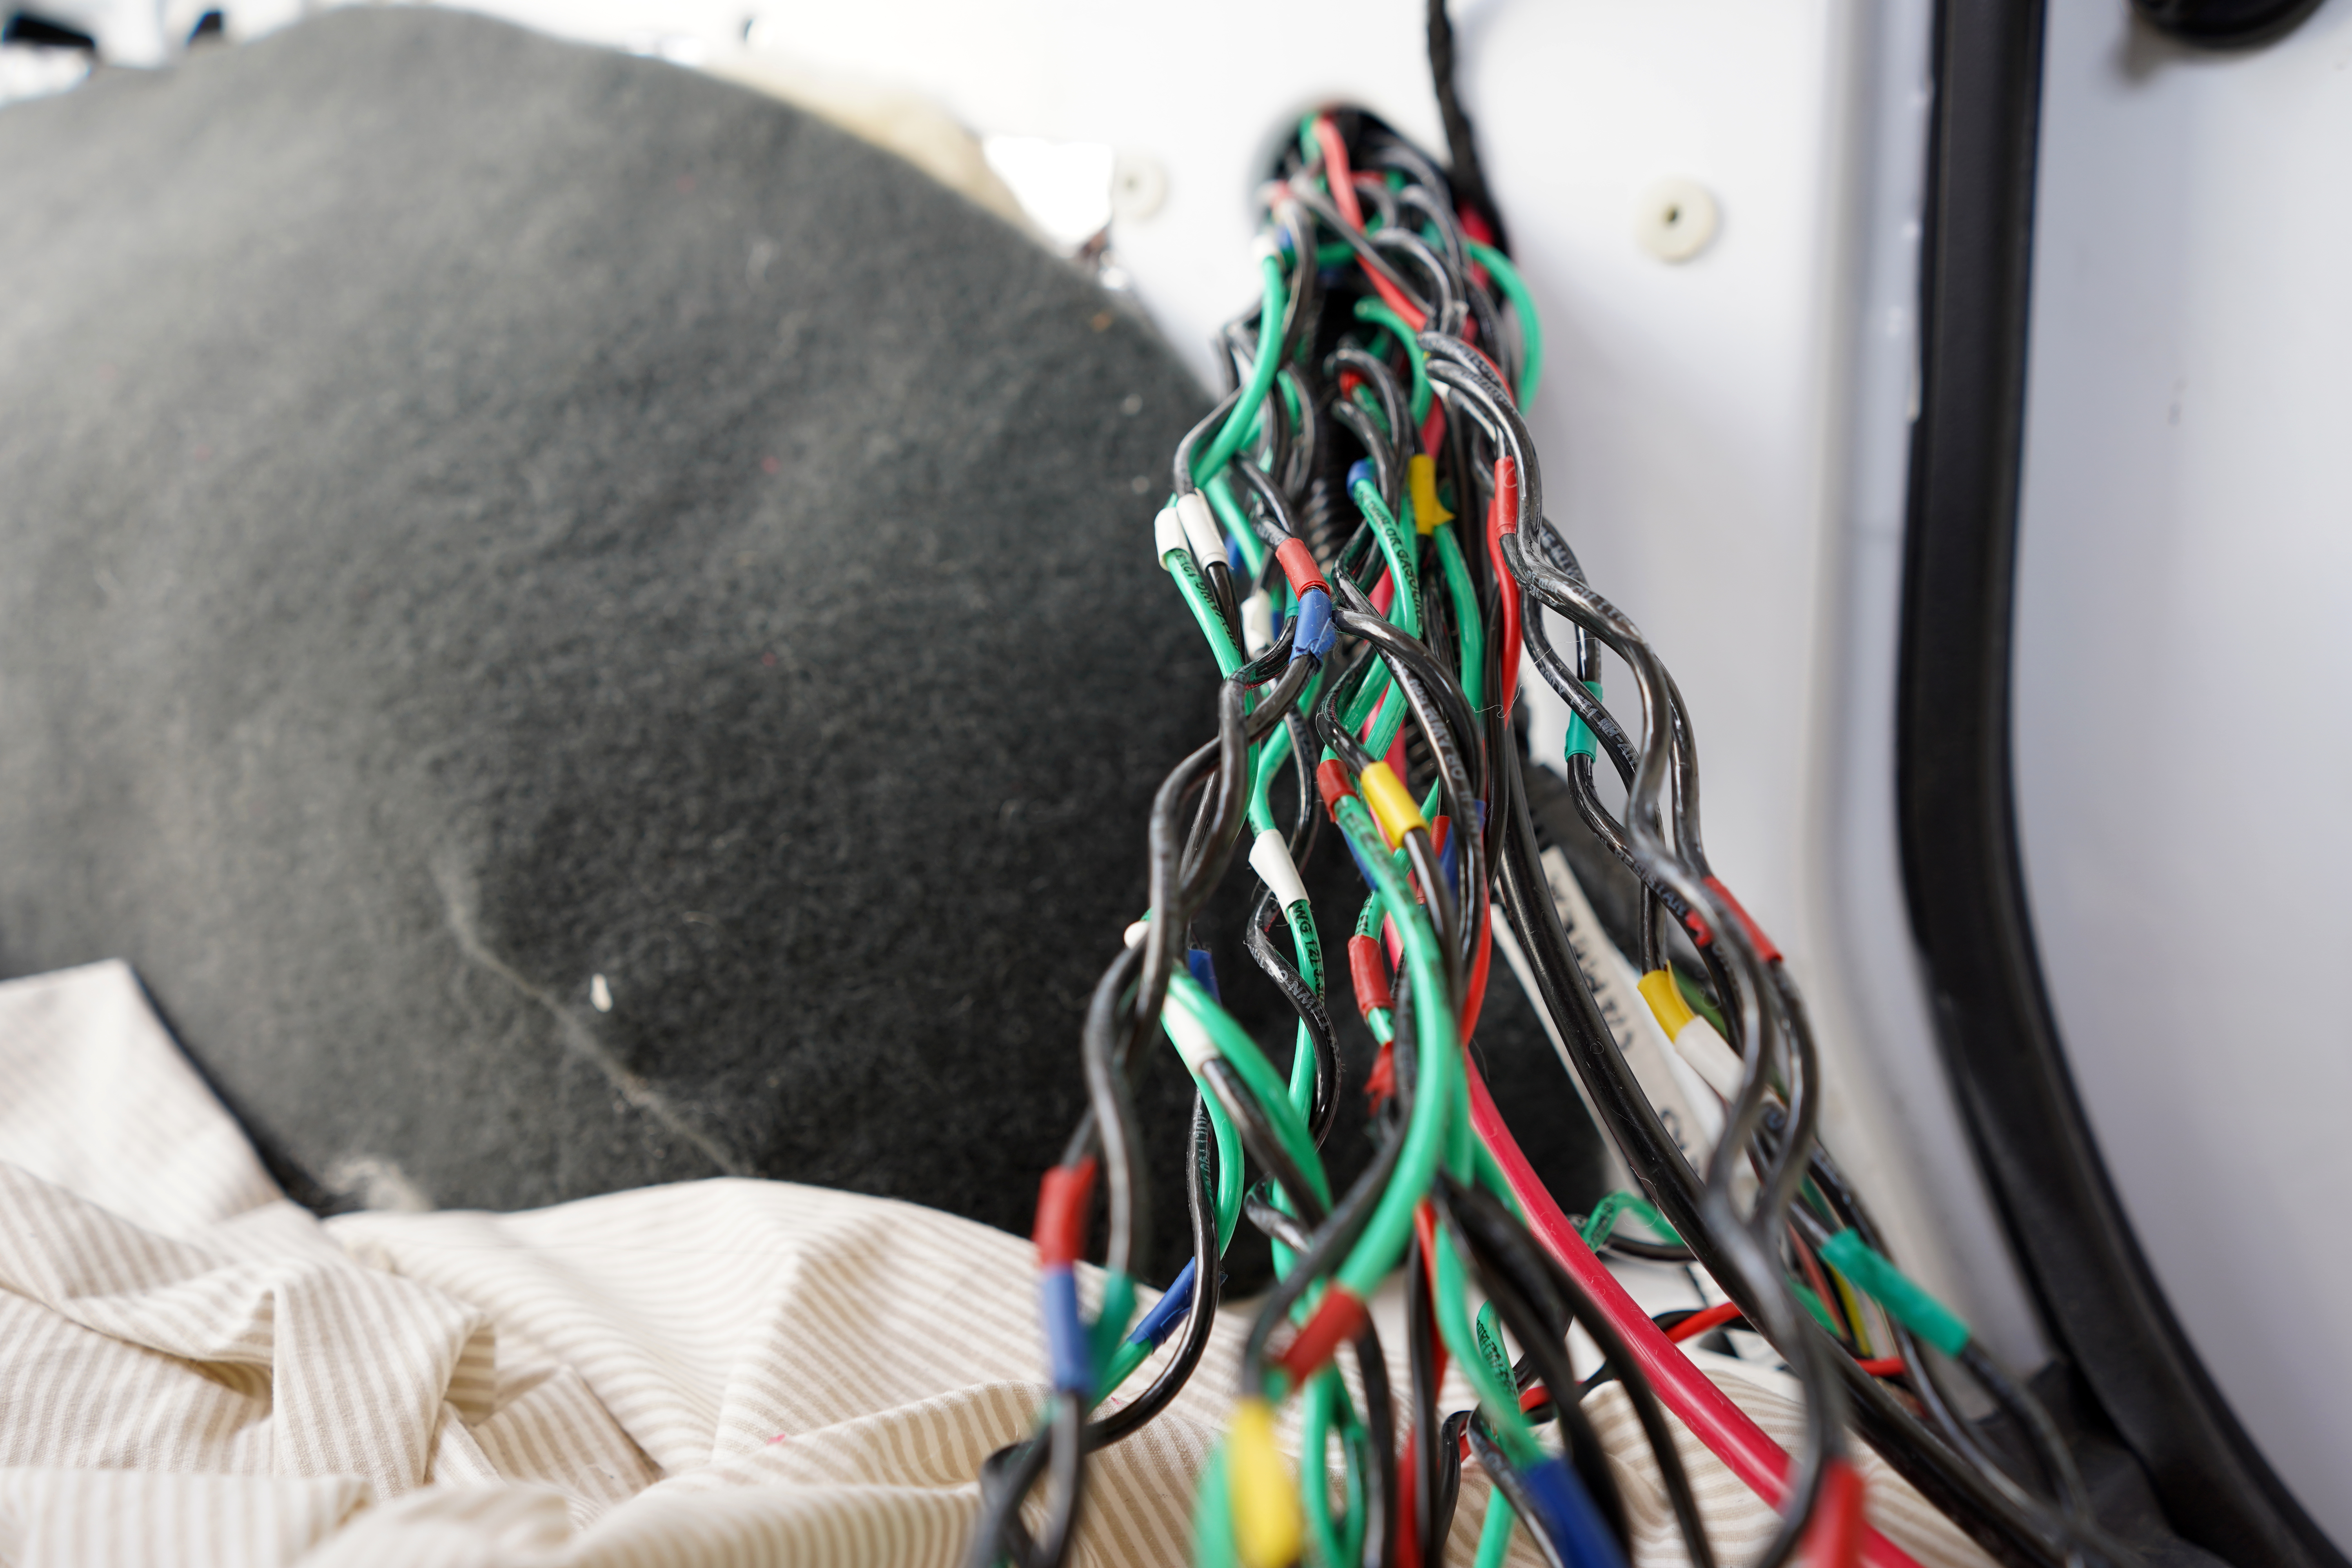
Next, I routed the rest of the van’s electrical wires. For such a small vehicle, this van has the potential to generate a lot of solar power, 200 watts. That should be enough to power three 12-volt outlets (one of them dedicated to the refrigerator), two 120-volt outlets, four USB ports, the roof fan, another fan, an electric water pump, two ceiling-mounted LED lights, and two mood lights. That adds up to 26 wires.
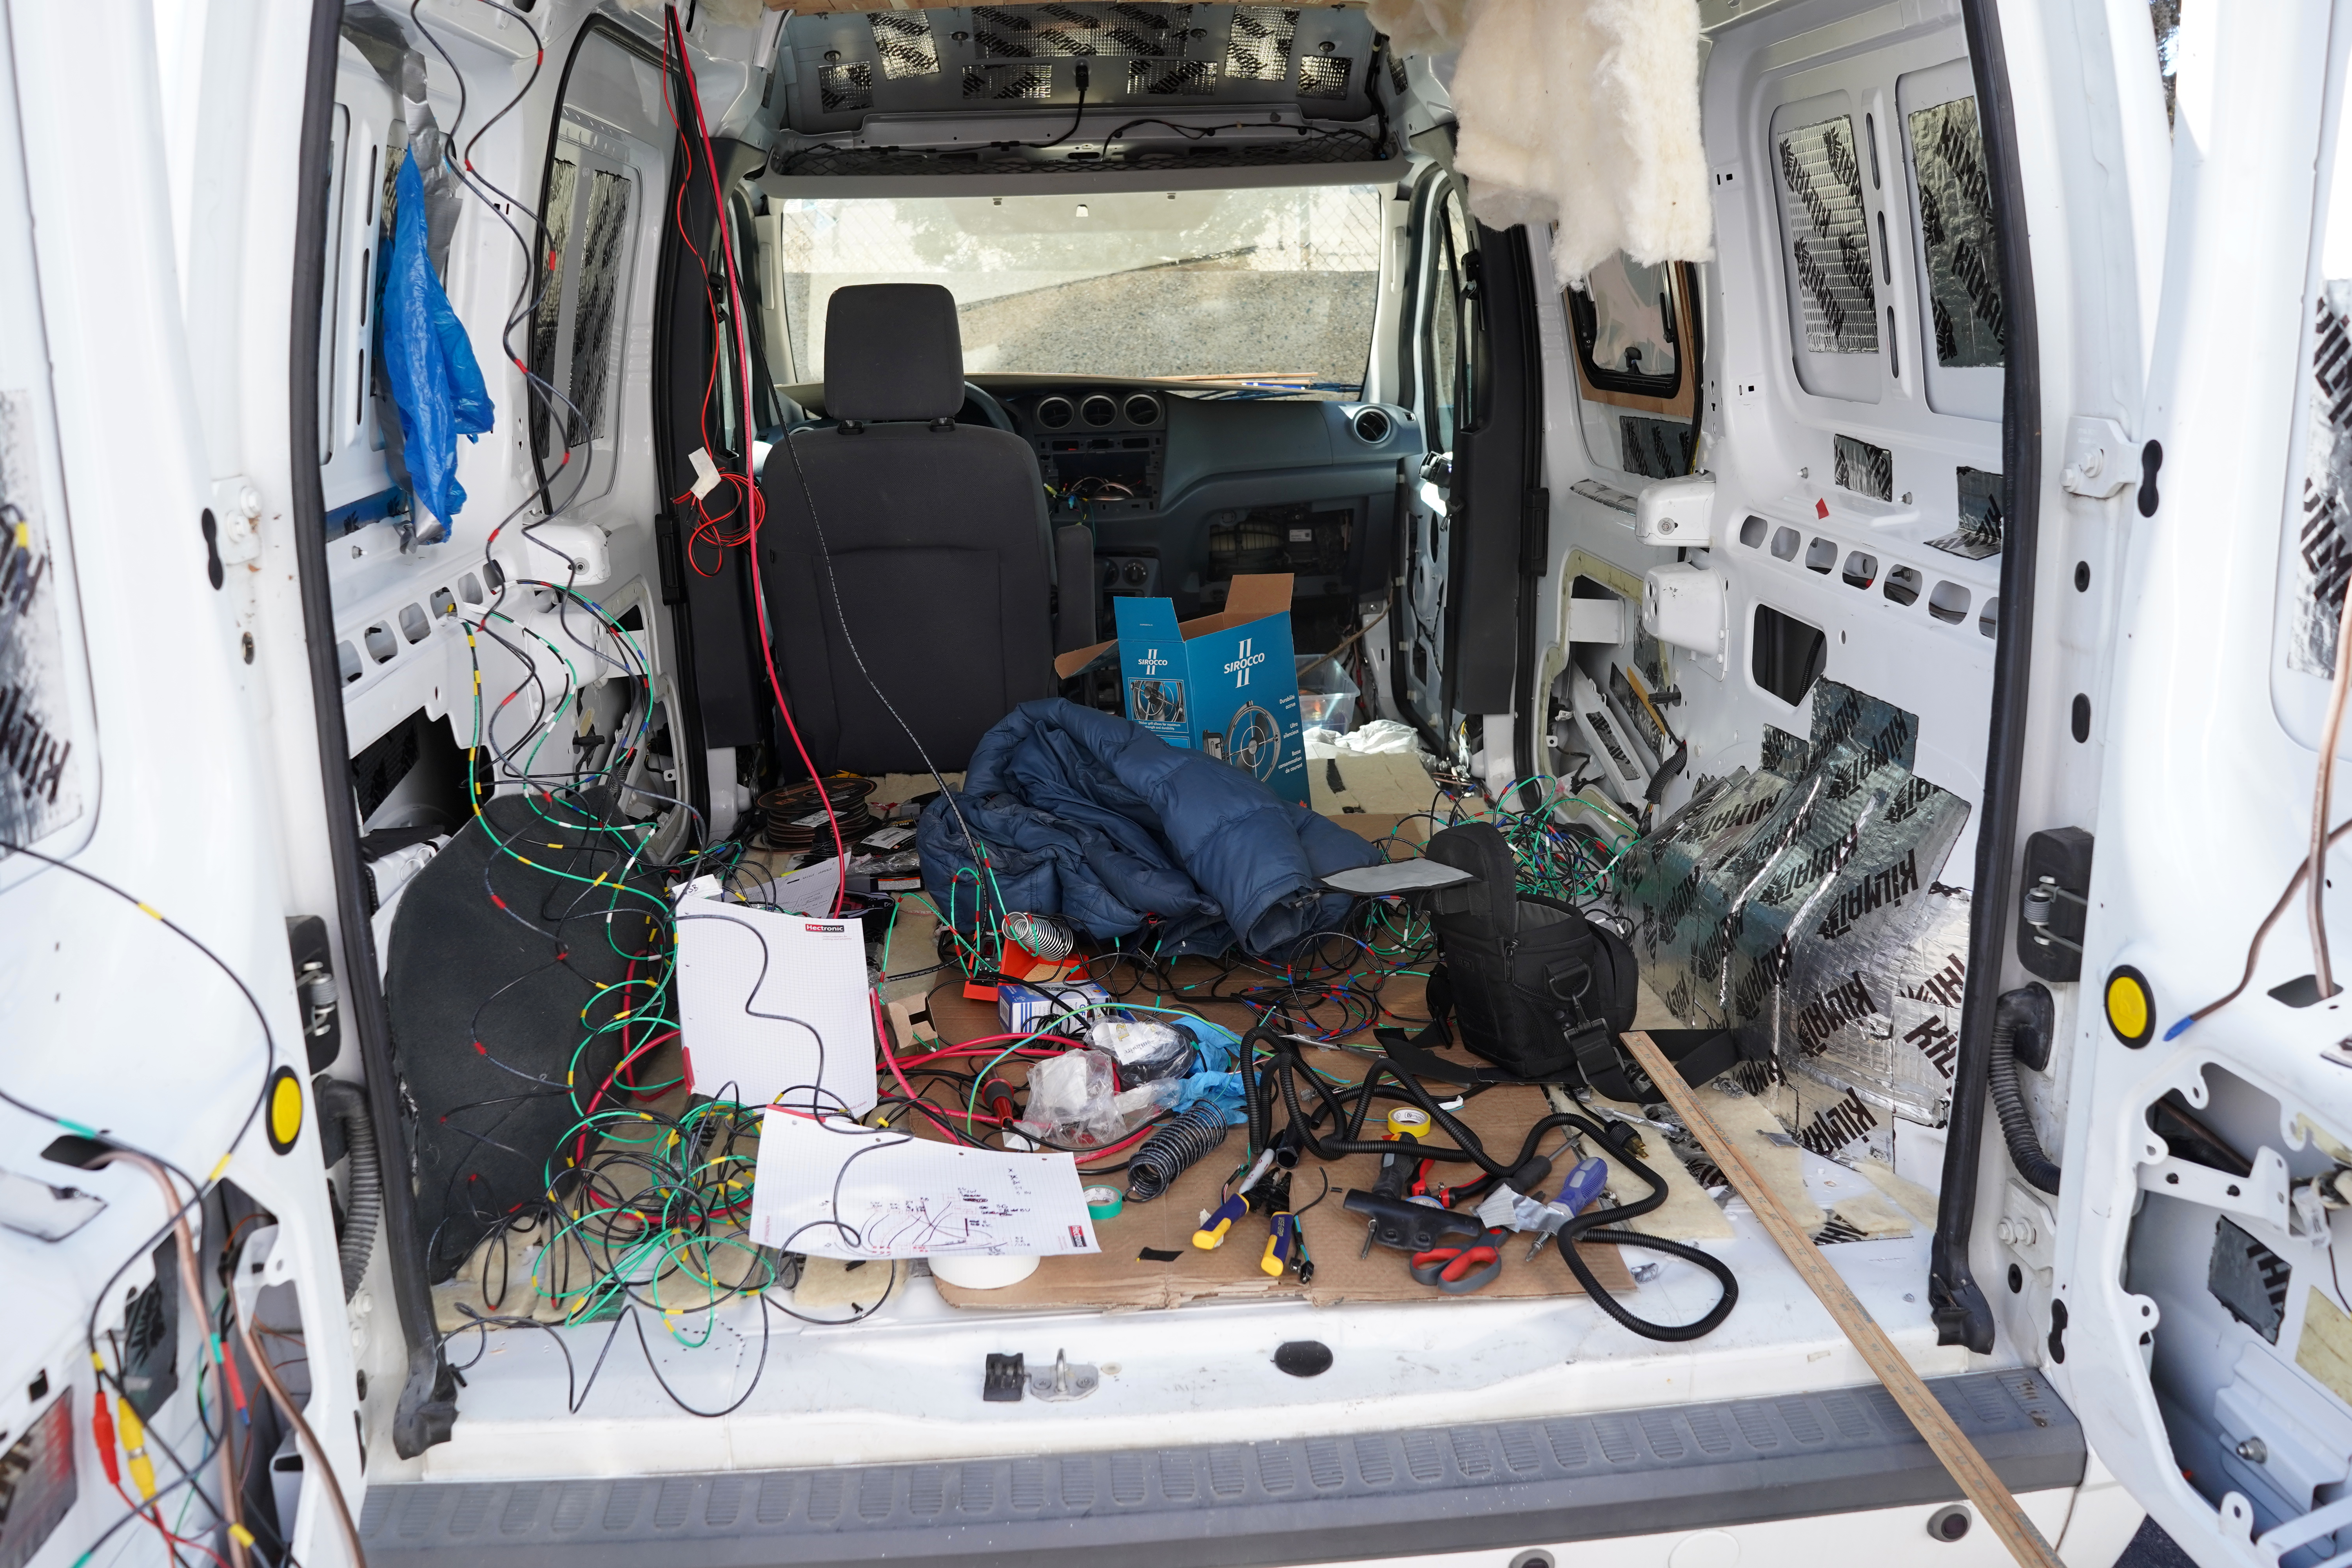

Okay, now I had just one more to-do before I could rip into that very large bag of $170 wool. I added four wooden supports to the doors, bolting them to the van’s metal frame. Two of the supports will eventually hold hooks, and the others will support fold-out tables.
During these last couple months, I began to embrace two truths as I worked on the van. The first truth: Rough drafts are okay. I’ve done a lot of things twice (sometimes even thrice, like in the case of that first cedar plank). The first time I ran the electrical wiring, I sent most of it down through the floor extension and around the area where the sink will eventually sit. Then, worrying about moisture, I redid all the wiring, sending all of it through the walls and ceiling. I had a similar change of heart when making the floor. At first, I did what a lot of van builders do—made a subfloor out of really thin plywood (1/4″) and covered it with vinyl planks. But I hated the look of the vinyl planks, just couldn’t stand how their faux wood design competed with my wooden ceiling’s real wood grain. Plus, I worried about moisture getting trapped between the vinyl and the plywood. So I took everything out and remade the floor with 1/2″ plywood, no vinyl.
I’m beginning to approach my van projects with the same philosophy as my writing projects: Everything should be redone at least once. Rough drafts help get bad ideas out of the way, making me more likely to say what I actually want to say. Earlier today, I wrote another version of this post, again with the llama as the opener, except this time I talked about how the llama’s eating reminded me of Mike glumly chewing a chunk of black licorice at lunch while I howled at him until he agreed to stop. I wrote it all down, and then paused to ask myself—was this really where I wanted this van update to go, misophonia?
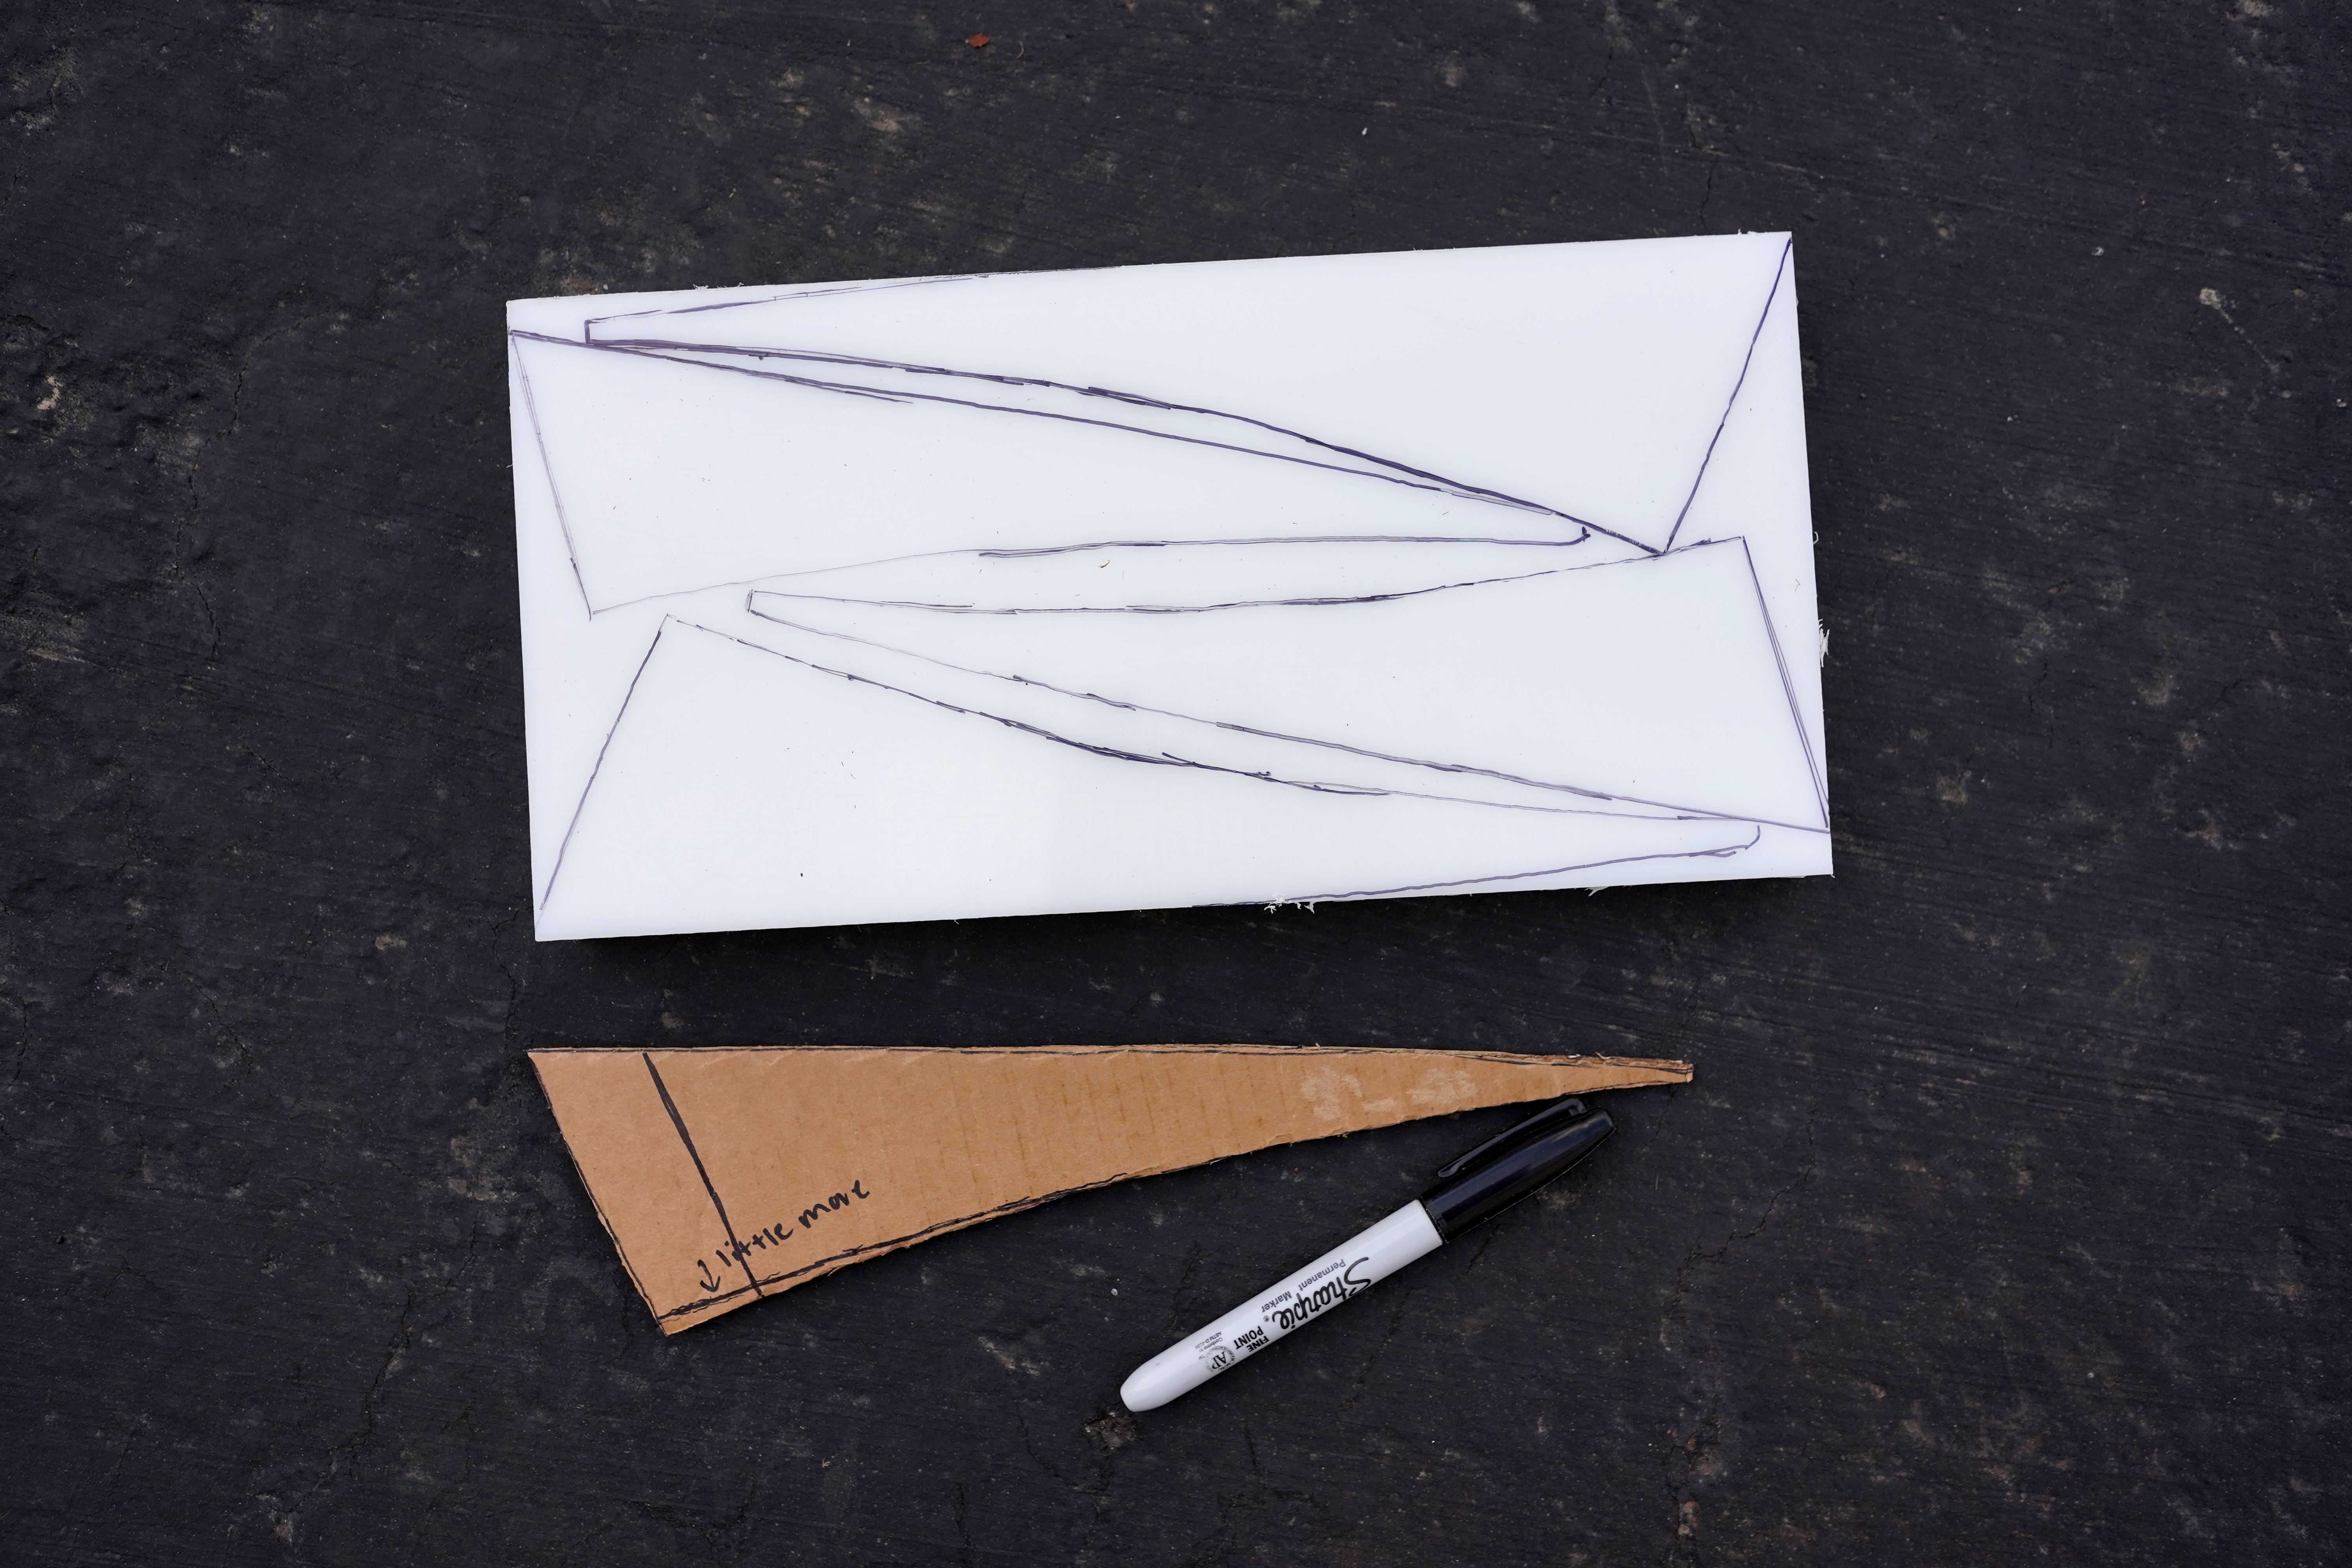
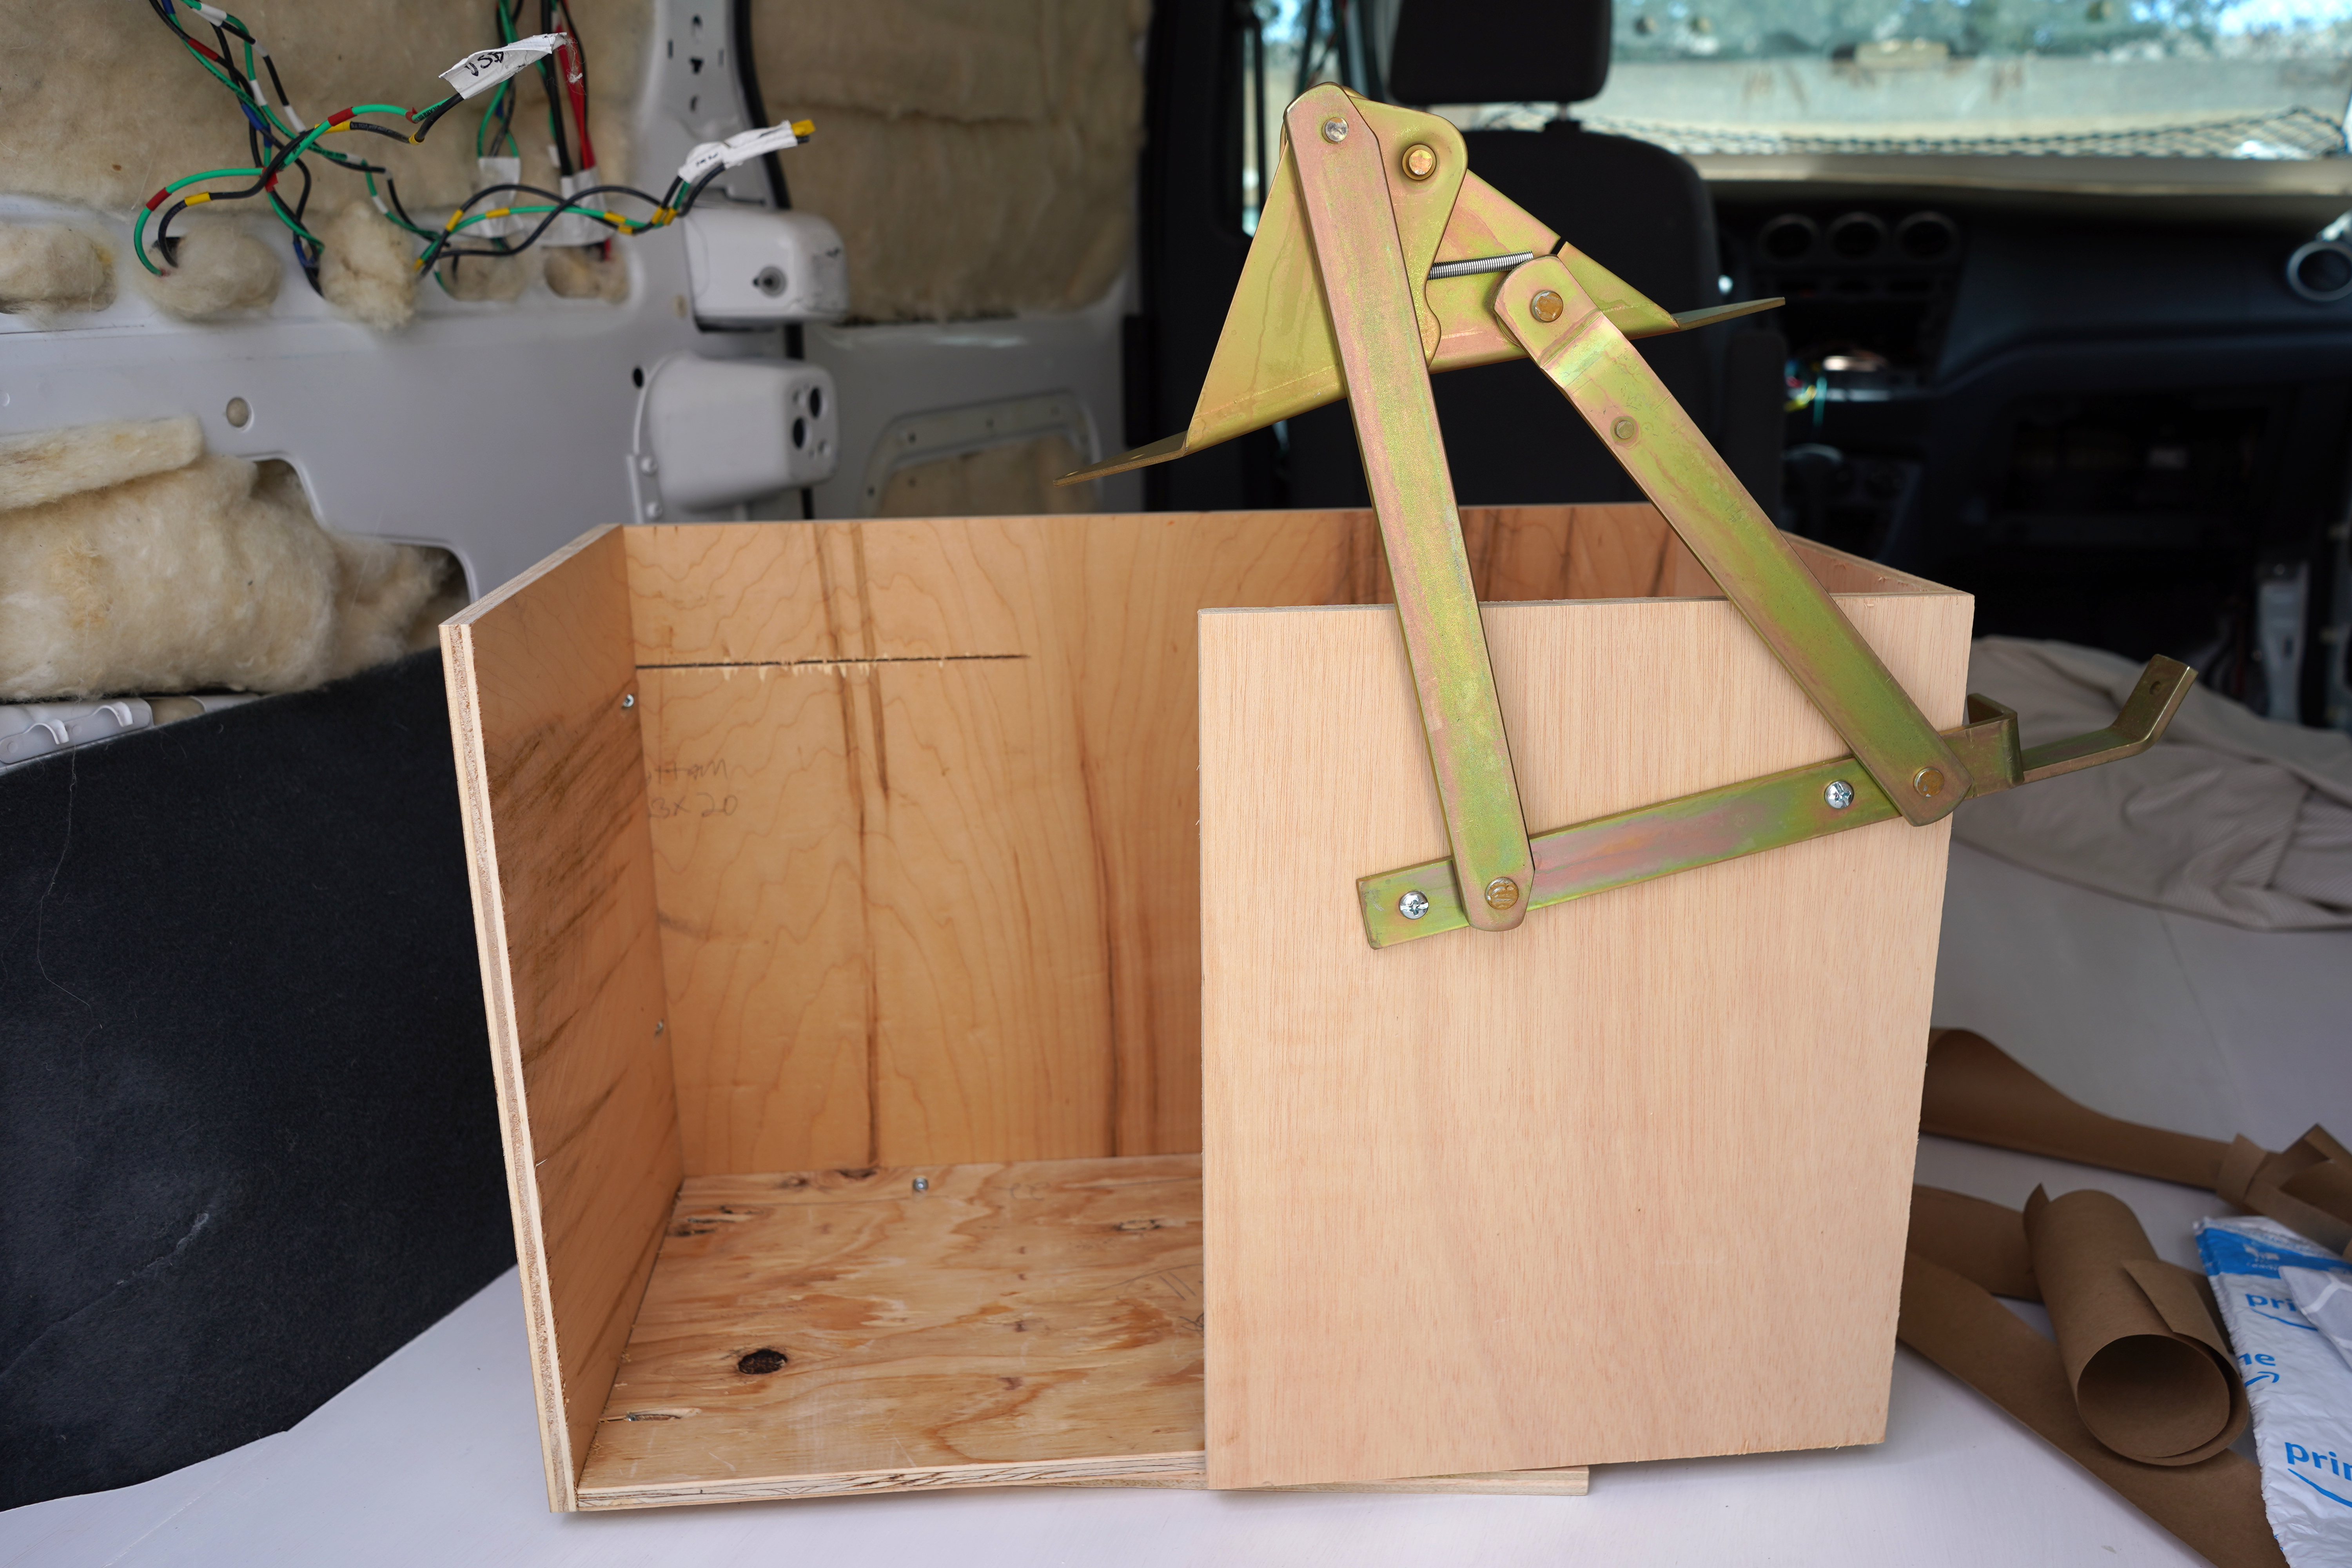
Another truth I’m learning to accept is that I’m not a person who does things one at a time. I thought I was, but all evidence points elsewhere. Currently, I’m working on constructing the van’s rear awning, the mosquito netting, the sunshades, the bed, and the plumbing. I’m learning how to laser cut, vinyl cut, make finger joints, make half-lap joints, sew zippers and cording. Nothing is finished, not even the things I wrote about above: the floor still needs to be wallpapered and brushed with five coats of polyurethane; some of the screws in the ceiling are still loose (evident in the photos if you look closely); the ceiling needs trim too; one section of one of the cargo doors is missing wool, which I will make right as soon as I fix a broken wiring harness in that door (the previous owner seems to have illegally cut off the wires that lead to the lights that illuminate the license plate, presumably to better escape the police; remember, I bought this van in Texas). Because I’m doing it all at once, it feels like I’m doing a lot. But also, because nothing is really finished, it feels like I’m doing nothing at all.
Doing everything simultaneously yet accomplishing nothing—yes, I’m well acquainted with this phenomenon. In my writing program, some of my professors occasionally started class with a timed warmup. Write in response to a prompt for 15 minutes and then share aloud with the class. Don’t worry if you don’t finish, just read what you do have. My problem is that I don’t write in sentences; the sentences form only after I’ve figured out exactly what I want to say for the entirety of the piece. I’d begin the warmups by writing down my ideas as a long list of words. Then I’d circle back to the beginning of the list, adding descriptors, then back again, adding more details, but still no full sentences, not one part of the essay completely done. The professor would call time, and I’d invariably have to race to conform the list of words to human speech pattern. That’s how I feel now, sharing these photos of my many unfinished projects with you: I’m standing up in front of the class, reading aloud whatever draft of this post you happen to have caught. “Llama alone, nice hair balls in sun.”
(Really, I rarely read aloud in grad school. I learned to avoid it by feigning crippling shyness.)
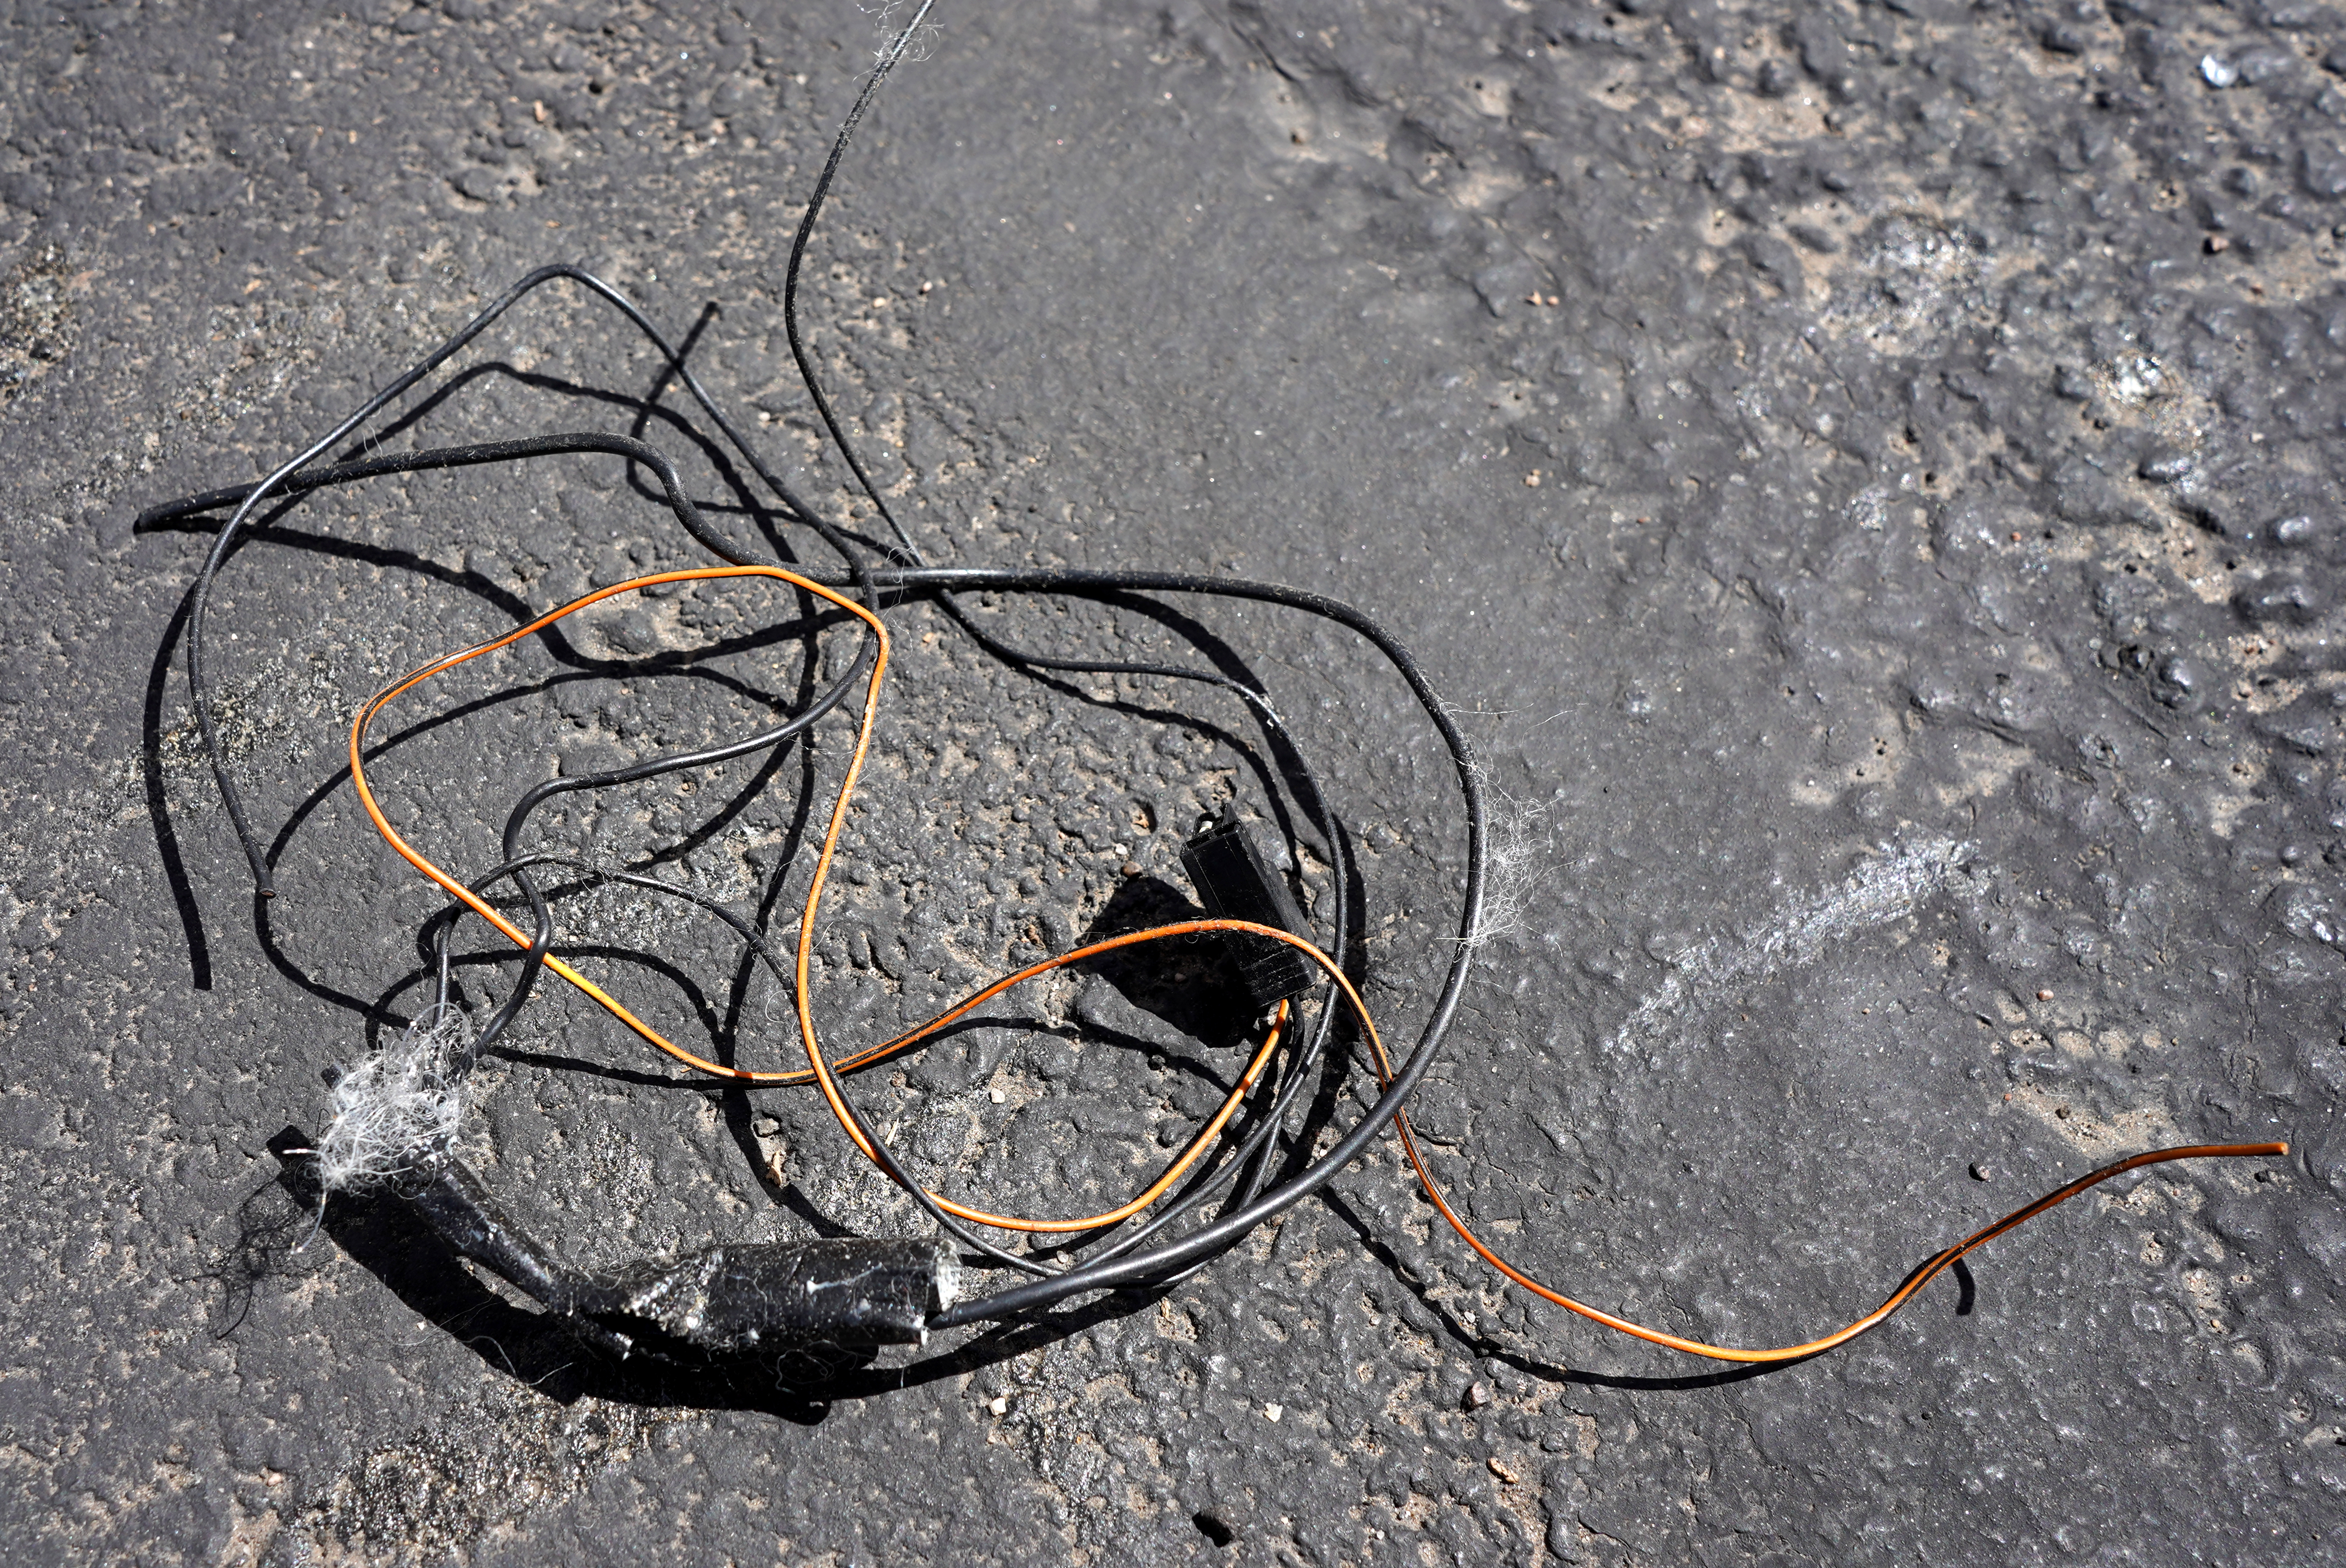
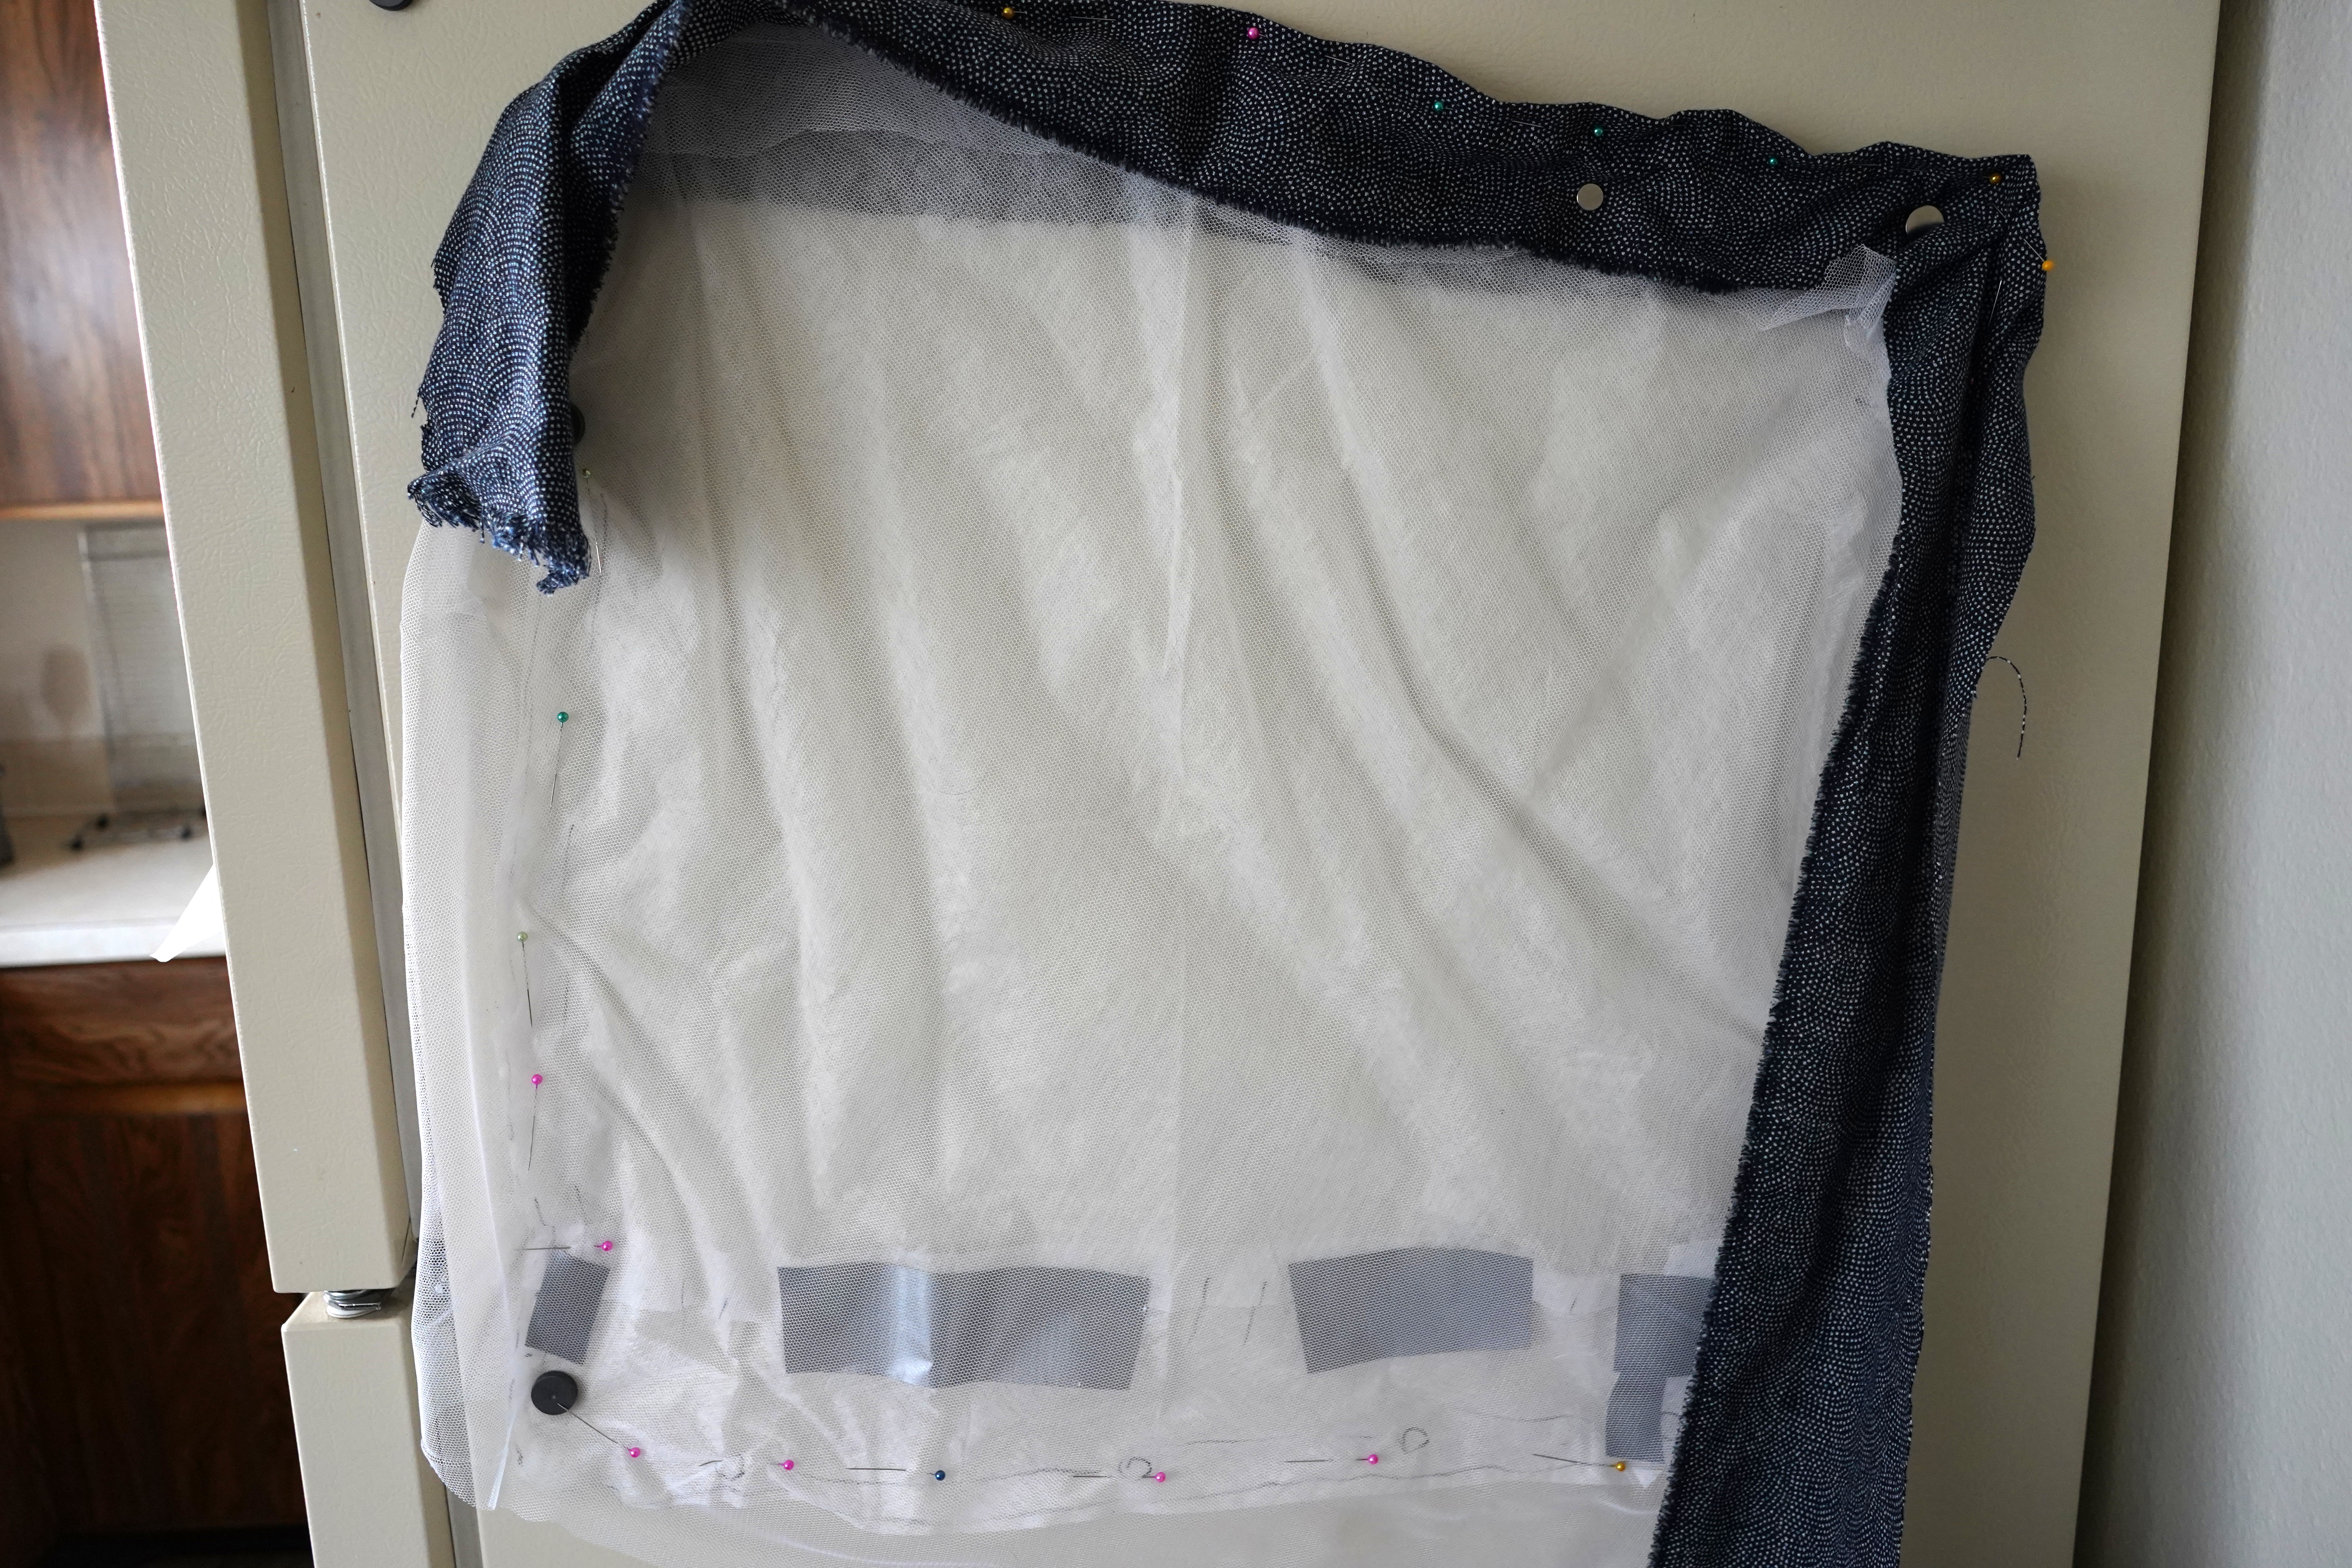
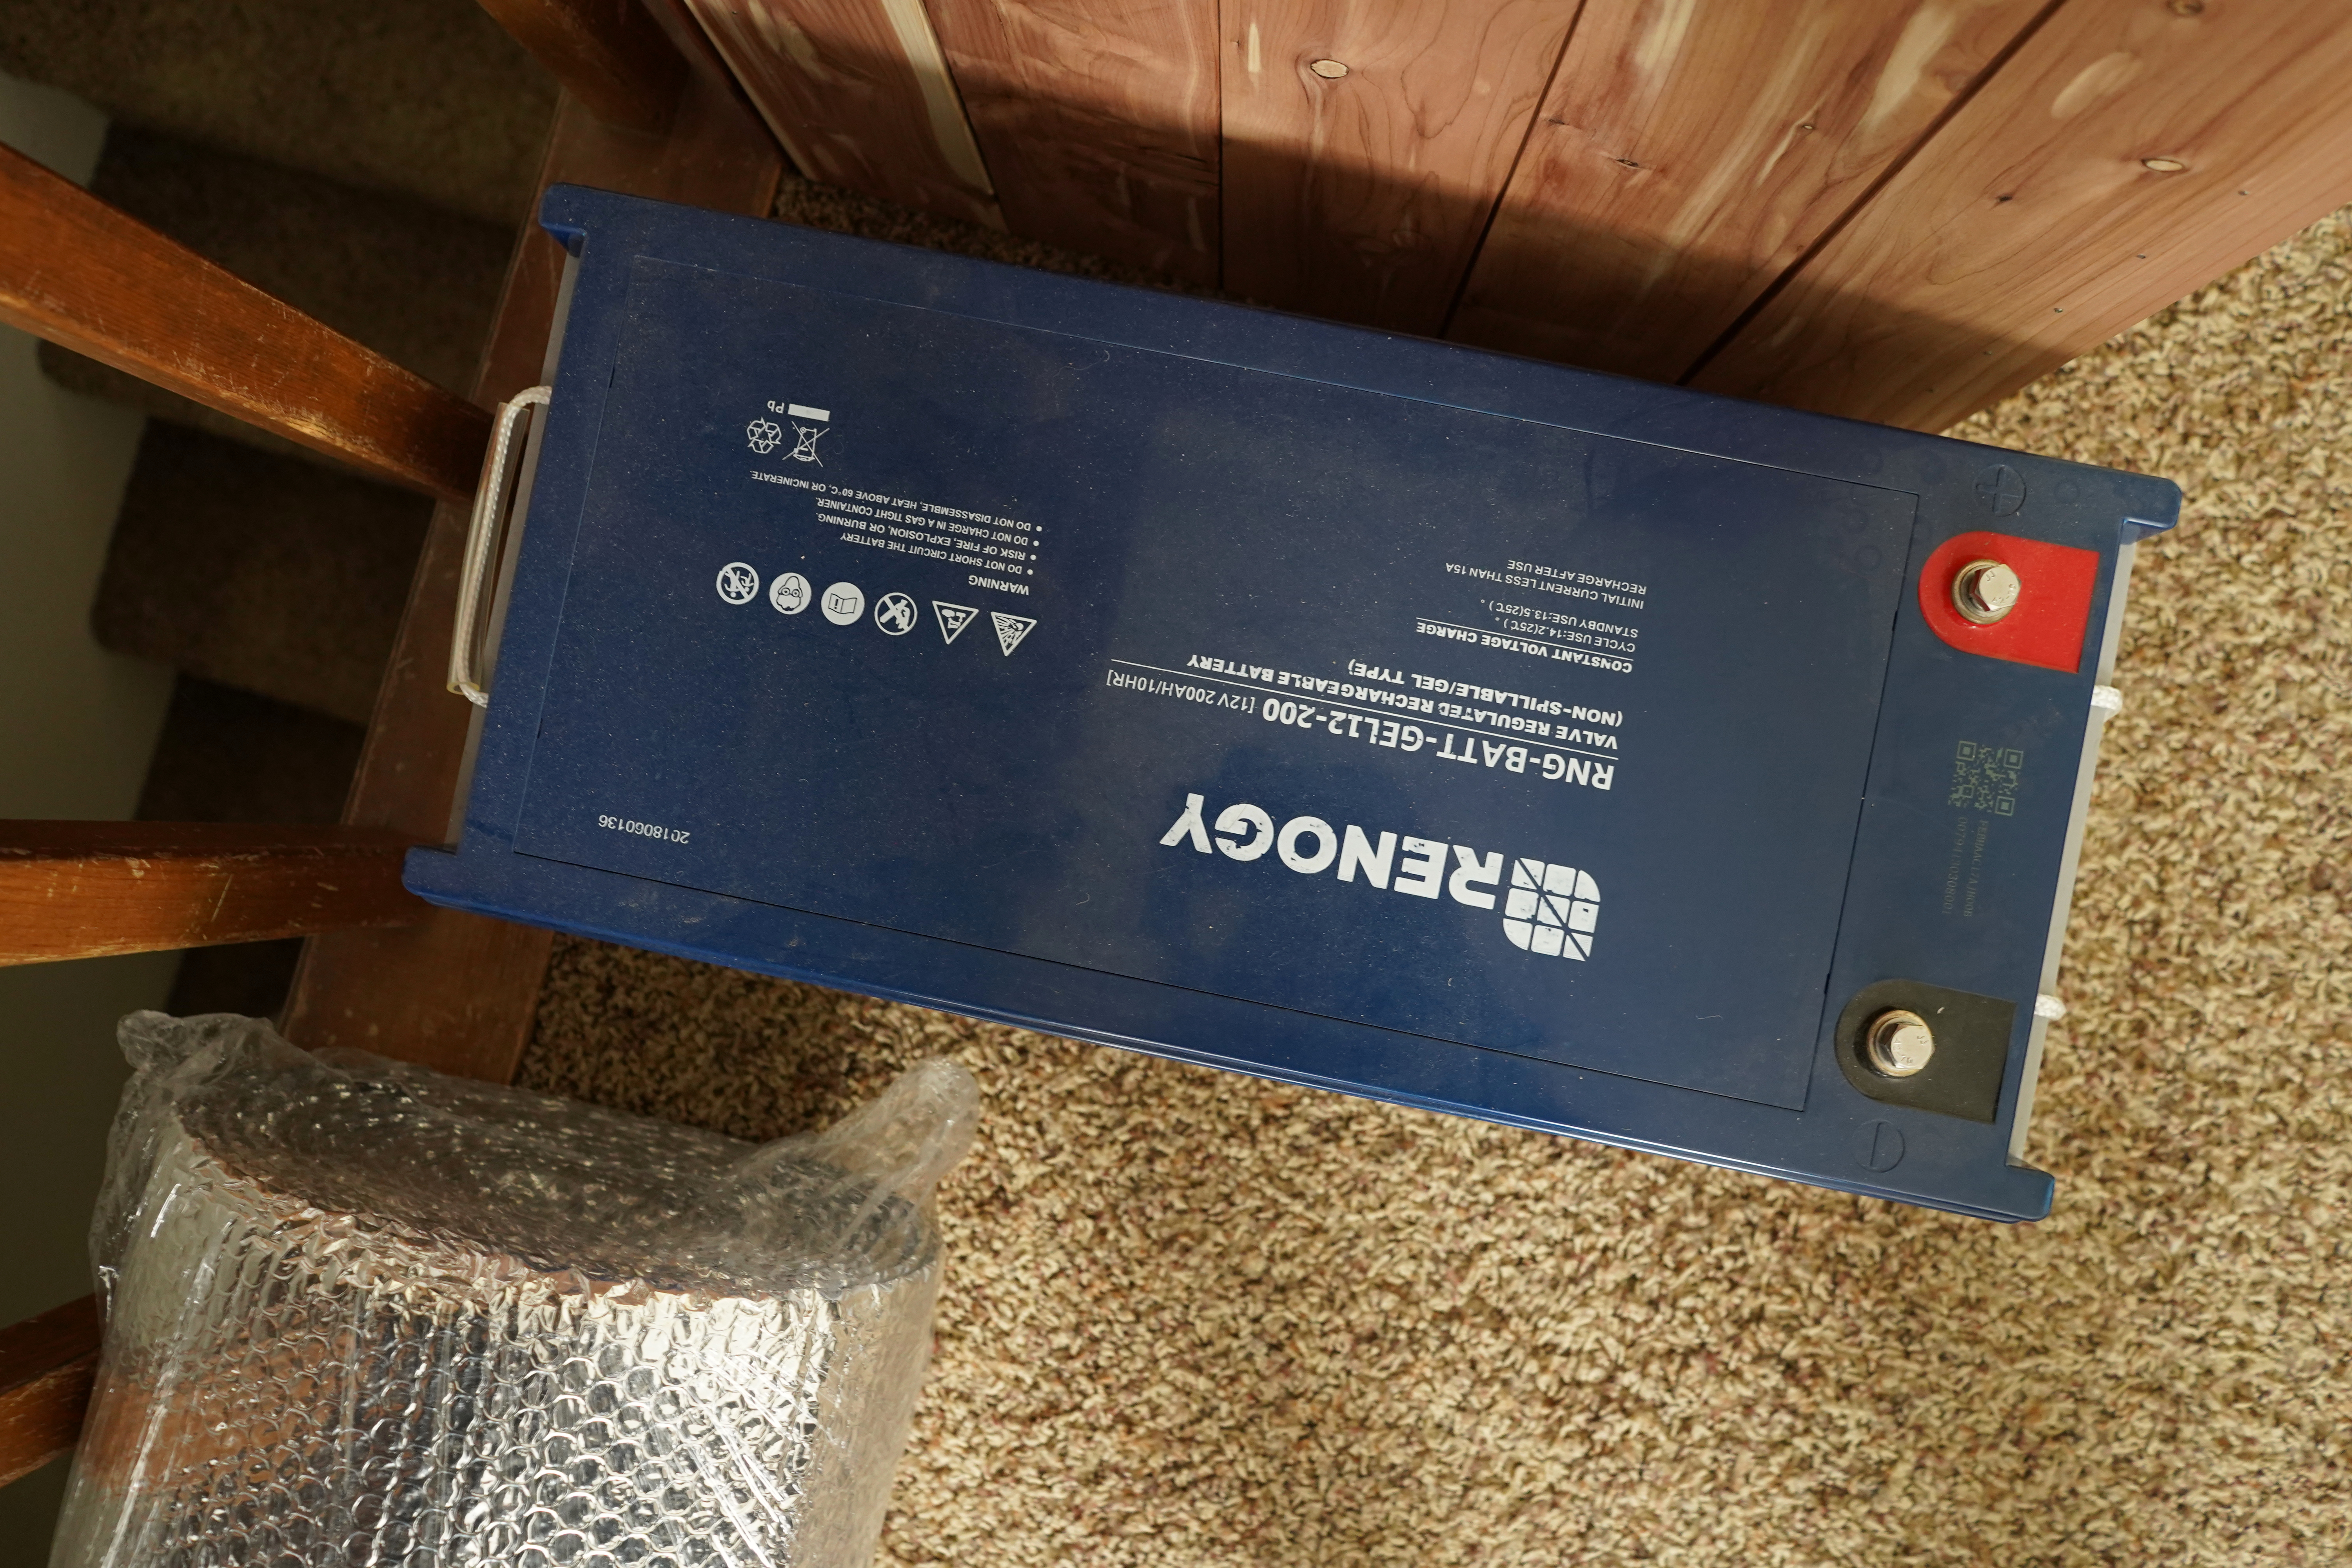

Above: rear awning prototype, bed hinge prototype, cut wiring harness for license plate lights, unfinished custom mosquito netting, solar battery, plumbing supplies
Dang, Corey has had tendonitis for a while now because of editing at the computer so much. I hope yours goes away fast!
Thanks, I’m happy to say that mine is almost gone now. Computer-induced tendonitis seems like the worst … hard to get rid of without giving up computing for a while, which I’m sure isn’t an option for Corey.
I want to use your wiring ideas for my 2010 TC solar
Thanks, I’m hoping to lug the solar battery in there any day now.