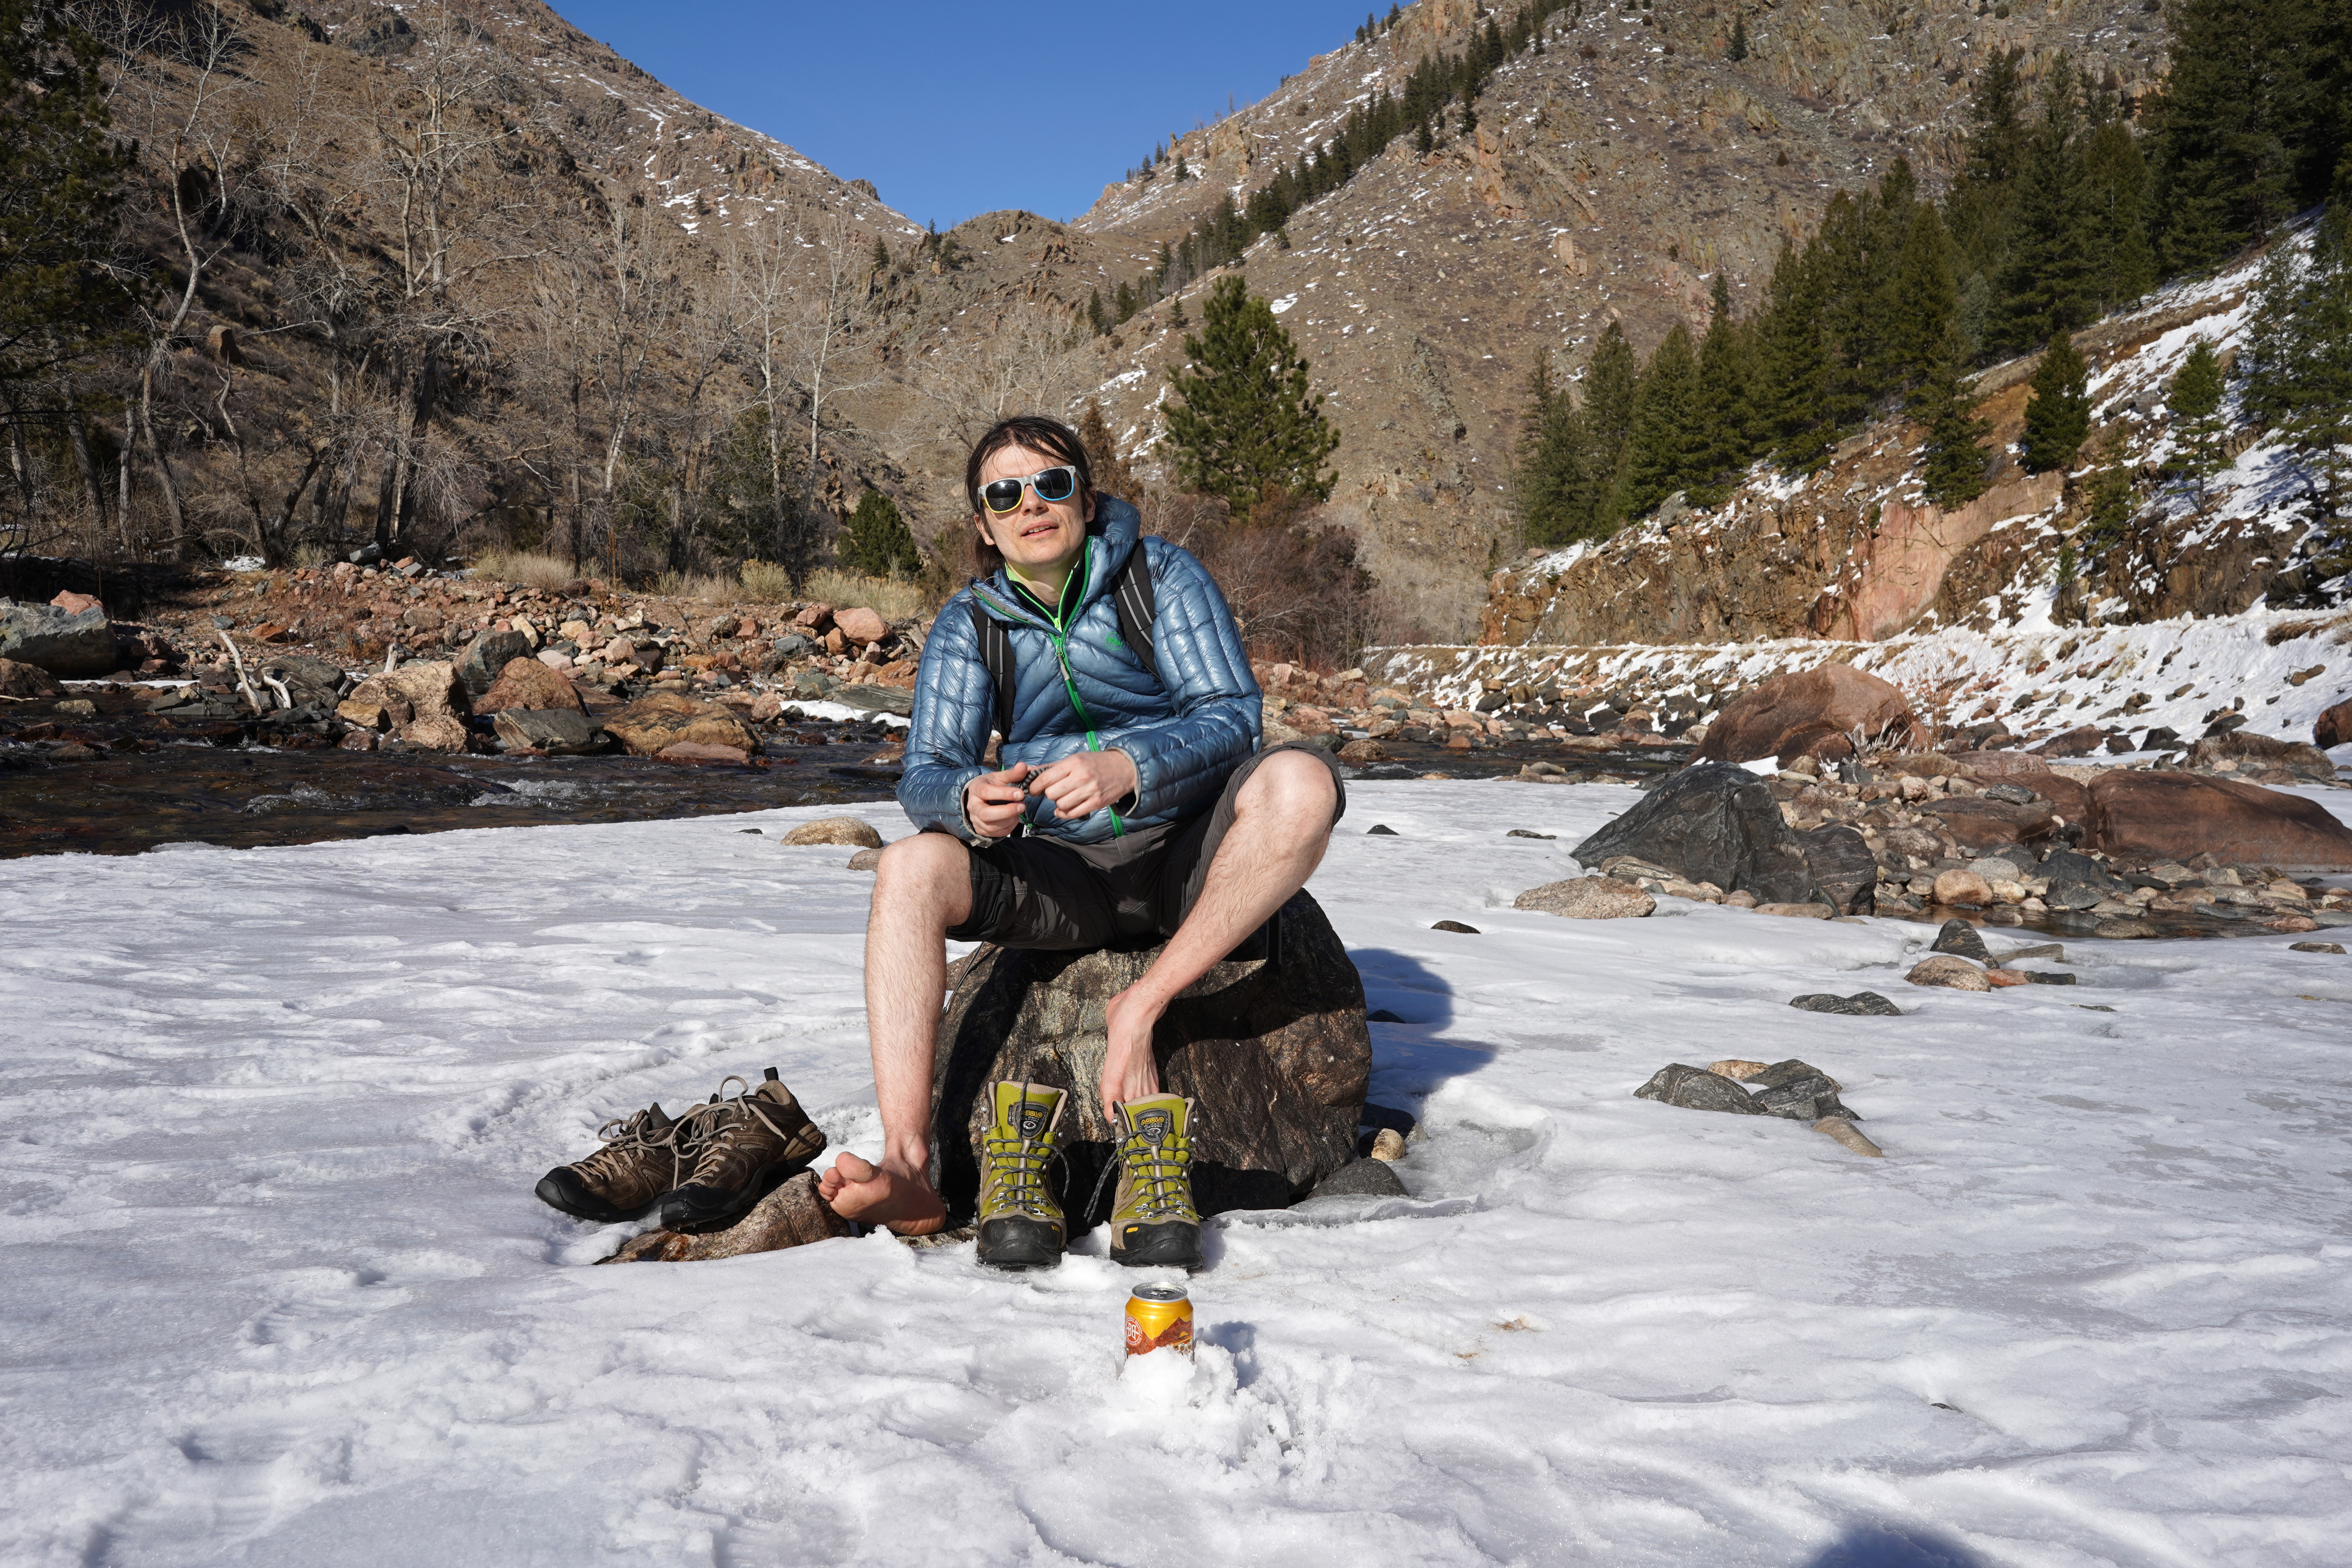
Summer in Colorado. Mostly sunny or sunny every day. The sun’s intensity amplified by our high altitude’s thin atmosphere. I hear this is some people’s idyll, but it’s certainly not mine. Give me an icy river to forge, numb toes, beer cooling in snow. Right now, I’d even take the spring hailstorm I encountered in a supermarket parking lot last year, the floodwater rising up my car door, my recently purchased frozen peas melting in the backseat. At least that was exciting. But this—my scaley, reptilian lips, my one red shin, my beheaded aloe vera plant—these are just garden-variety consequences of careless sunblock application, my lips worsened by my bad habit of licking them in direct sun. If my van were ready, I’d leave this Colorado summer in a second.
Inspired by my hatred of summer, I’ve been working on three sewing projects, each aimed at escaping summer in a van as best as I can, and each capable of being completed mostly indoors, where I’ve covered 5 of our 8 apartment windows with reflective insulation (à la Better Call Saul).
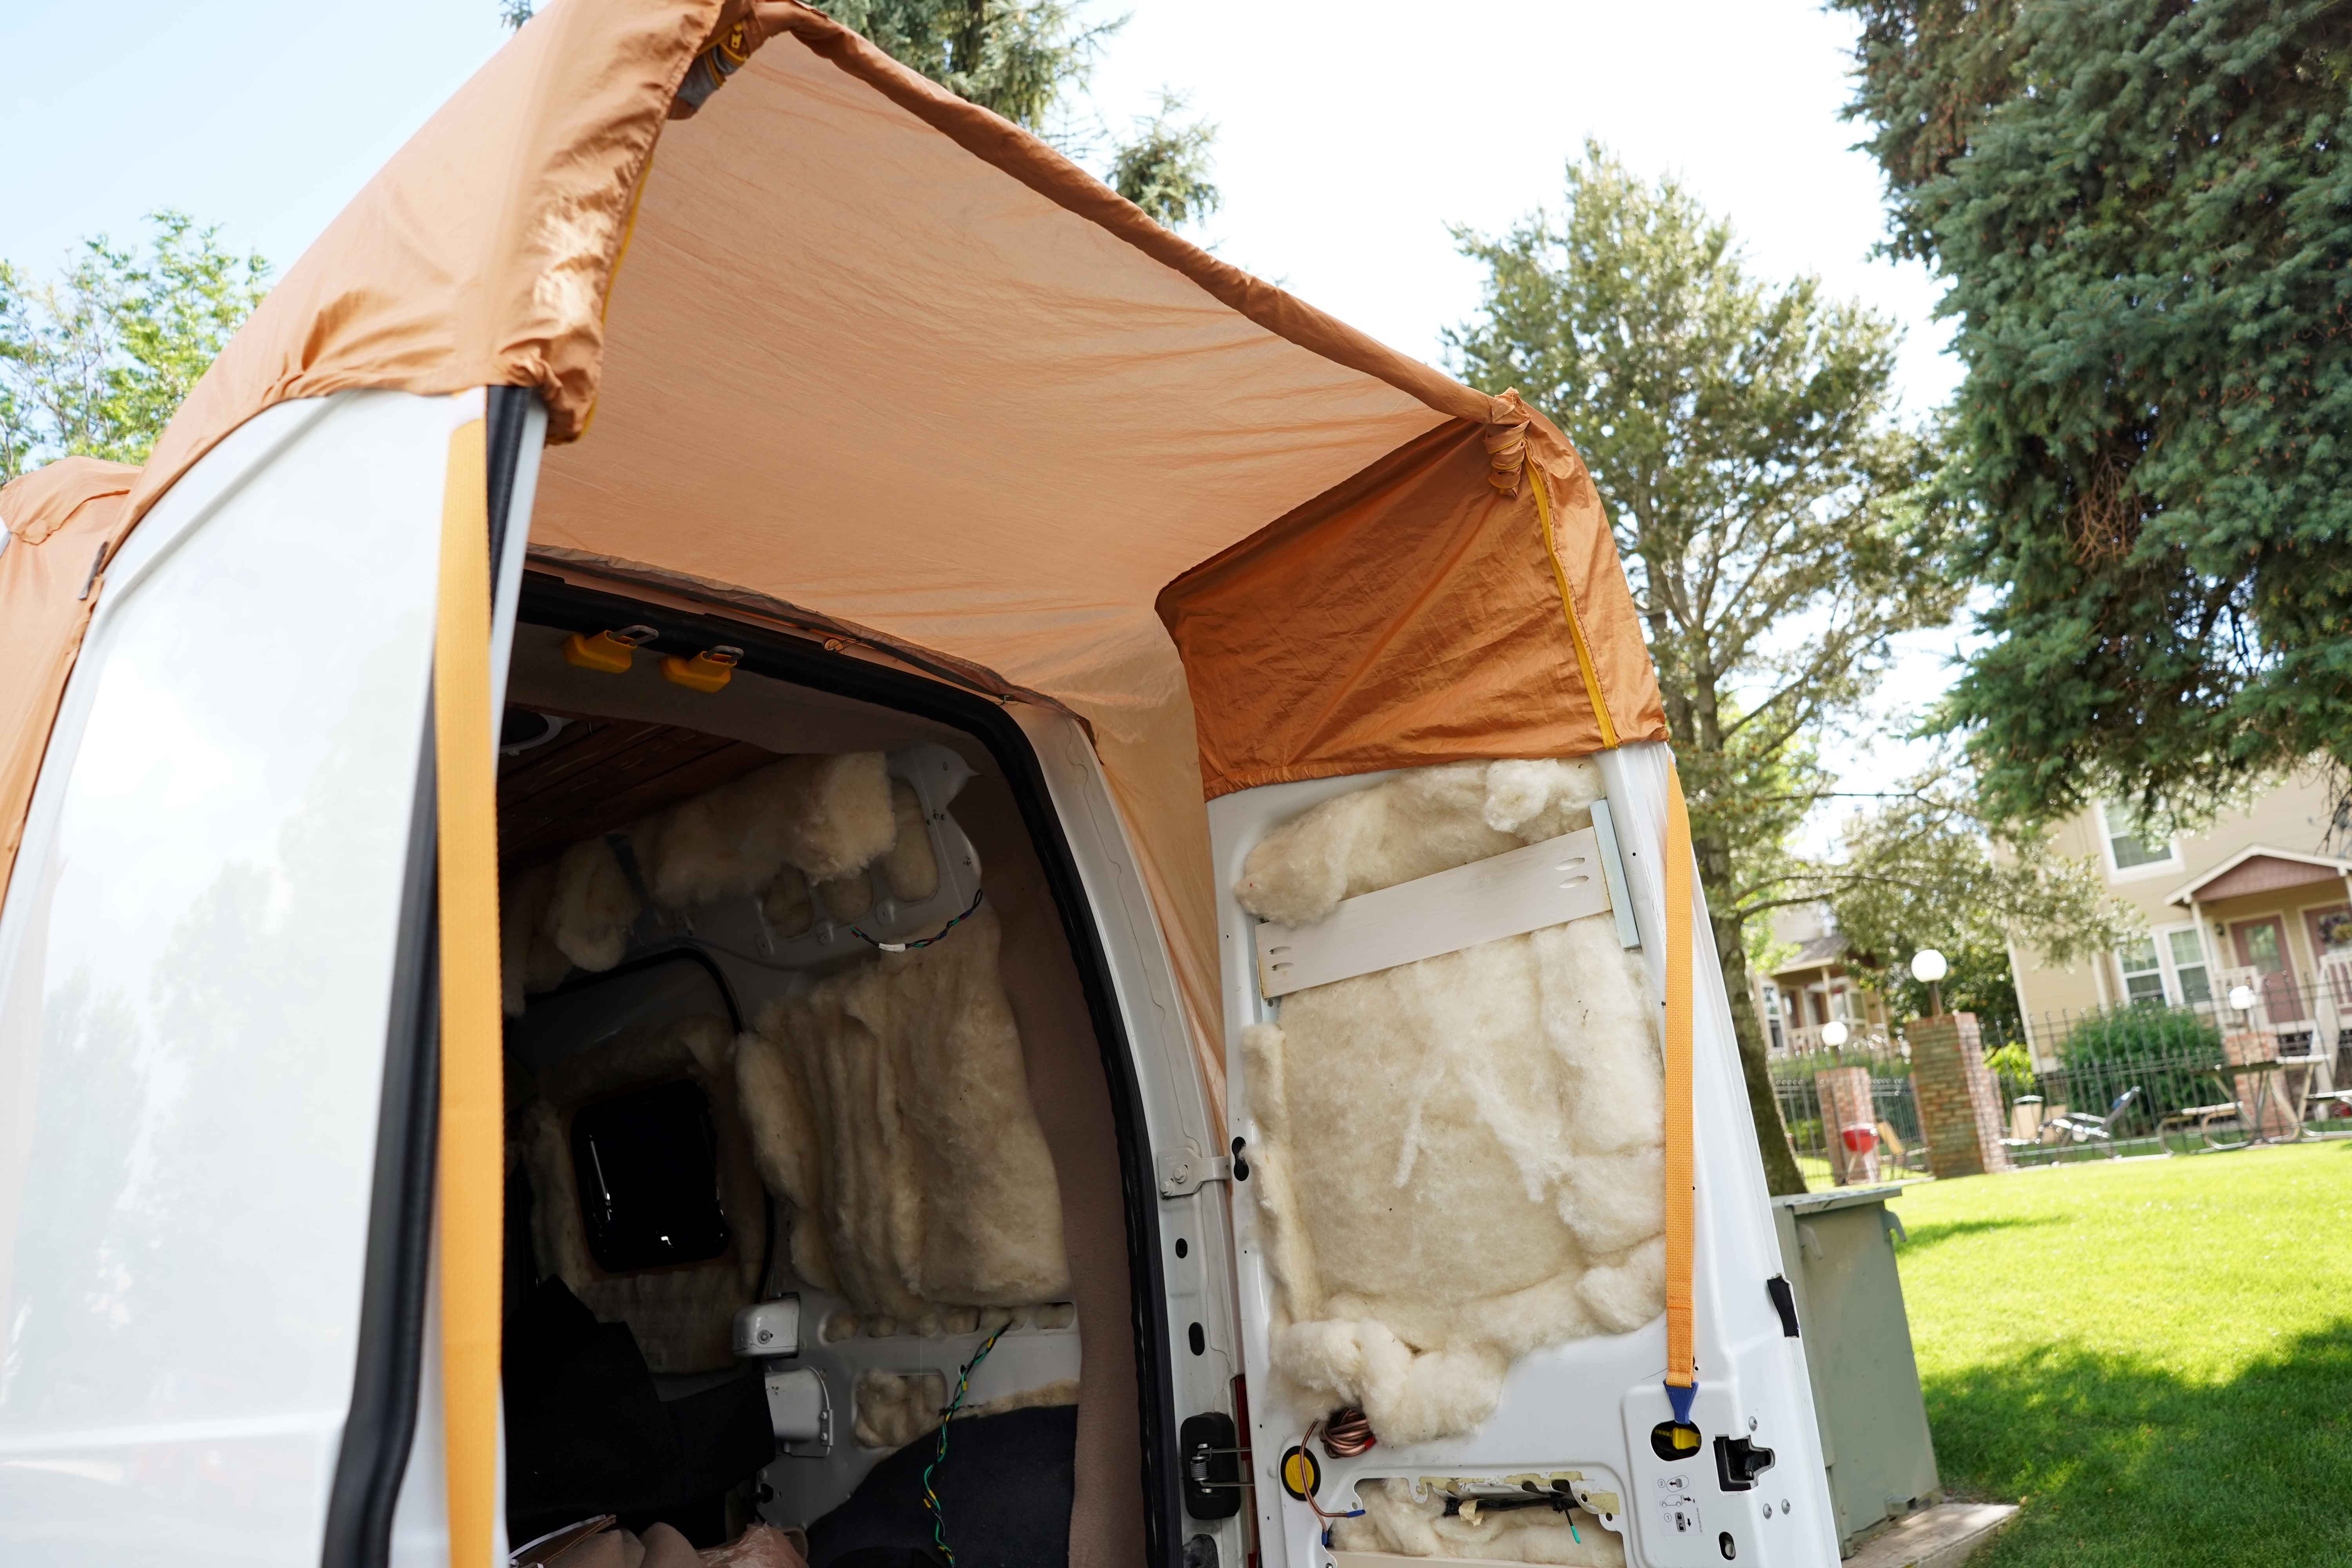
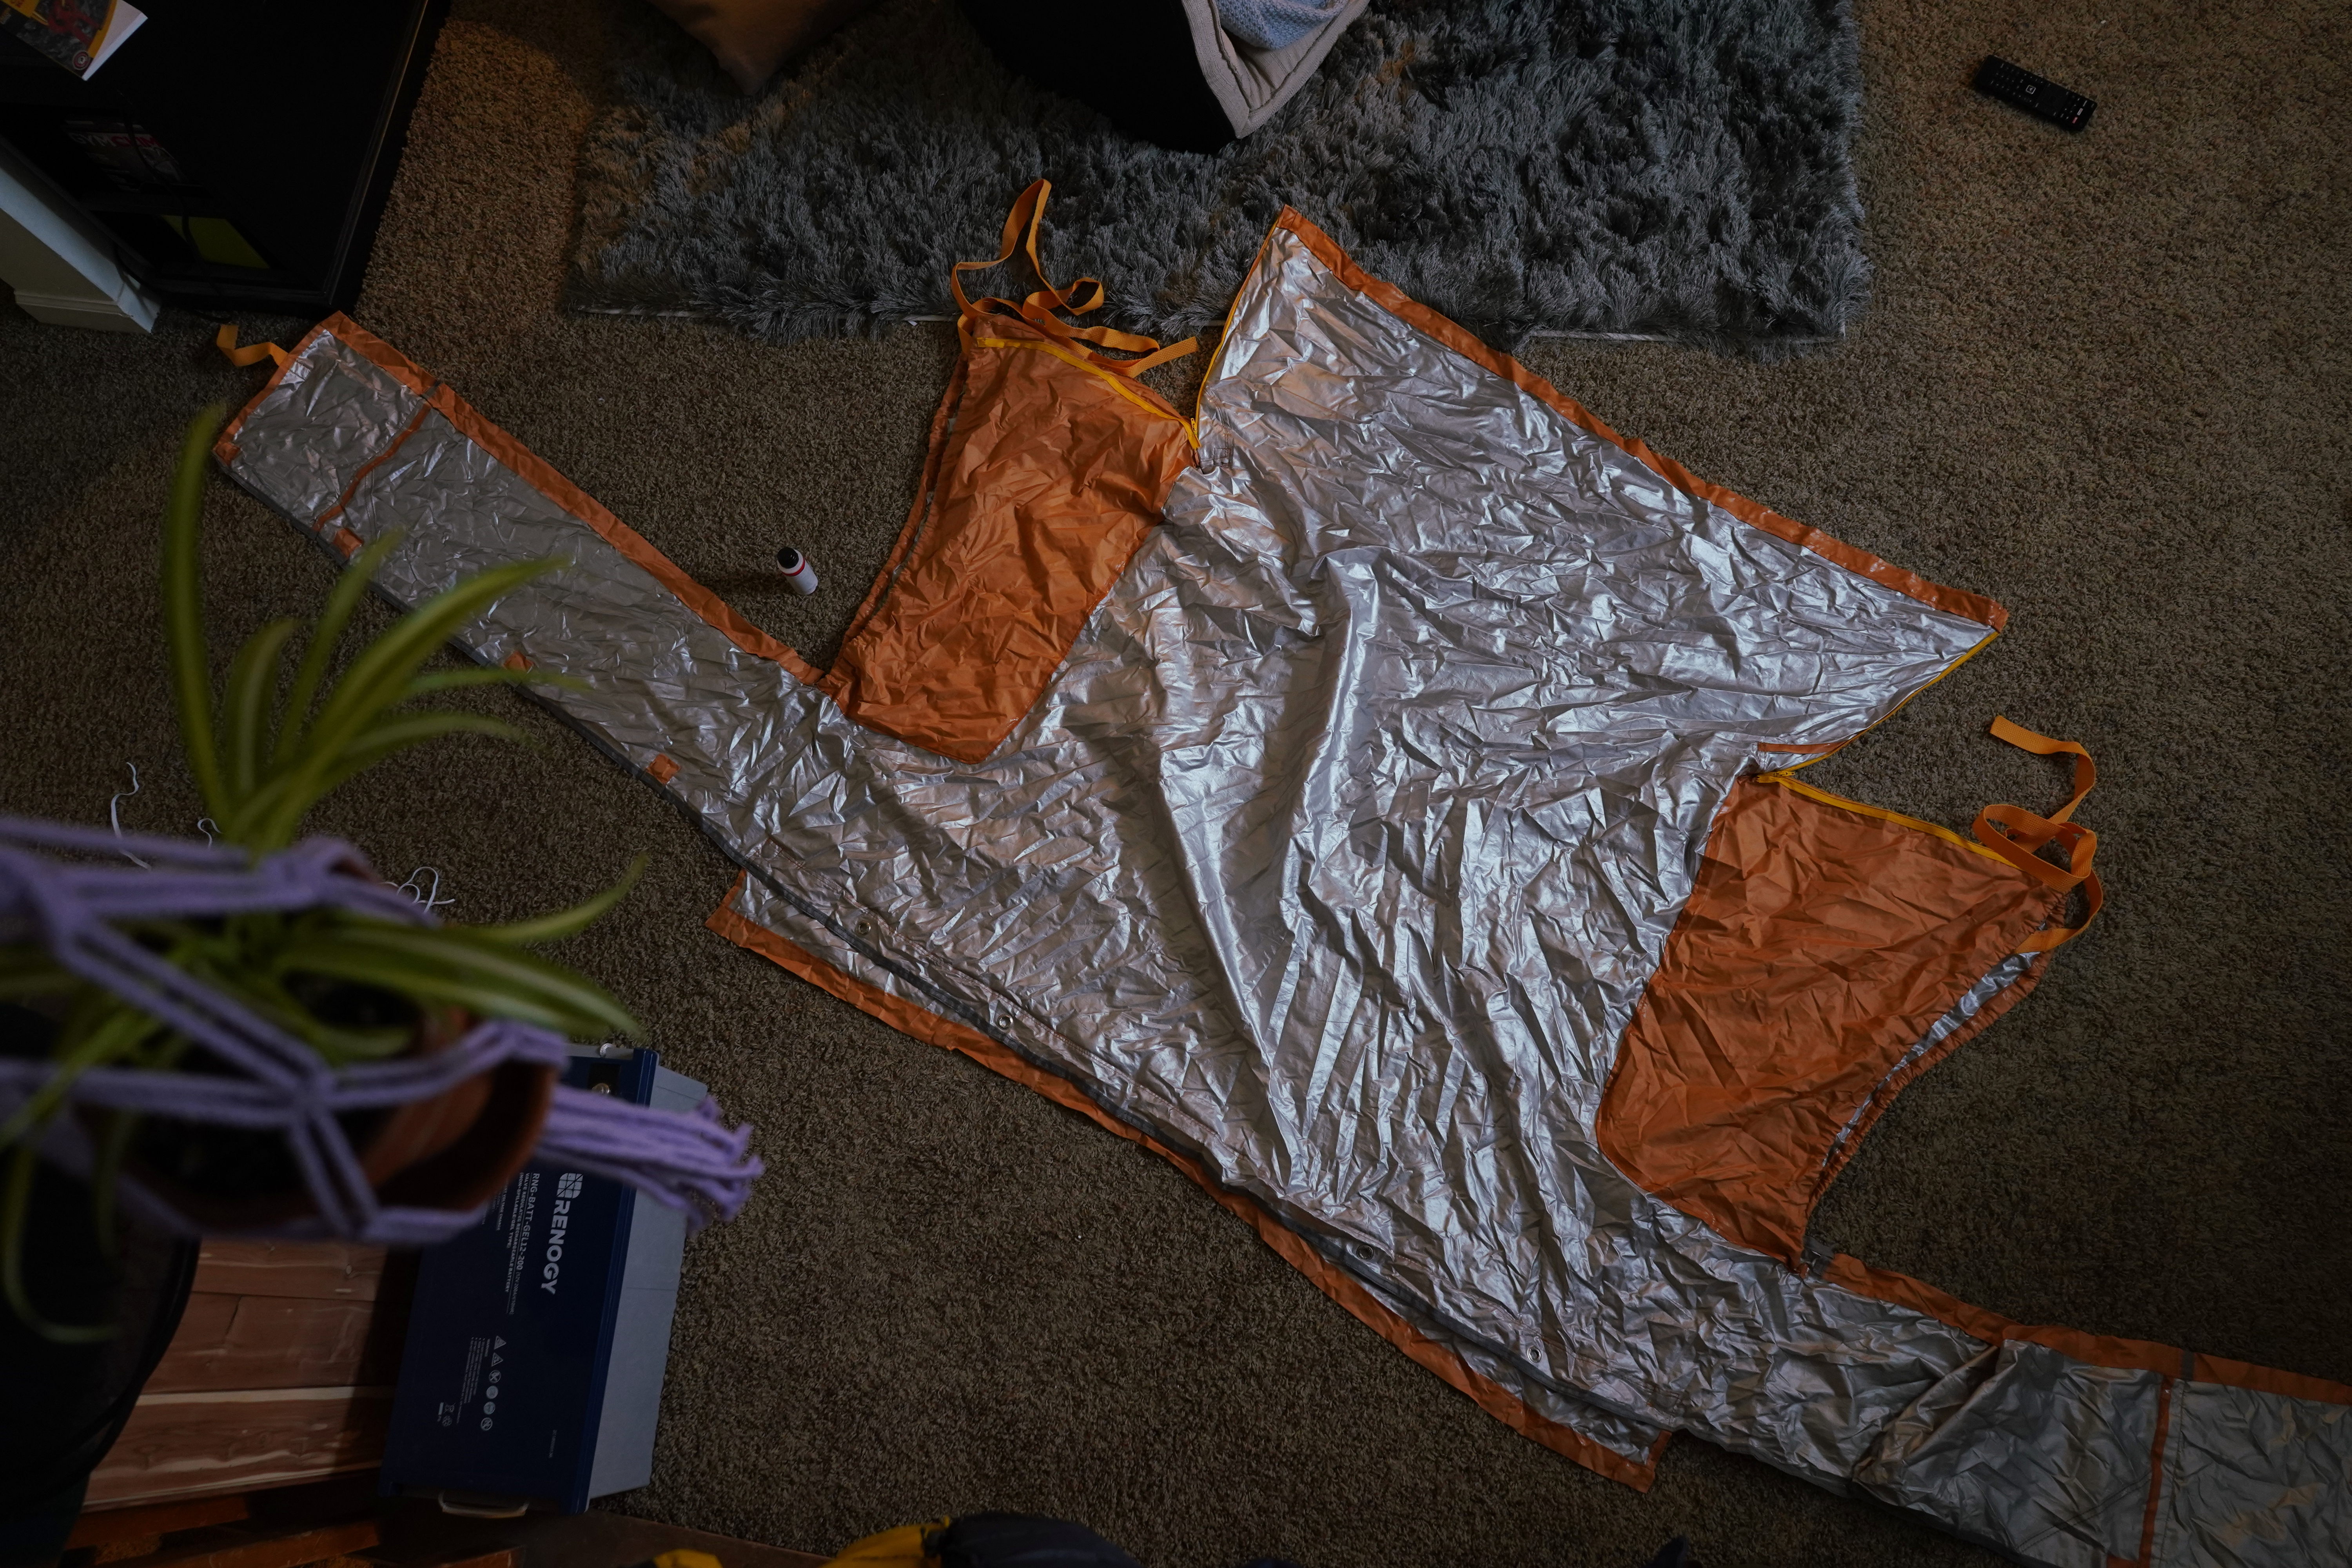
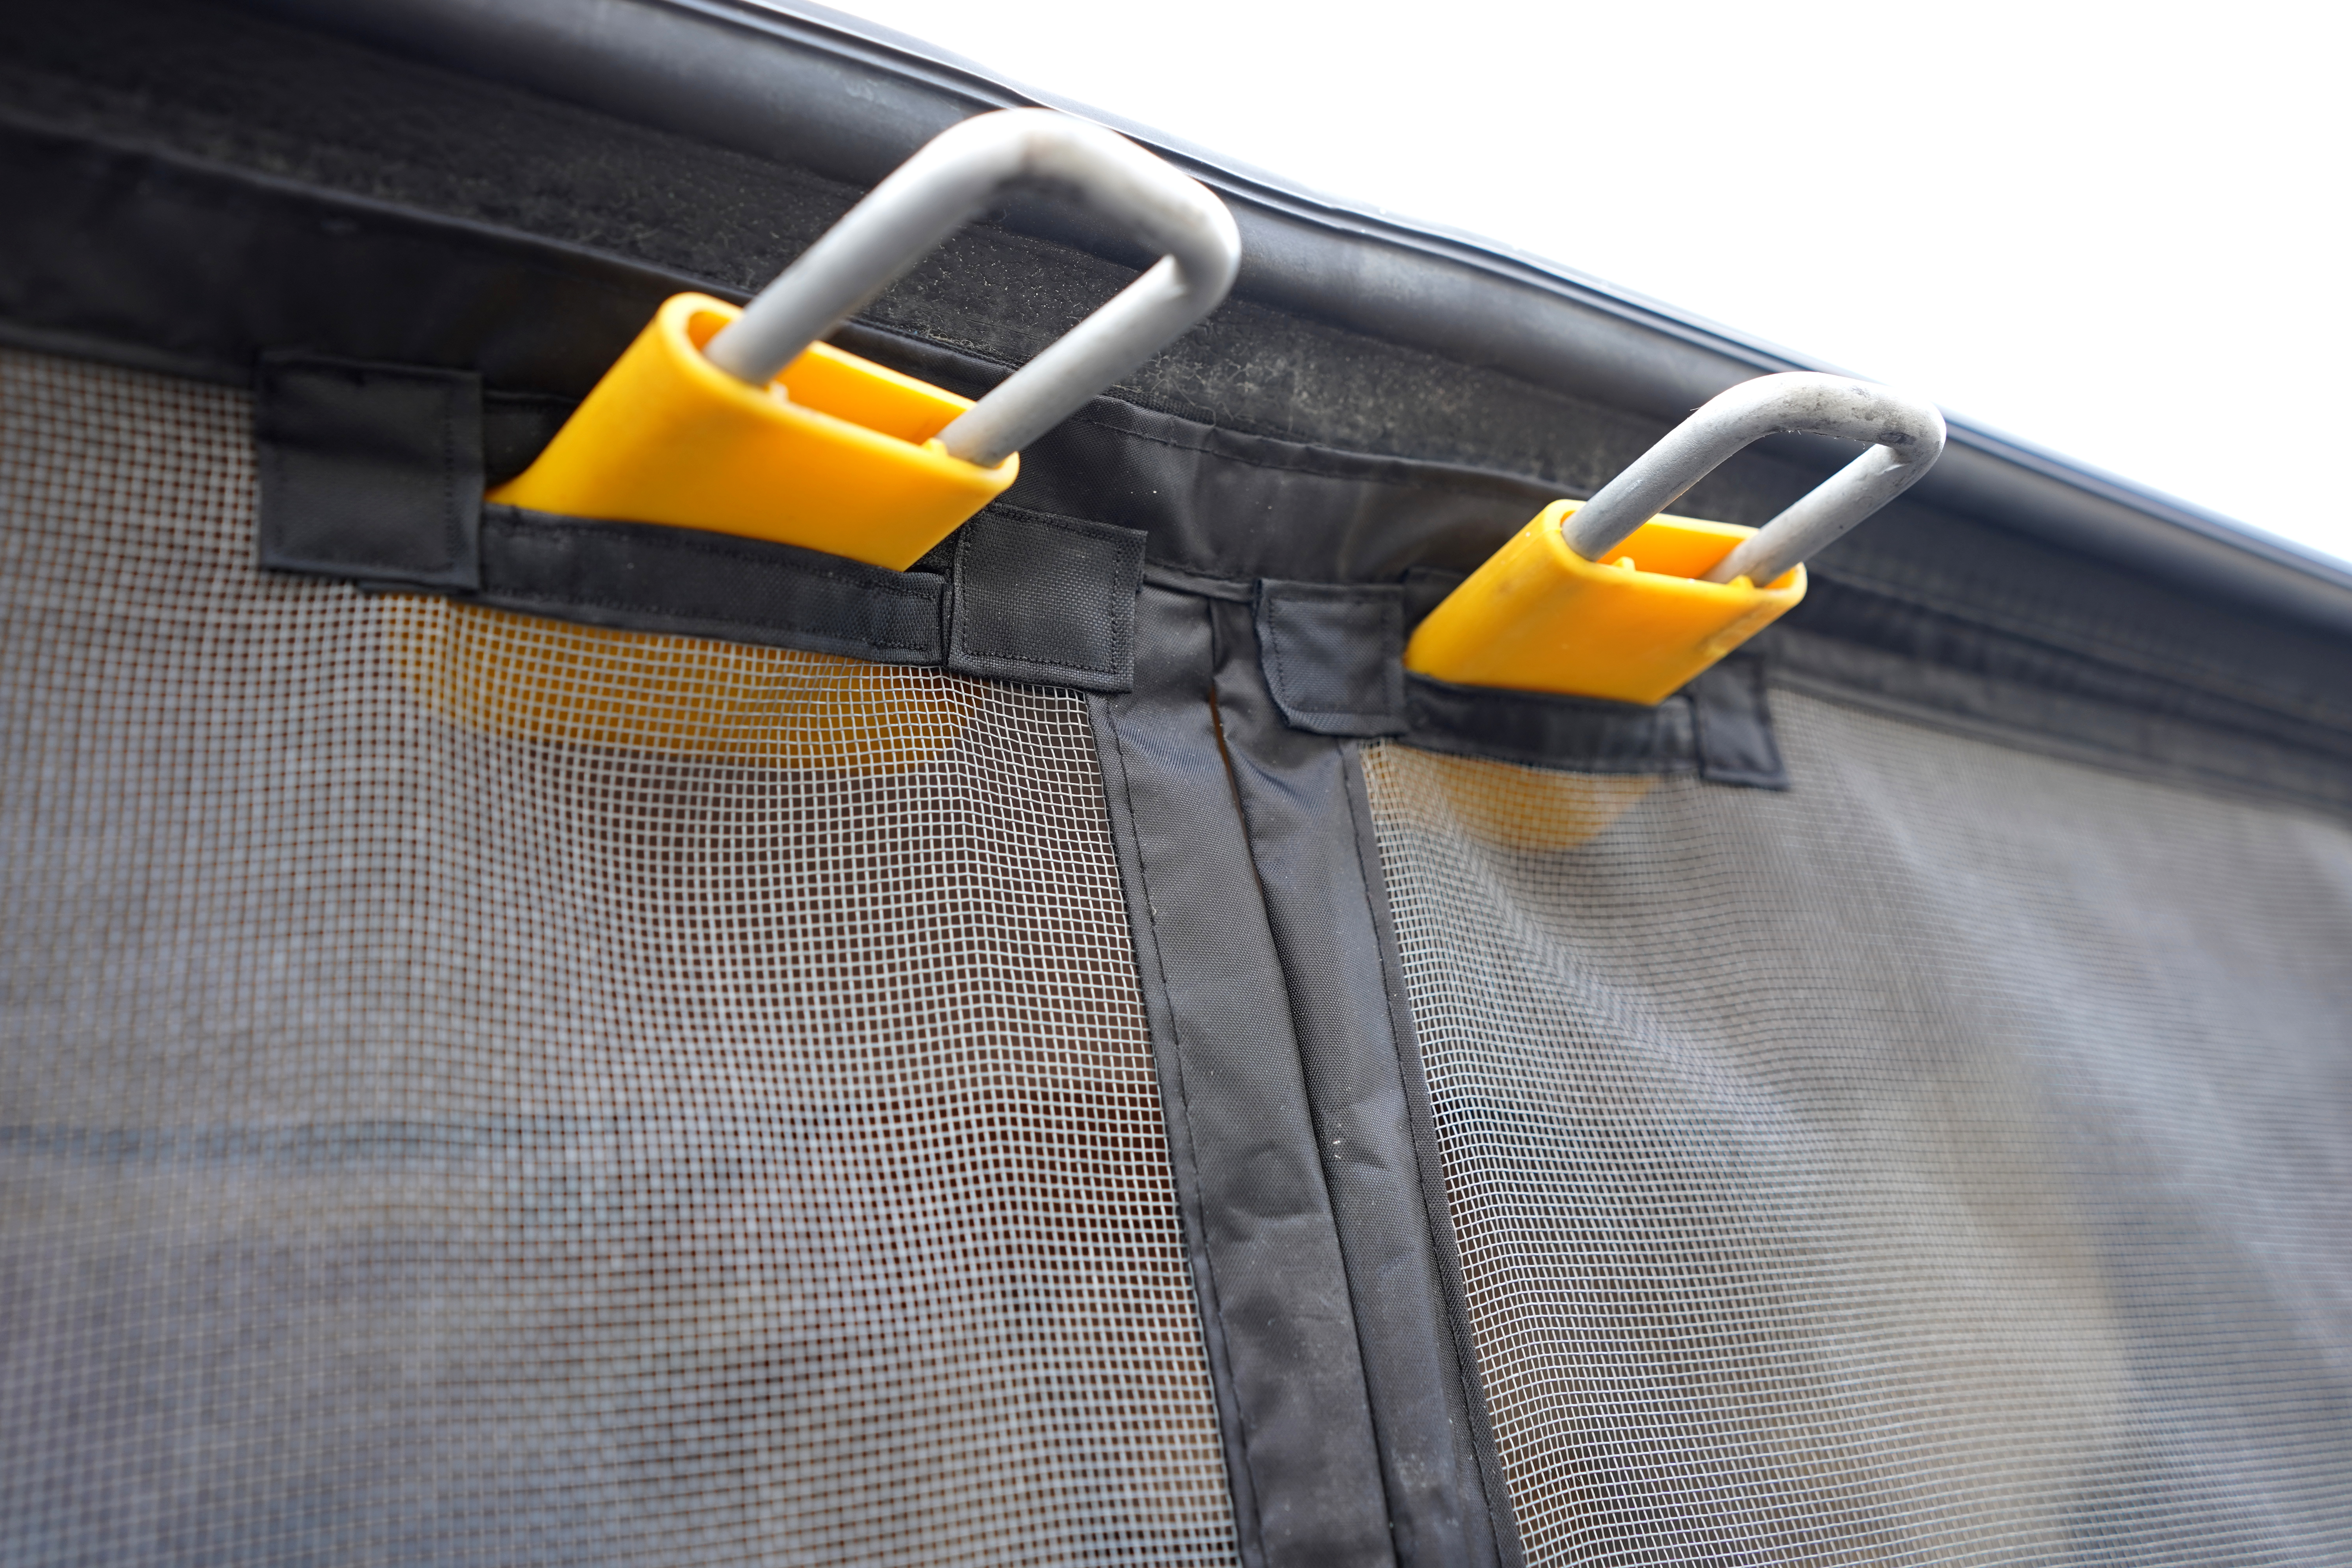
#1 Barn Door Awning
If this barn door awning existed for the Transit Connect 2010, I’d definitely buy it.
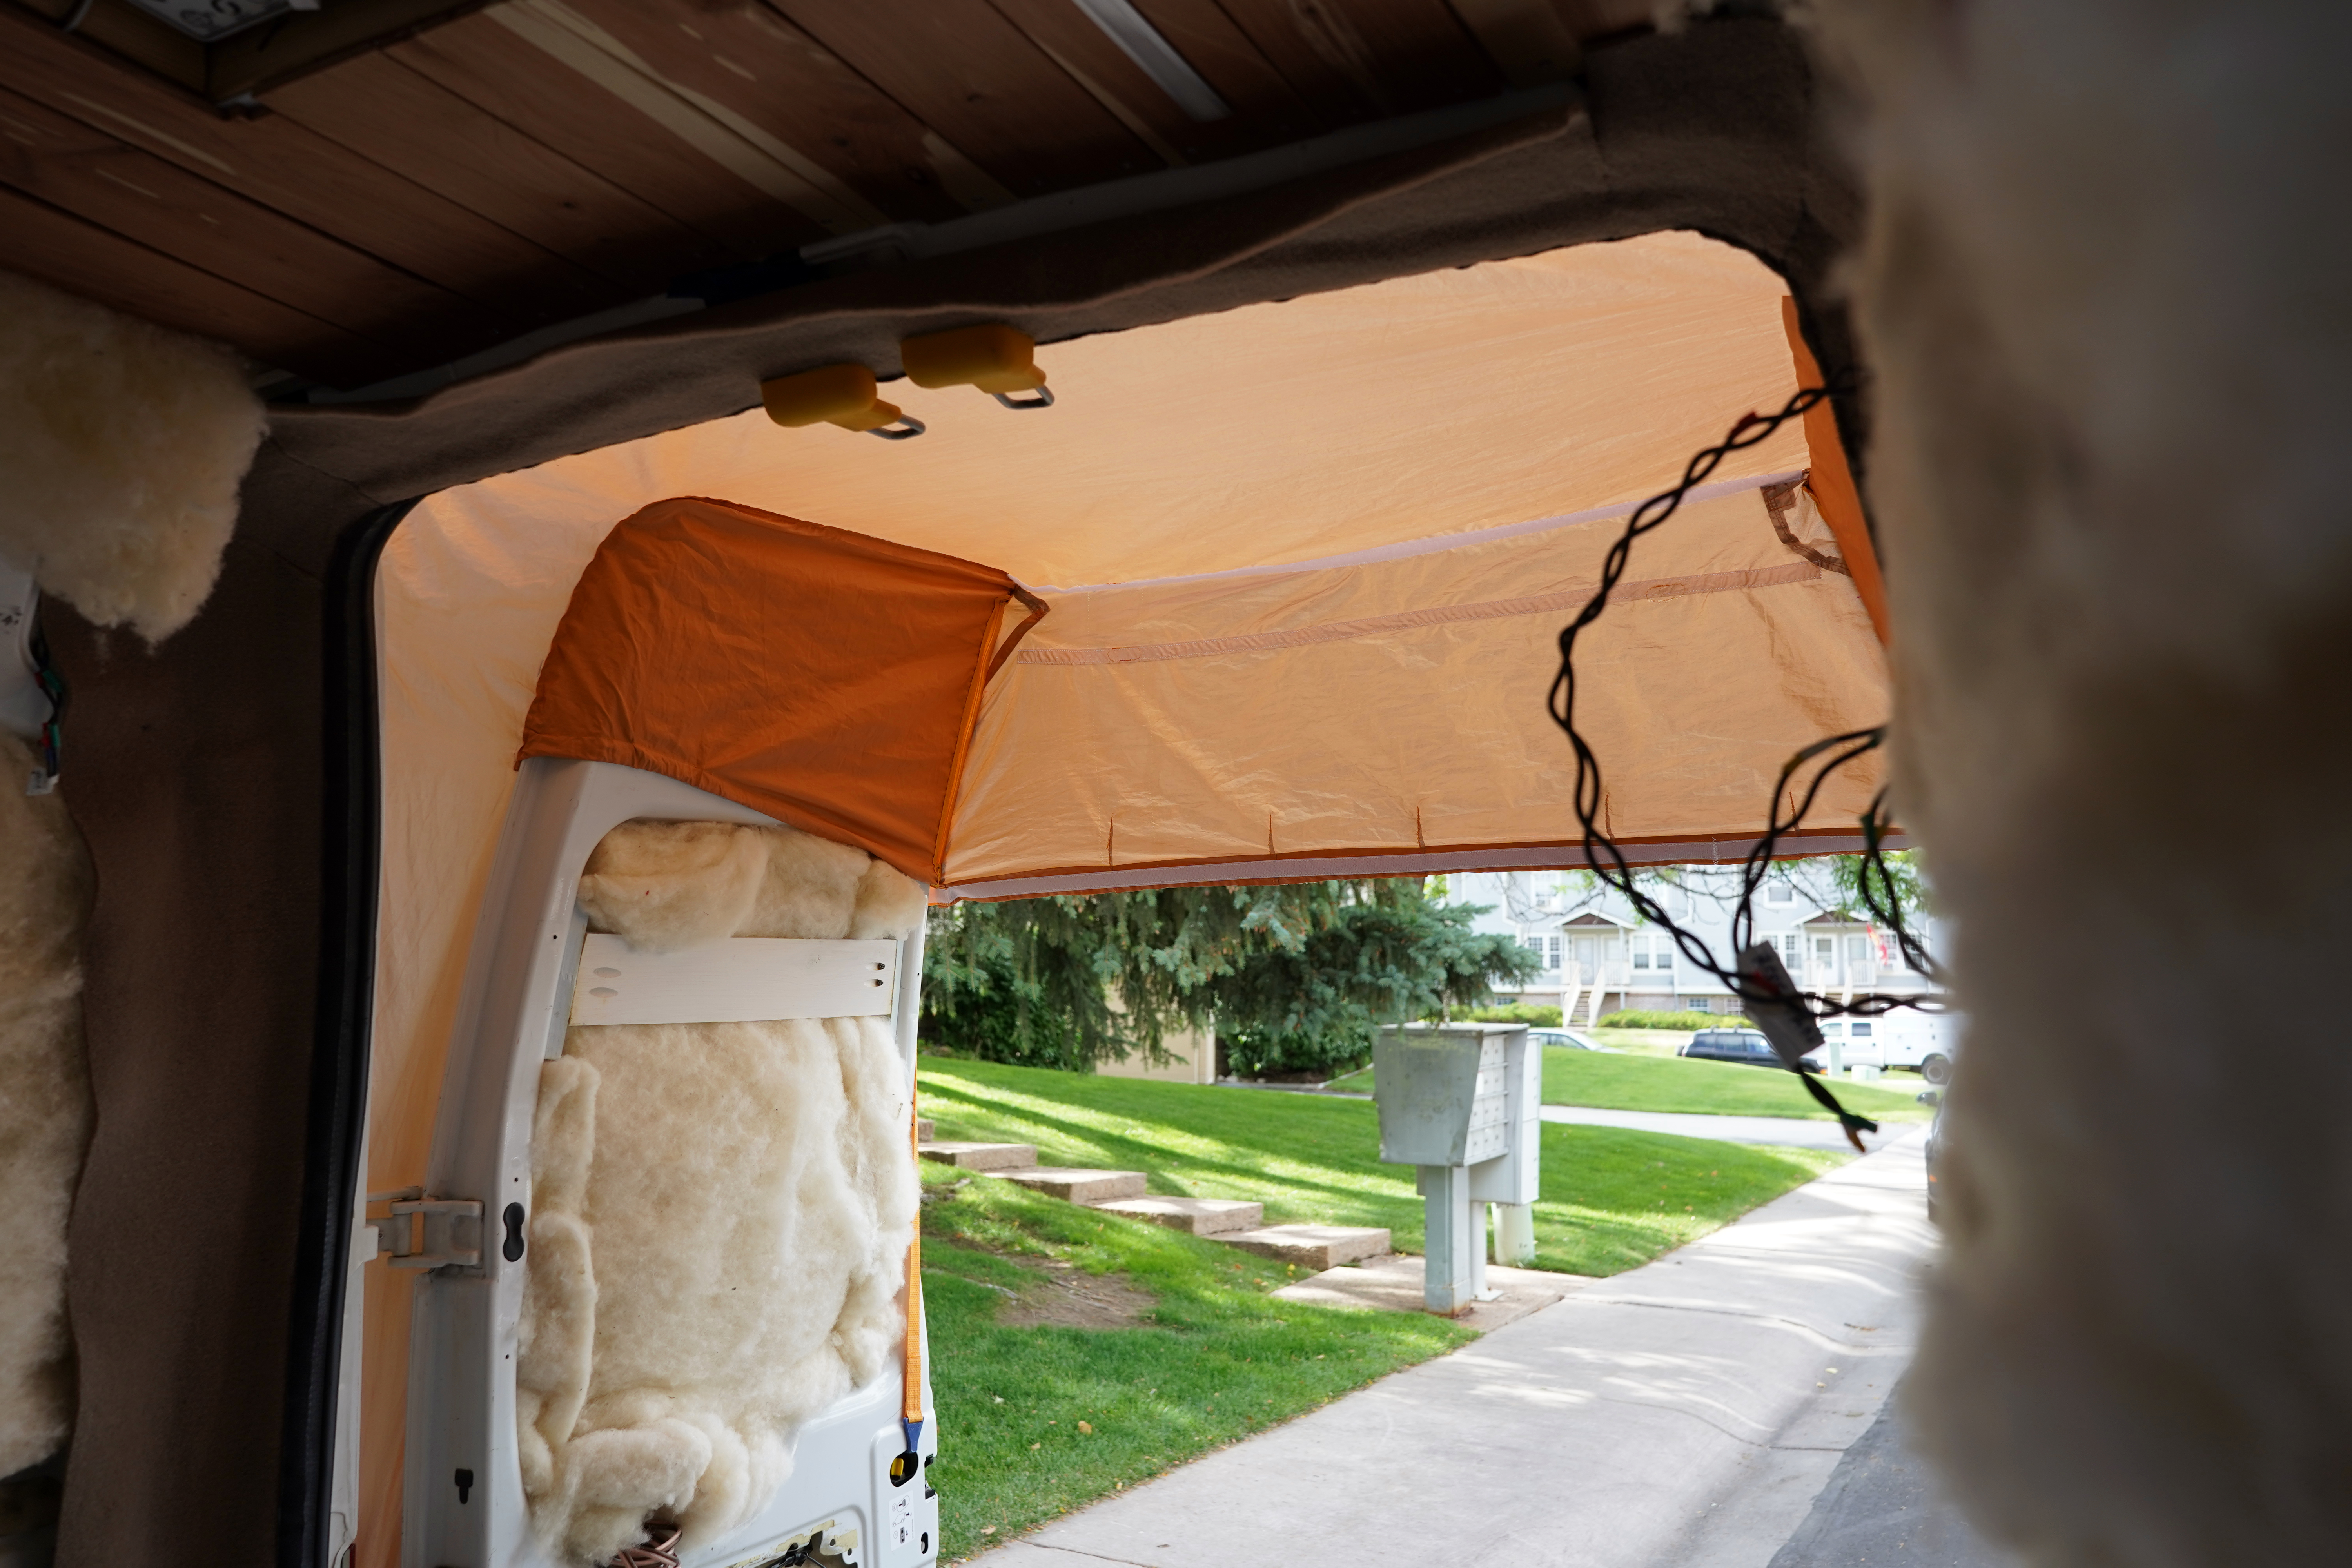
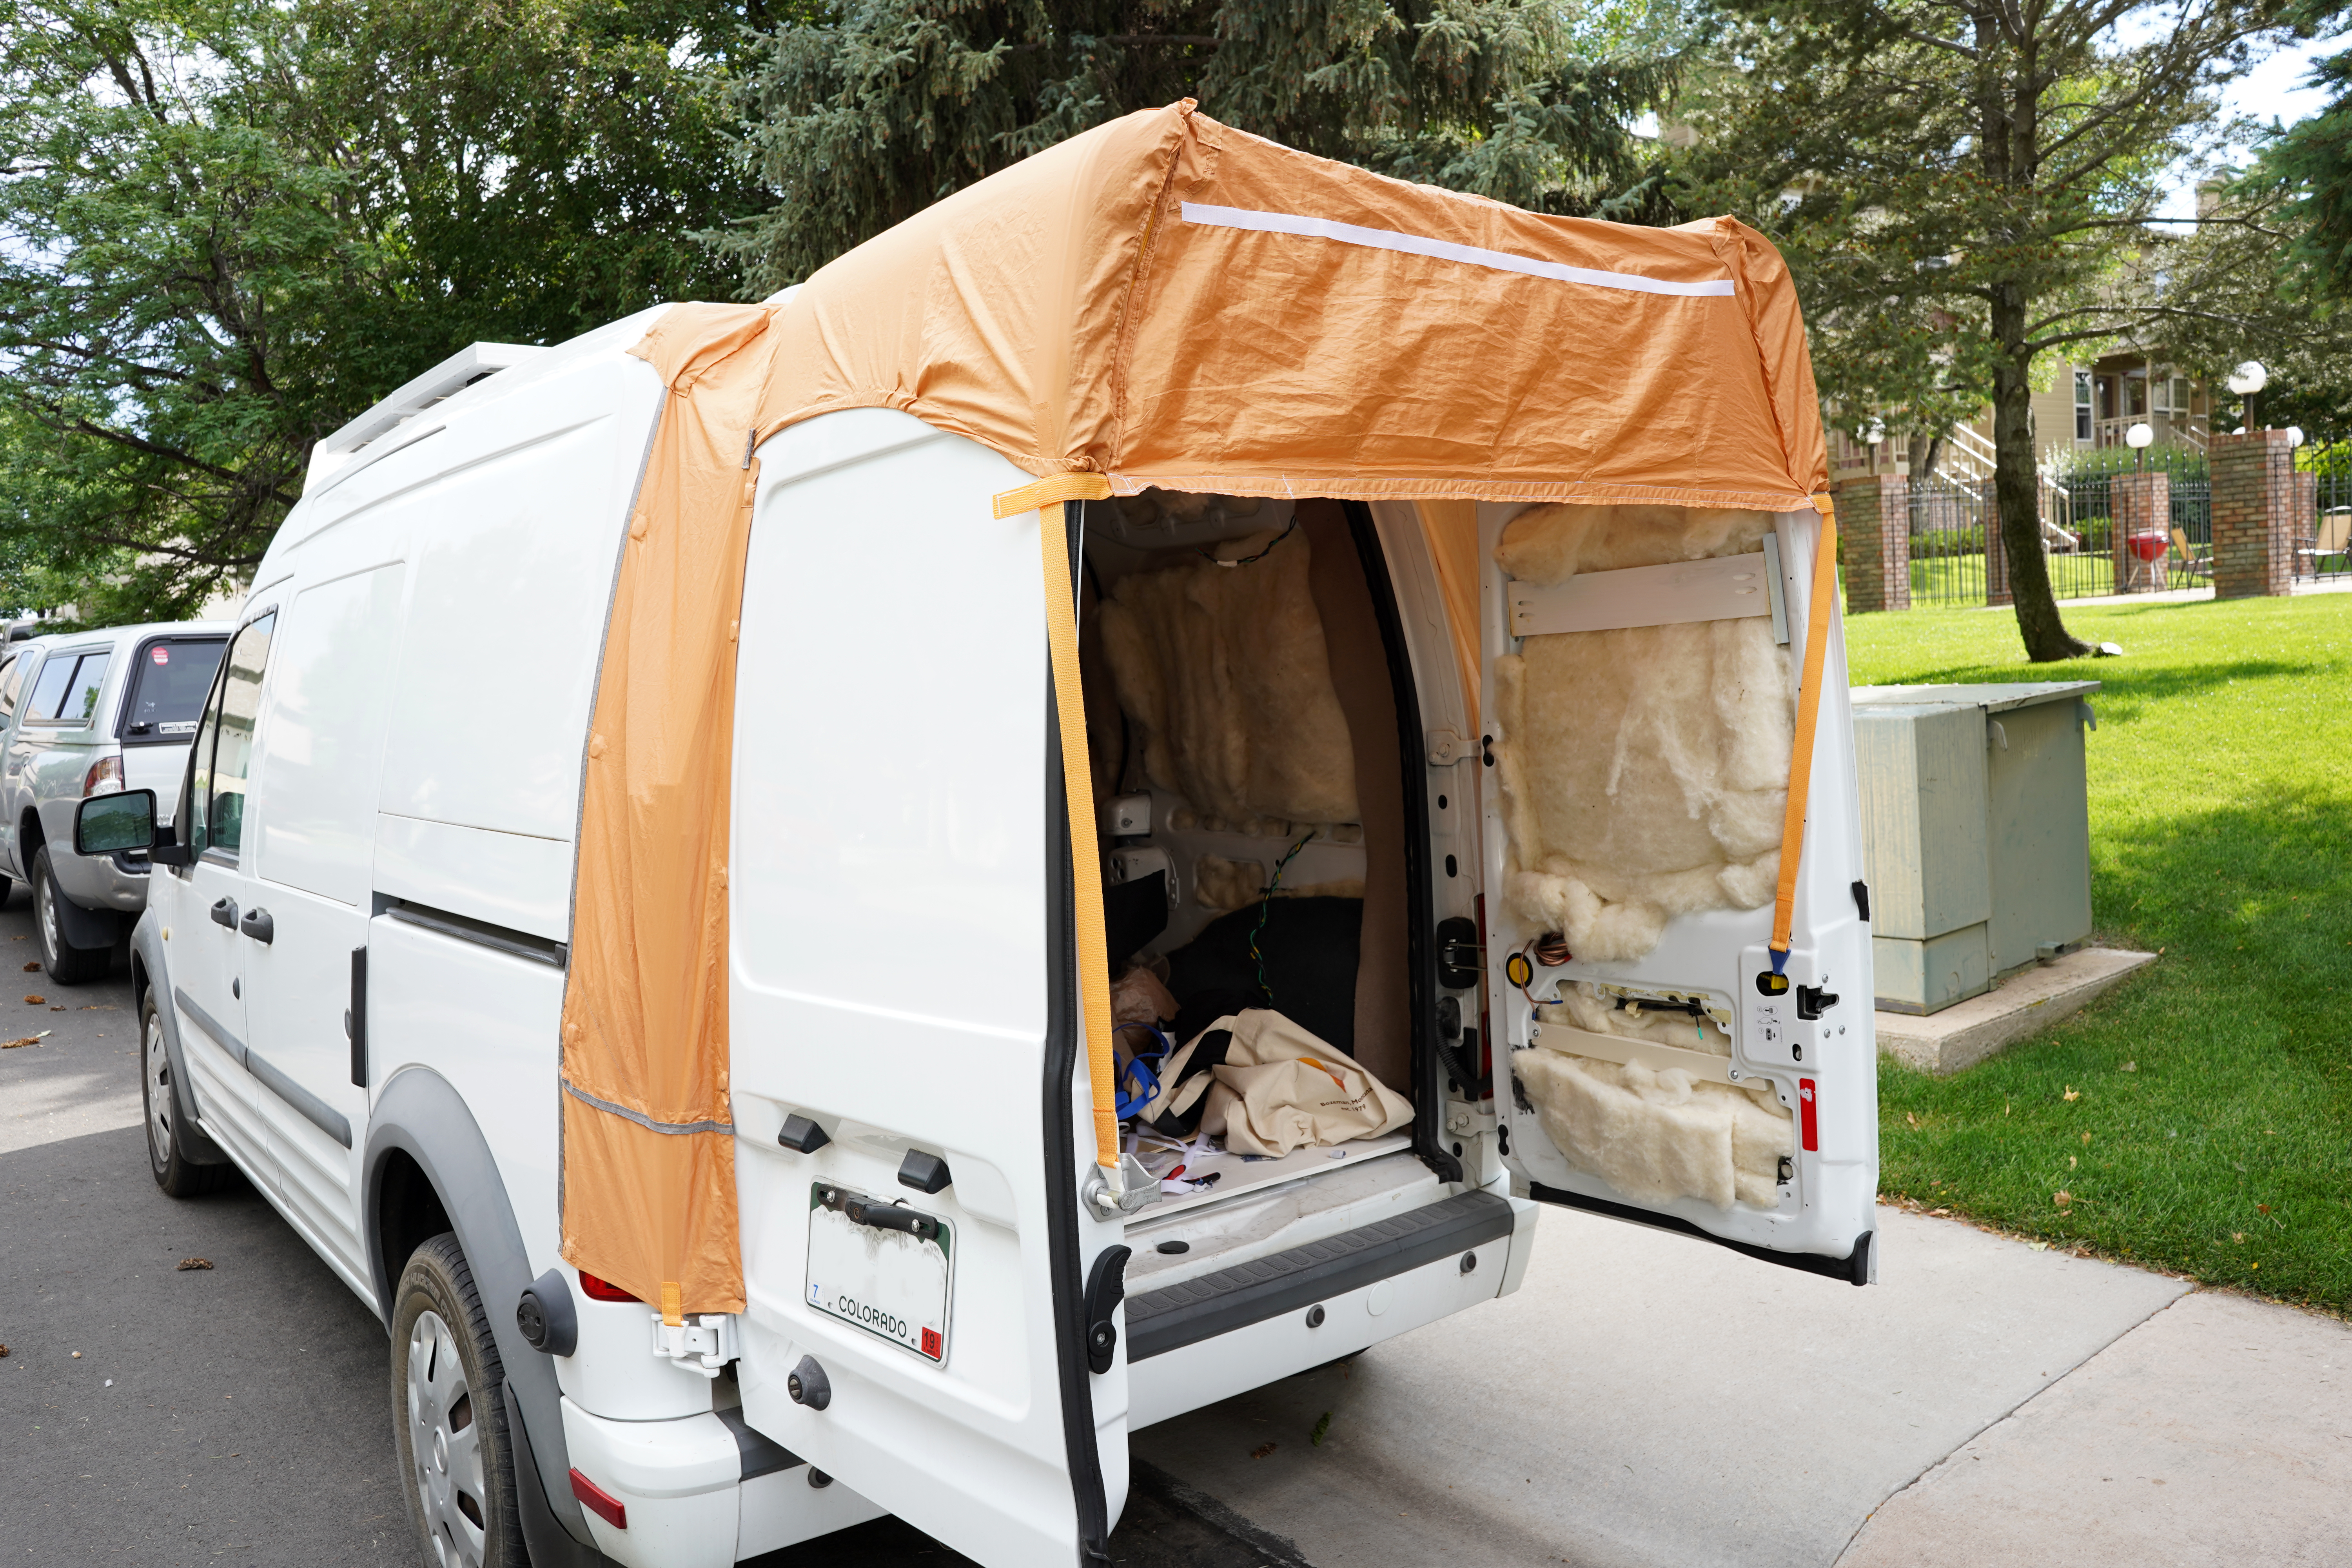
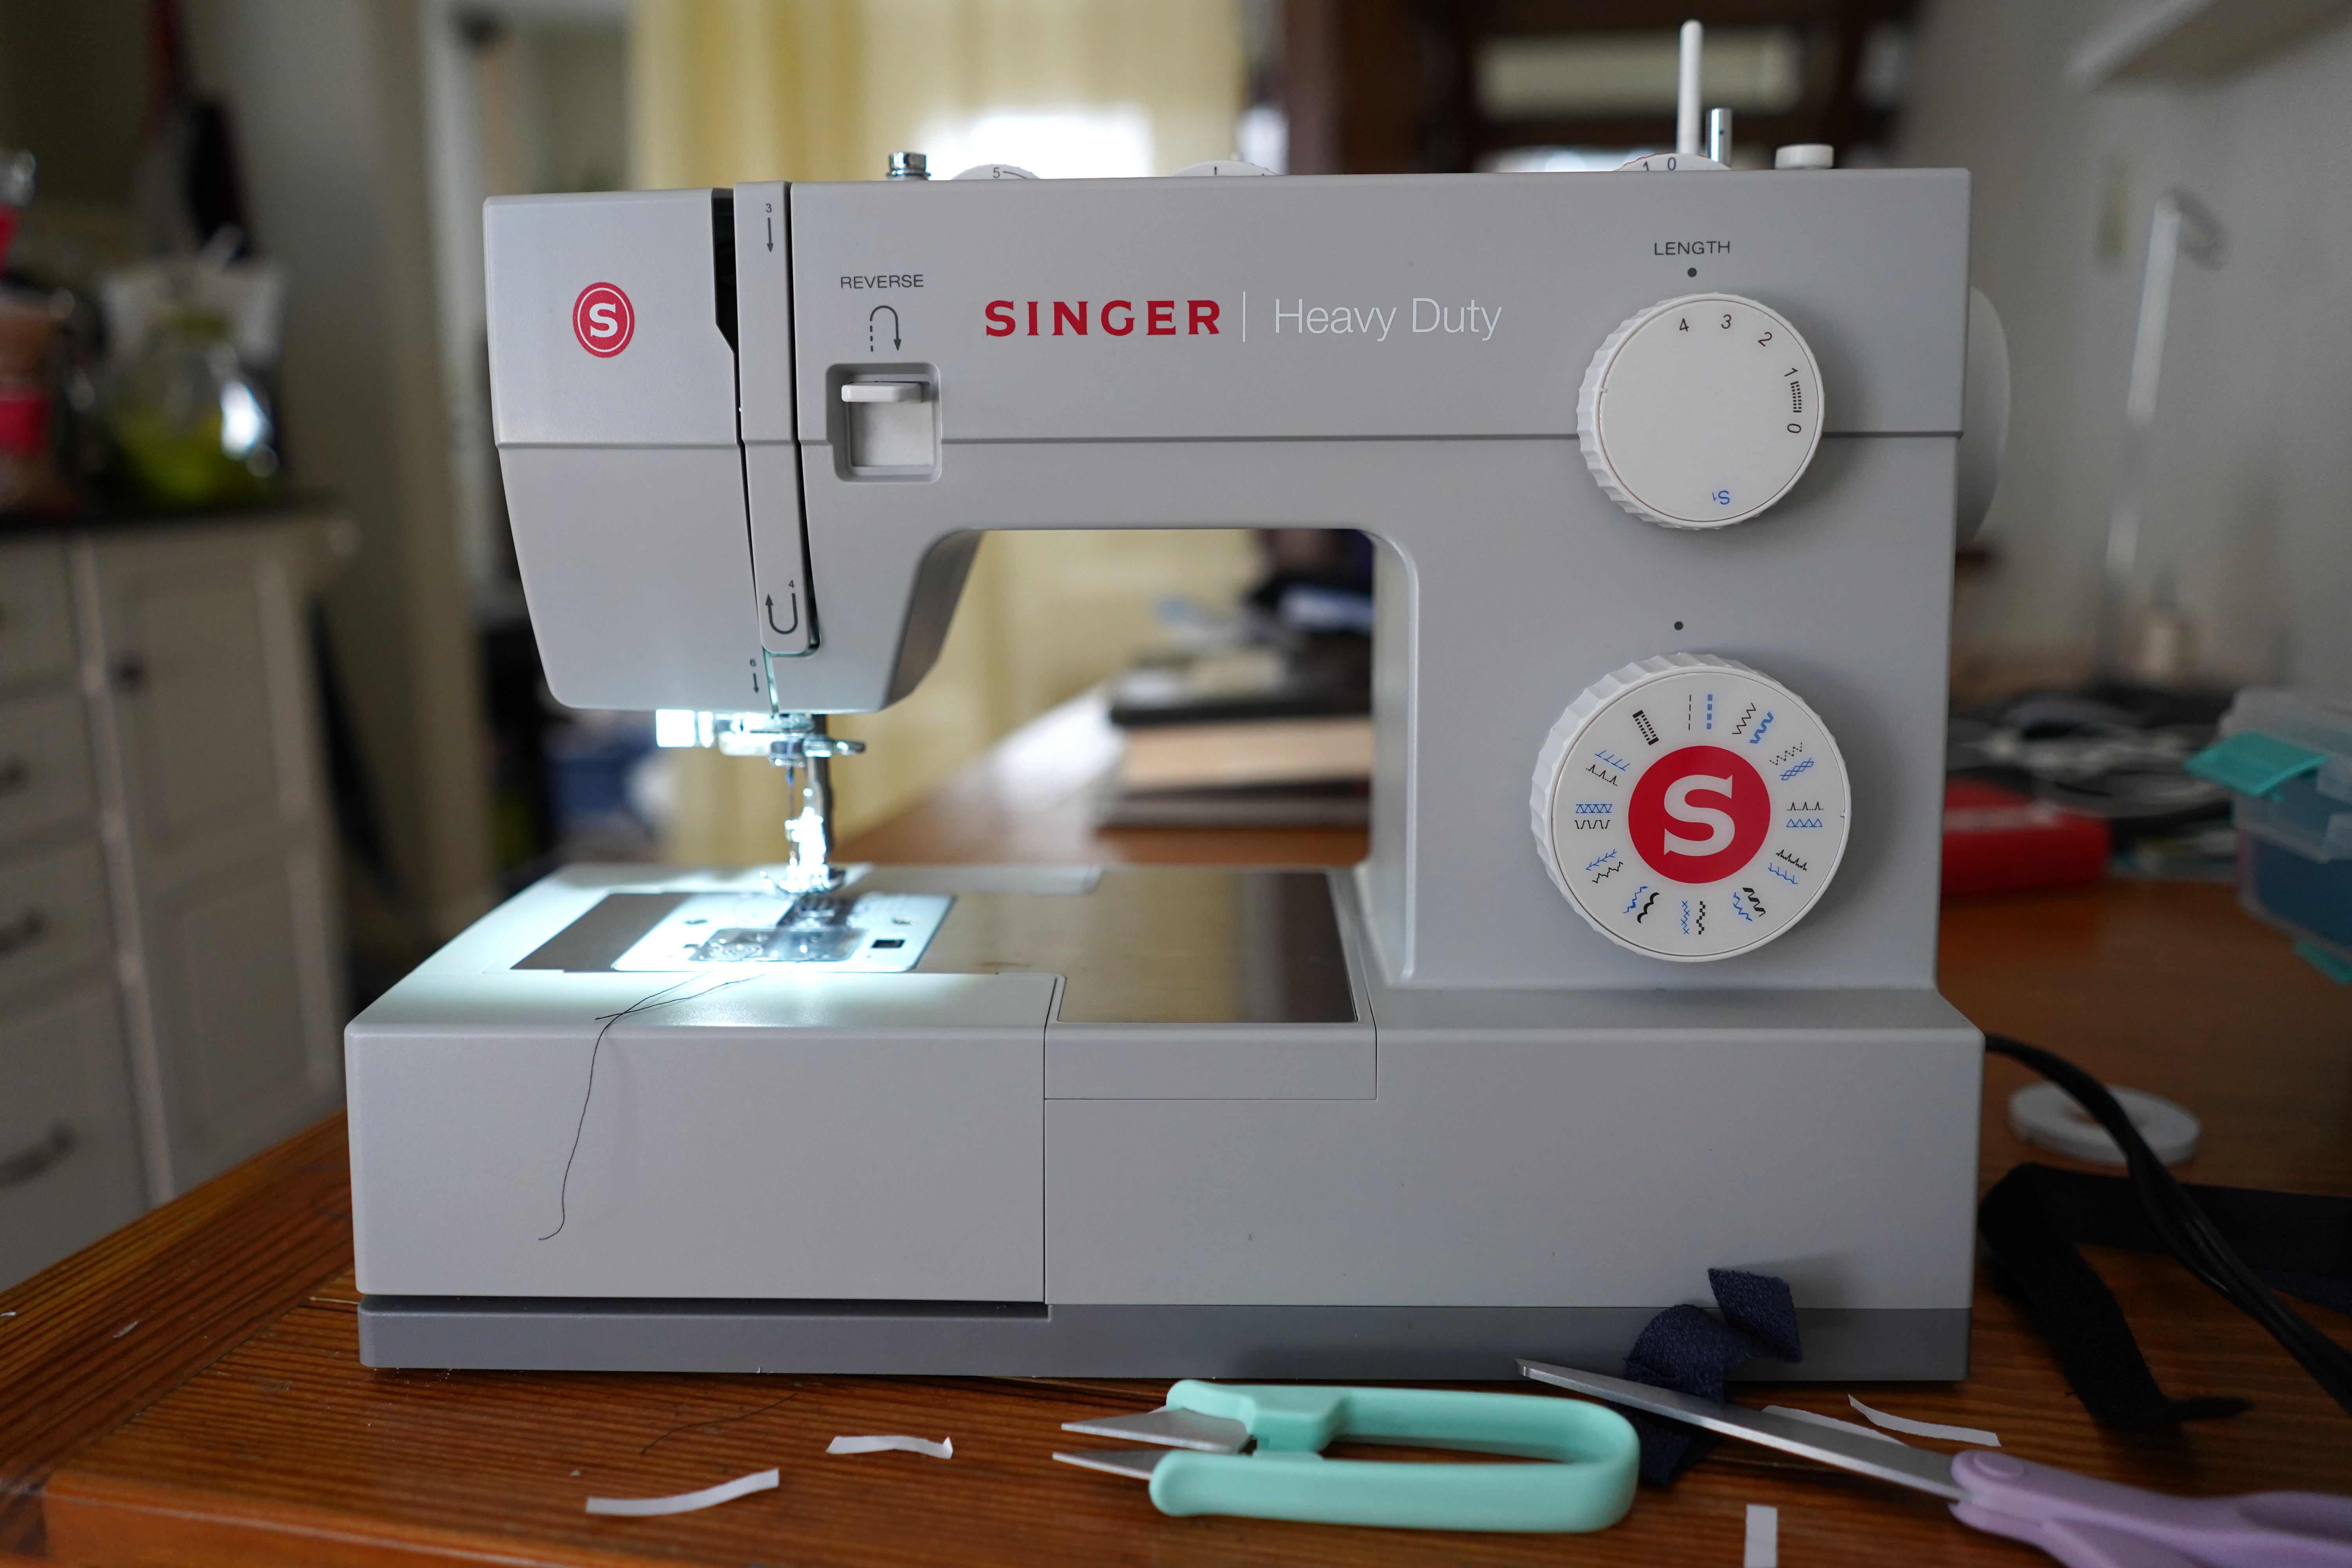
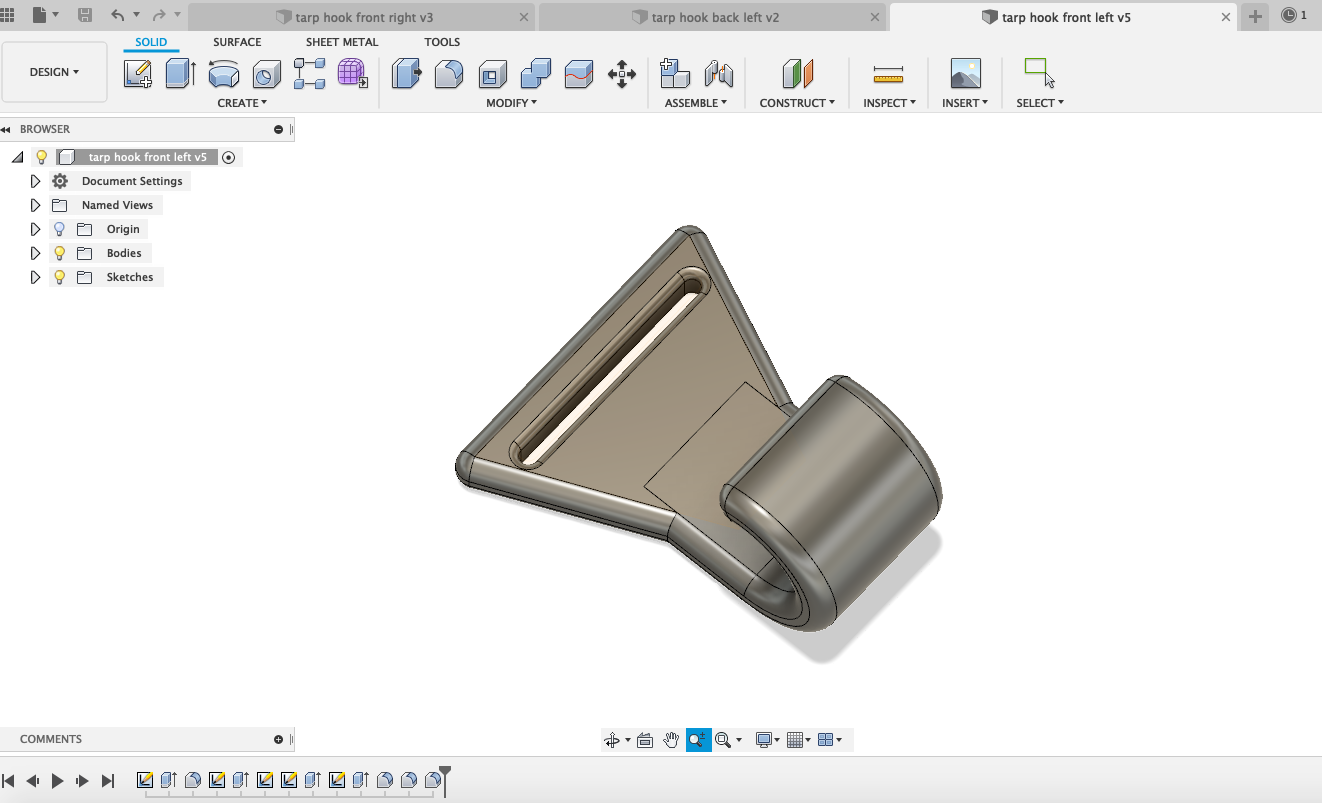
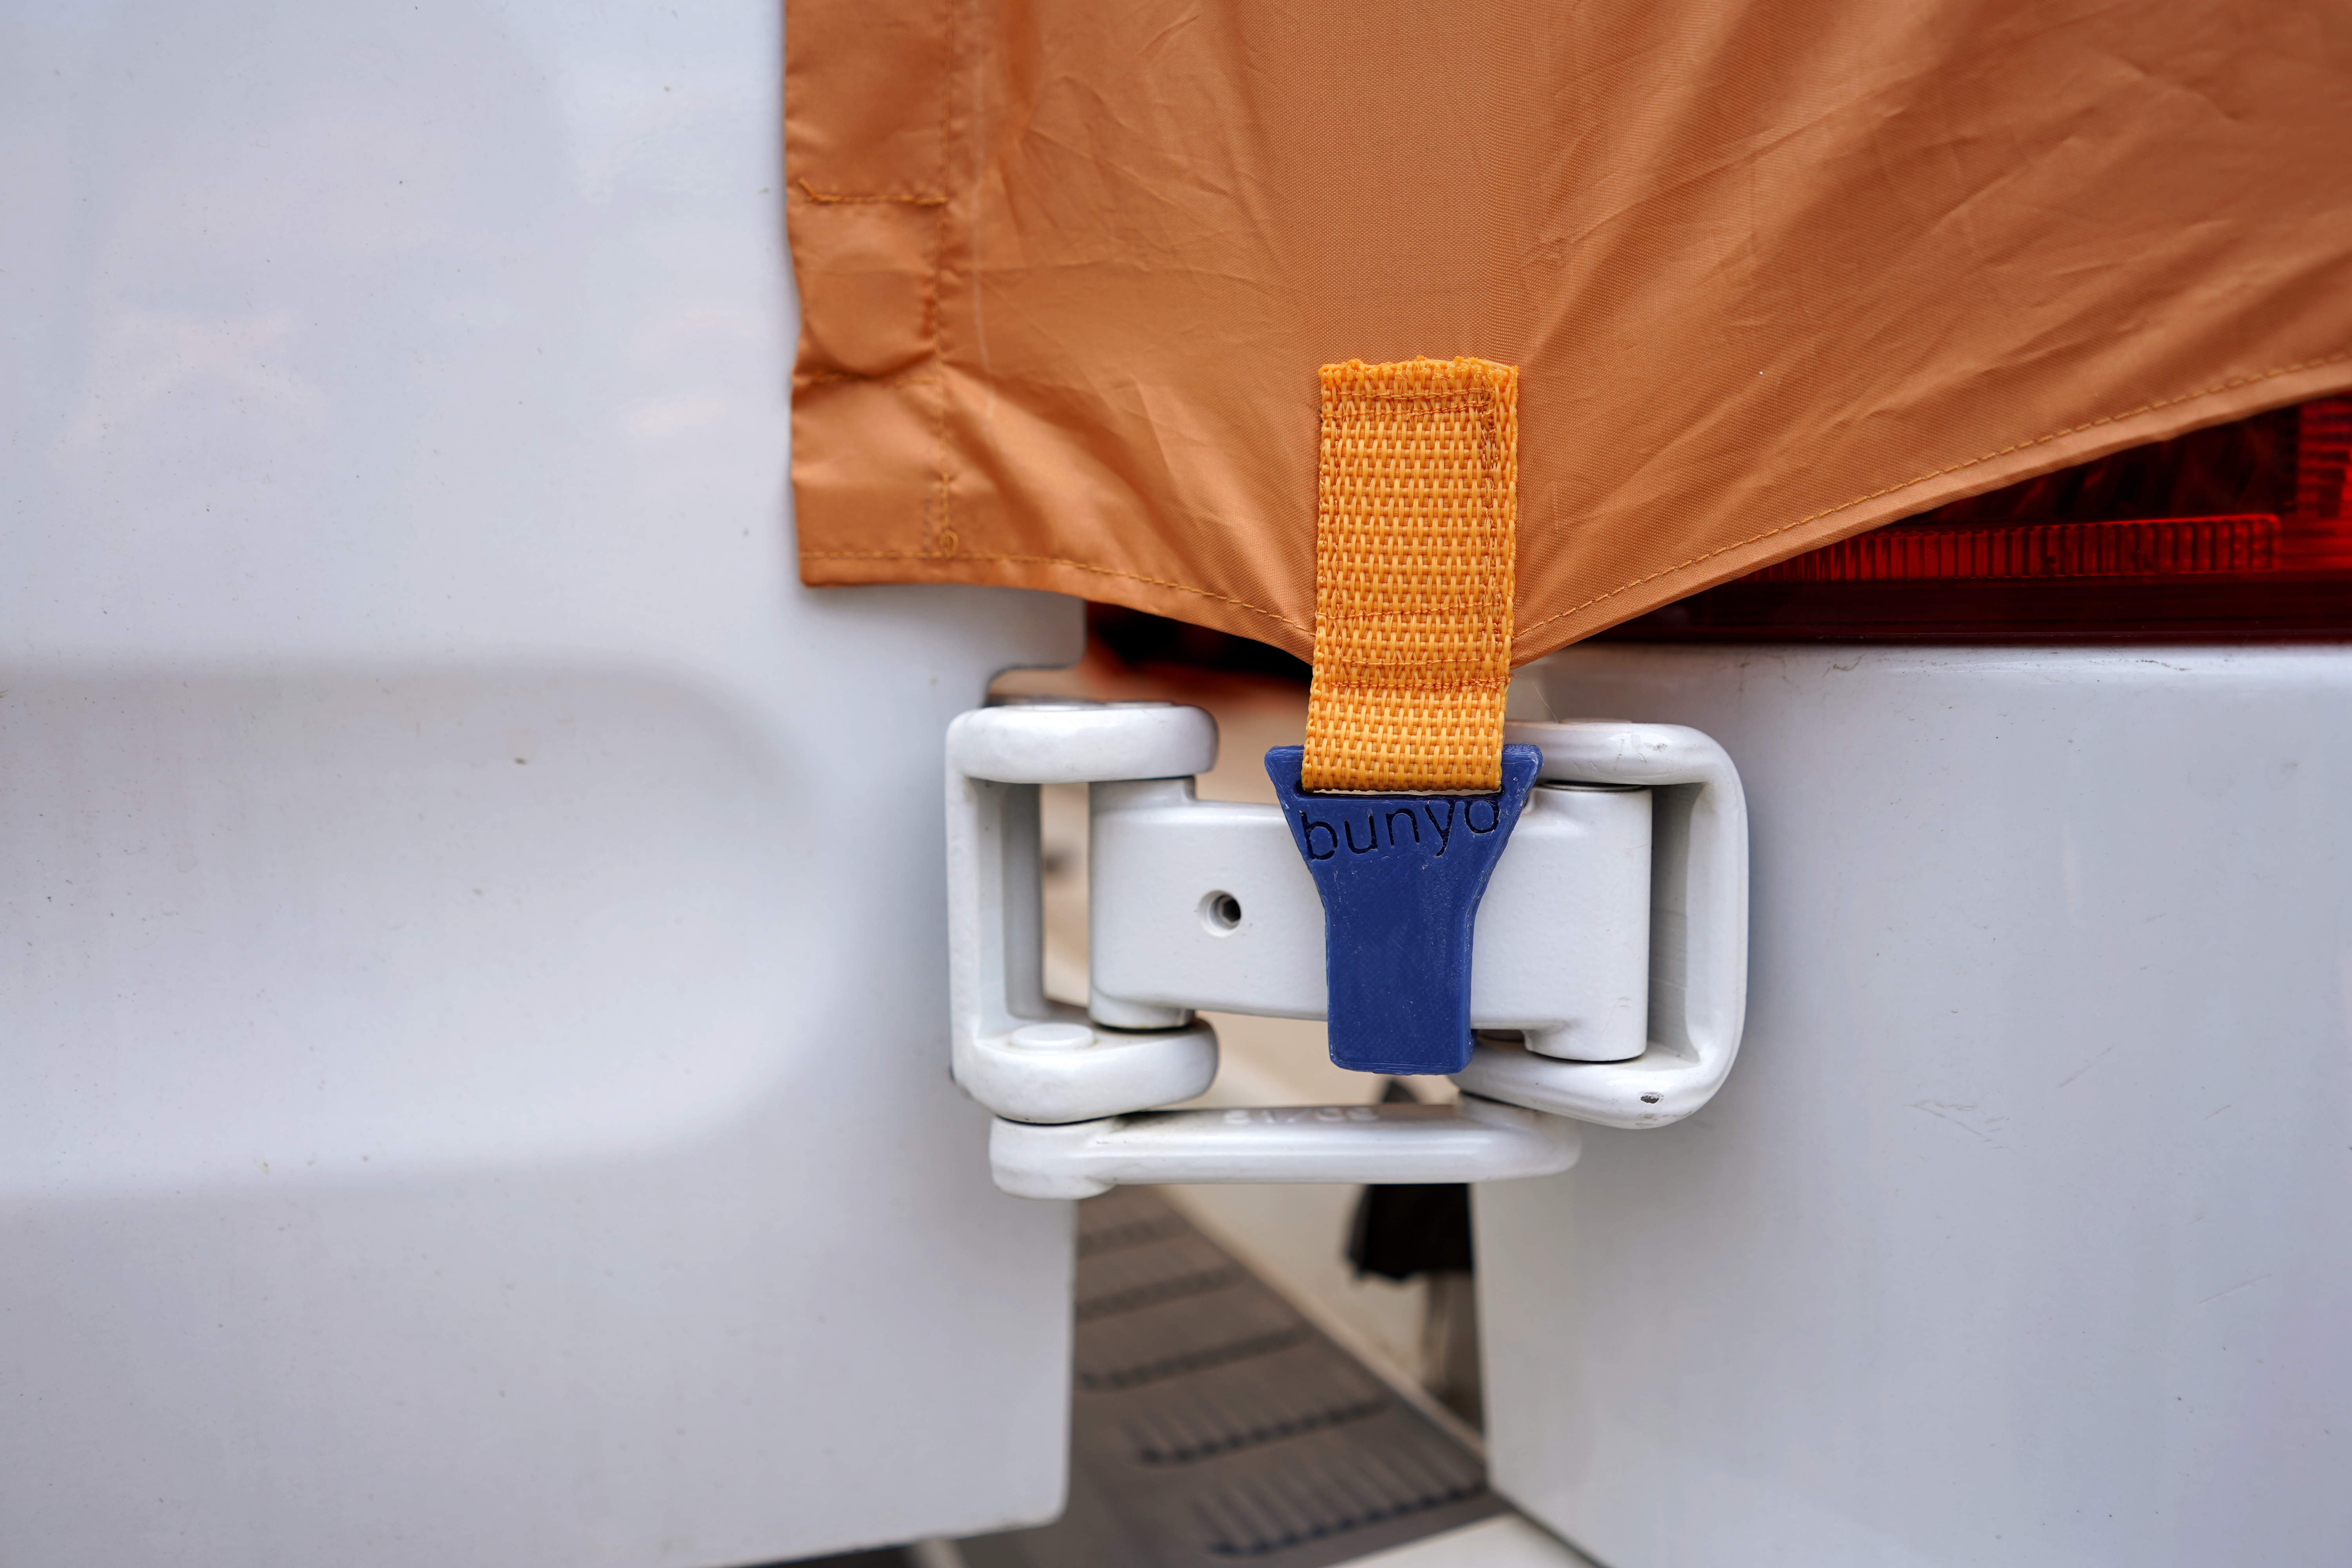
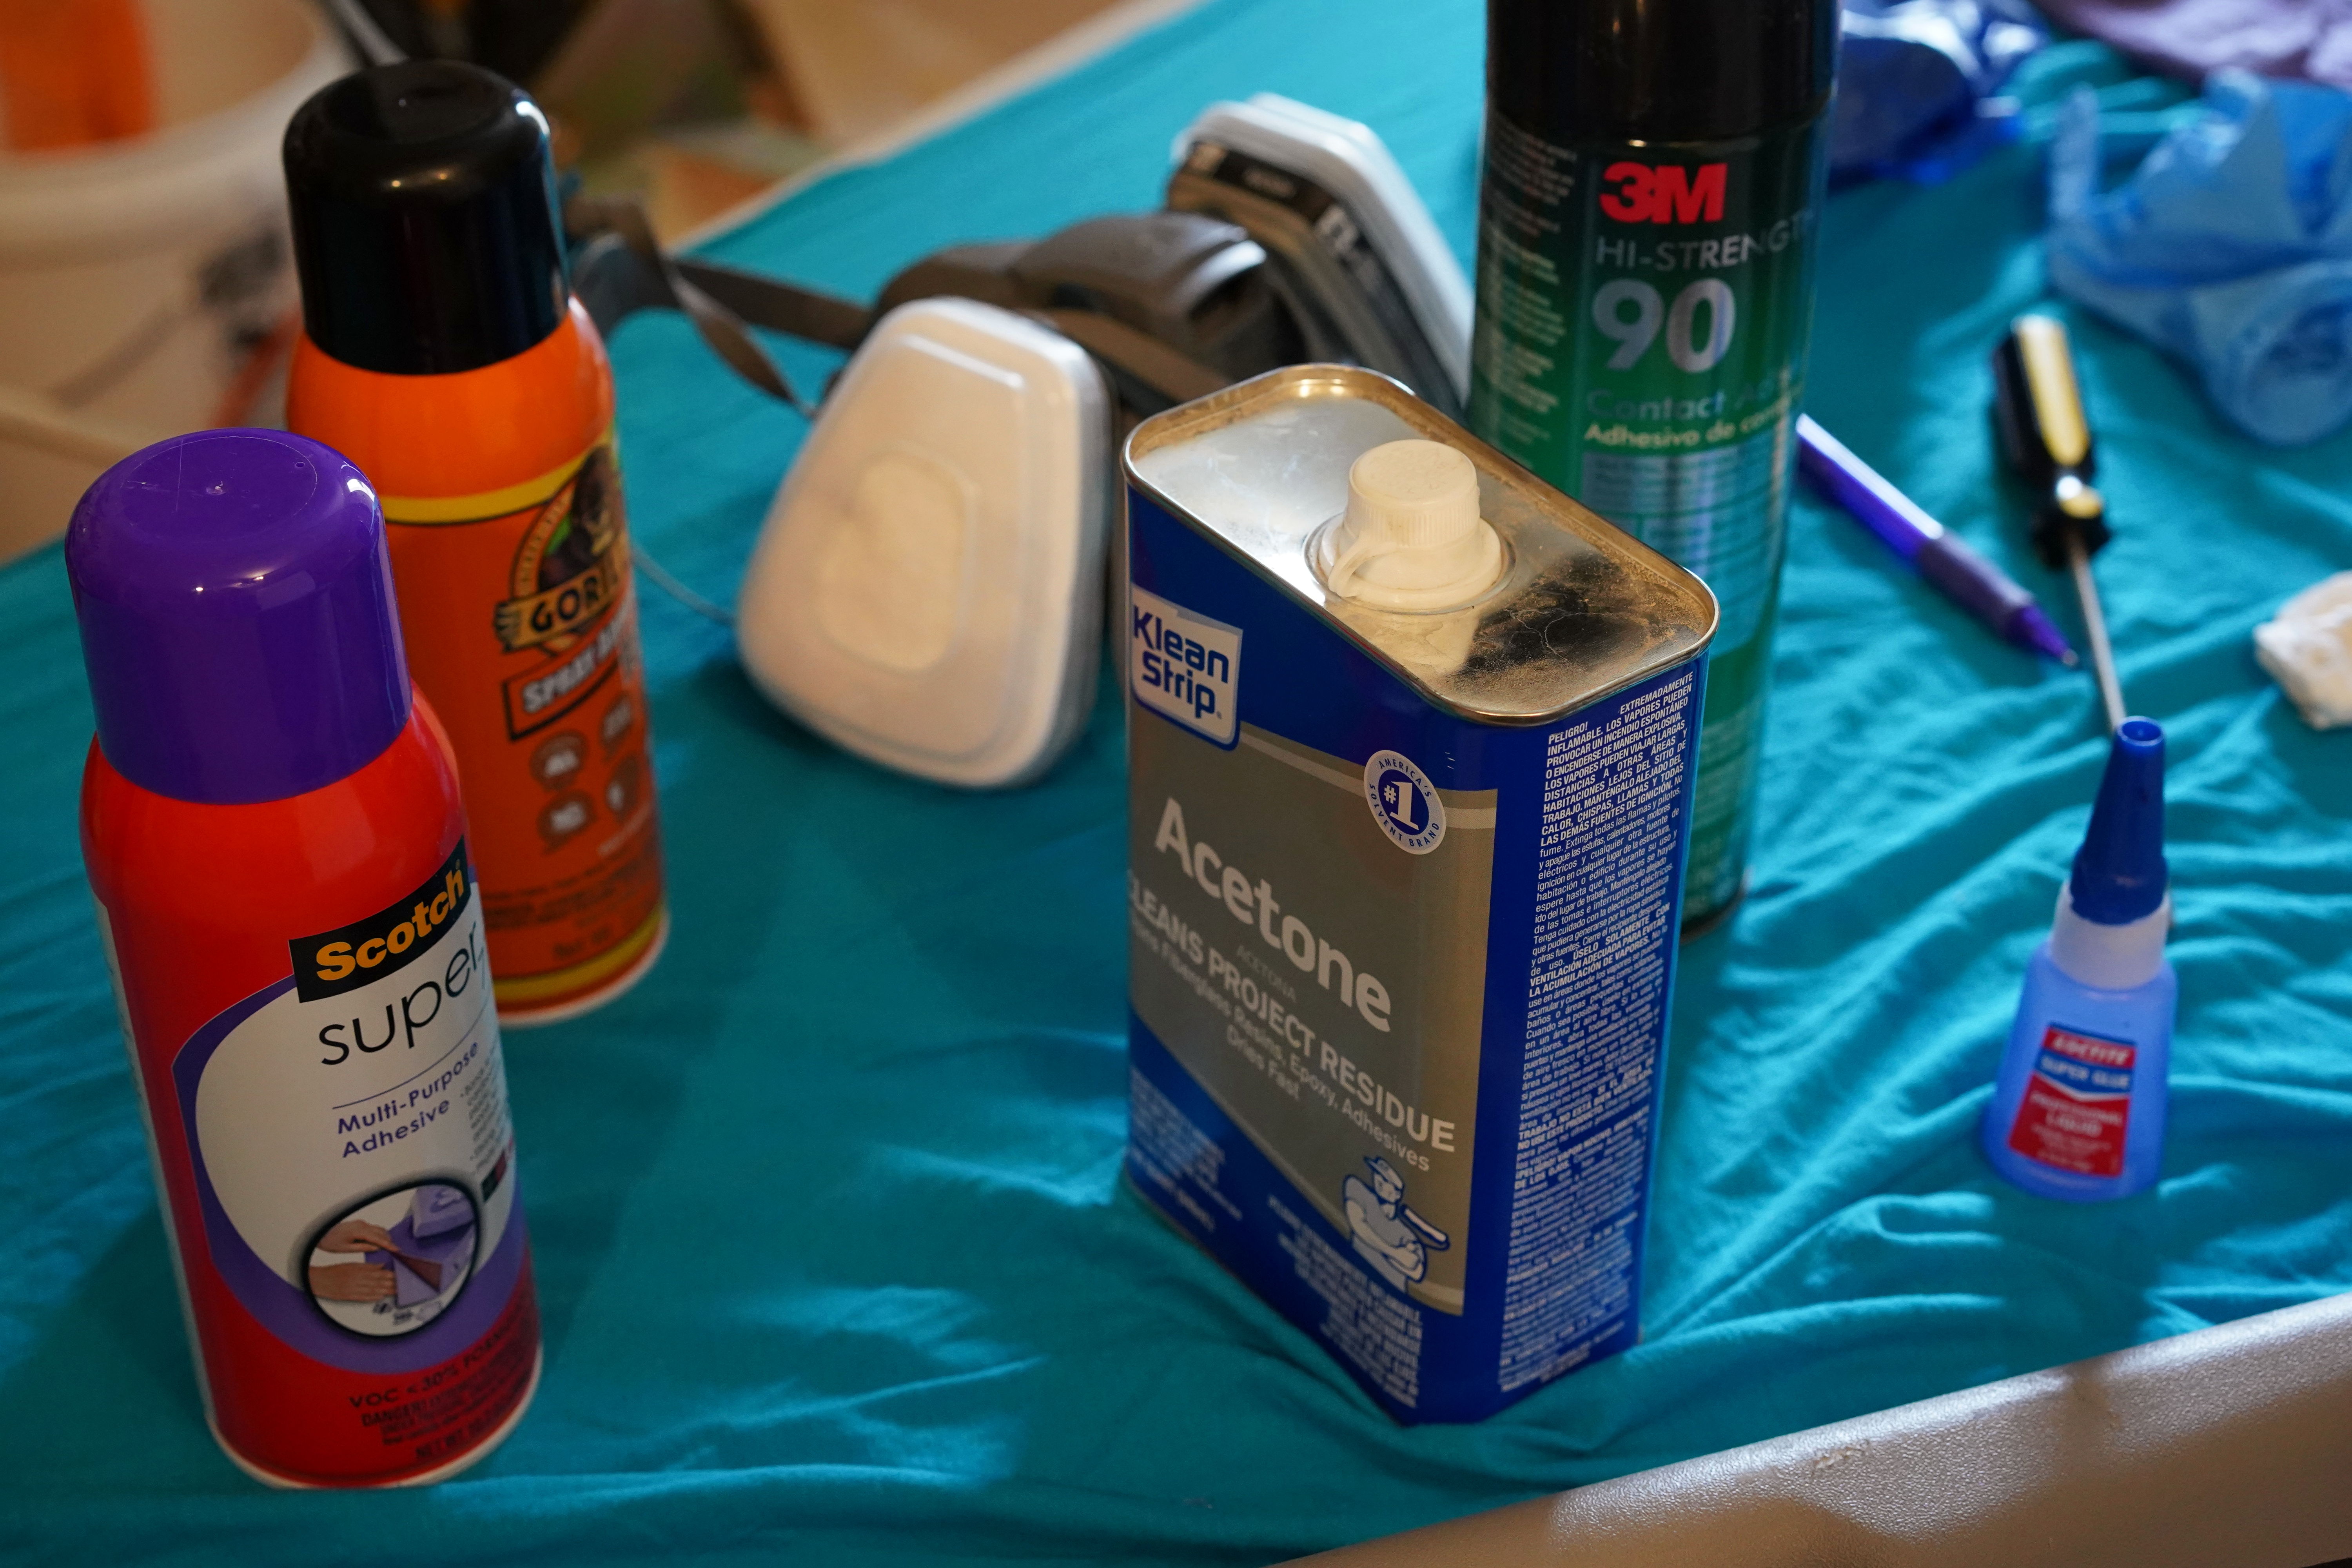
I created my version of a barn door awning out of a tarp, polyester thread, ball point machine needles, two zippers, four grommets, ceramic magnets, swivel magnetic hooks, braided elastic, belting straps, off-brand white velcro, and custom 3-D printed hooks.
Going into the project, I assumed the hardest part would be the measurements—around each door, between the doors, from each door to the van’s body, from the roof down to the hinges where the tarp hooks.

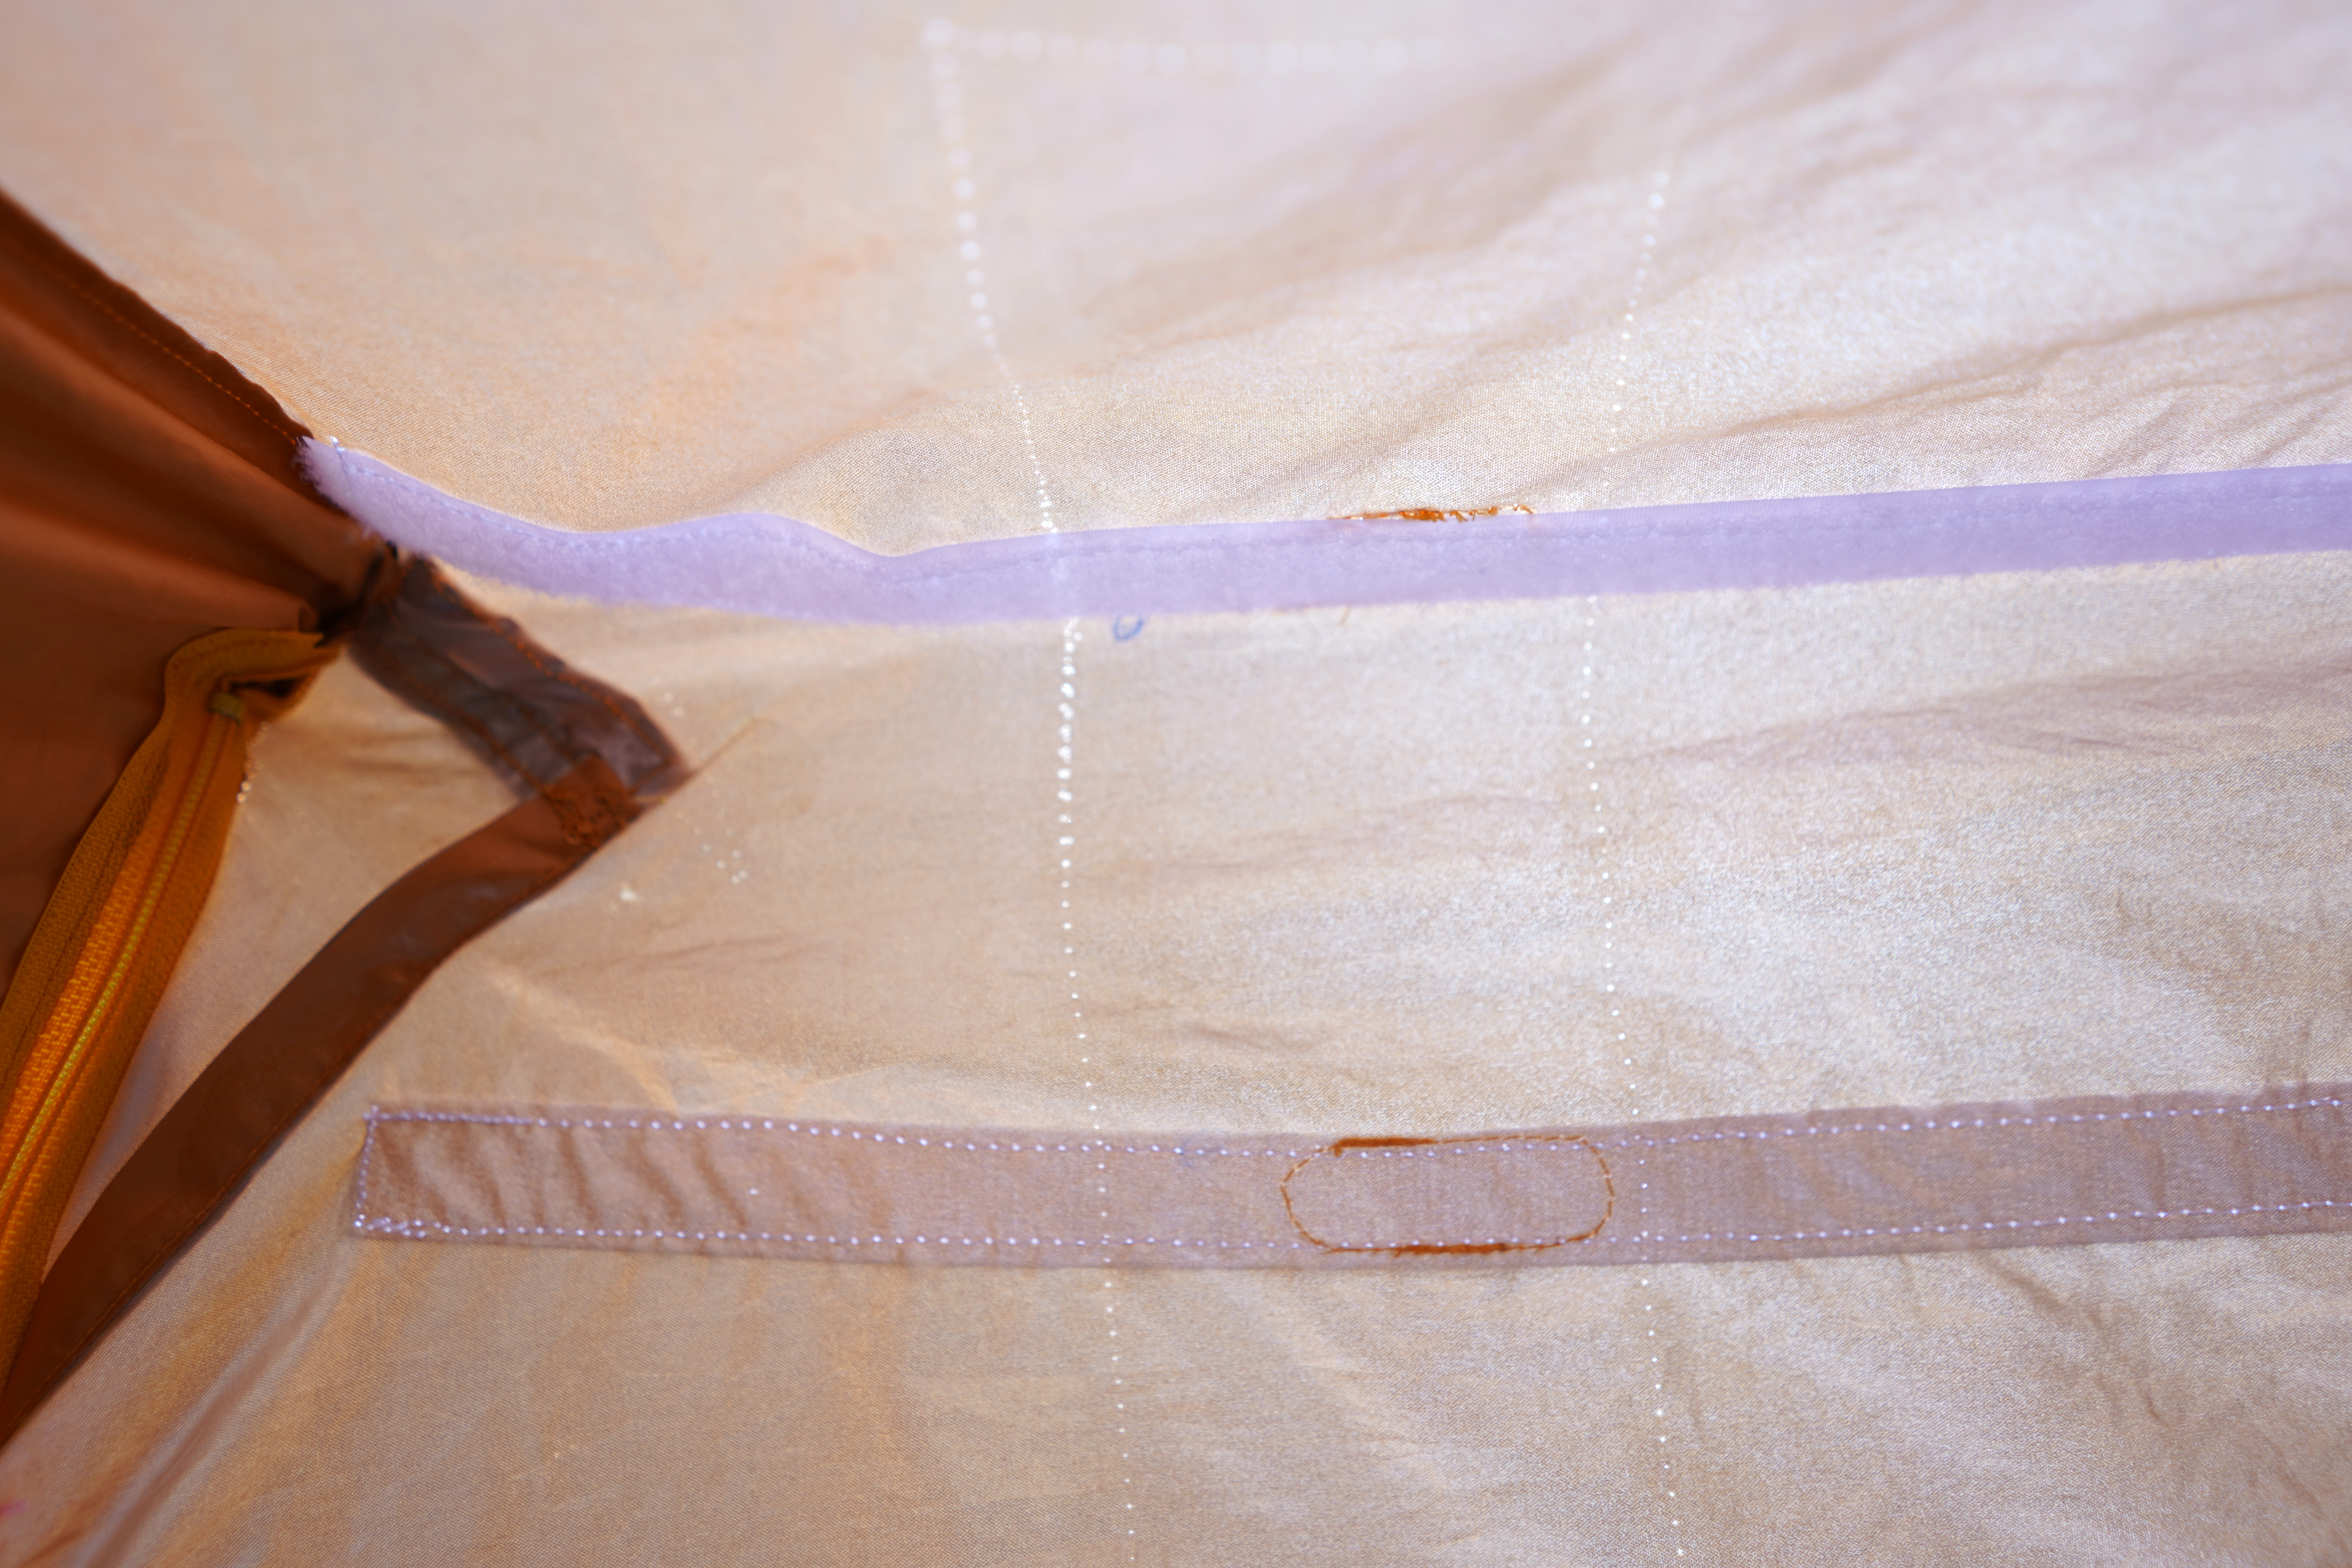
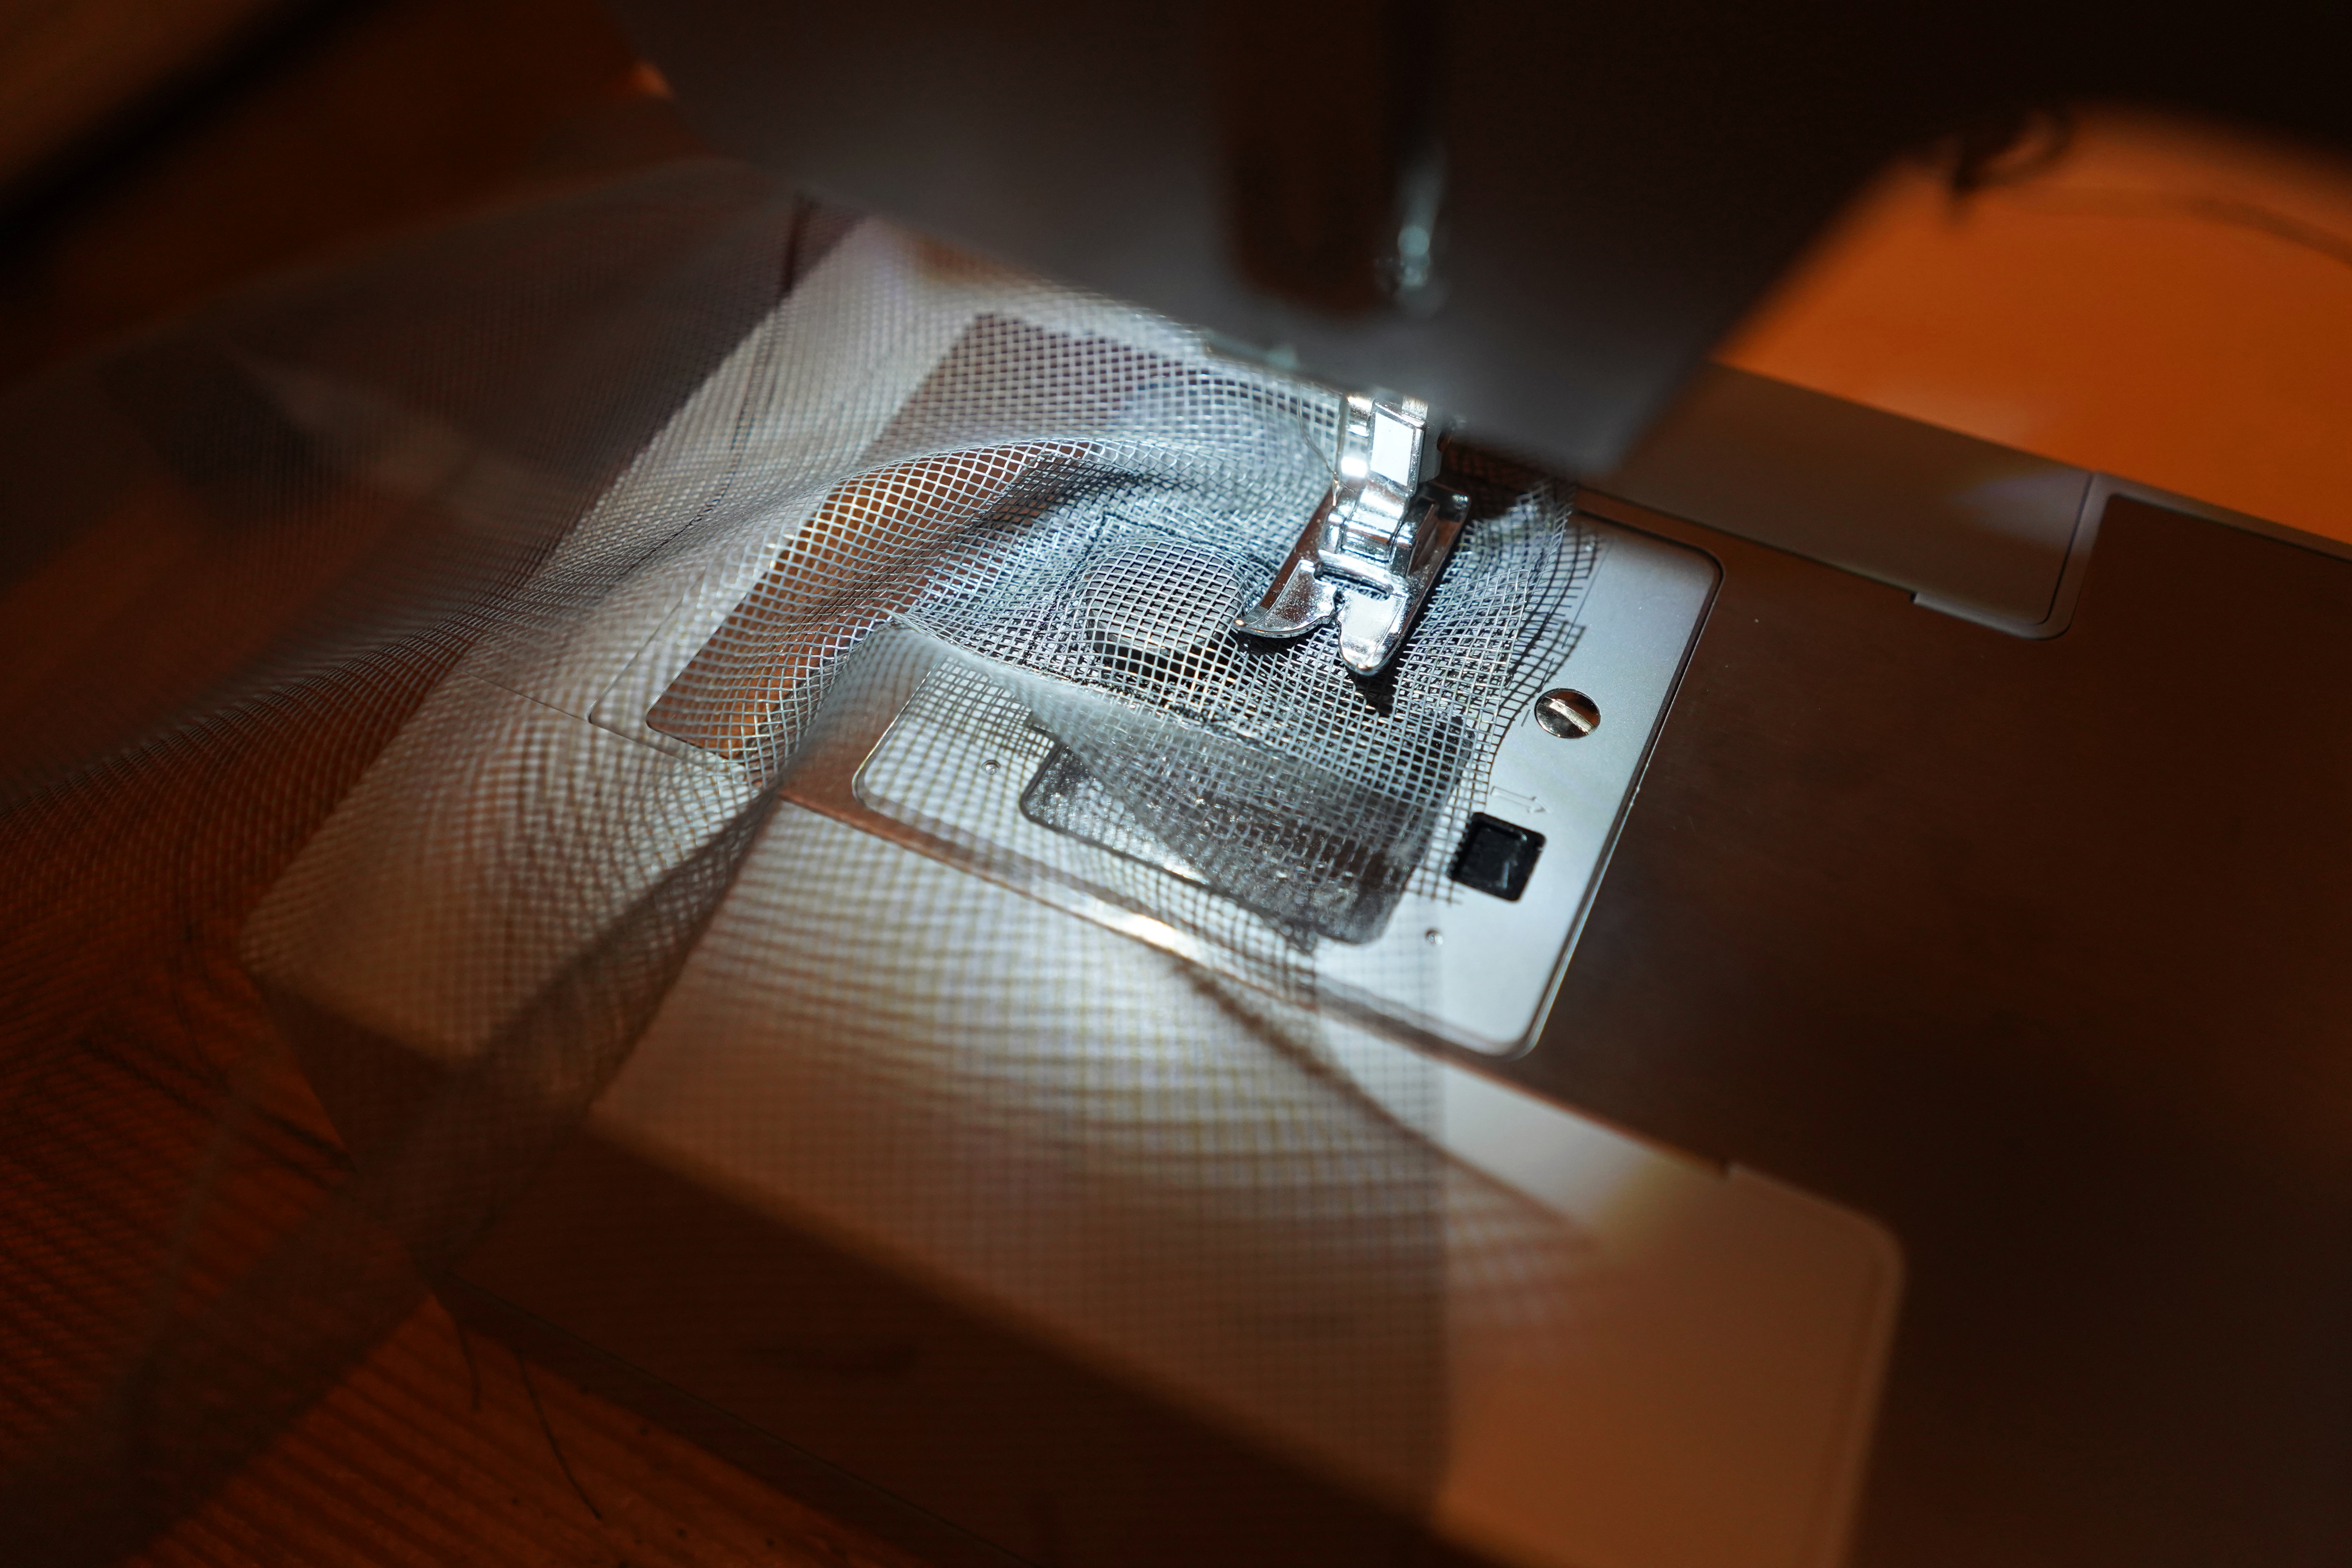
As it turned out, getting the measurements right was the easiest step. The actual sewing part required advanced skills that I hadn’t learned during my two previous sewing projects (those lavender sachets and that one drawstring bag in middle school). First, I struggled with thread tension. Since tarp fabric is so light, I couldn’t get away with the regular-point needles and mid-weight thread I’d been using. I learned that matching the right needles to the right thread and right fabric is an art that requires experimentation; in this case, thin polyester thread and 70/09 ballpoint needles worked best. I also had trouble keeping the fabric in place while sewing. I couldn’t use pins because they left holes in the tarp (not true for fabrics like cotton). Eventually, I discovered Wonder Tape and Magic Clips. The tarp fabric’s inability to hide holes also meant that every mistake I made showed. Every time I pressed my sewing machine’s foot pedal, my heart rate picked up.
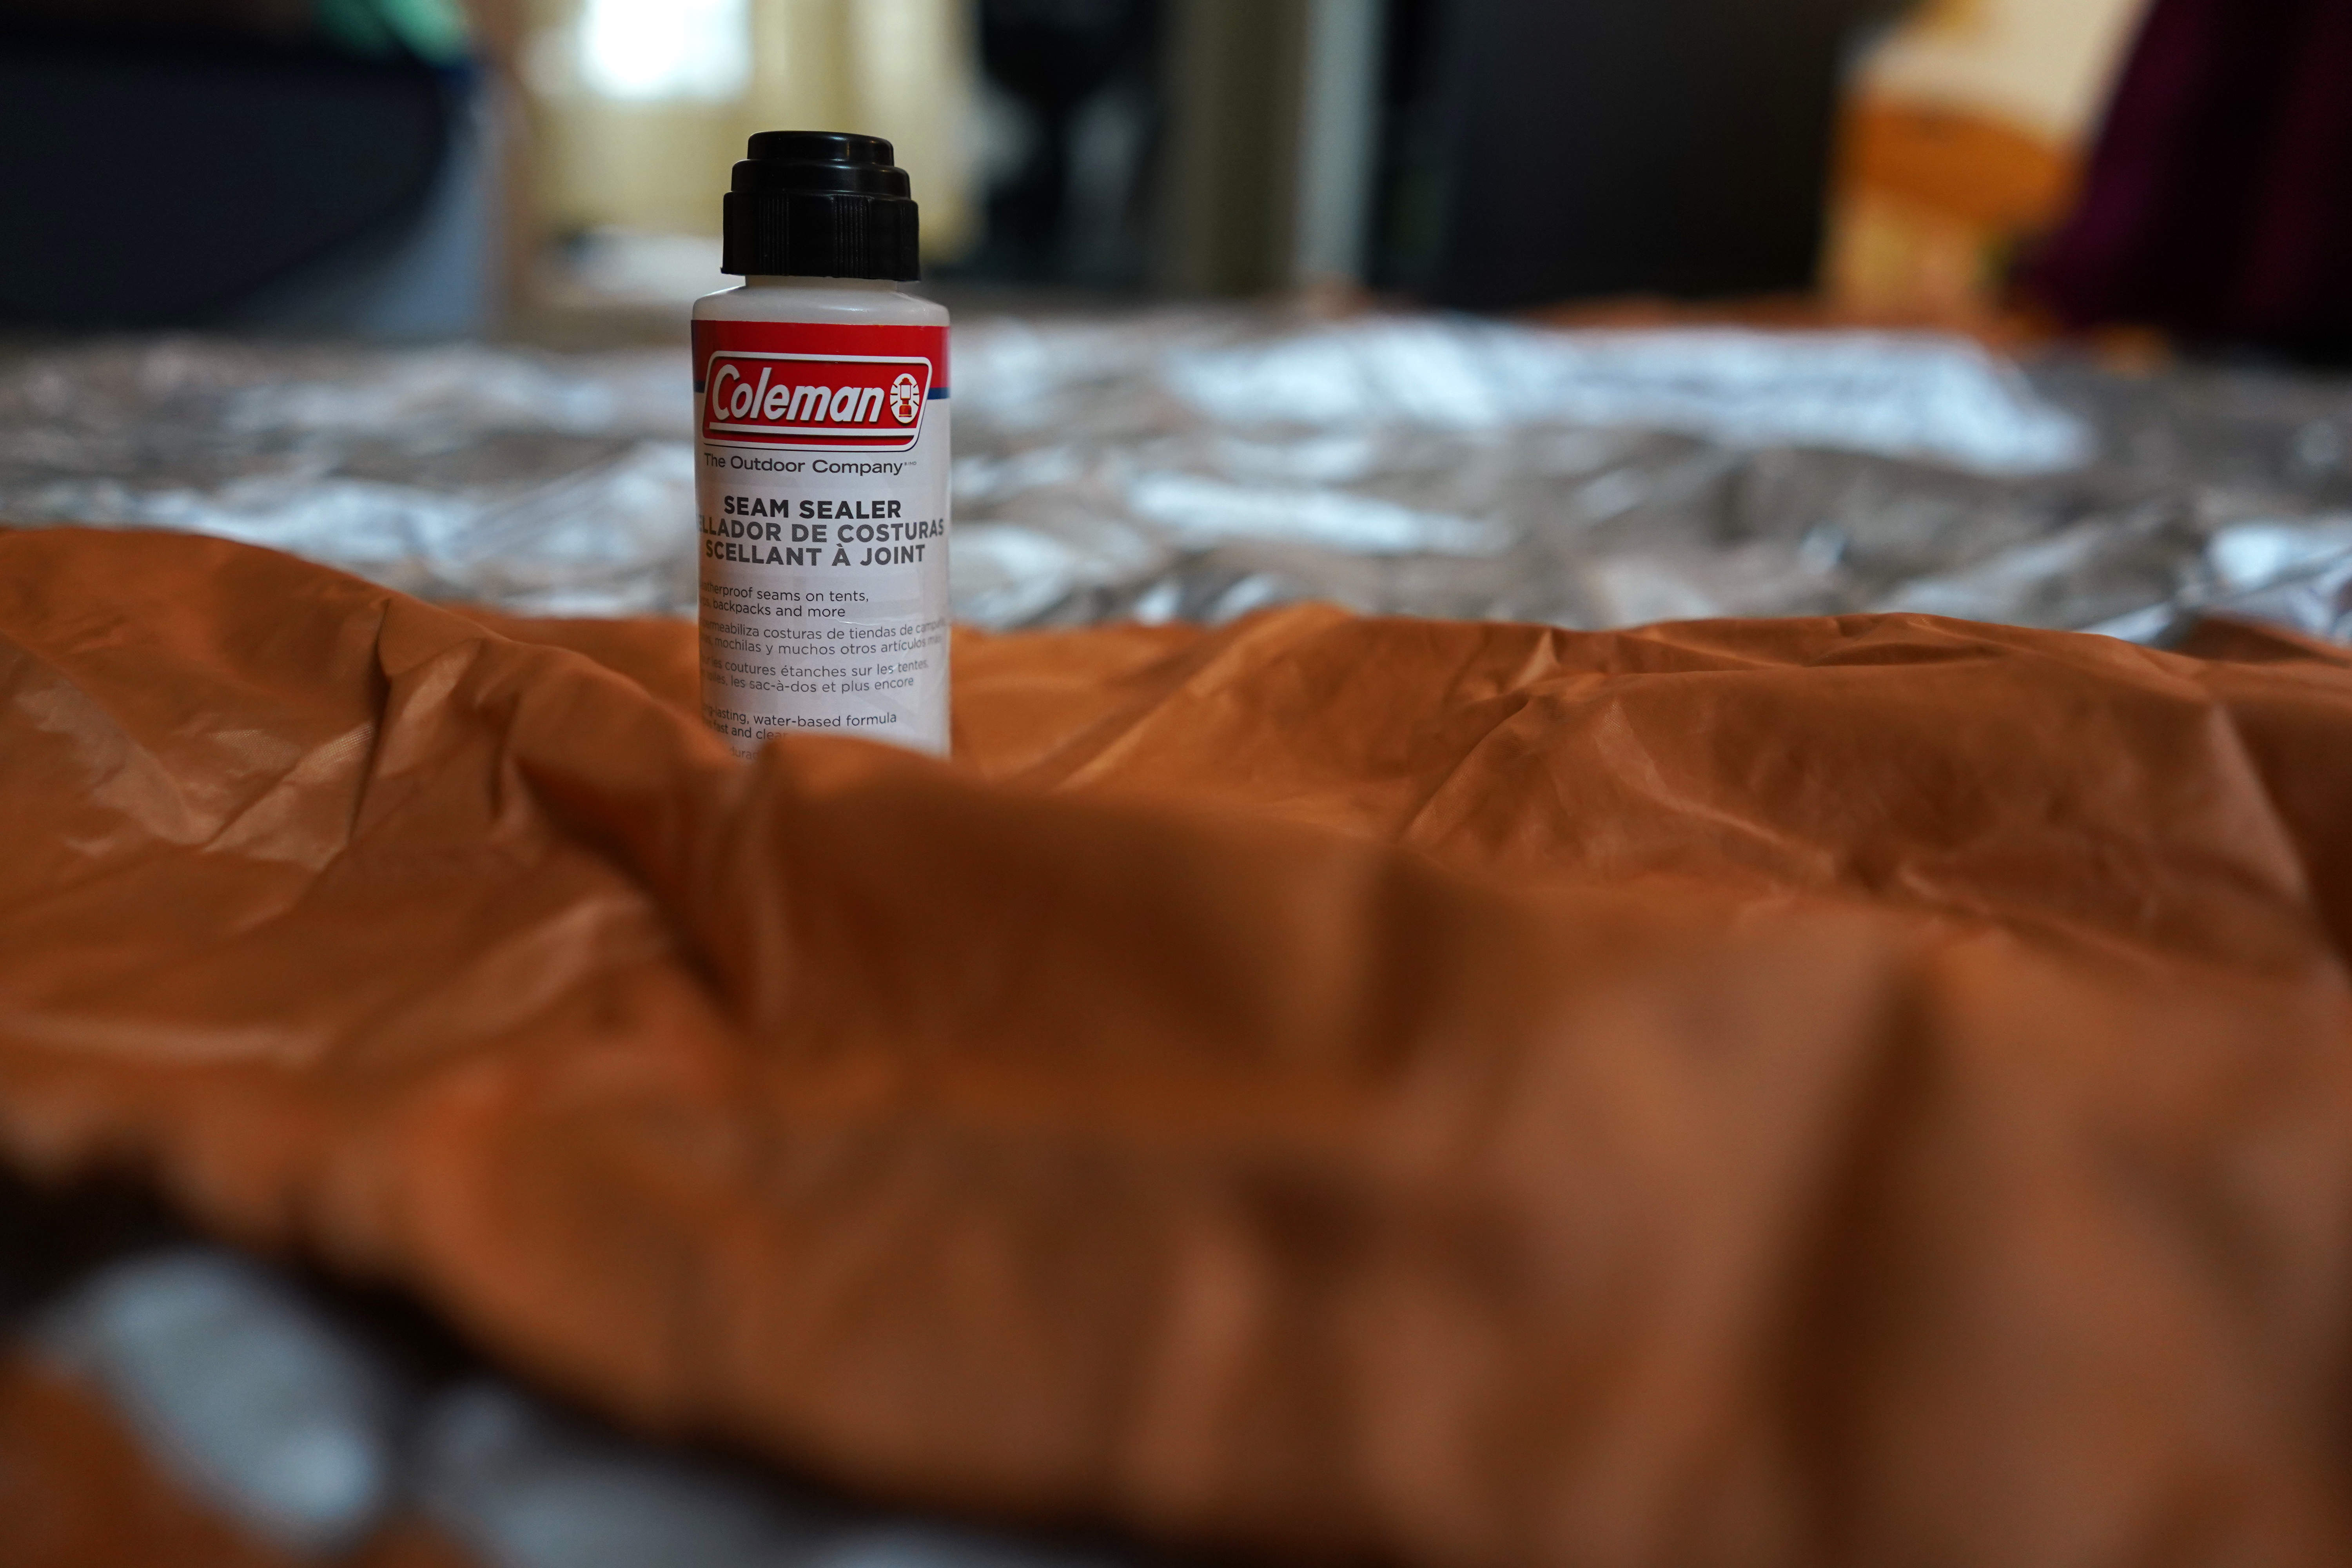
I did make mistakes. Fortunately, I was able to seal the little holes that my ripped seams left behind with seam sealer. My mistakes are still visible, but at least they’re waterproof.
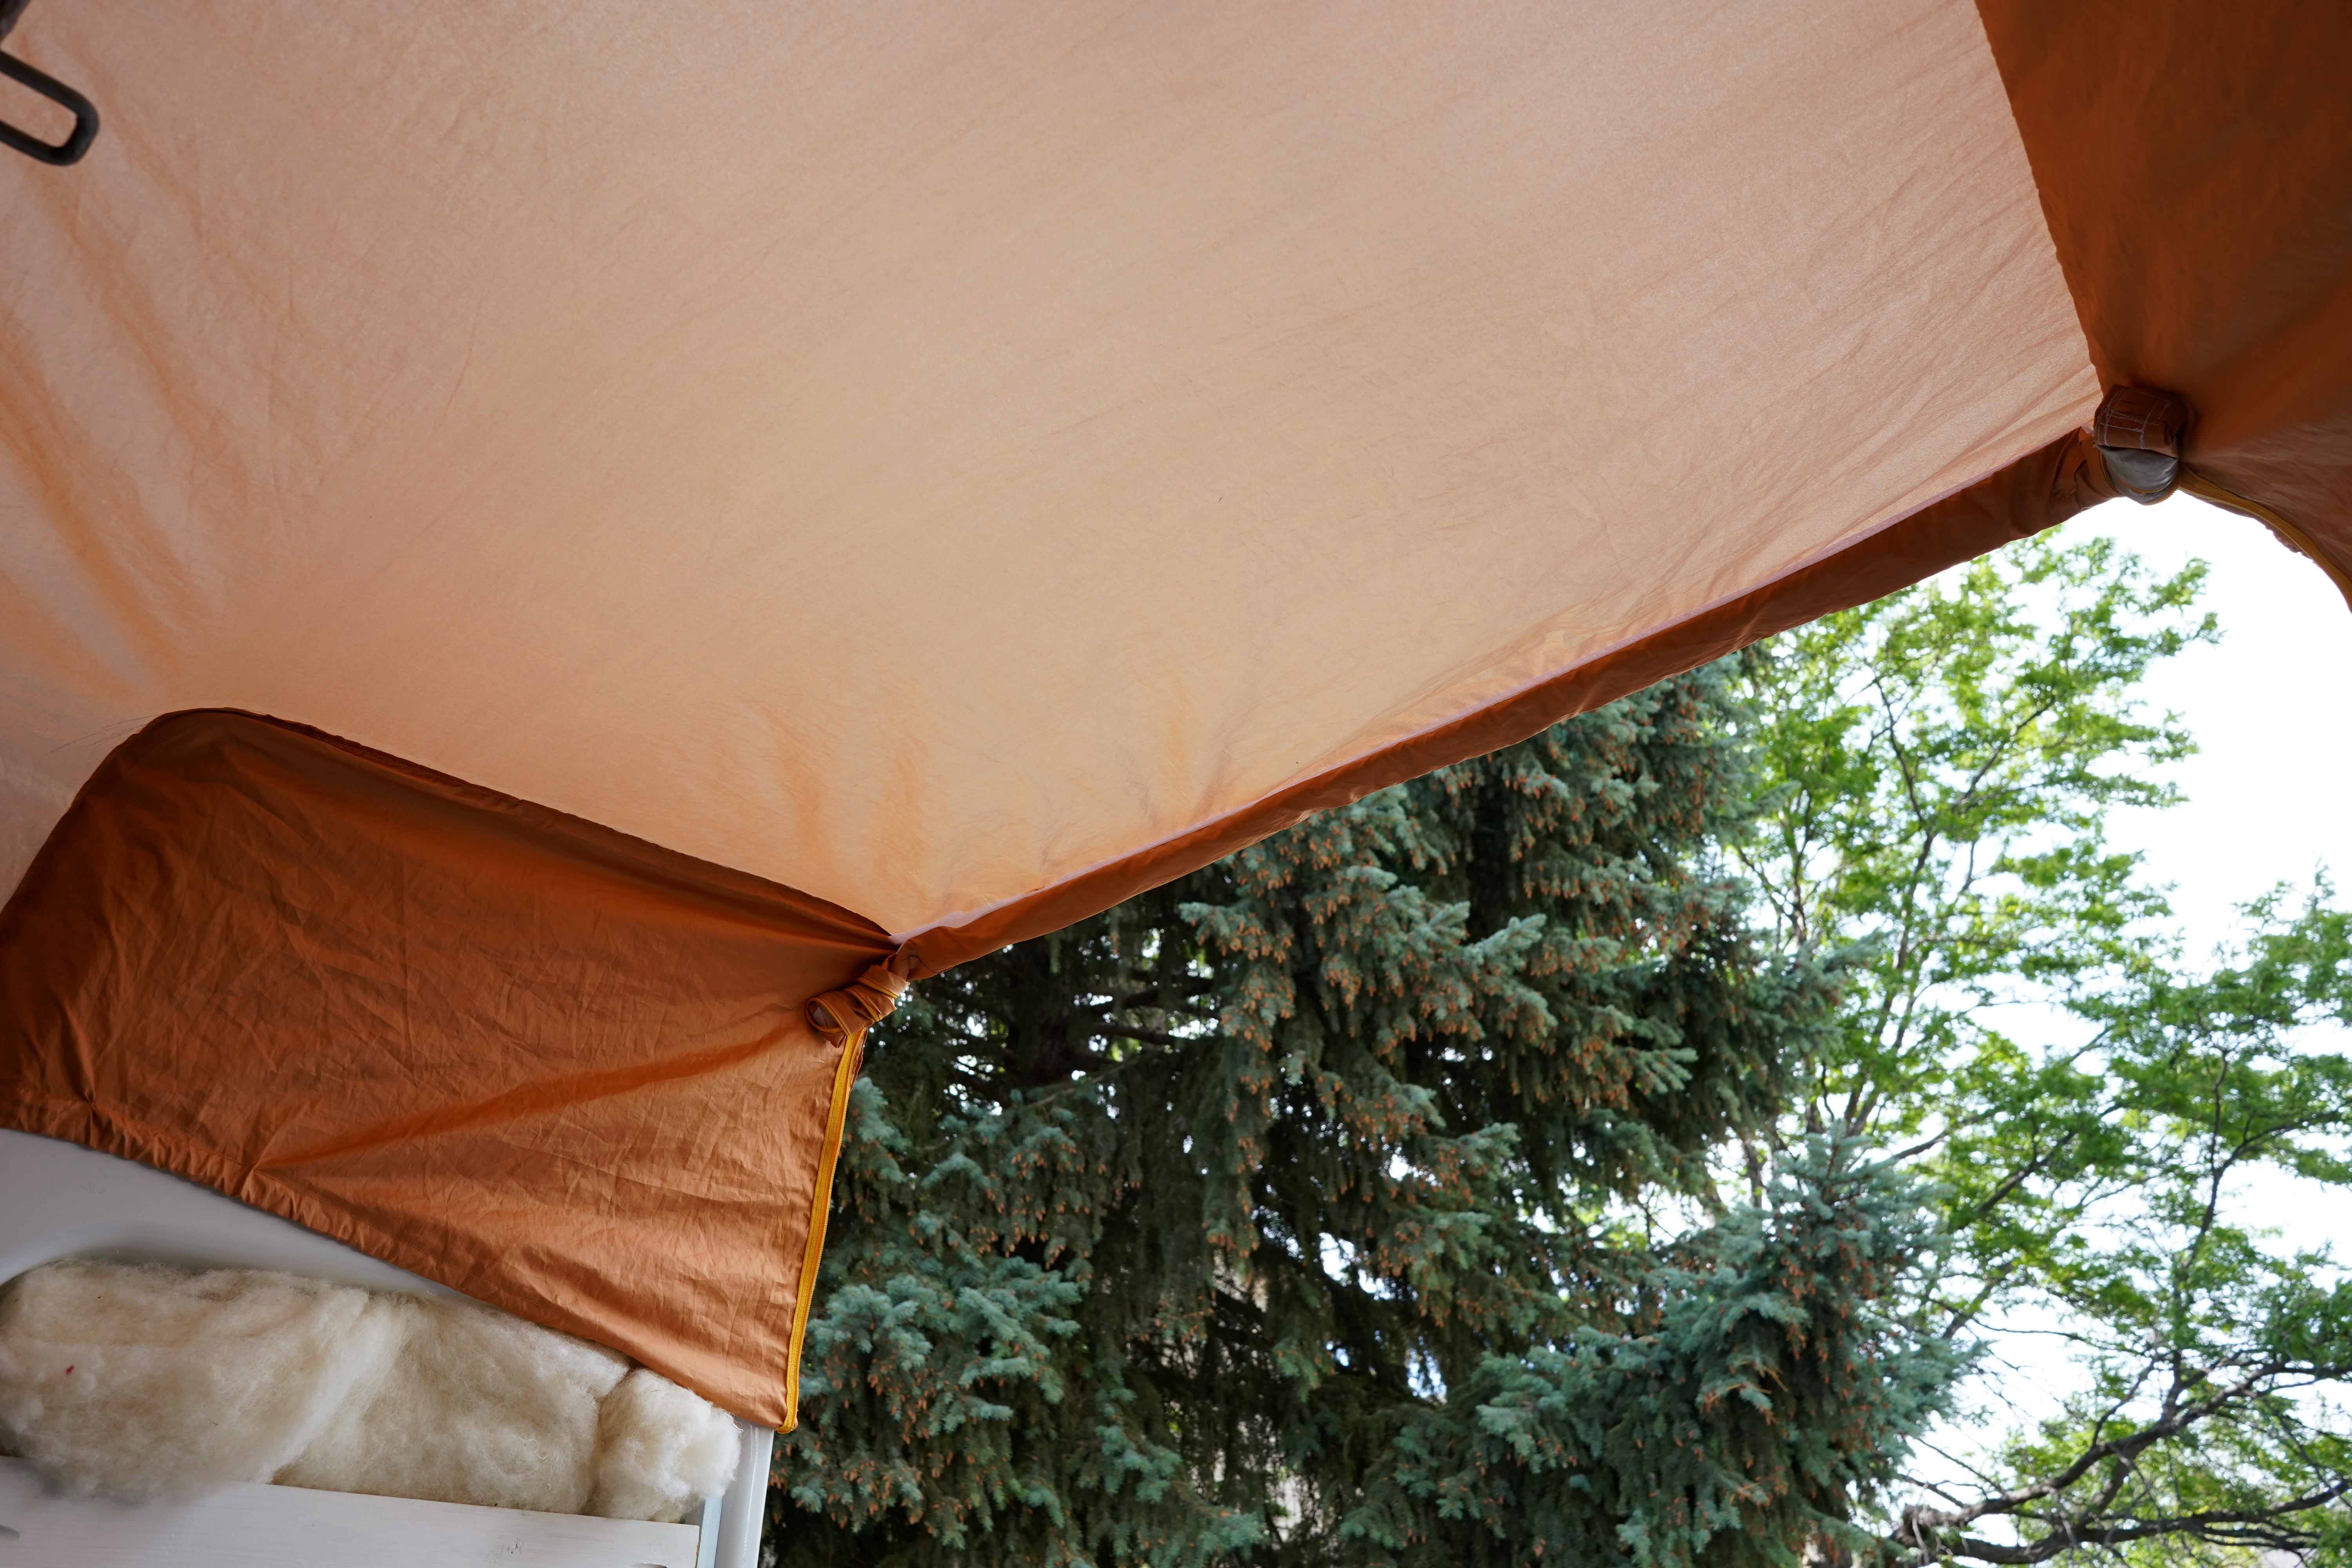
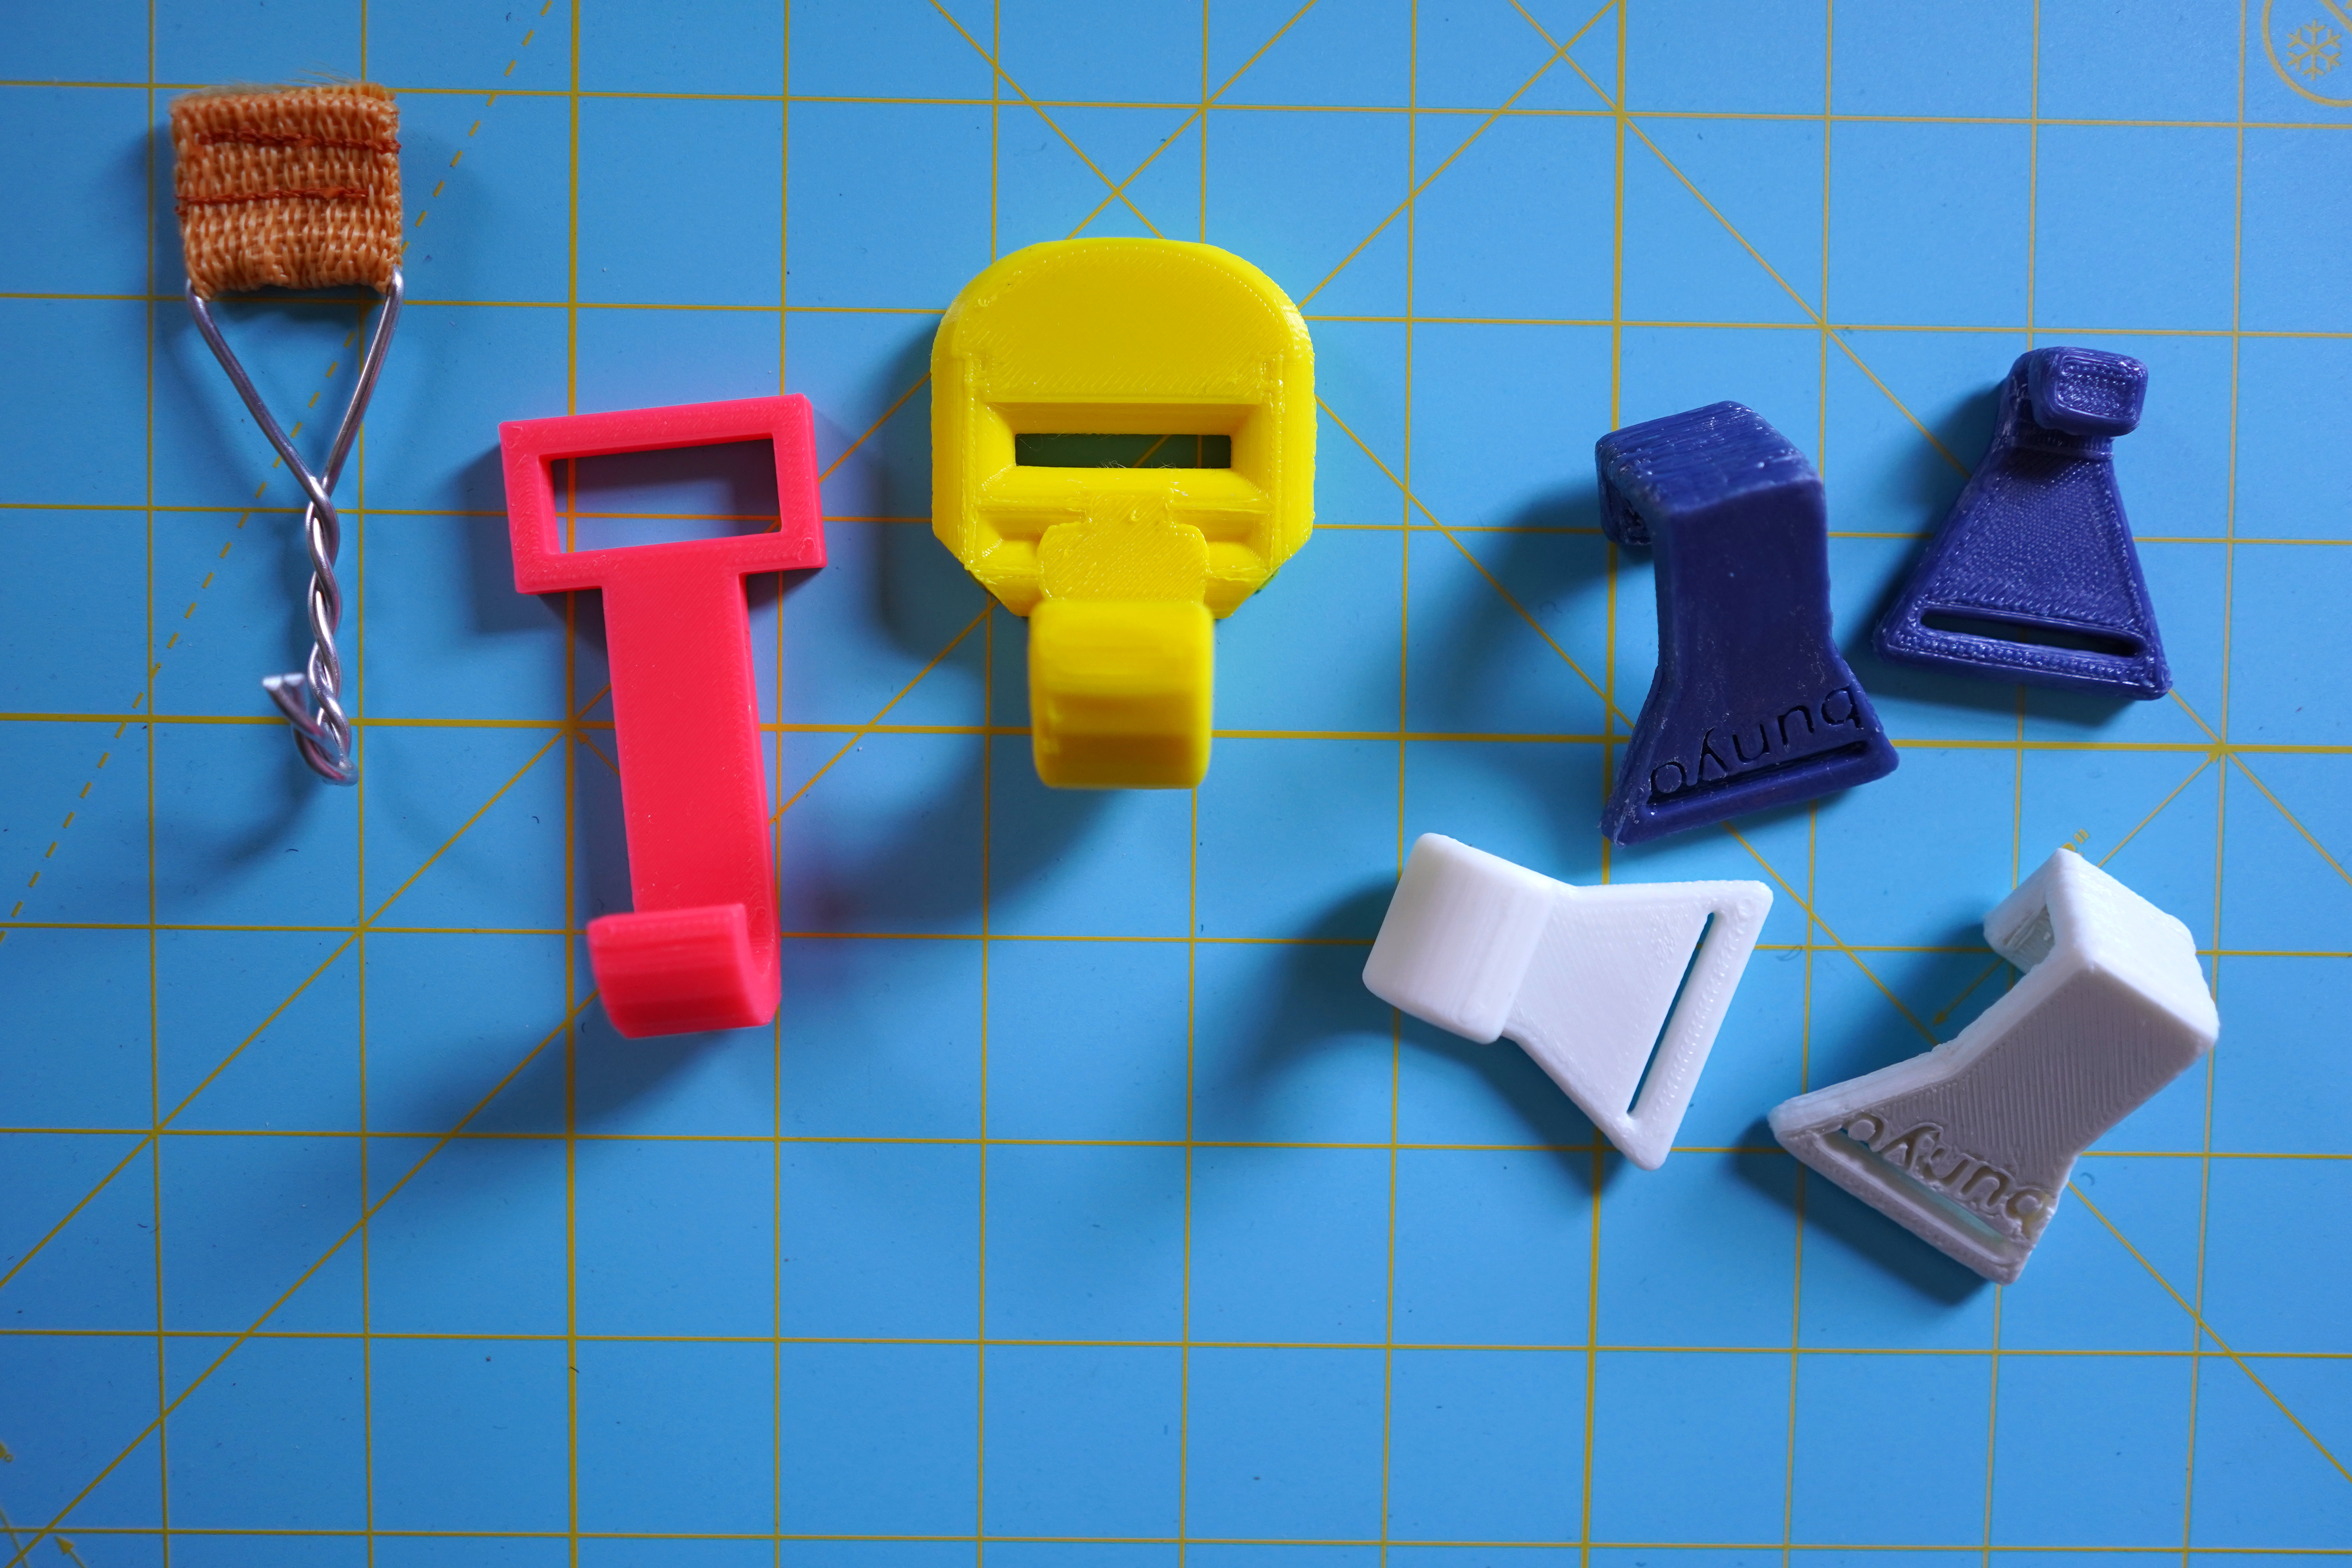
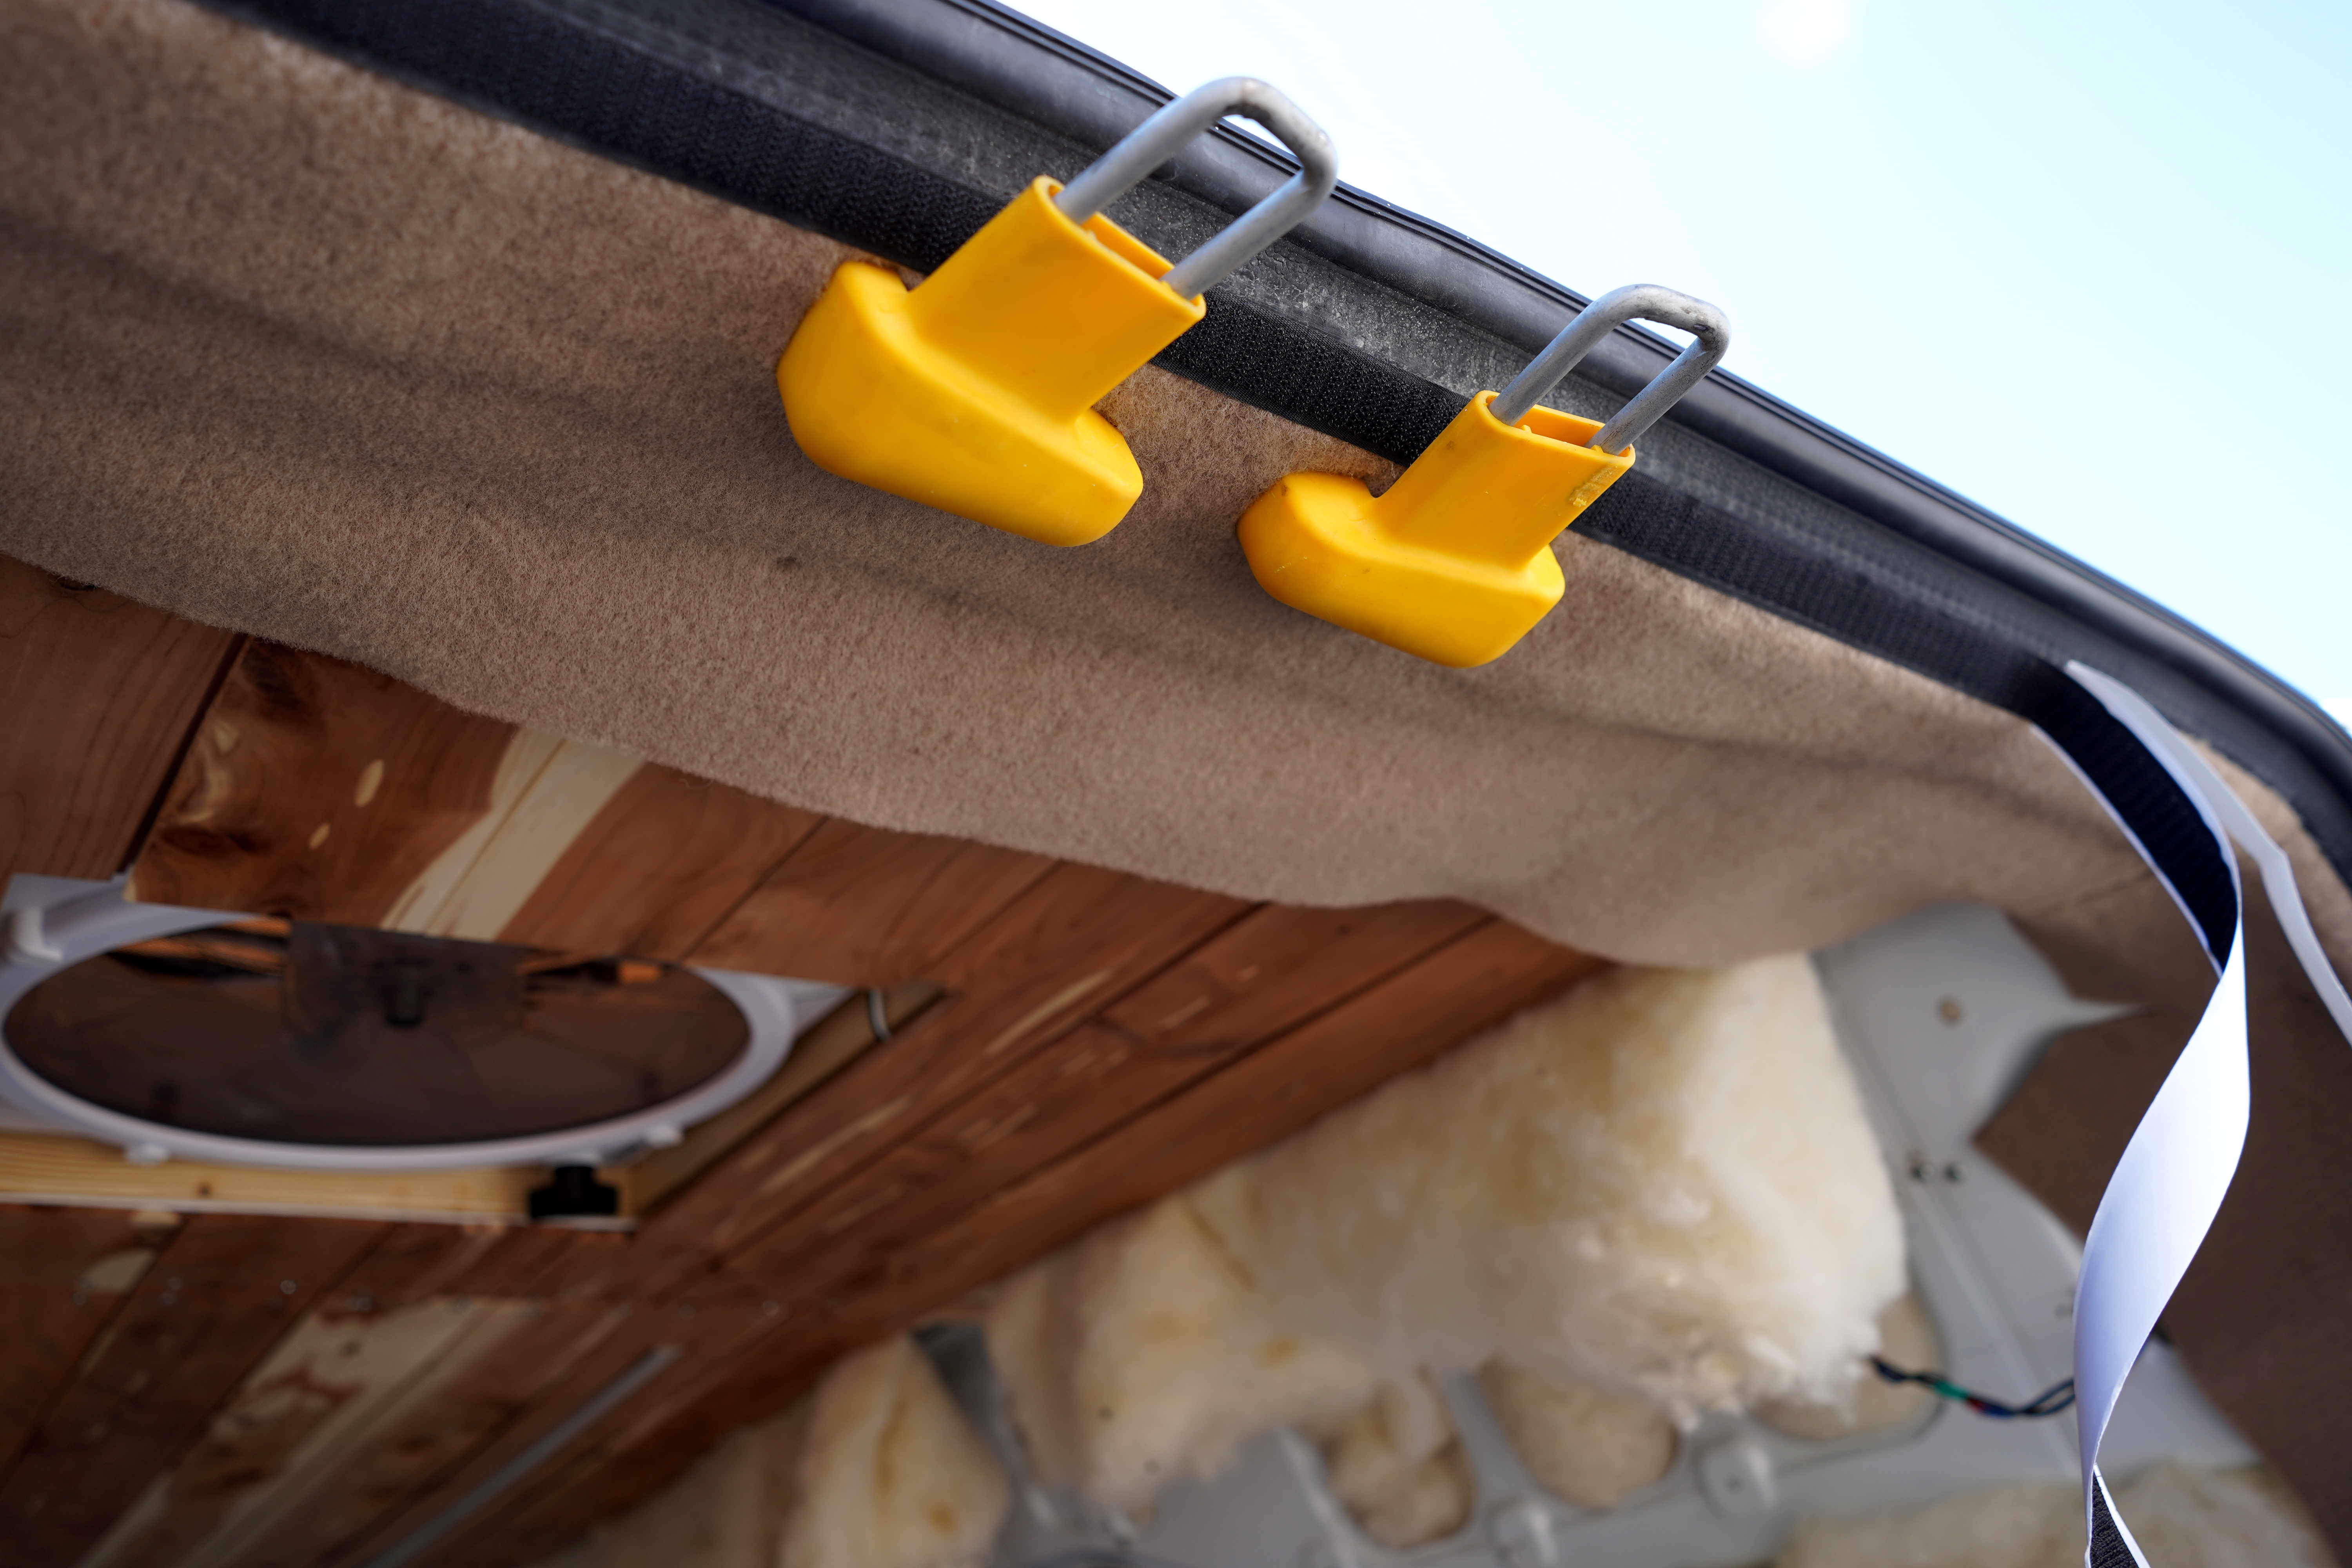
Even in high winds, this awning stays put with the help of 53 ceramic magnets, 4 magnetic hooks, and 4 custom plastic hooks that I 3-D printed at my local maker space.
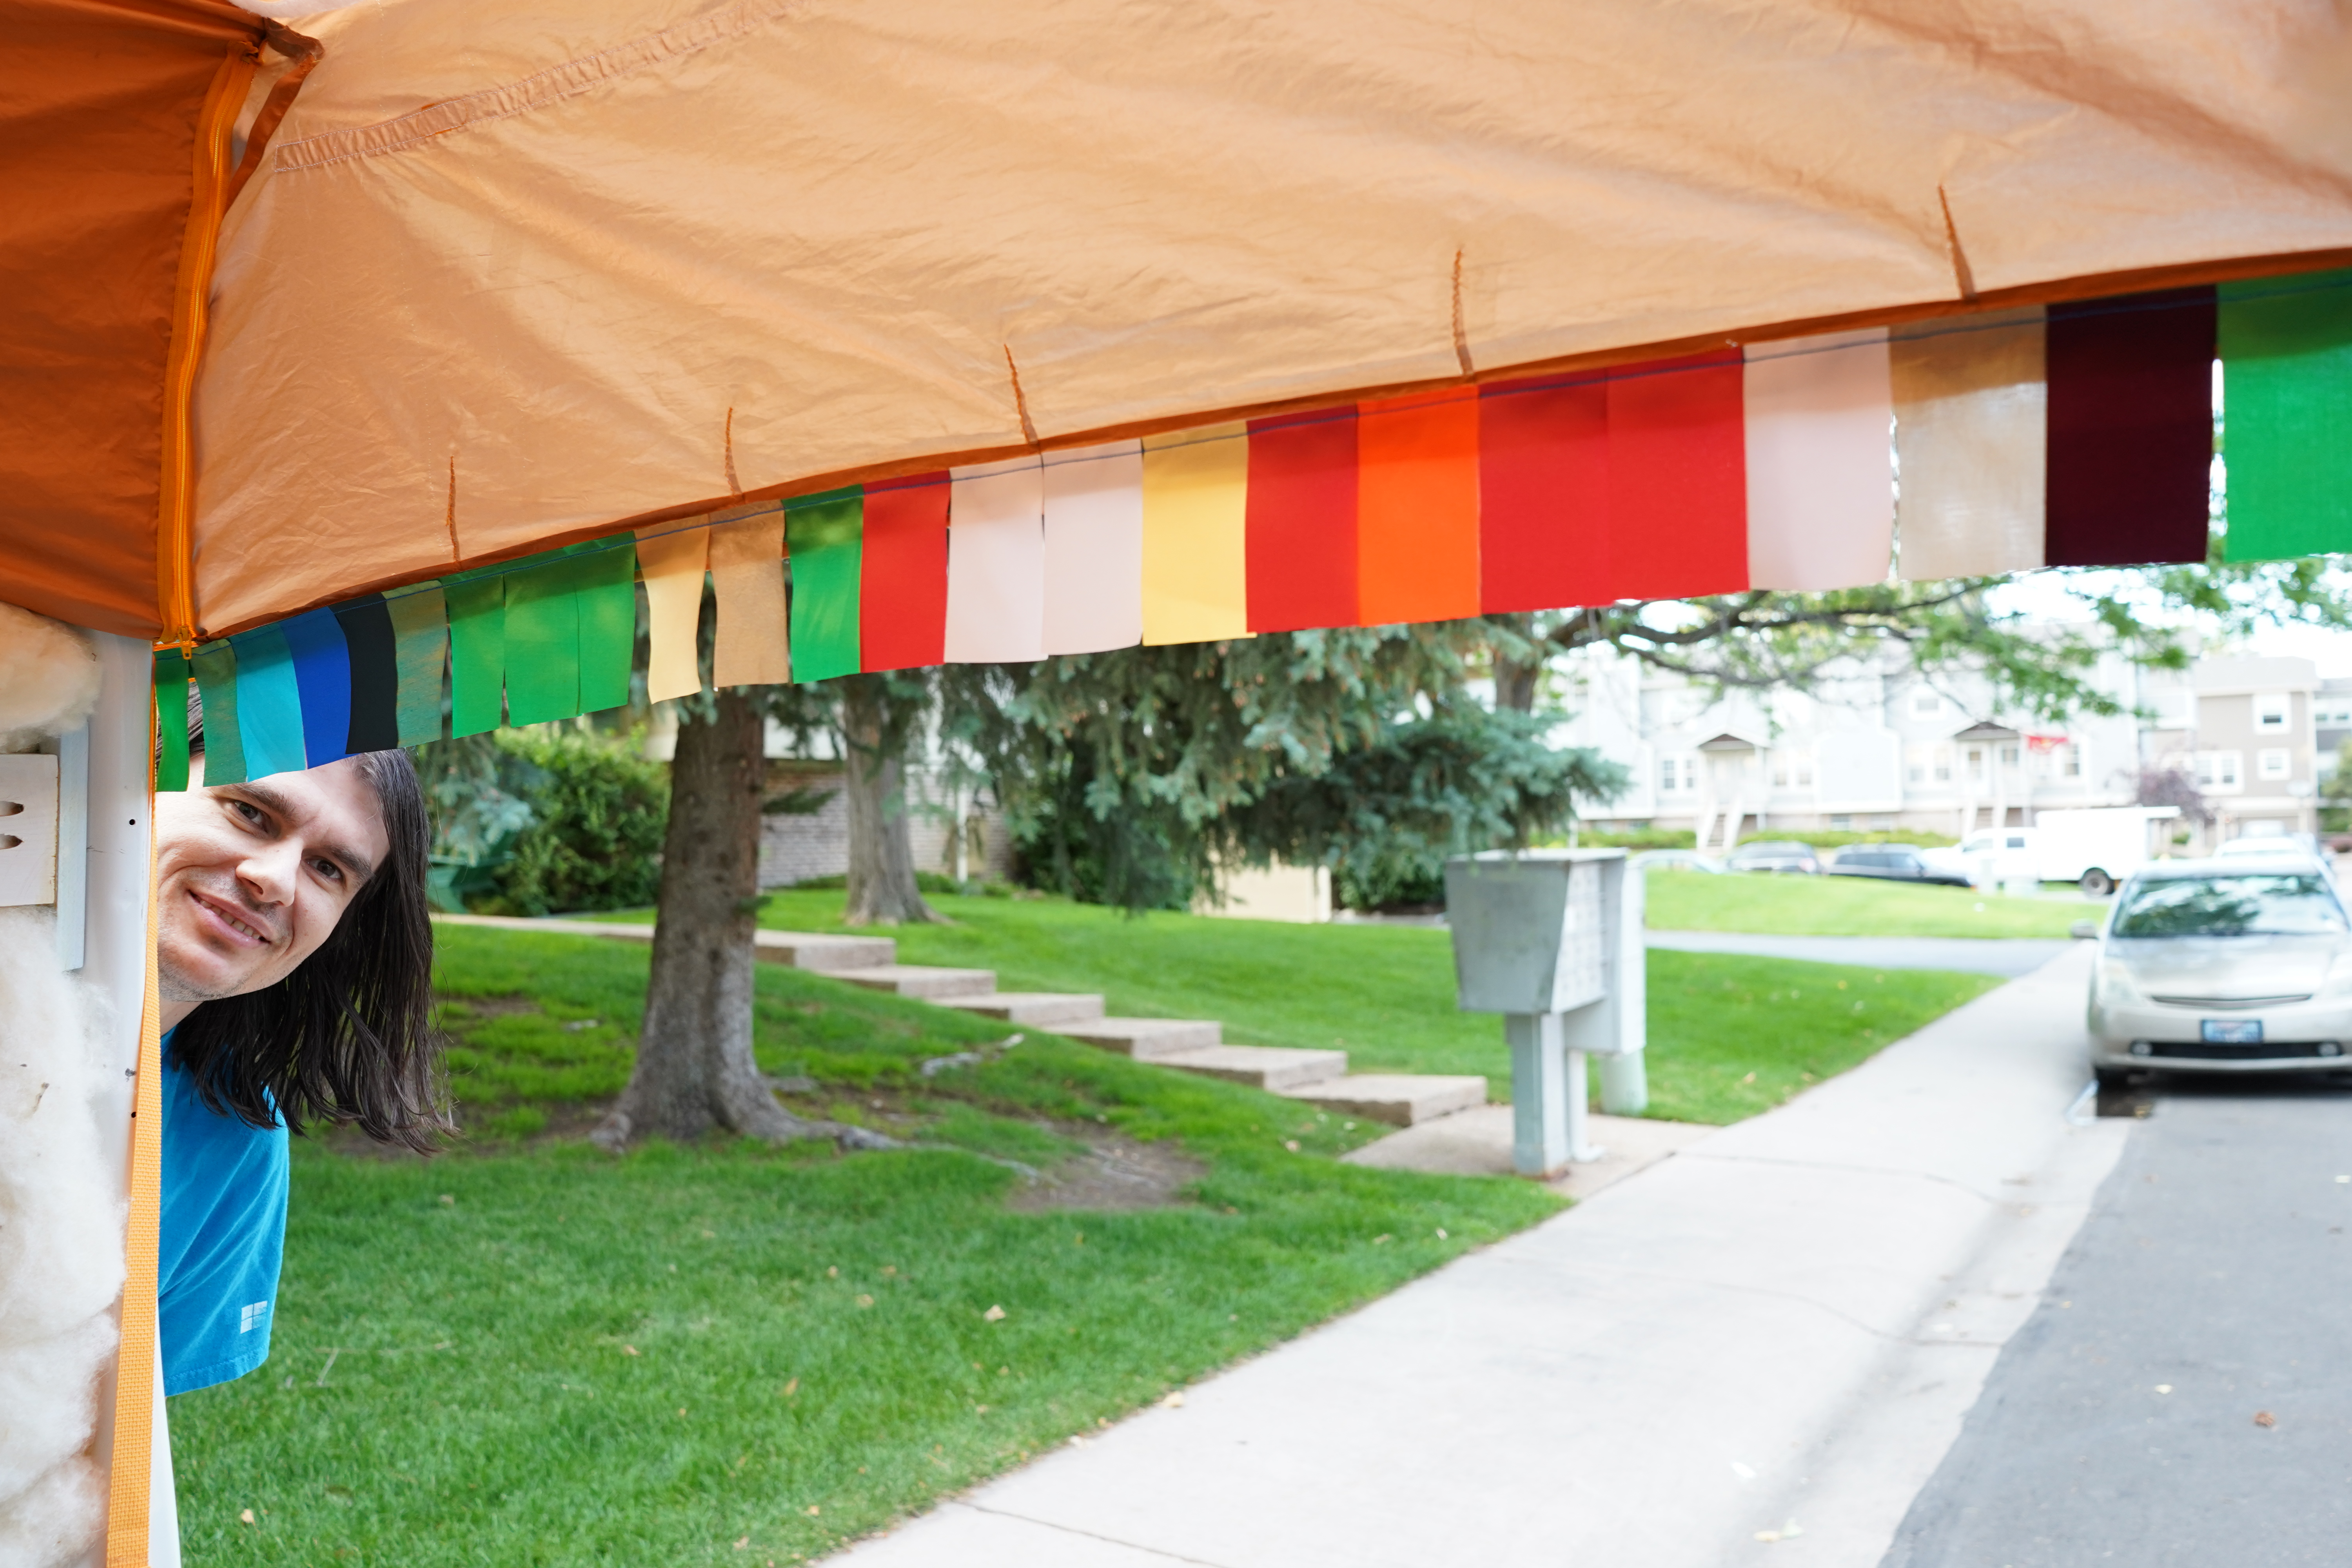
I also learned how to use a laser cutter and made a colorful banner that velcros to the awning. Why not just use scissors? A laser cutter doesn’t just cut fabric—it also melts it, ensuring the fabric won’t fray.


Is it overkill to involve 3D printers and laser cutters in a van build? I don’t care!
The question I’m more interested in is, does this awning actually improve my van? I think so. It’s waterproof, sunproof, adjustable, and takes less than a minute to set up.
This awning’s biggest drawback is that it adds only 12 square feet of space. Of course, my van’s cargo area is only 27 square feet, so actually this awning increases the living area’s footprint by an impressive 44%. Anyway, this awning’s primary purpose isn’t to enlarge the living space. It’s simply to enable me to relax inside the van with the cargo doors fully open without getting rained on or (obviously the more serious issue) sunned.
#2 Window Shades (+ Bonus Privacy Curtain)
Window shades are a van’s primary defense against the sun. The most popular choice for homemade window coverings is Reflectix, a reflective bubble radiant barrier. Here’s how one guy installed Reflectix in his van. And here’s why I decided not to use Reflectix in my van:
- It’s ugly. I don’t want my van to feel like the inside of a Reynolds box.
- It gets uglier. Reflectix quickly degrades in the vicious Colorado sun and begins to droop.
- I wanted to sew, and Reflectix is not meant for sewing. Each time the machine needle enters a bubble, the bubble pops, and the thread’s tension is thrown.
- Reflectix’s marketing is borderline scammy. The company claims R values of up to 21, when their product’s actual R value is closer to 1. What gives? The company chooses to state R-values for the assembly—the Reflectix plus the air space behind it (i.e., the inside of my van). In reality, Reflectix itself is no better at reflecting heat than tinfoil, though it costs a lot more.
- Reflectix is a radiant barrier, not a thermal insulator. Reflectix addresses only one type of heat transfer, radiation, which means the only thing it does well is reflect electromagnetic waves (but, again, no better than tinfoil). Unlike wool or polyester batting, Reflectix does not reduce heat conduction.
I ended up using Warm Window insulating fabric, which is comprised of four layers (including a reflective tinfoil-like layer) and has an R value of 7.69 (that’s for the product itself, not for the assembly). This fabric blocks both radiation and conduction. It’s easy to sew, even when backed with thick outdoor fabric. No bunching, no thread tension issues.


My first real challenge was magnetic. I really wanted to attach the window shades with magnets—no loud velcro, no suction cups that yellow and weaken over time. For my first attempt, I sewed a bunch of these ceramic magnets into a window cover, but they didn’t hold. I needed stronger magnets.
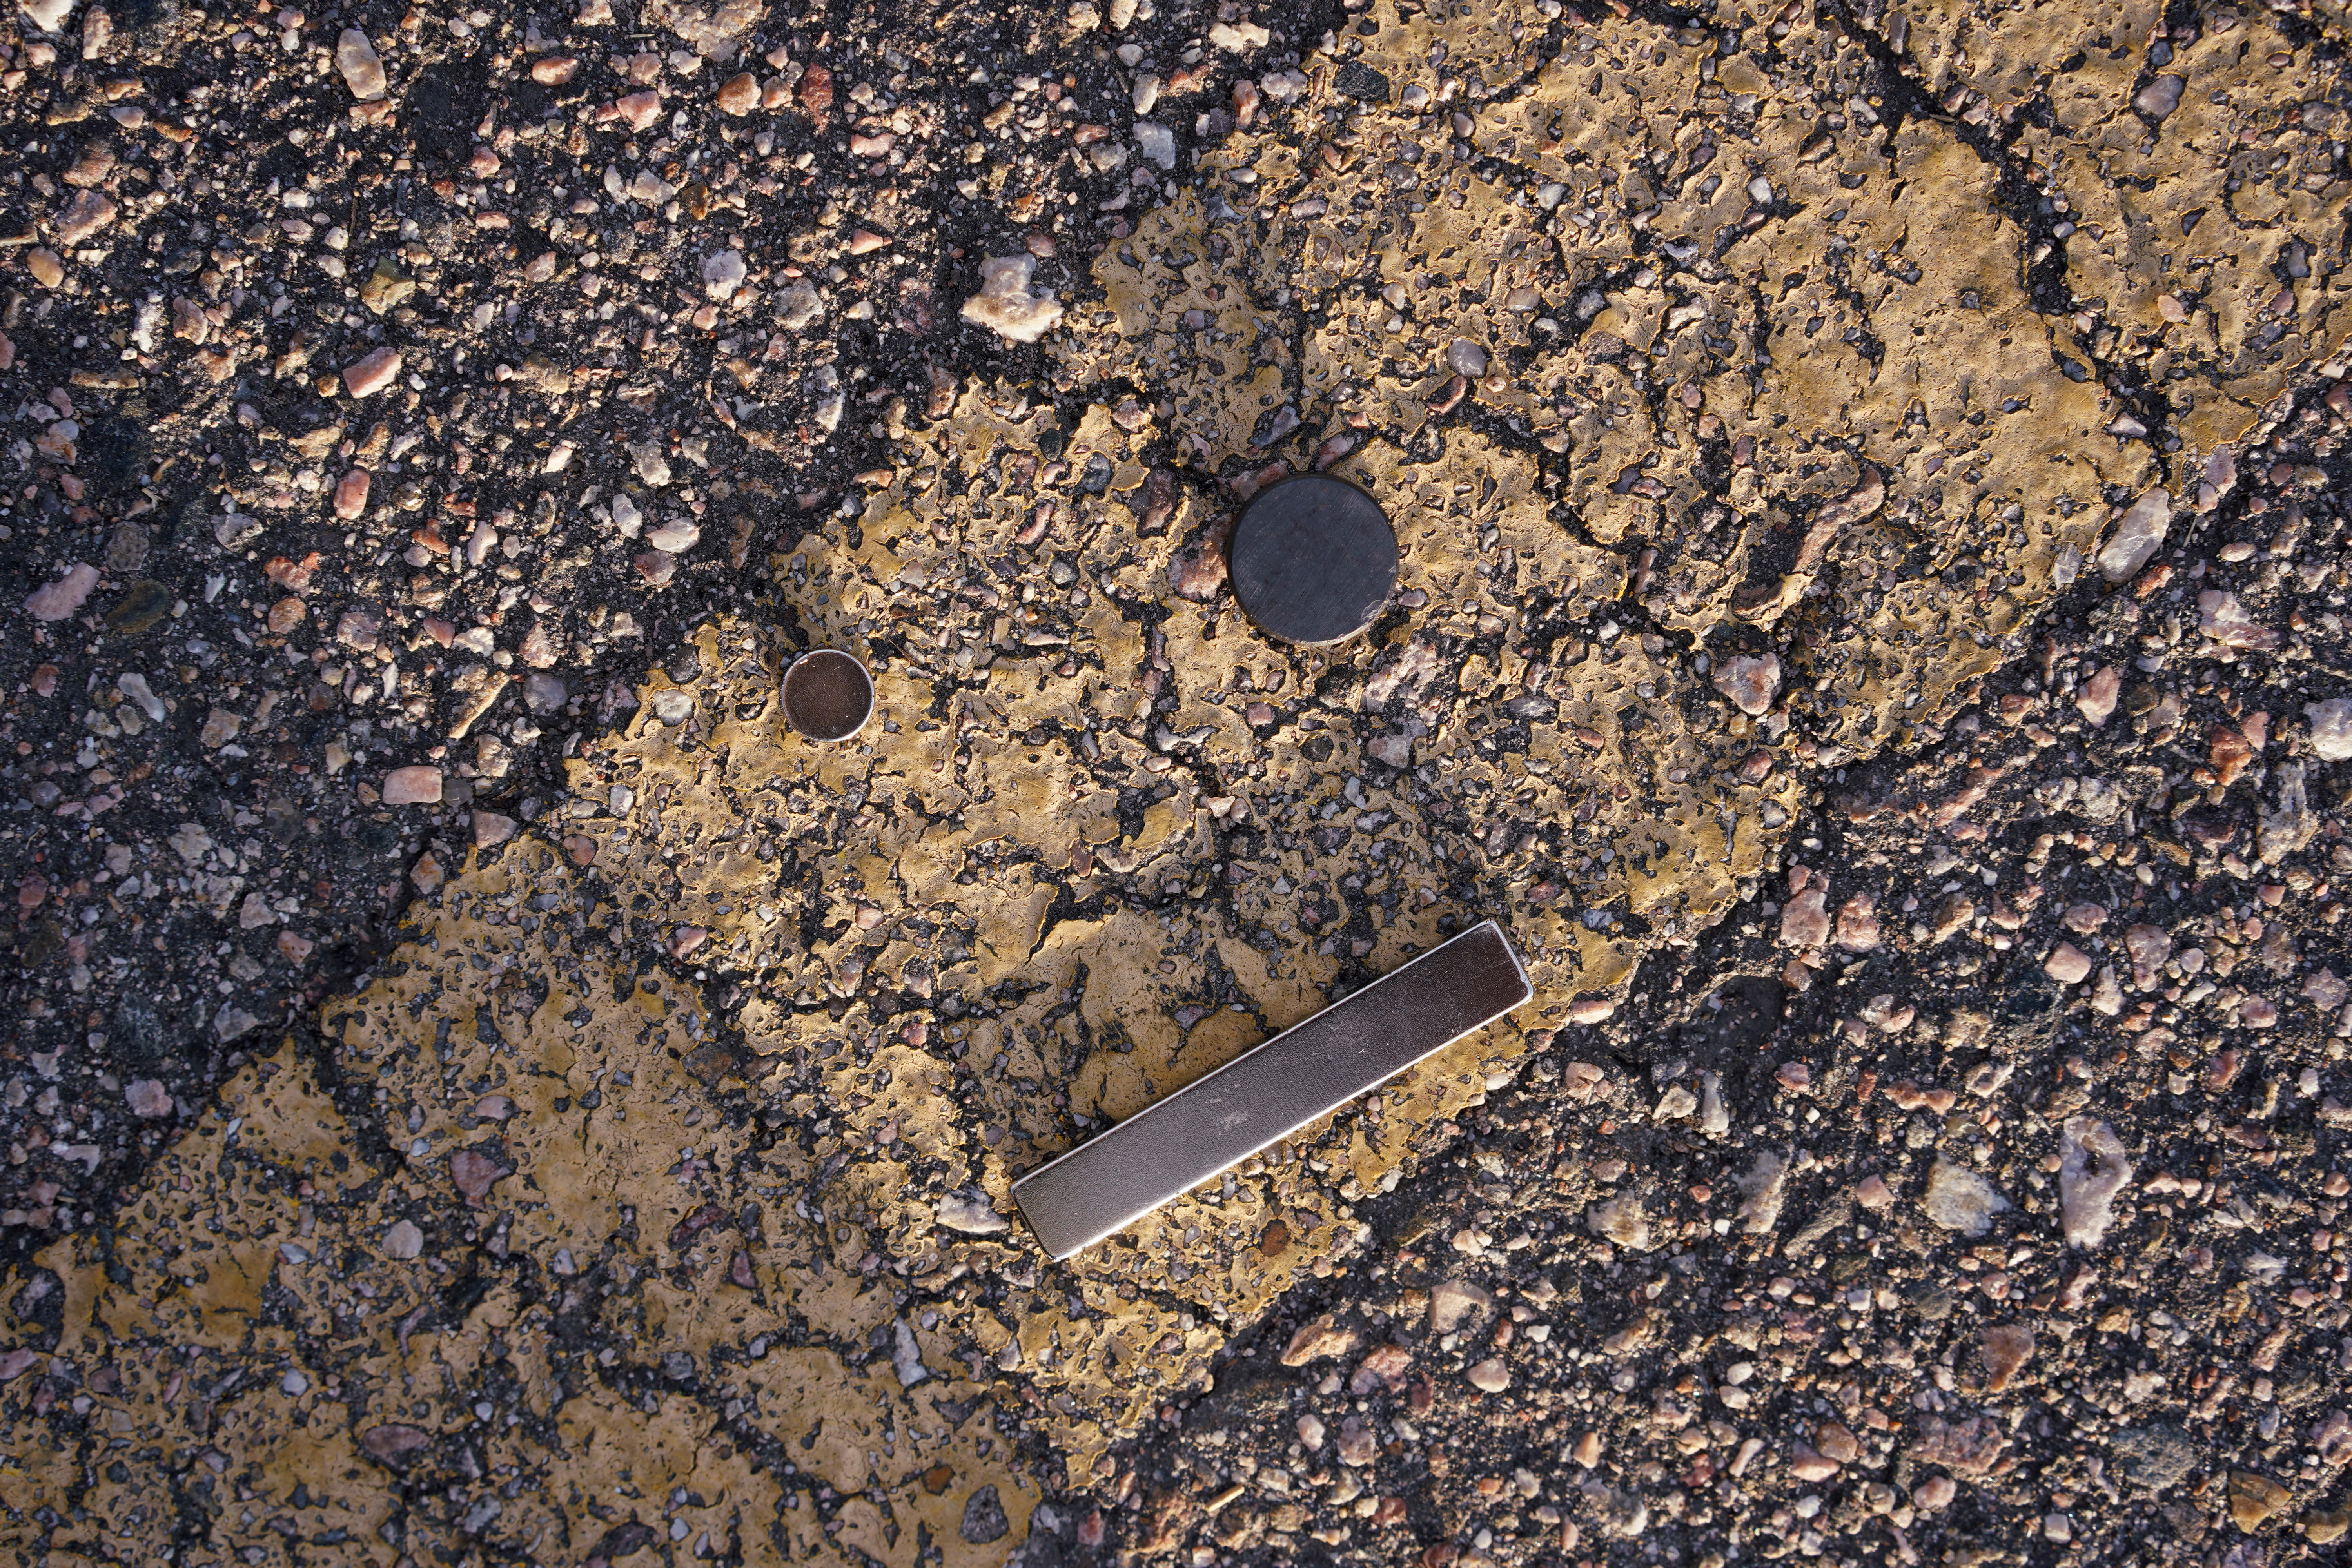
Once I found the right magnets, I had to figure out what they would magnetize to. The magnets stuck well to the steel doors, so no problems there. But the windshield was framed with plastic.
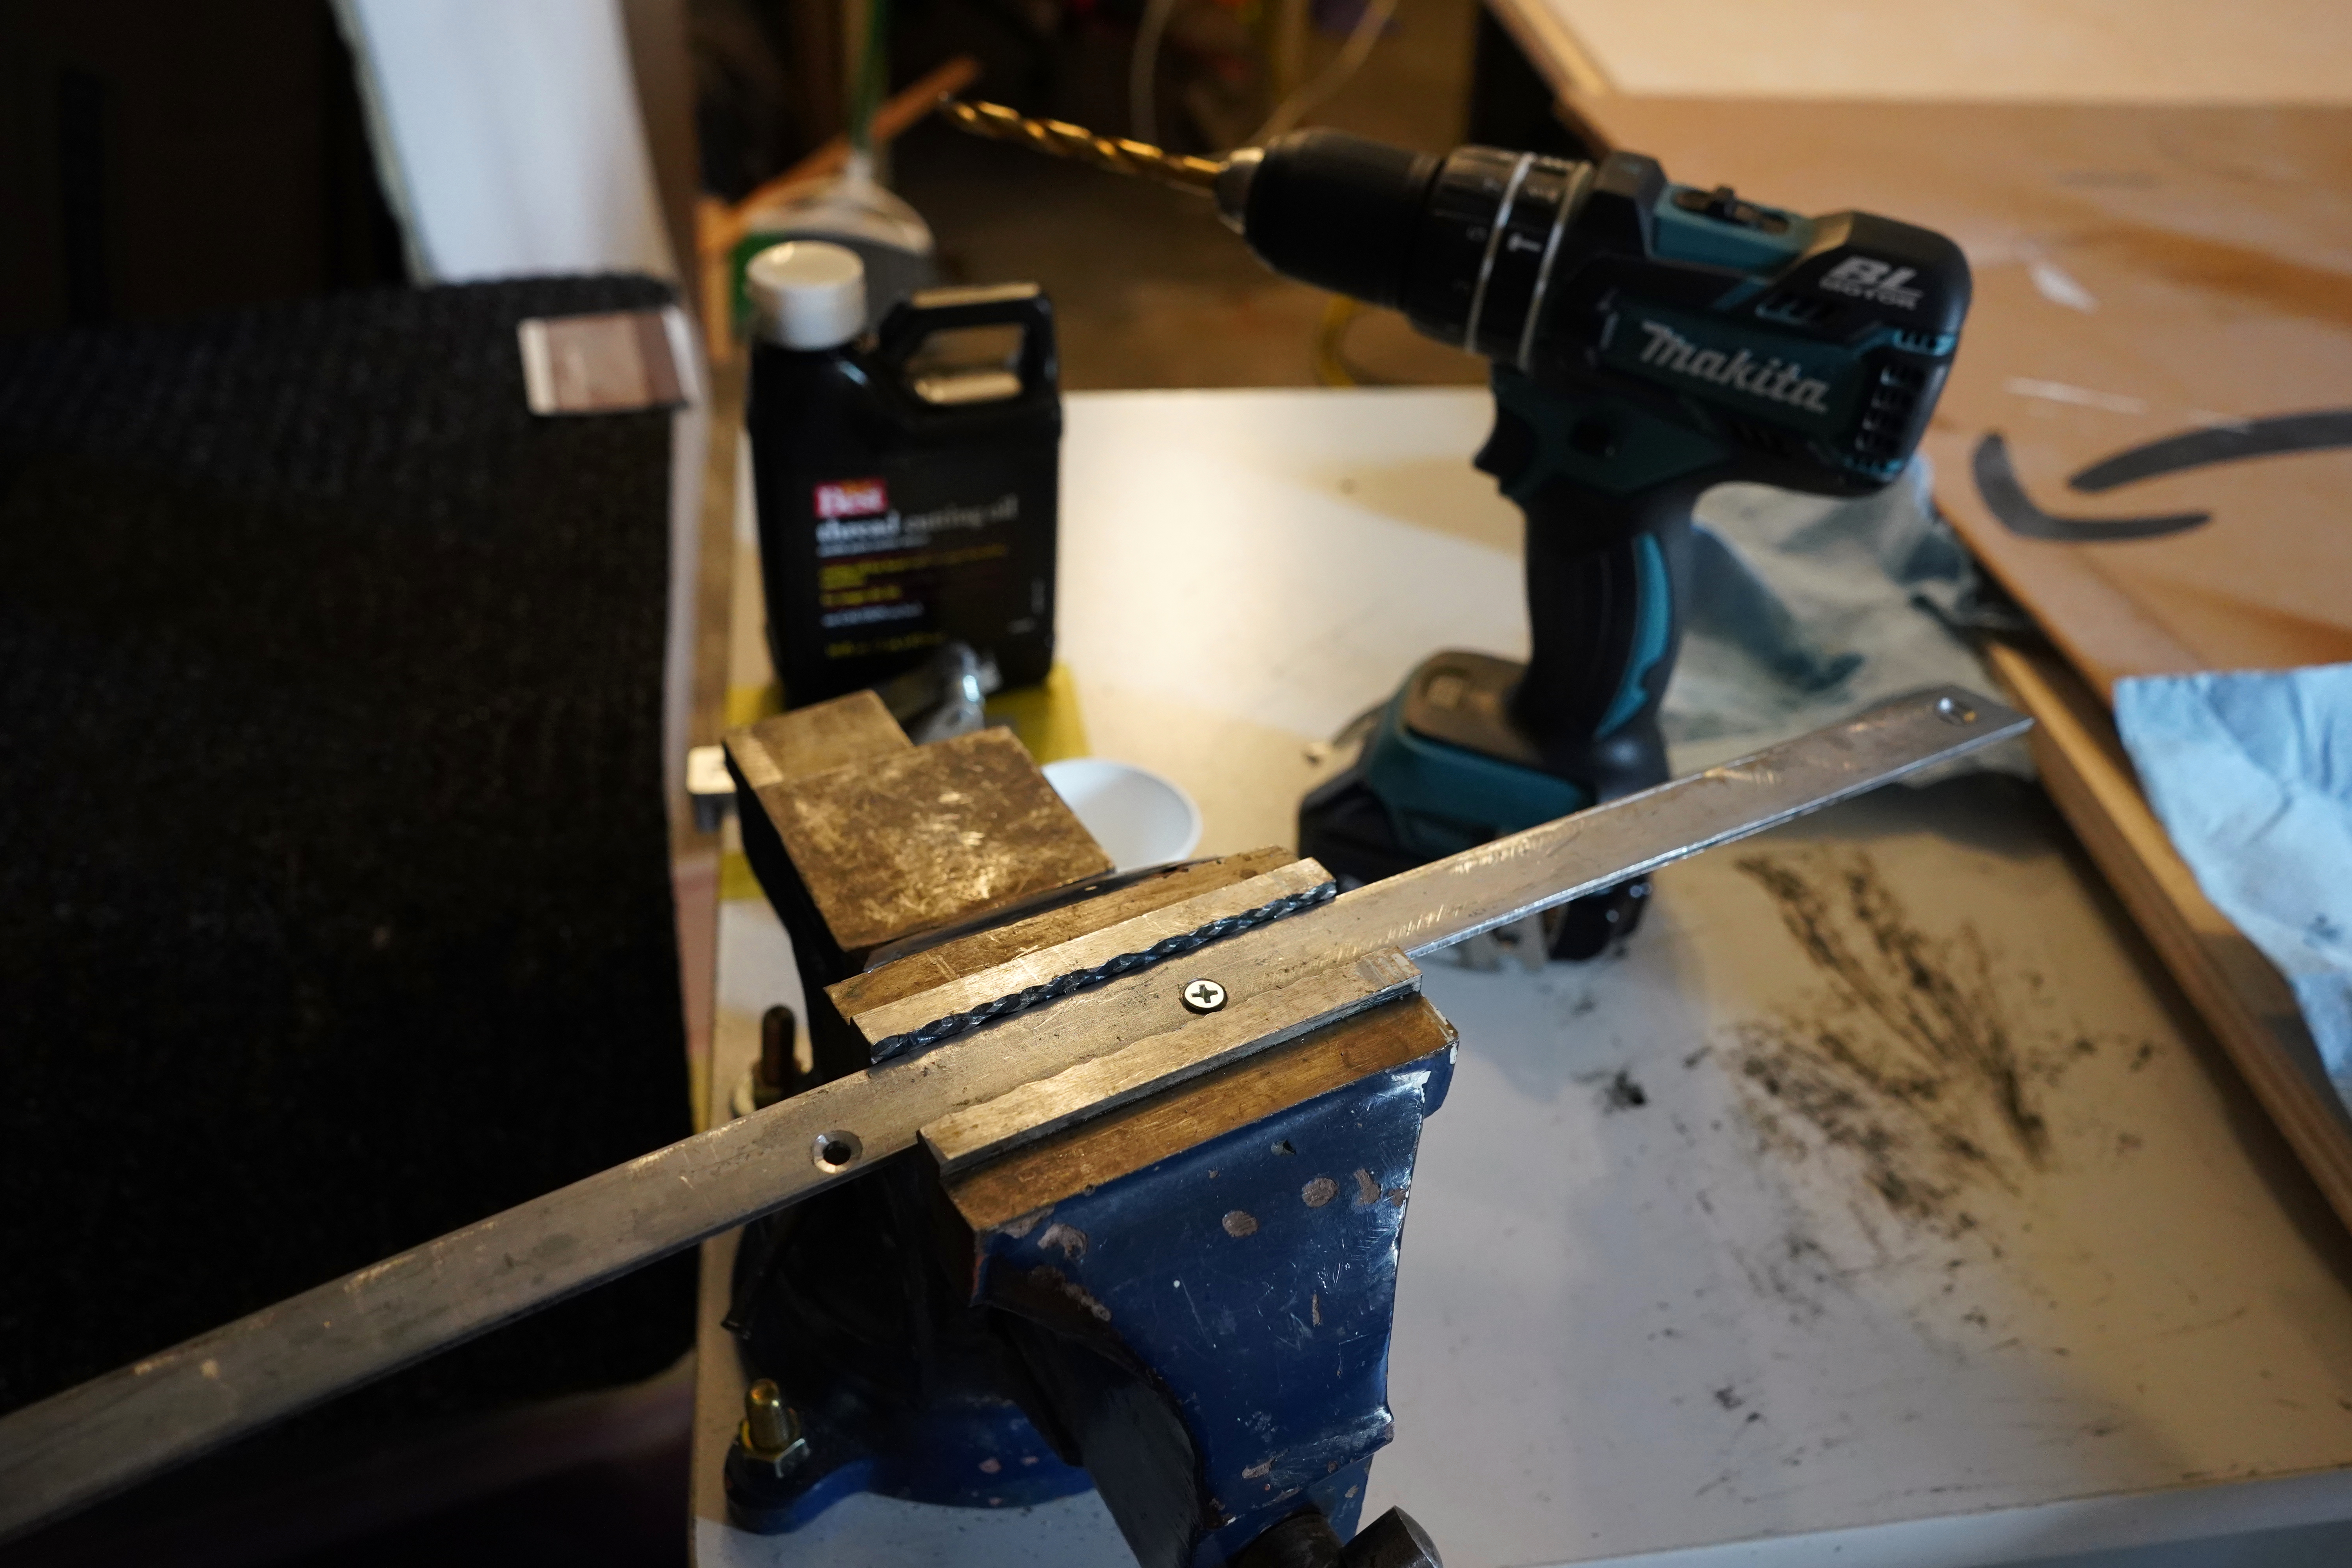
I tried securing steel bars to the sides of the windshield with VHB tape and, when that didn’t work, JB Weld. Neither adhesive held. The car’s plastic was too springy (or, more technically speaking, its surface tension was too low).
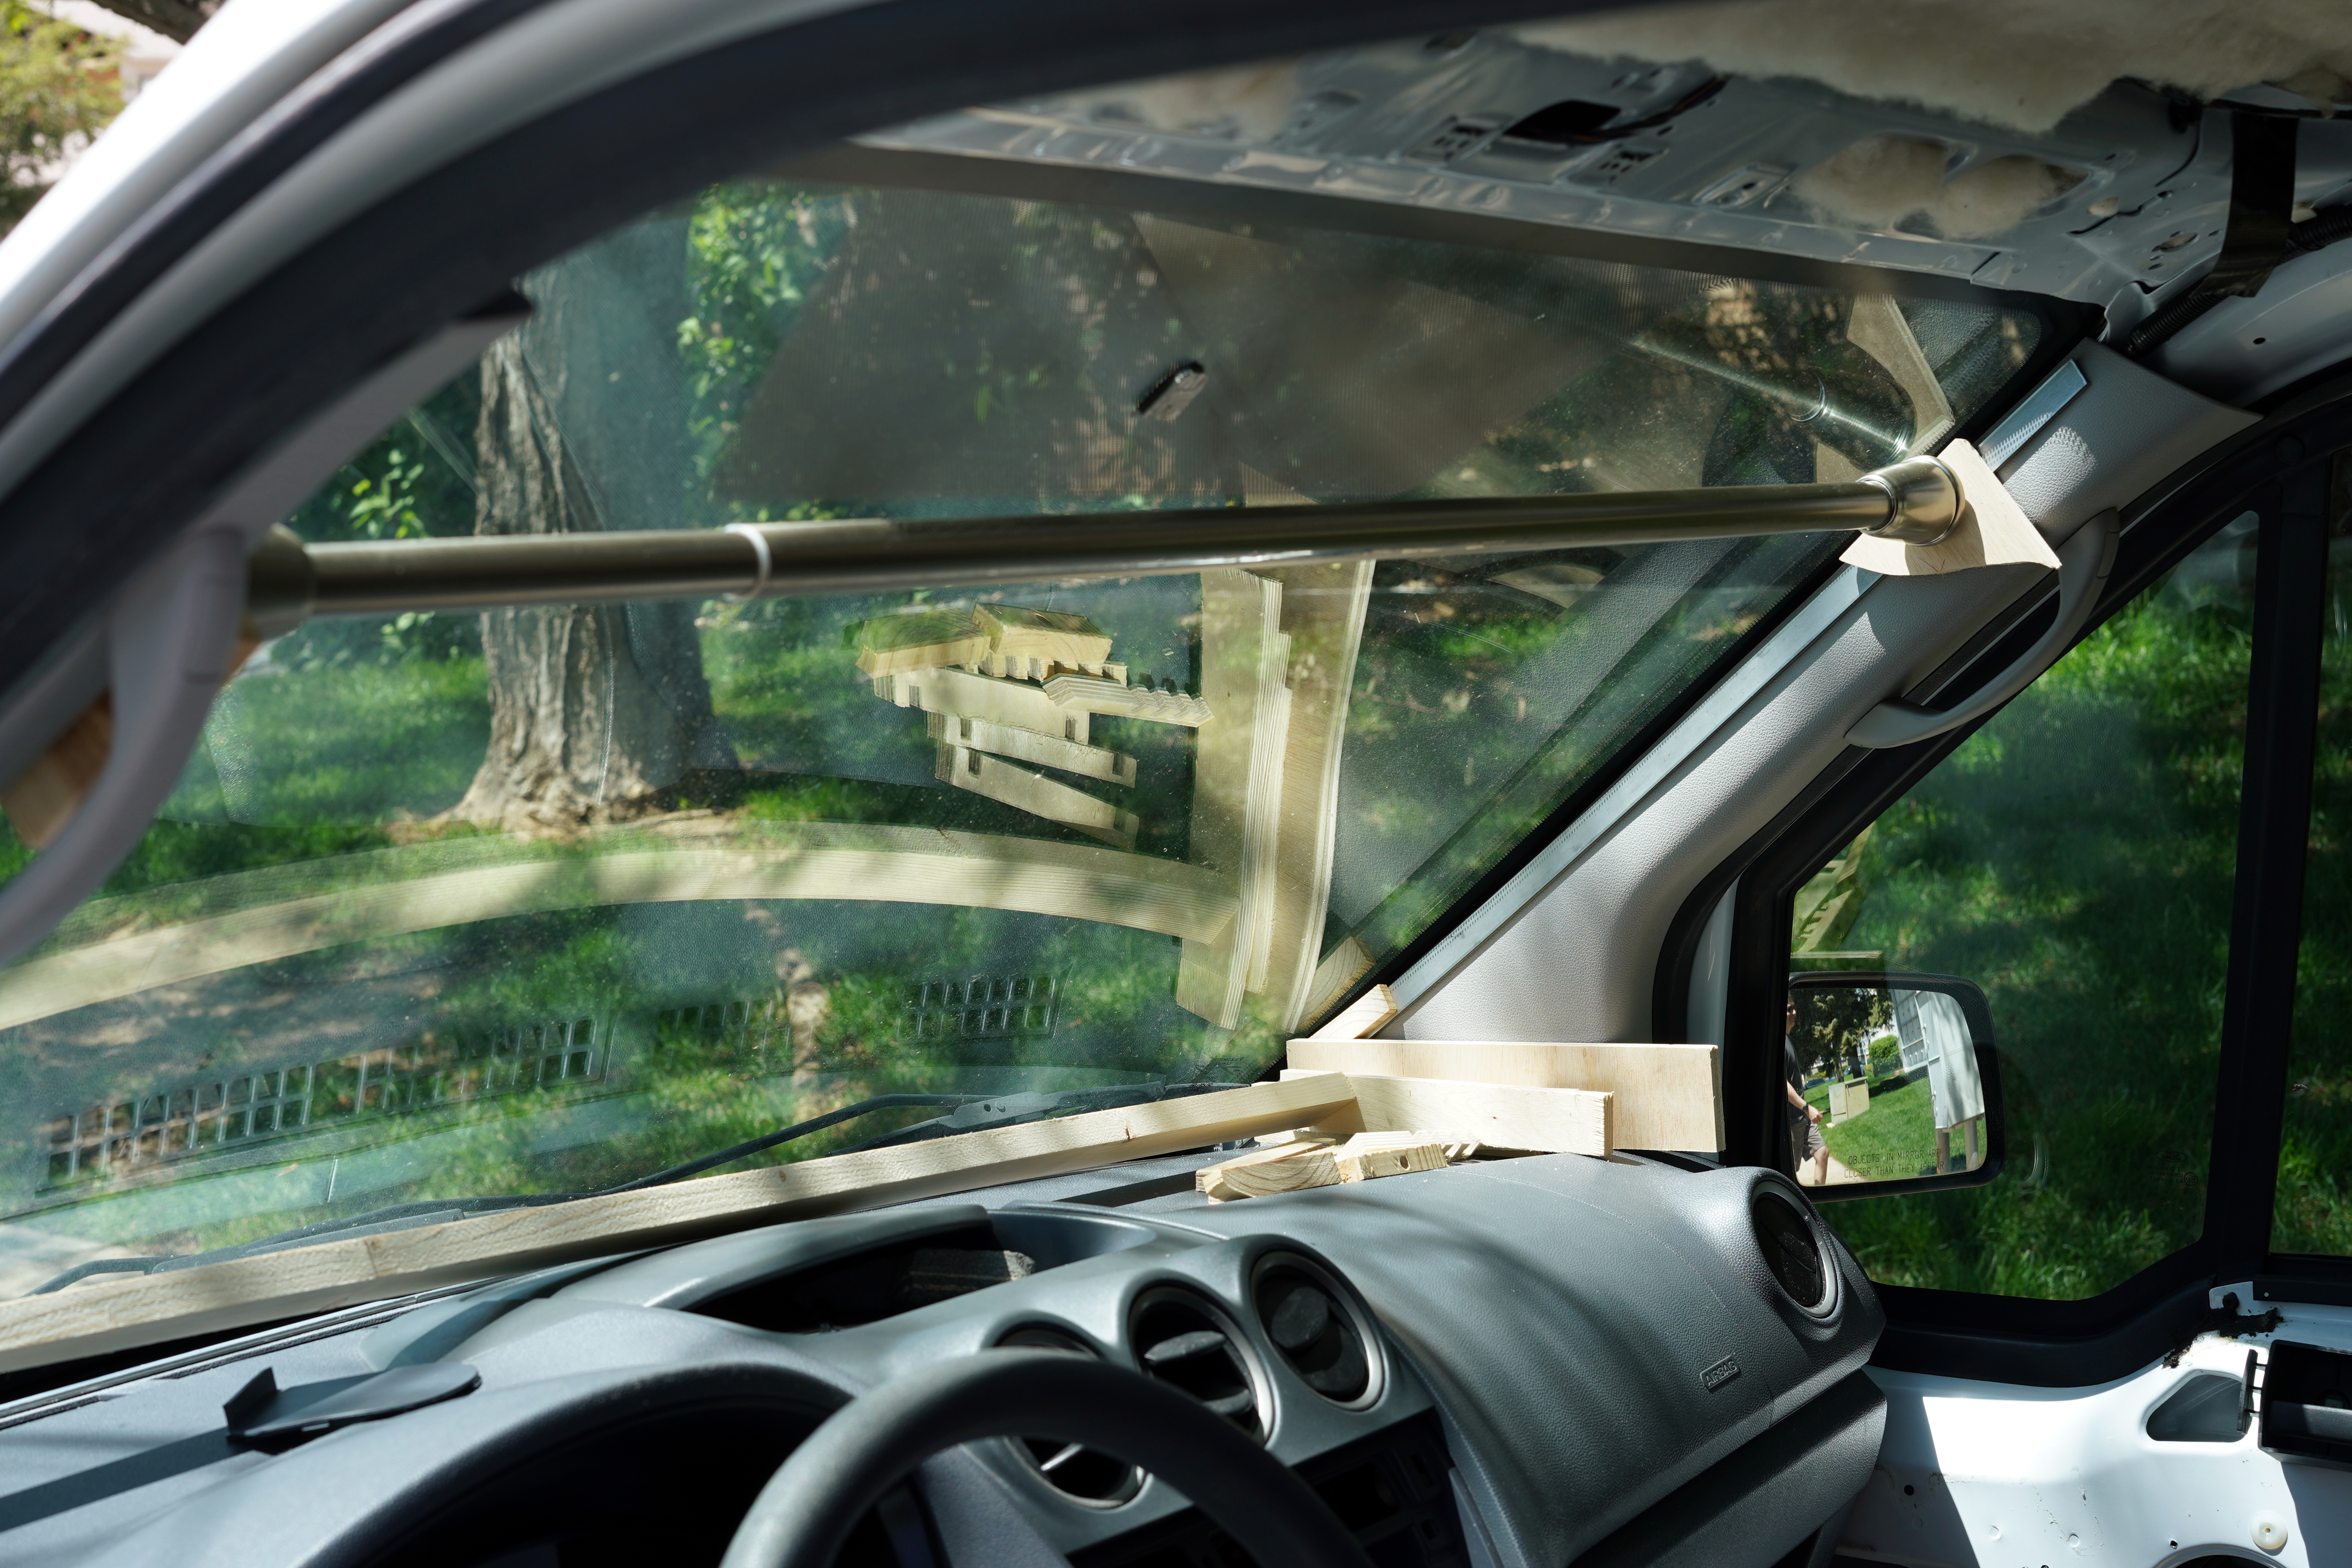
I ended up removing the plastic panels on each side of the windshield and bolting the metal bars to them.

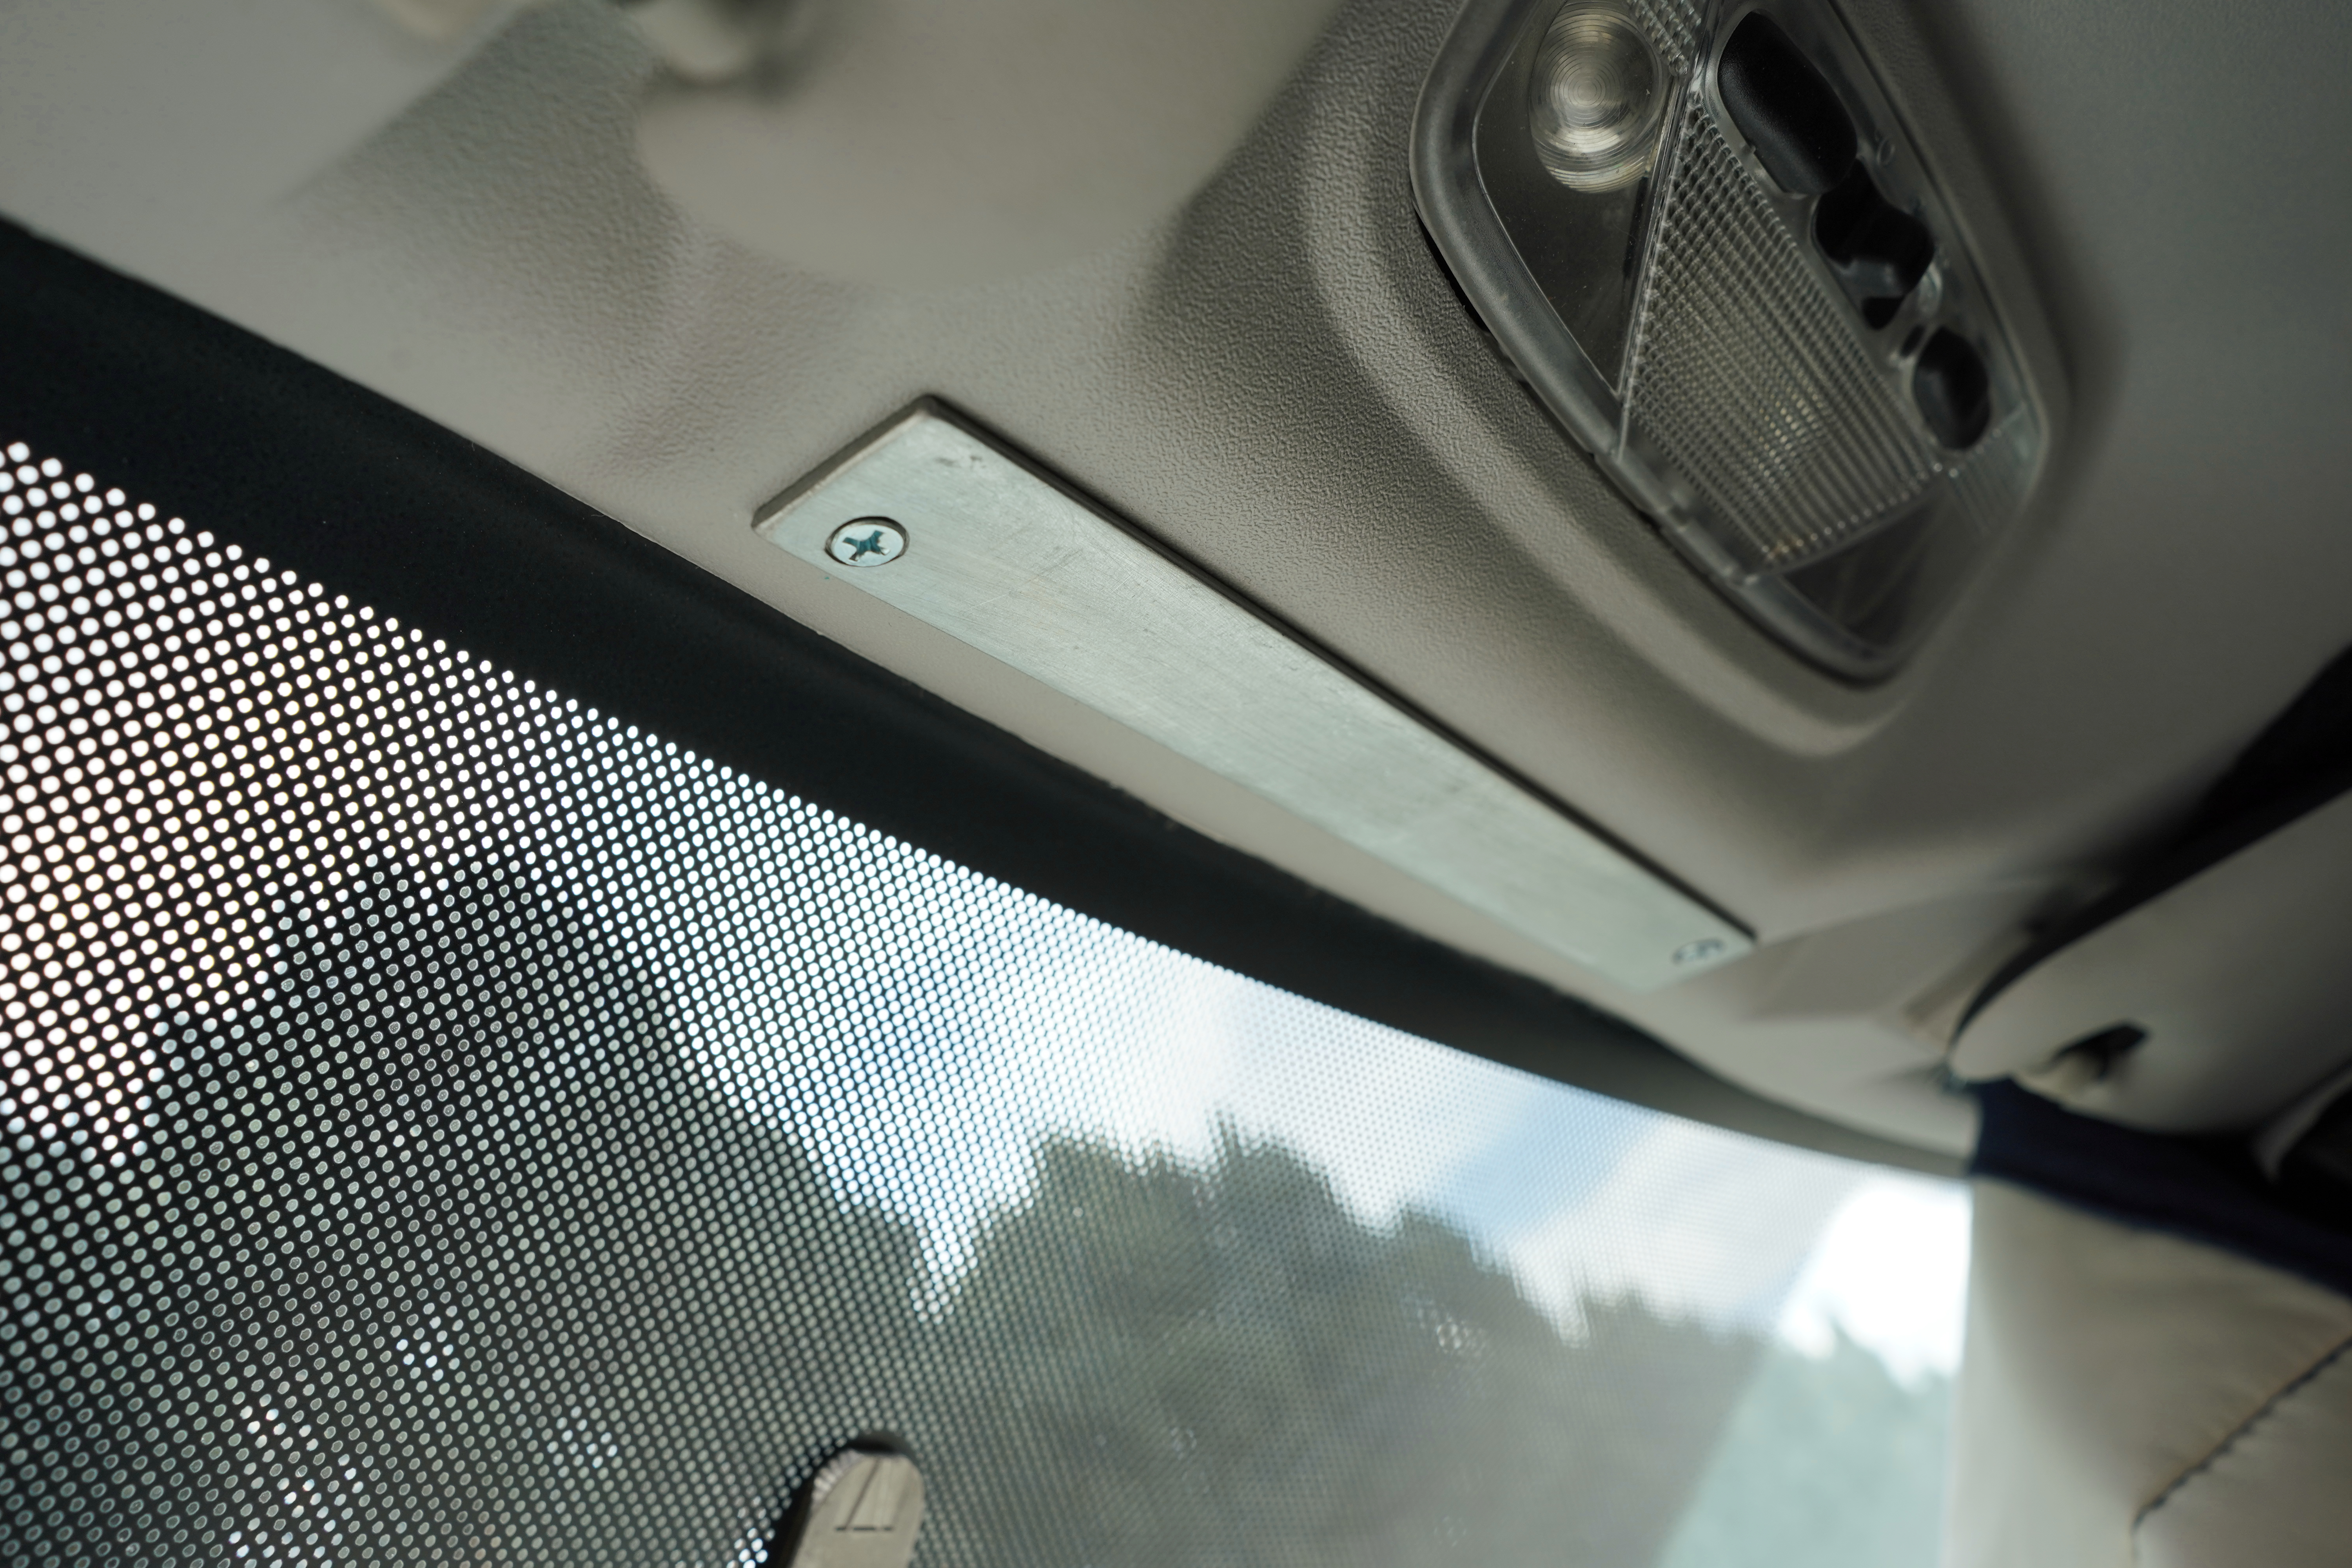
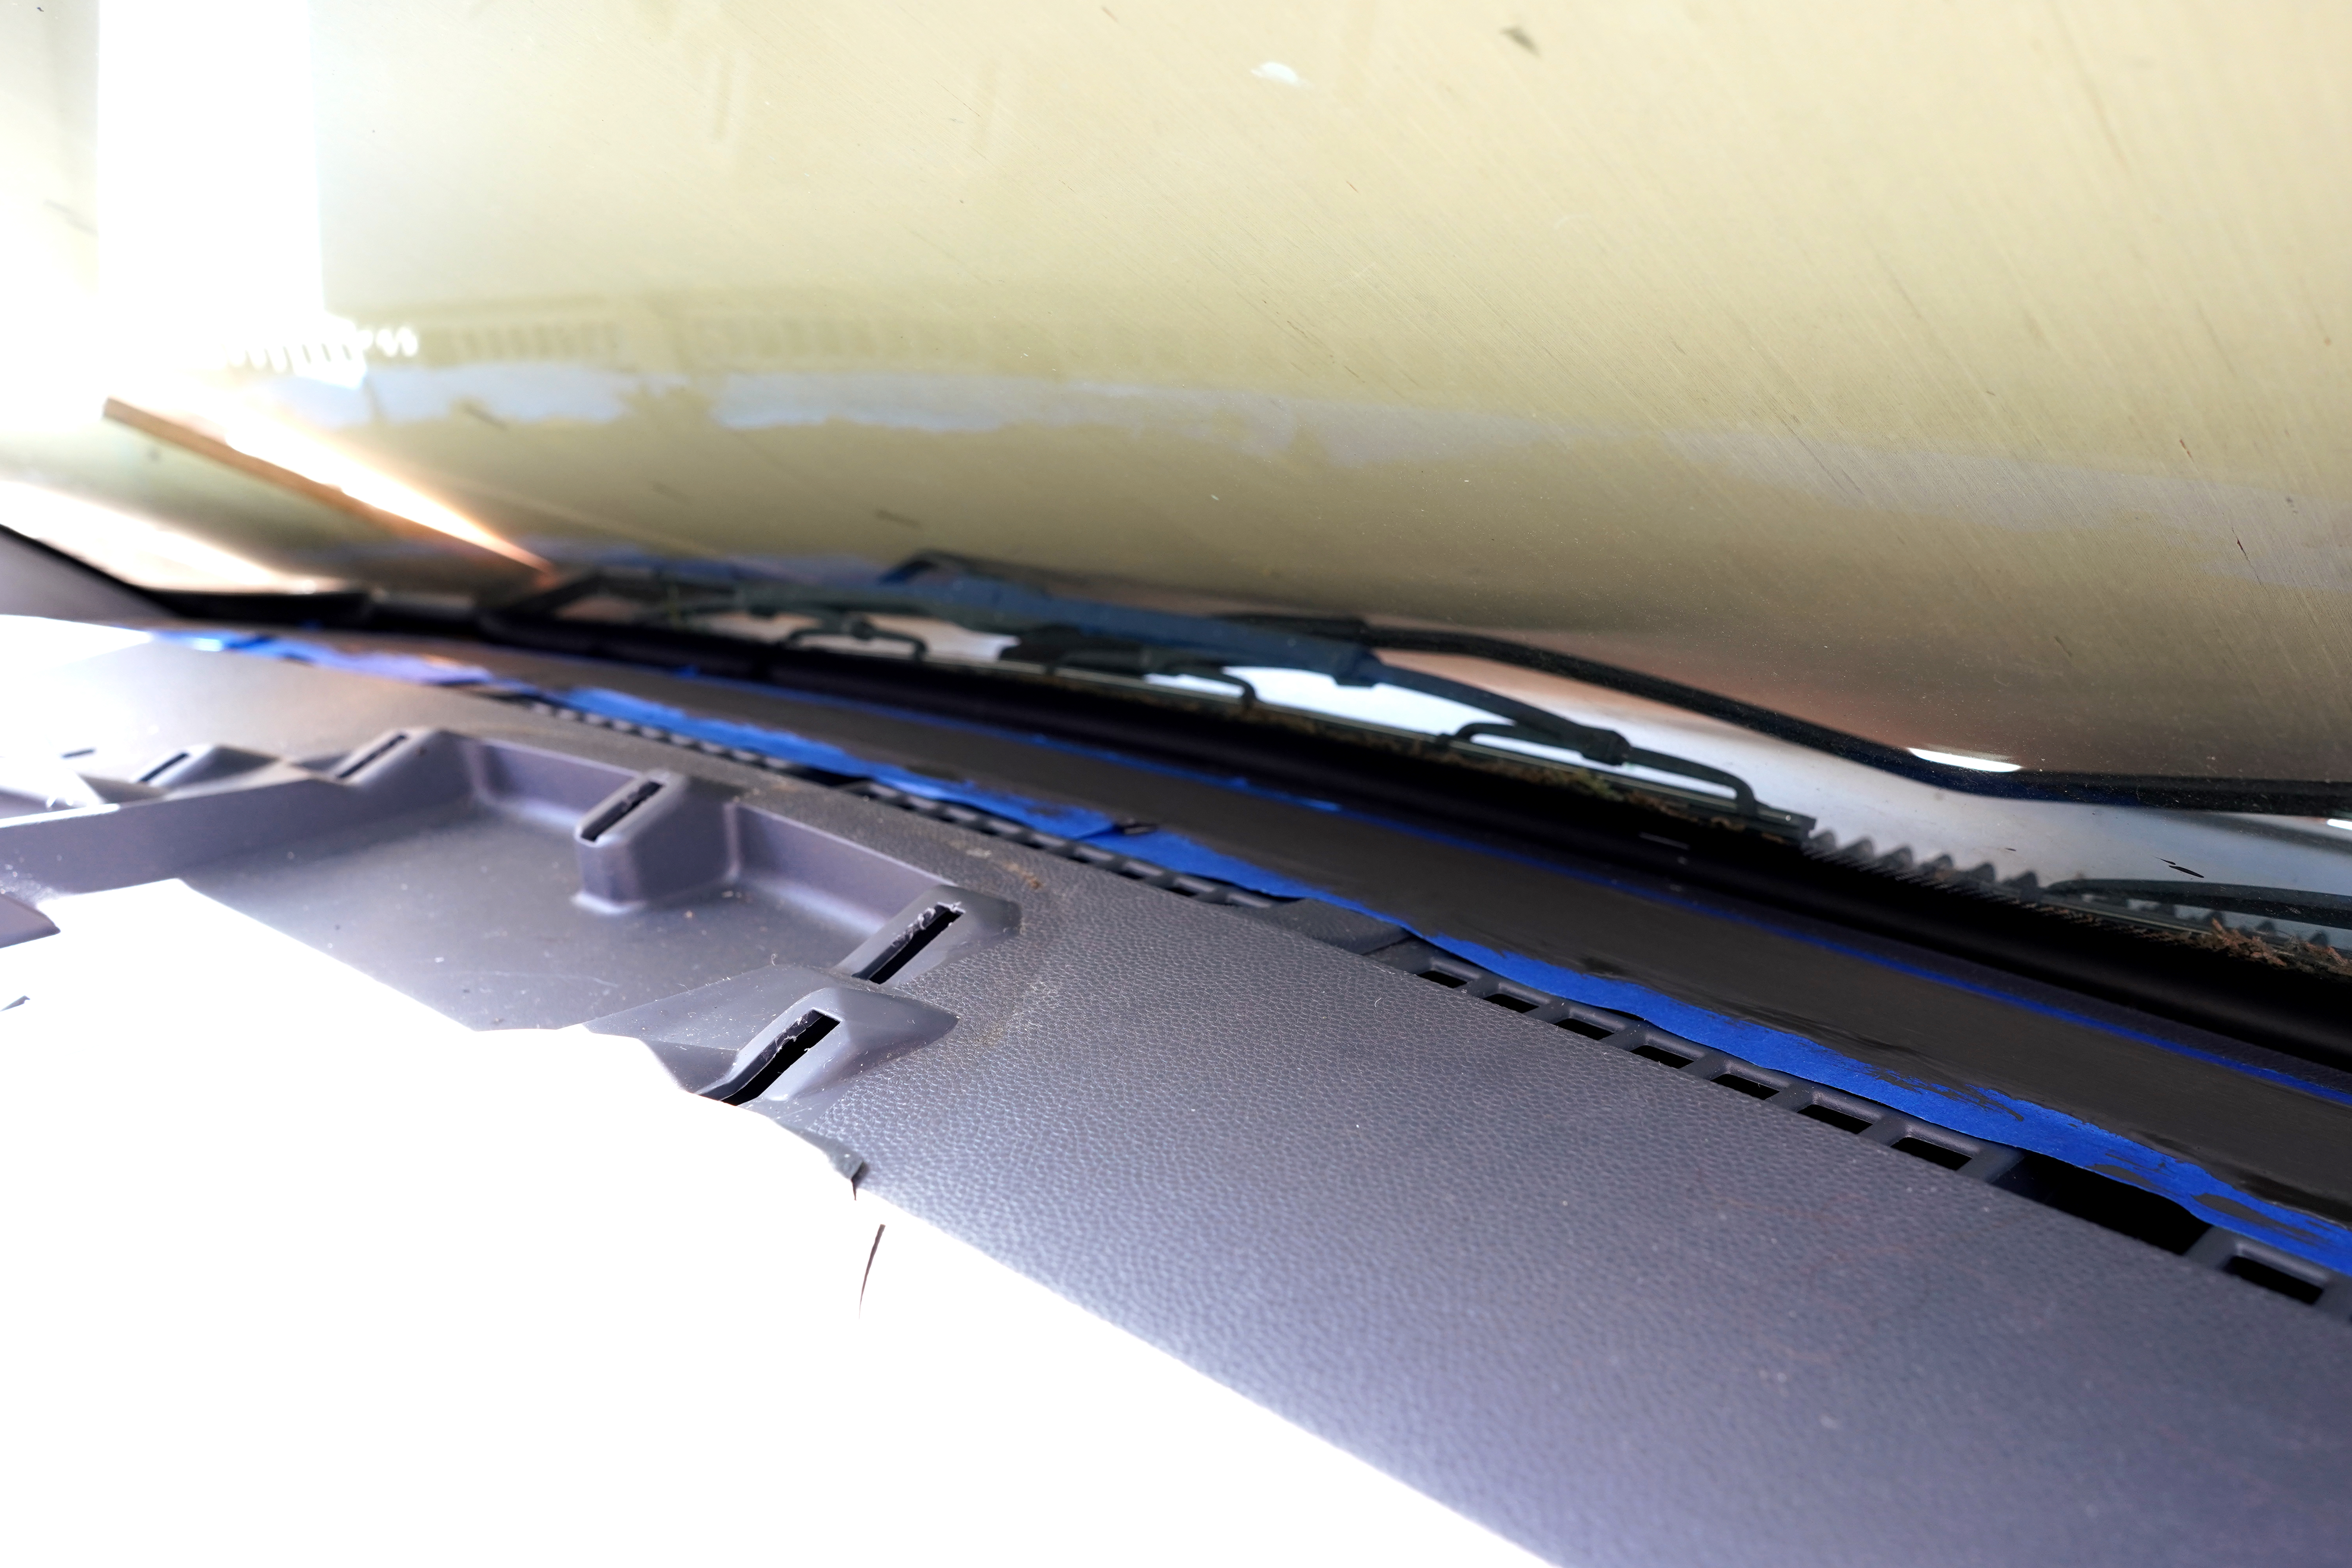
The only part of the windshield’s perimeter that I couldn’t bolt a metal bar to was the bottom, because that would have required removing the entire dash. Instead, I painted part of the dash with five coats of magnetic primer and a top coat of black paint. Most reviewers say this magnetic paint sucks, and they’re right. Even after several coats, this primer barely attracts neodynium magnets.

My next big challenge was determining where to store the sunshields when not in use. Since my van is so small, I couldn’t bank on finding a convenient storage place later.
My first idea was to cut four big holes in the overhead plastic shelf (the same shelf I attached the metal bars to), then to painstakingly sew highly detailed covers for these holes.
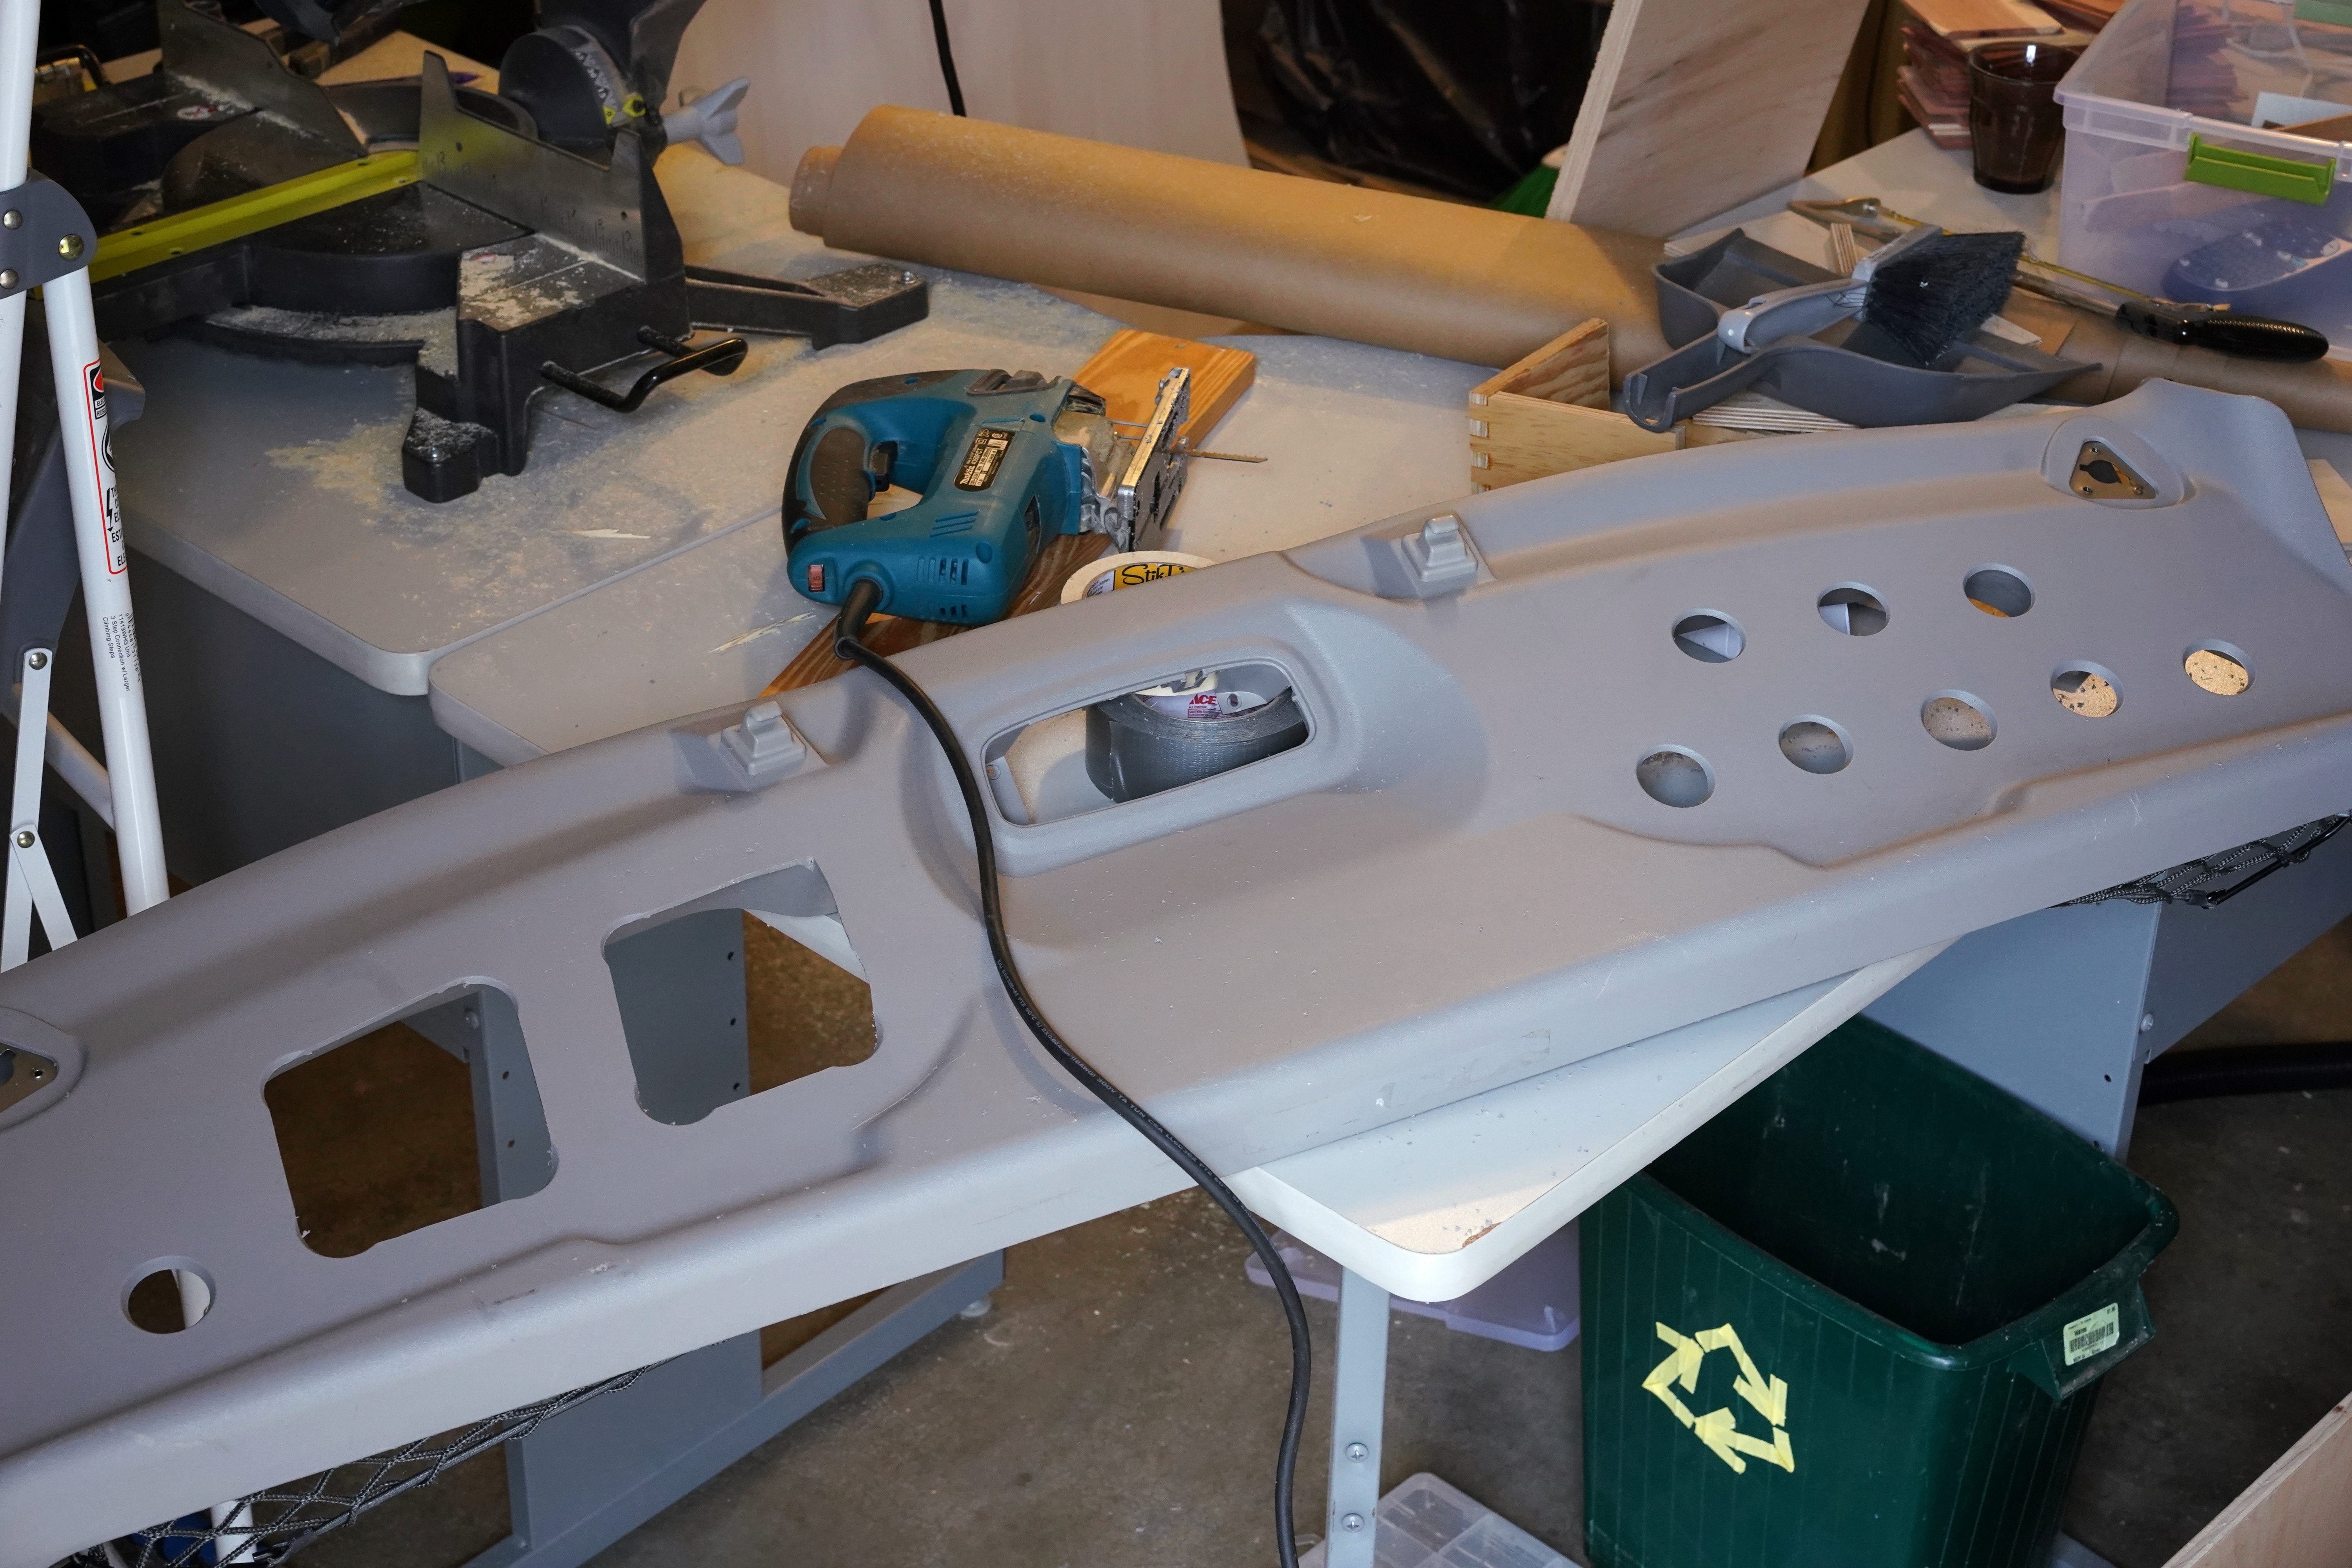
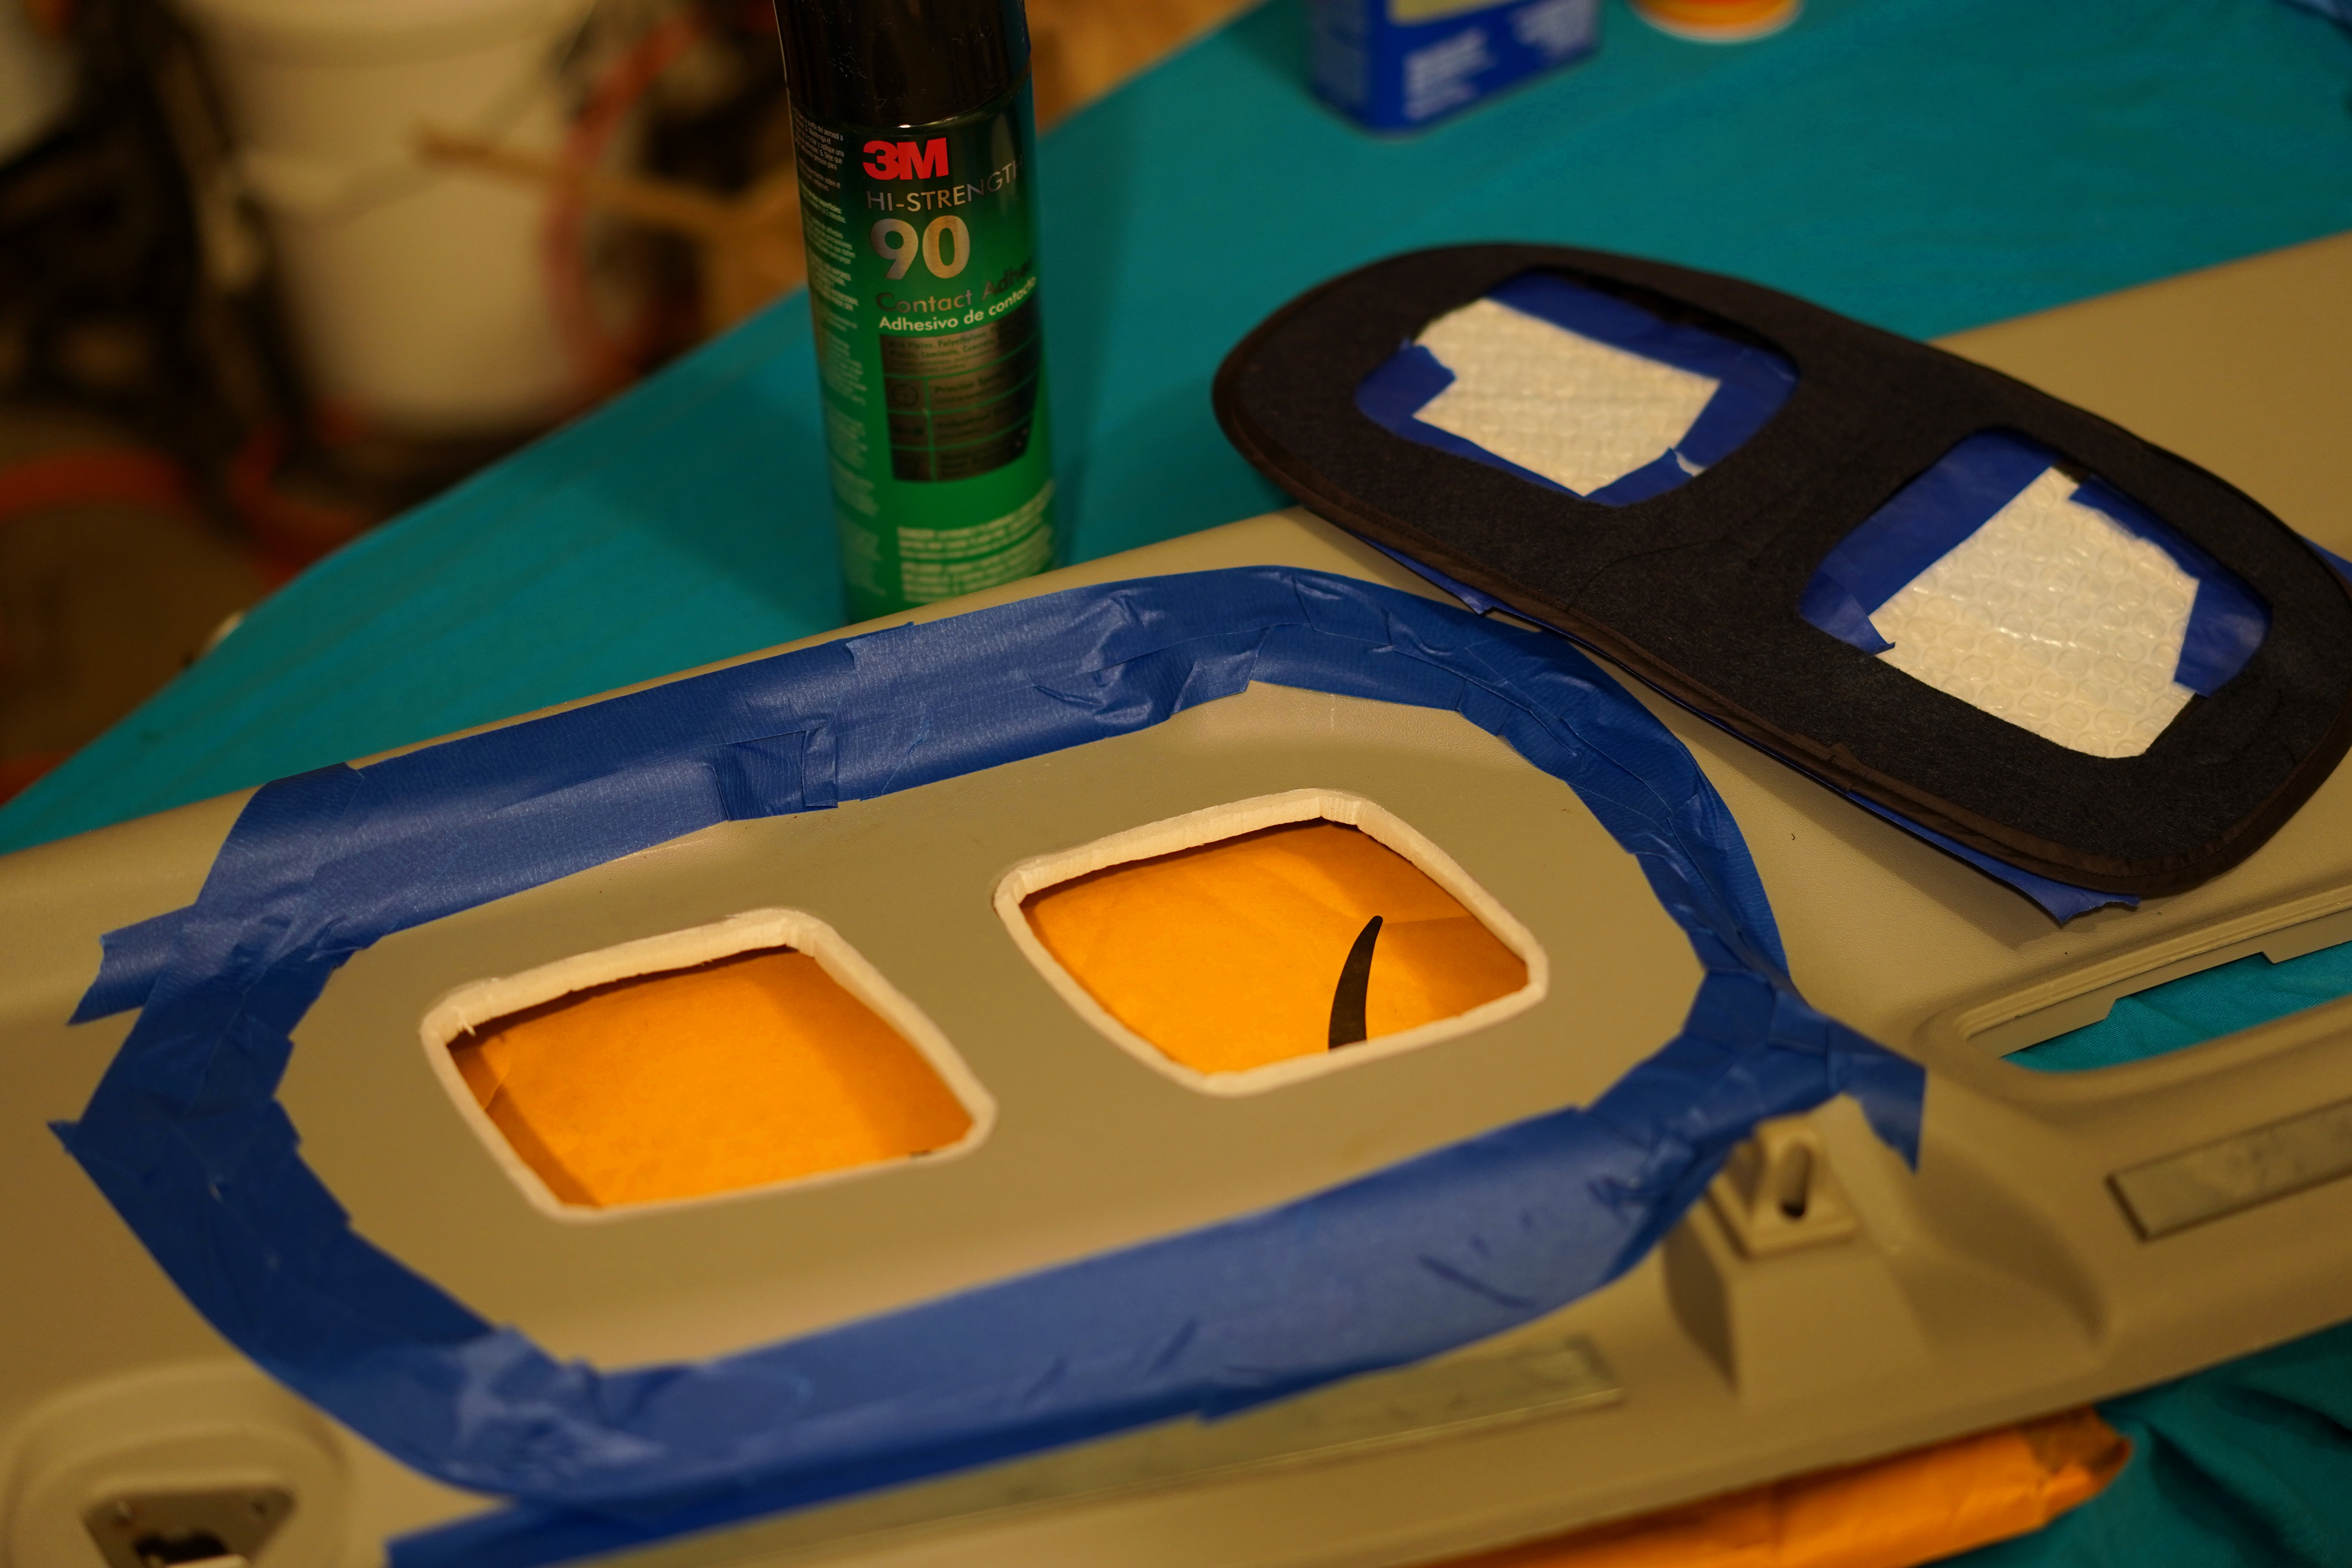
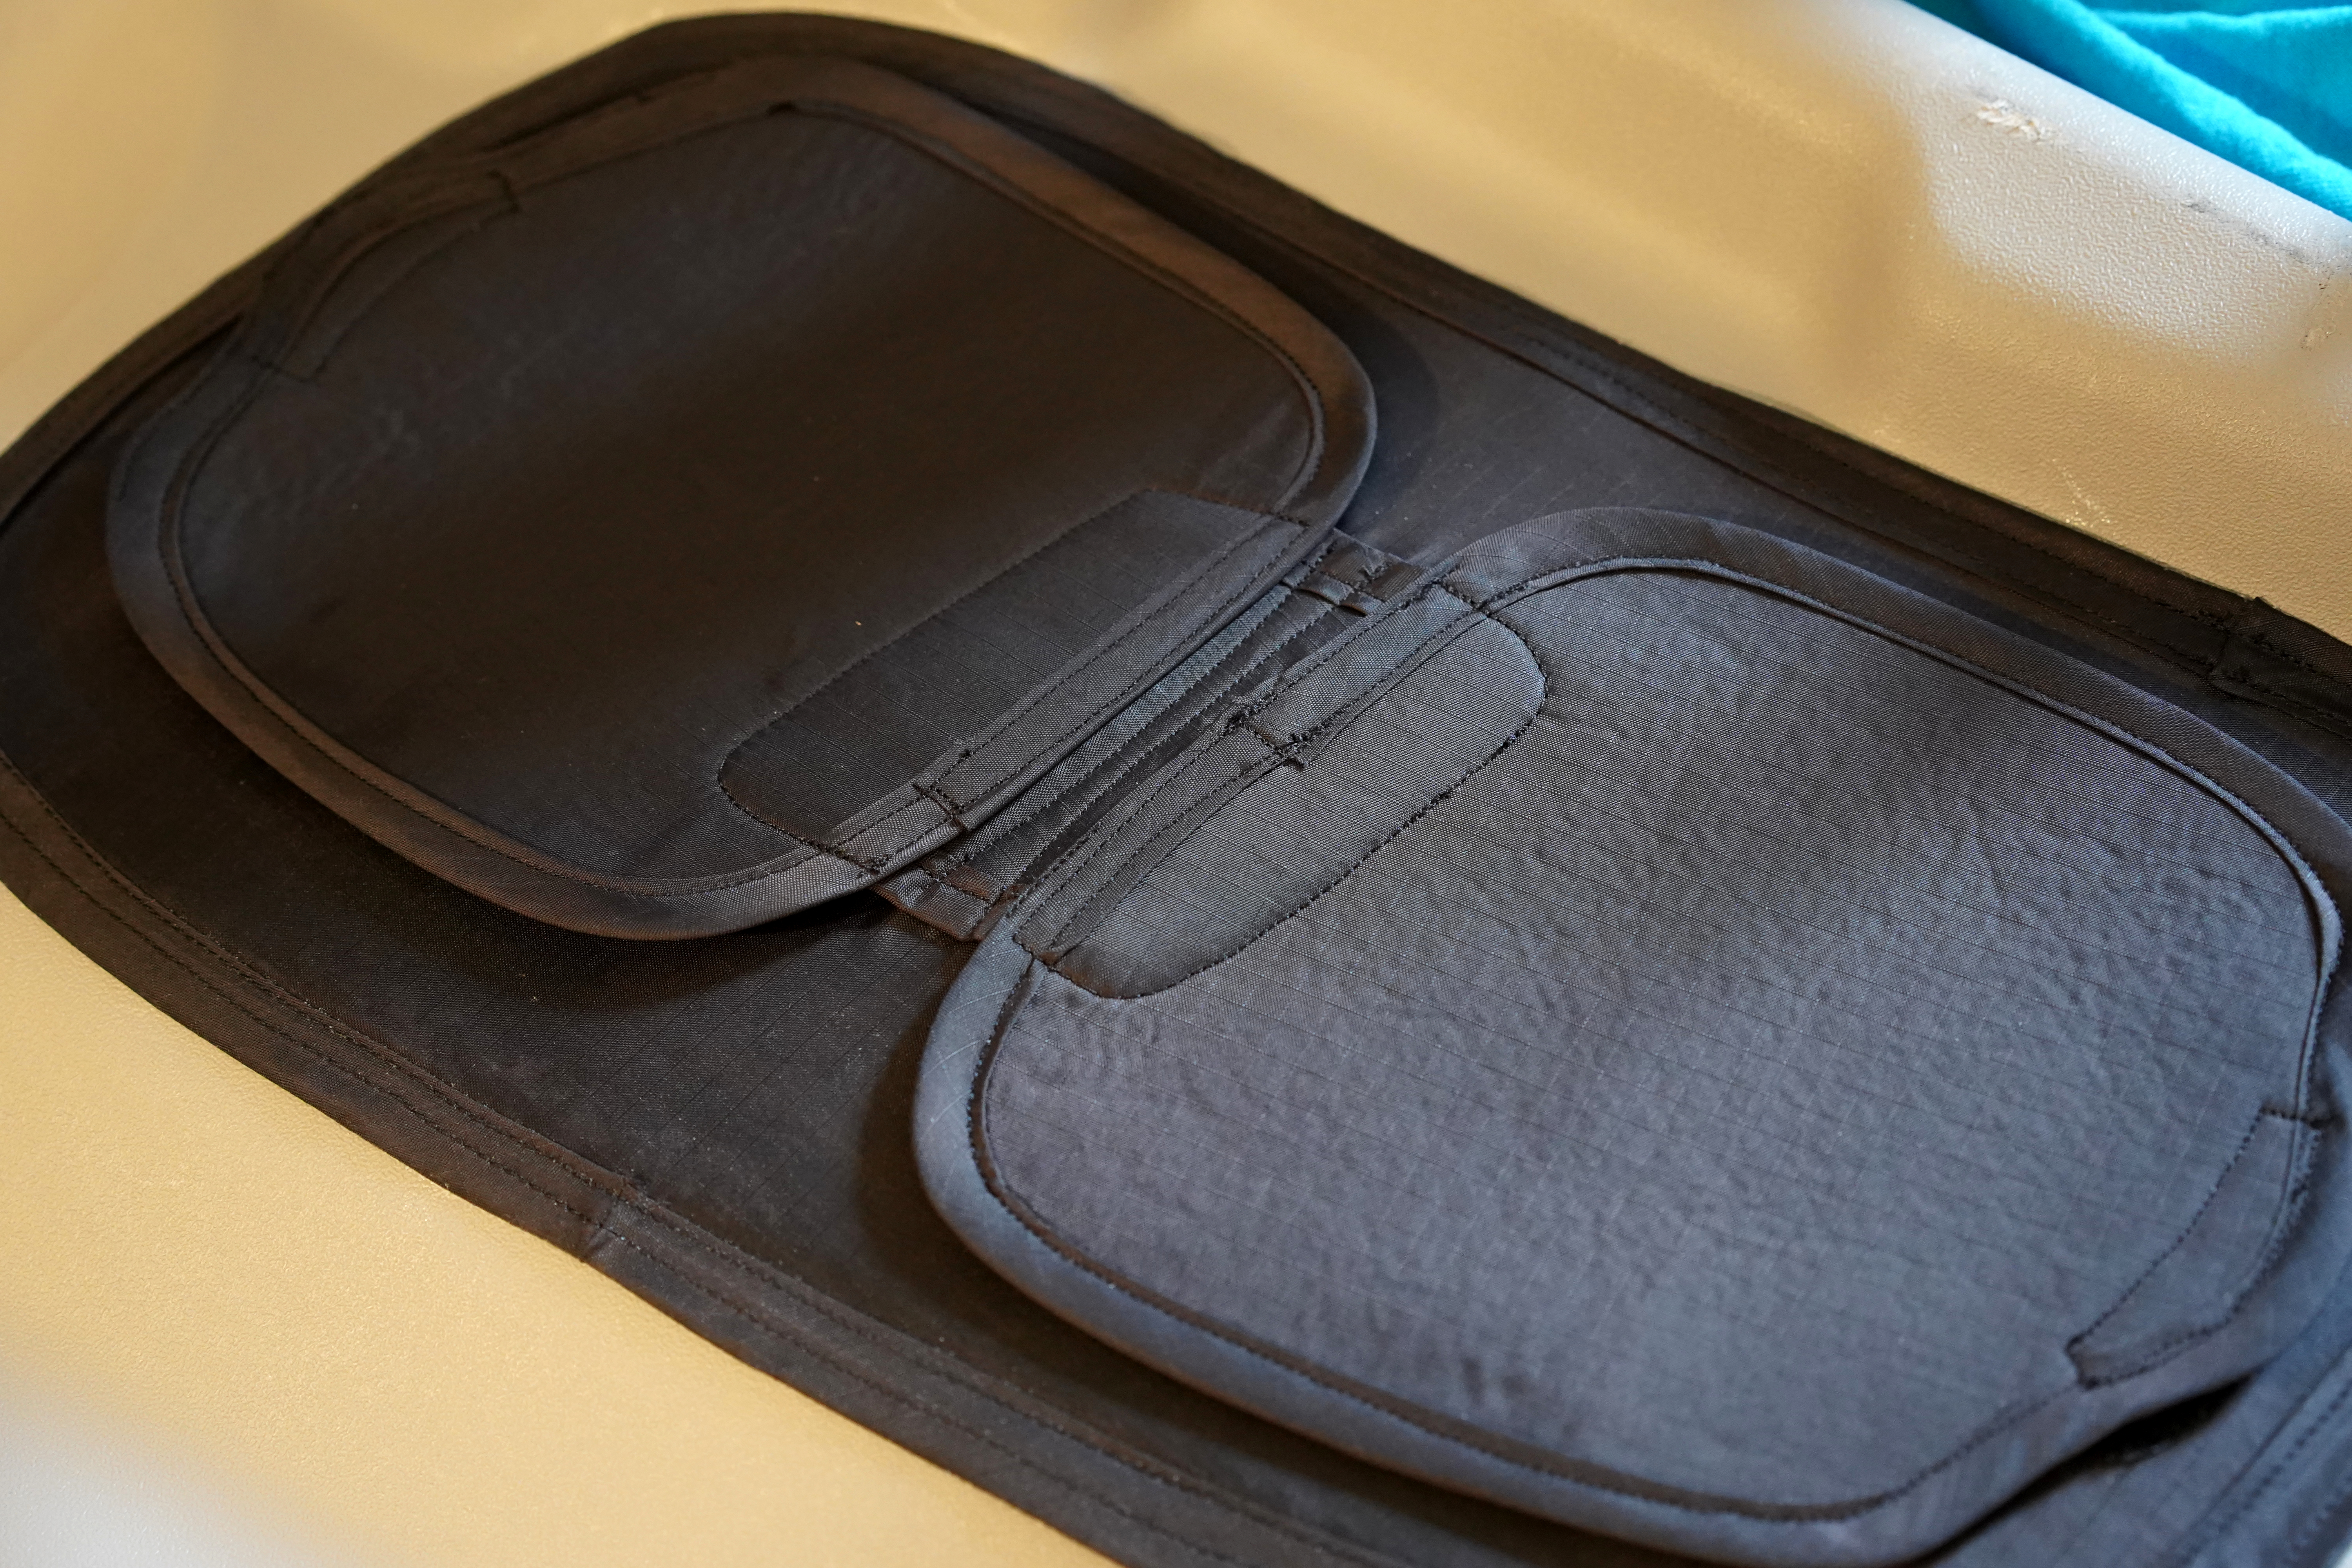

I thought I’d stuff the window covers up into the holes, so they’d sit atop the shelf when not in use. But, in practice, the window covers were a pain to take in and out of the holes. They fit, but just barely.
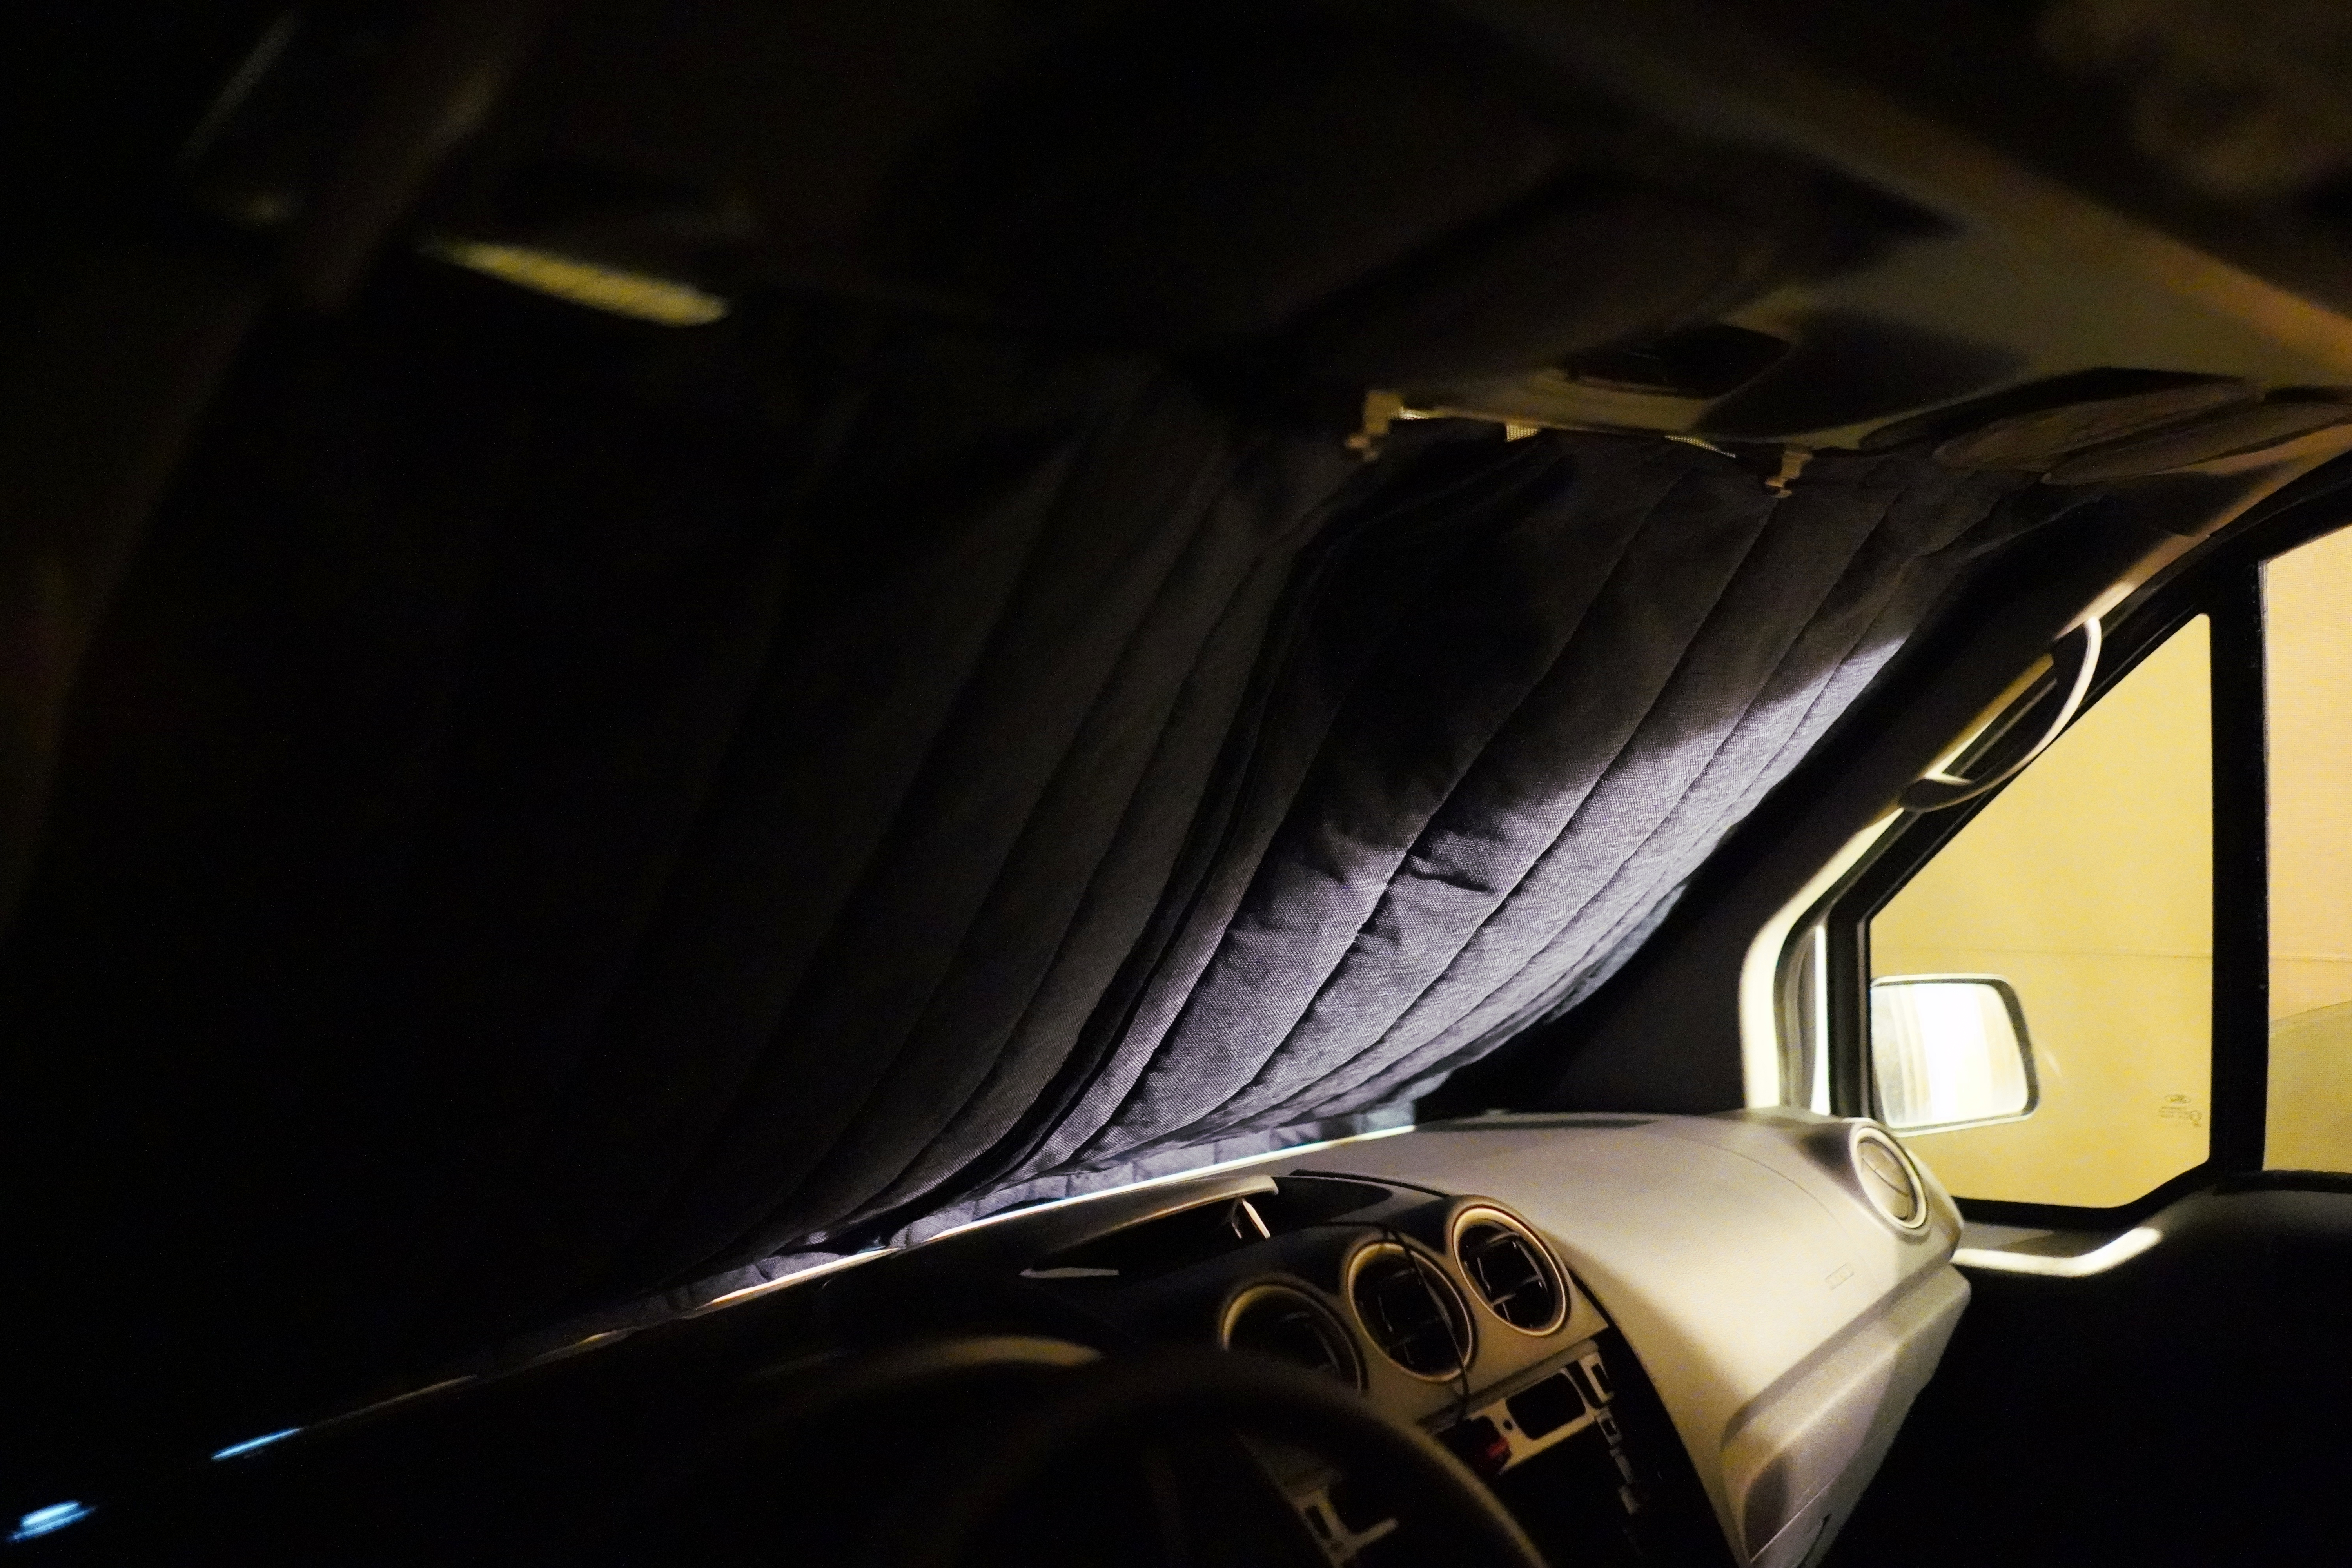
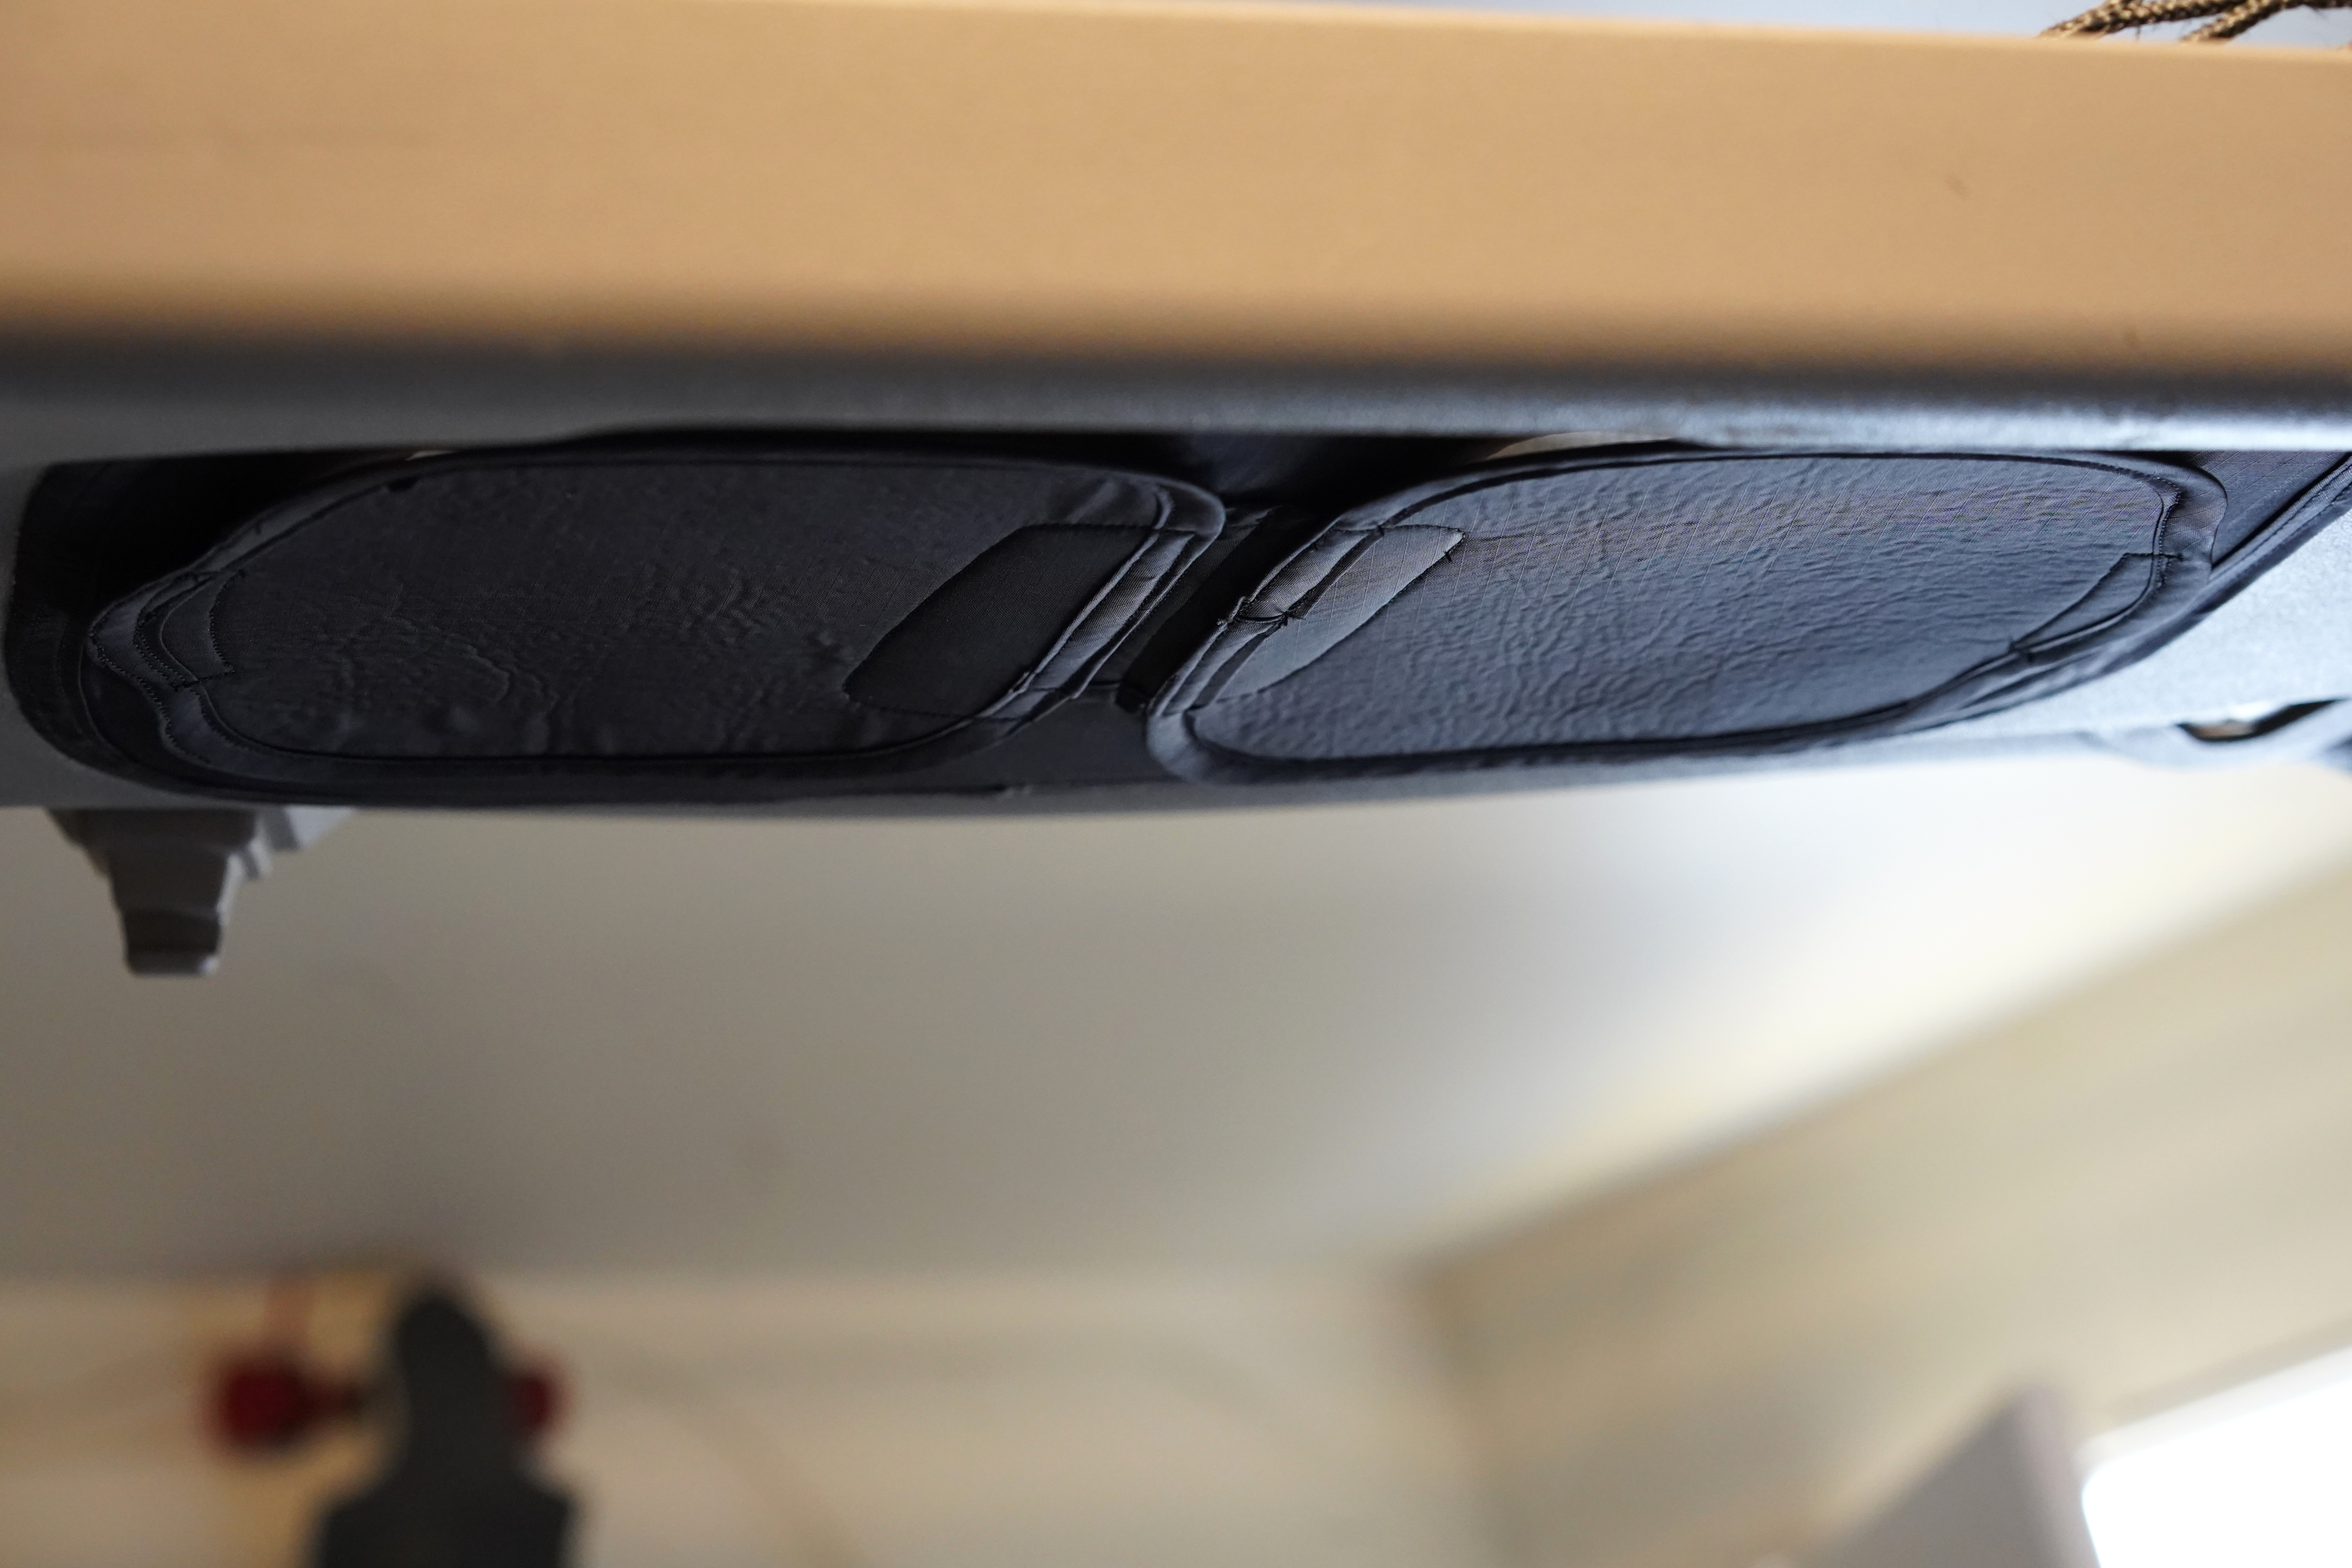
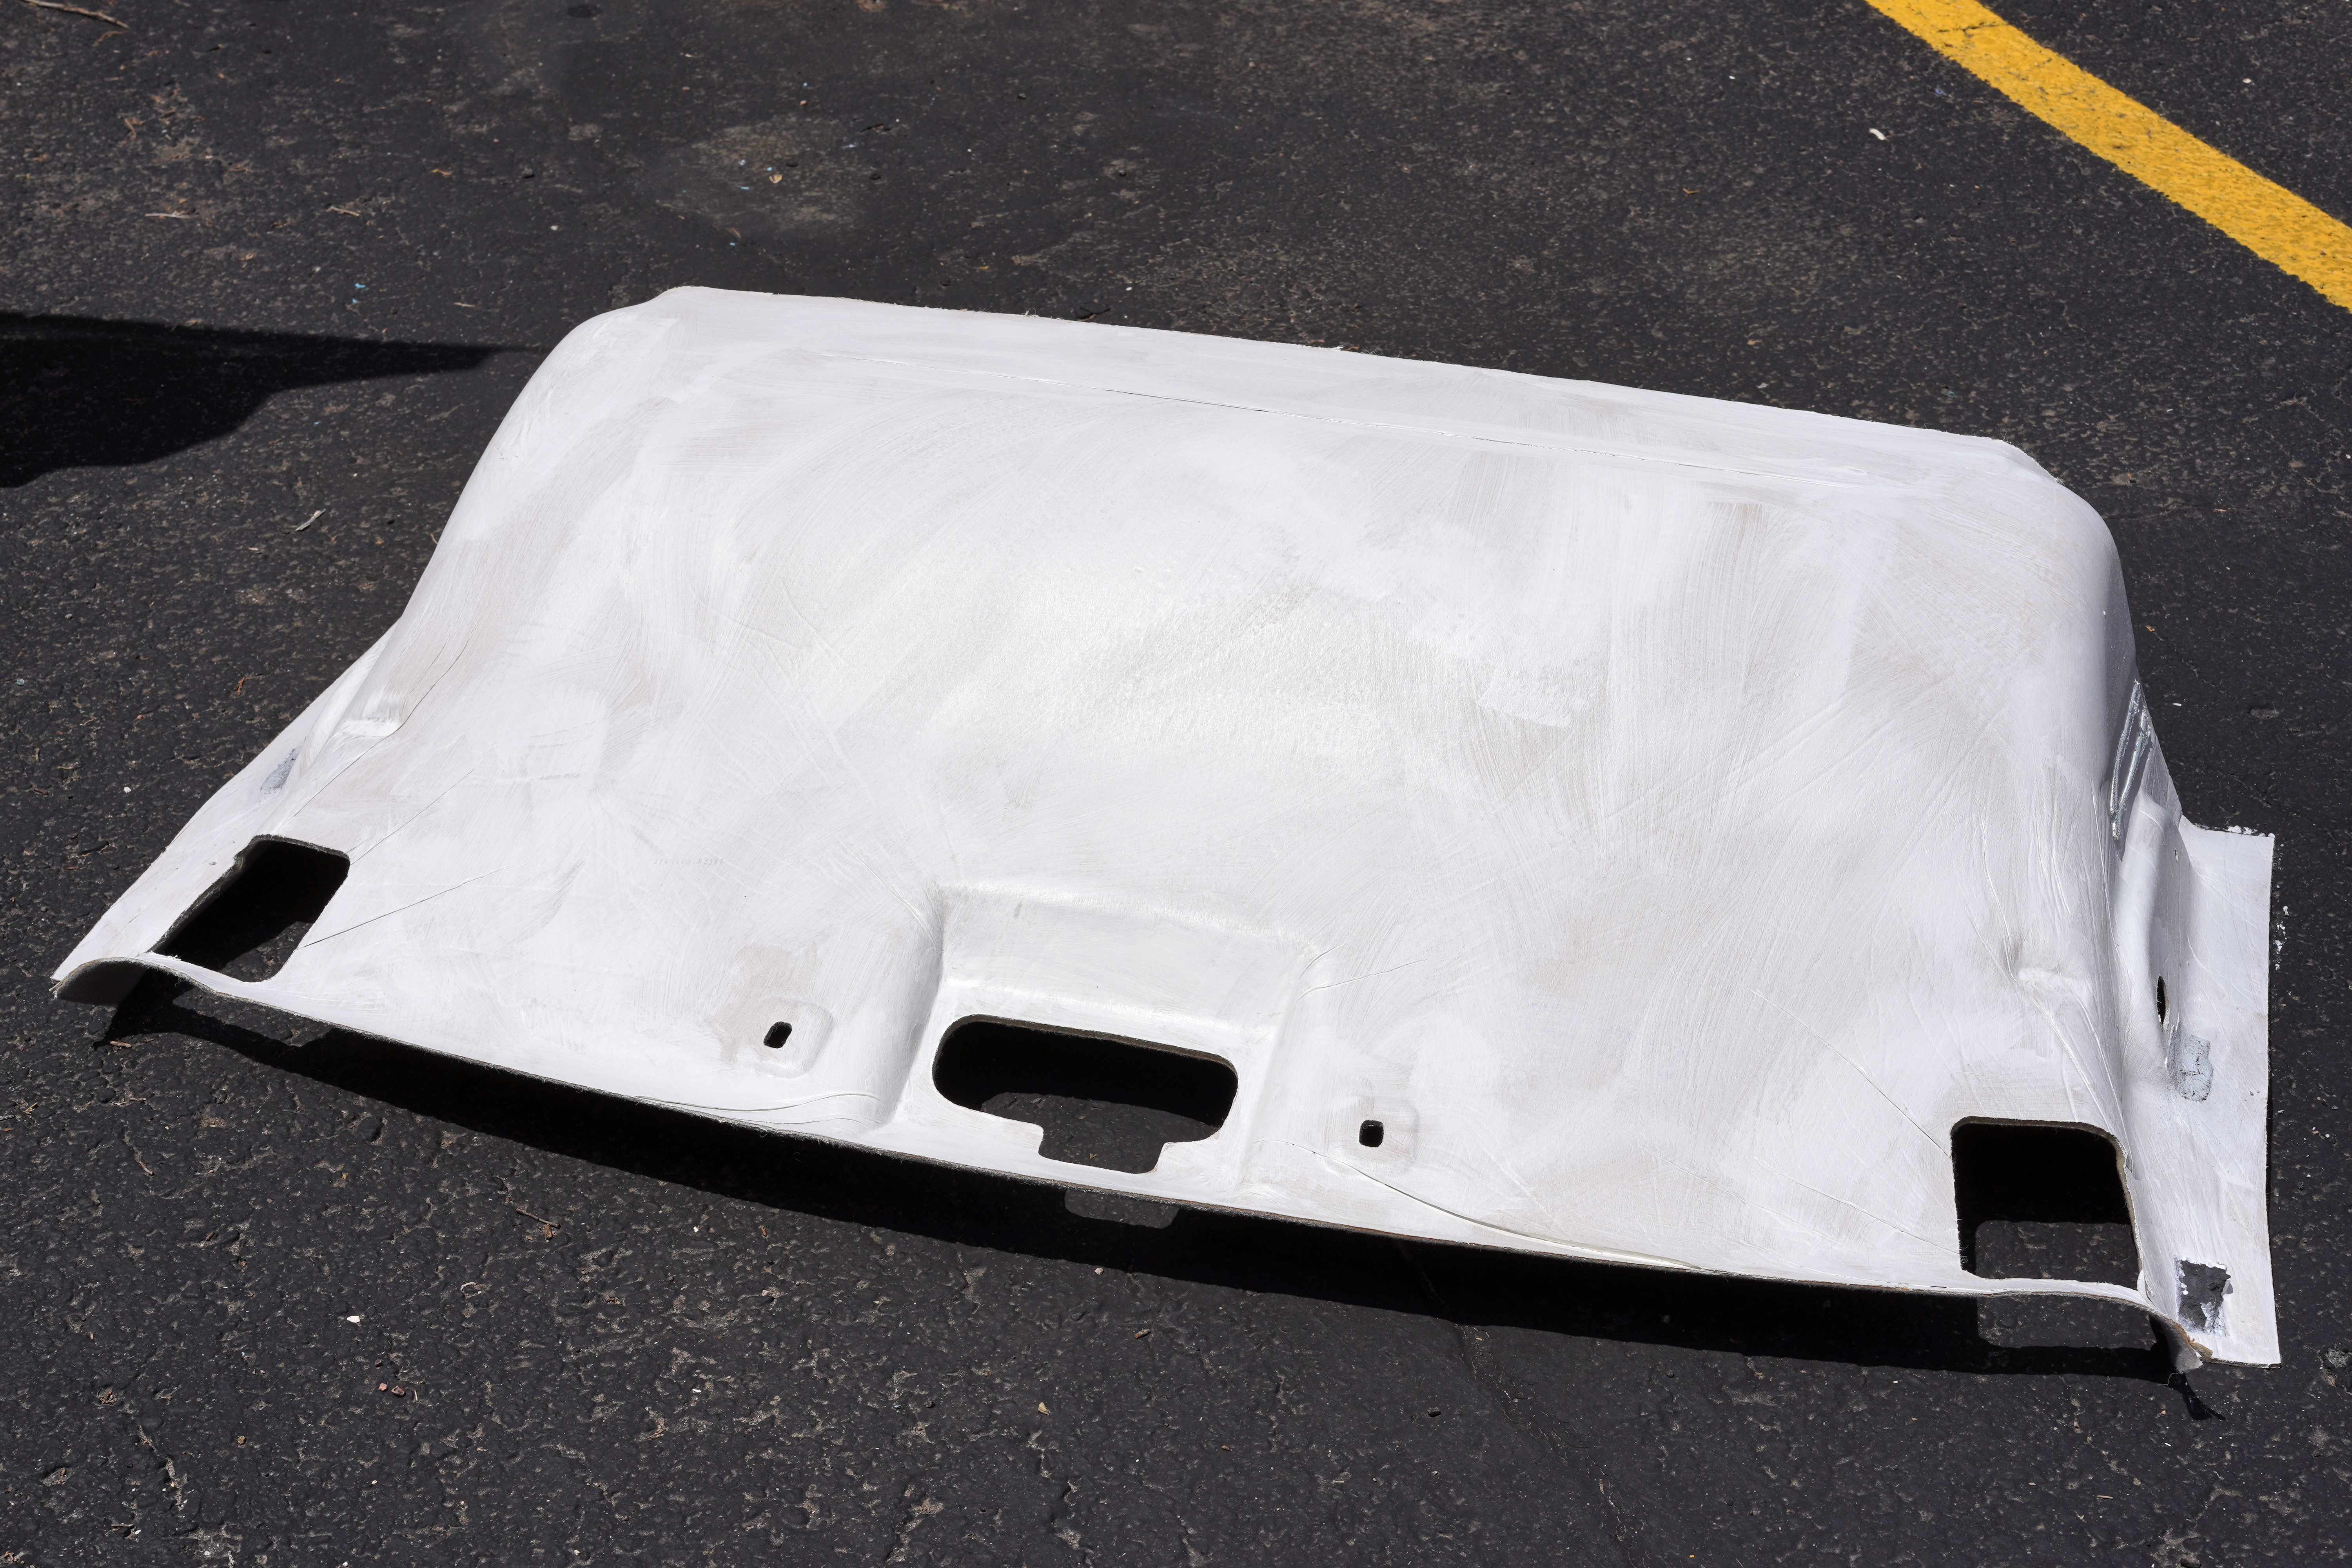
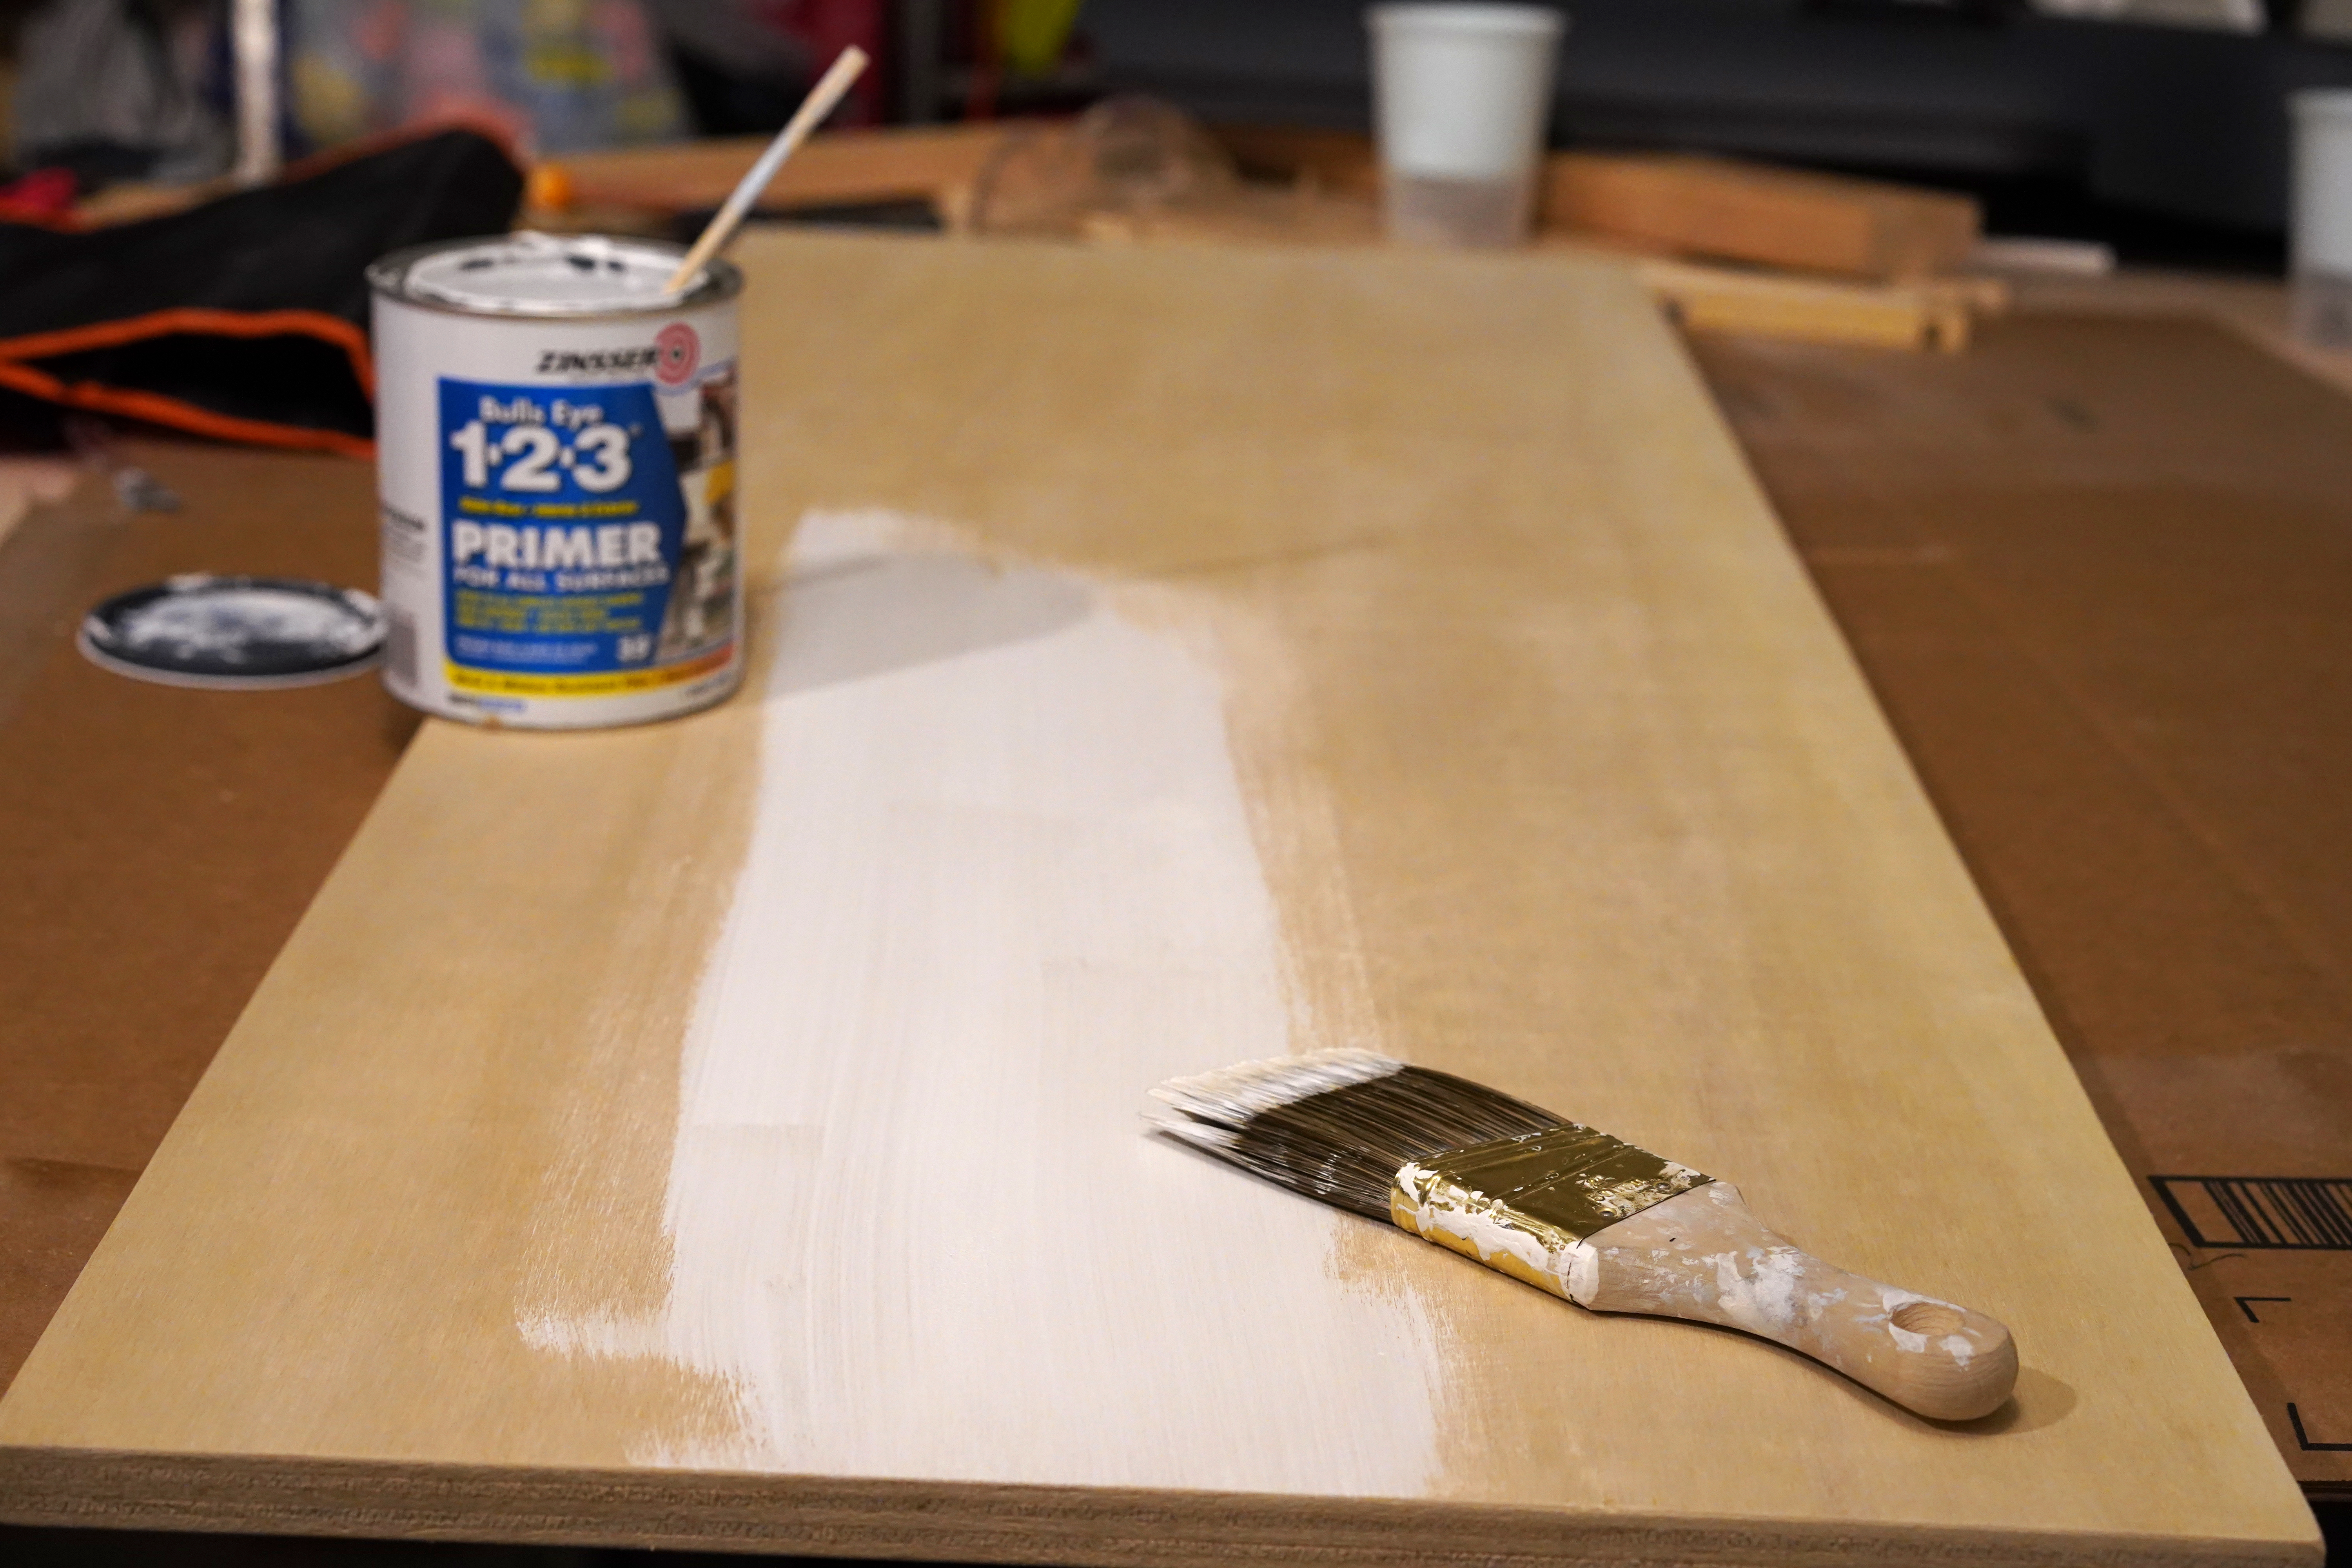
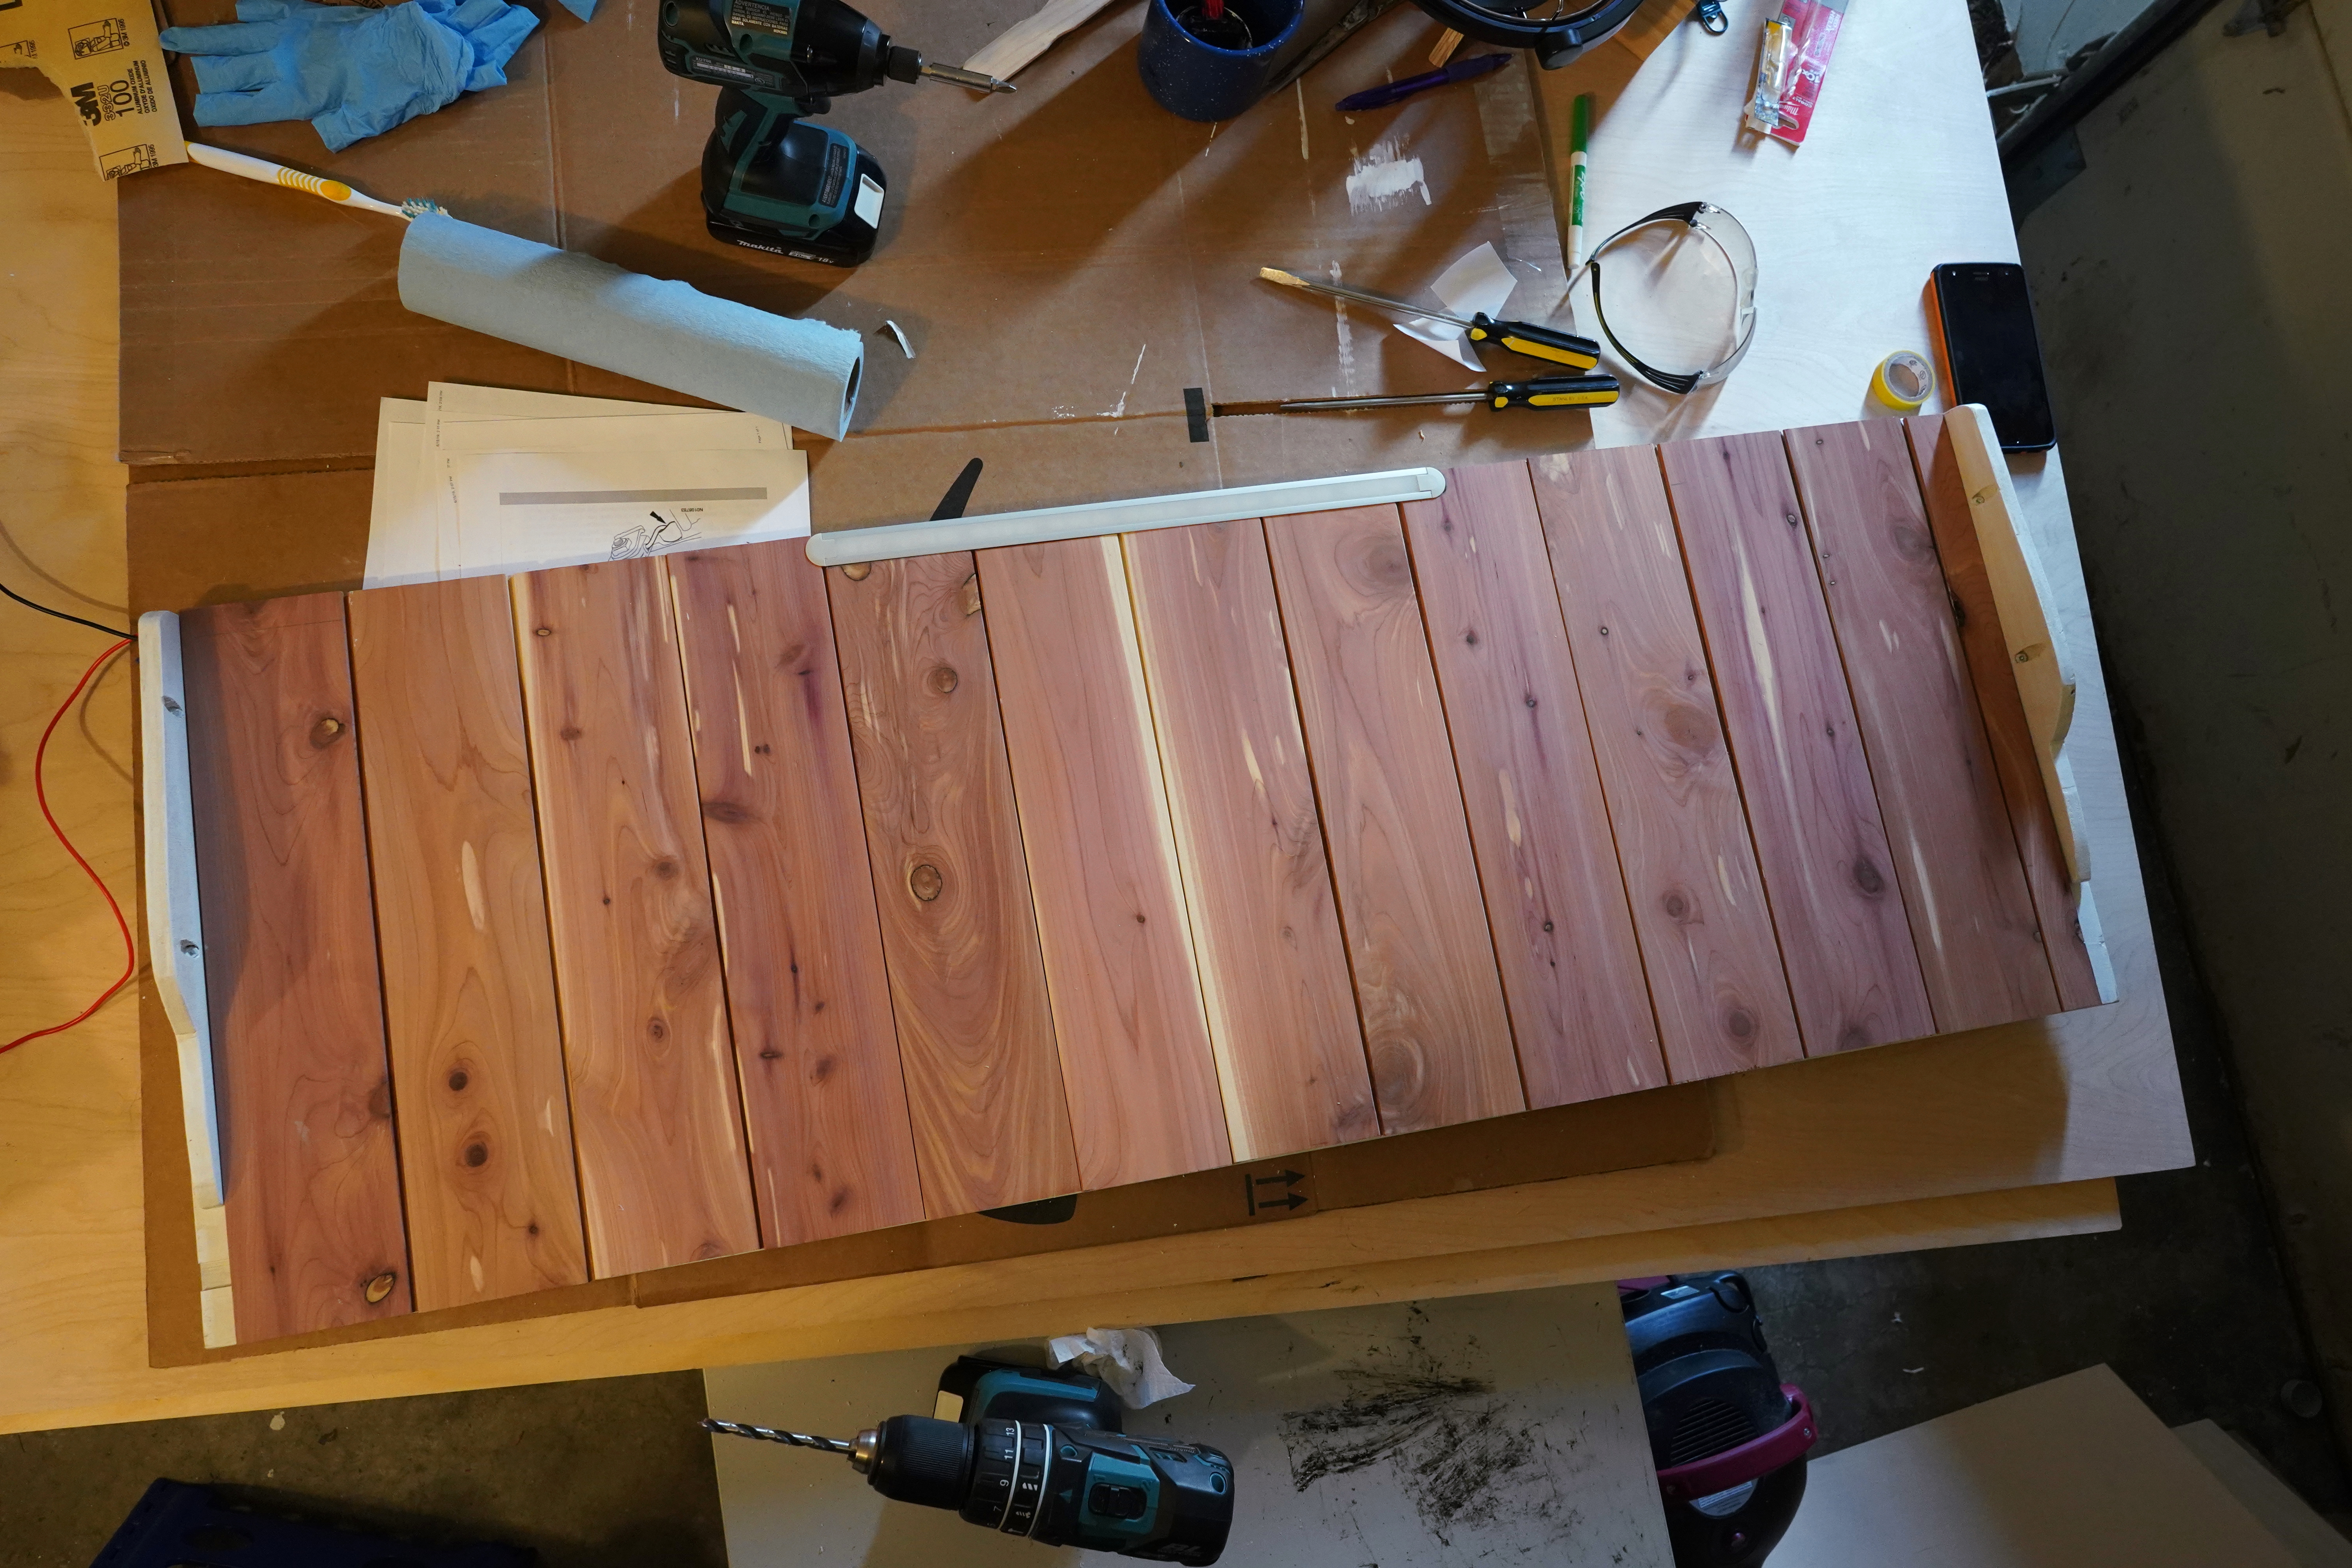
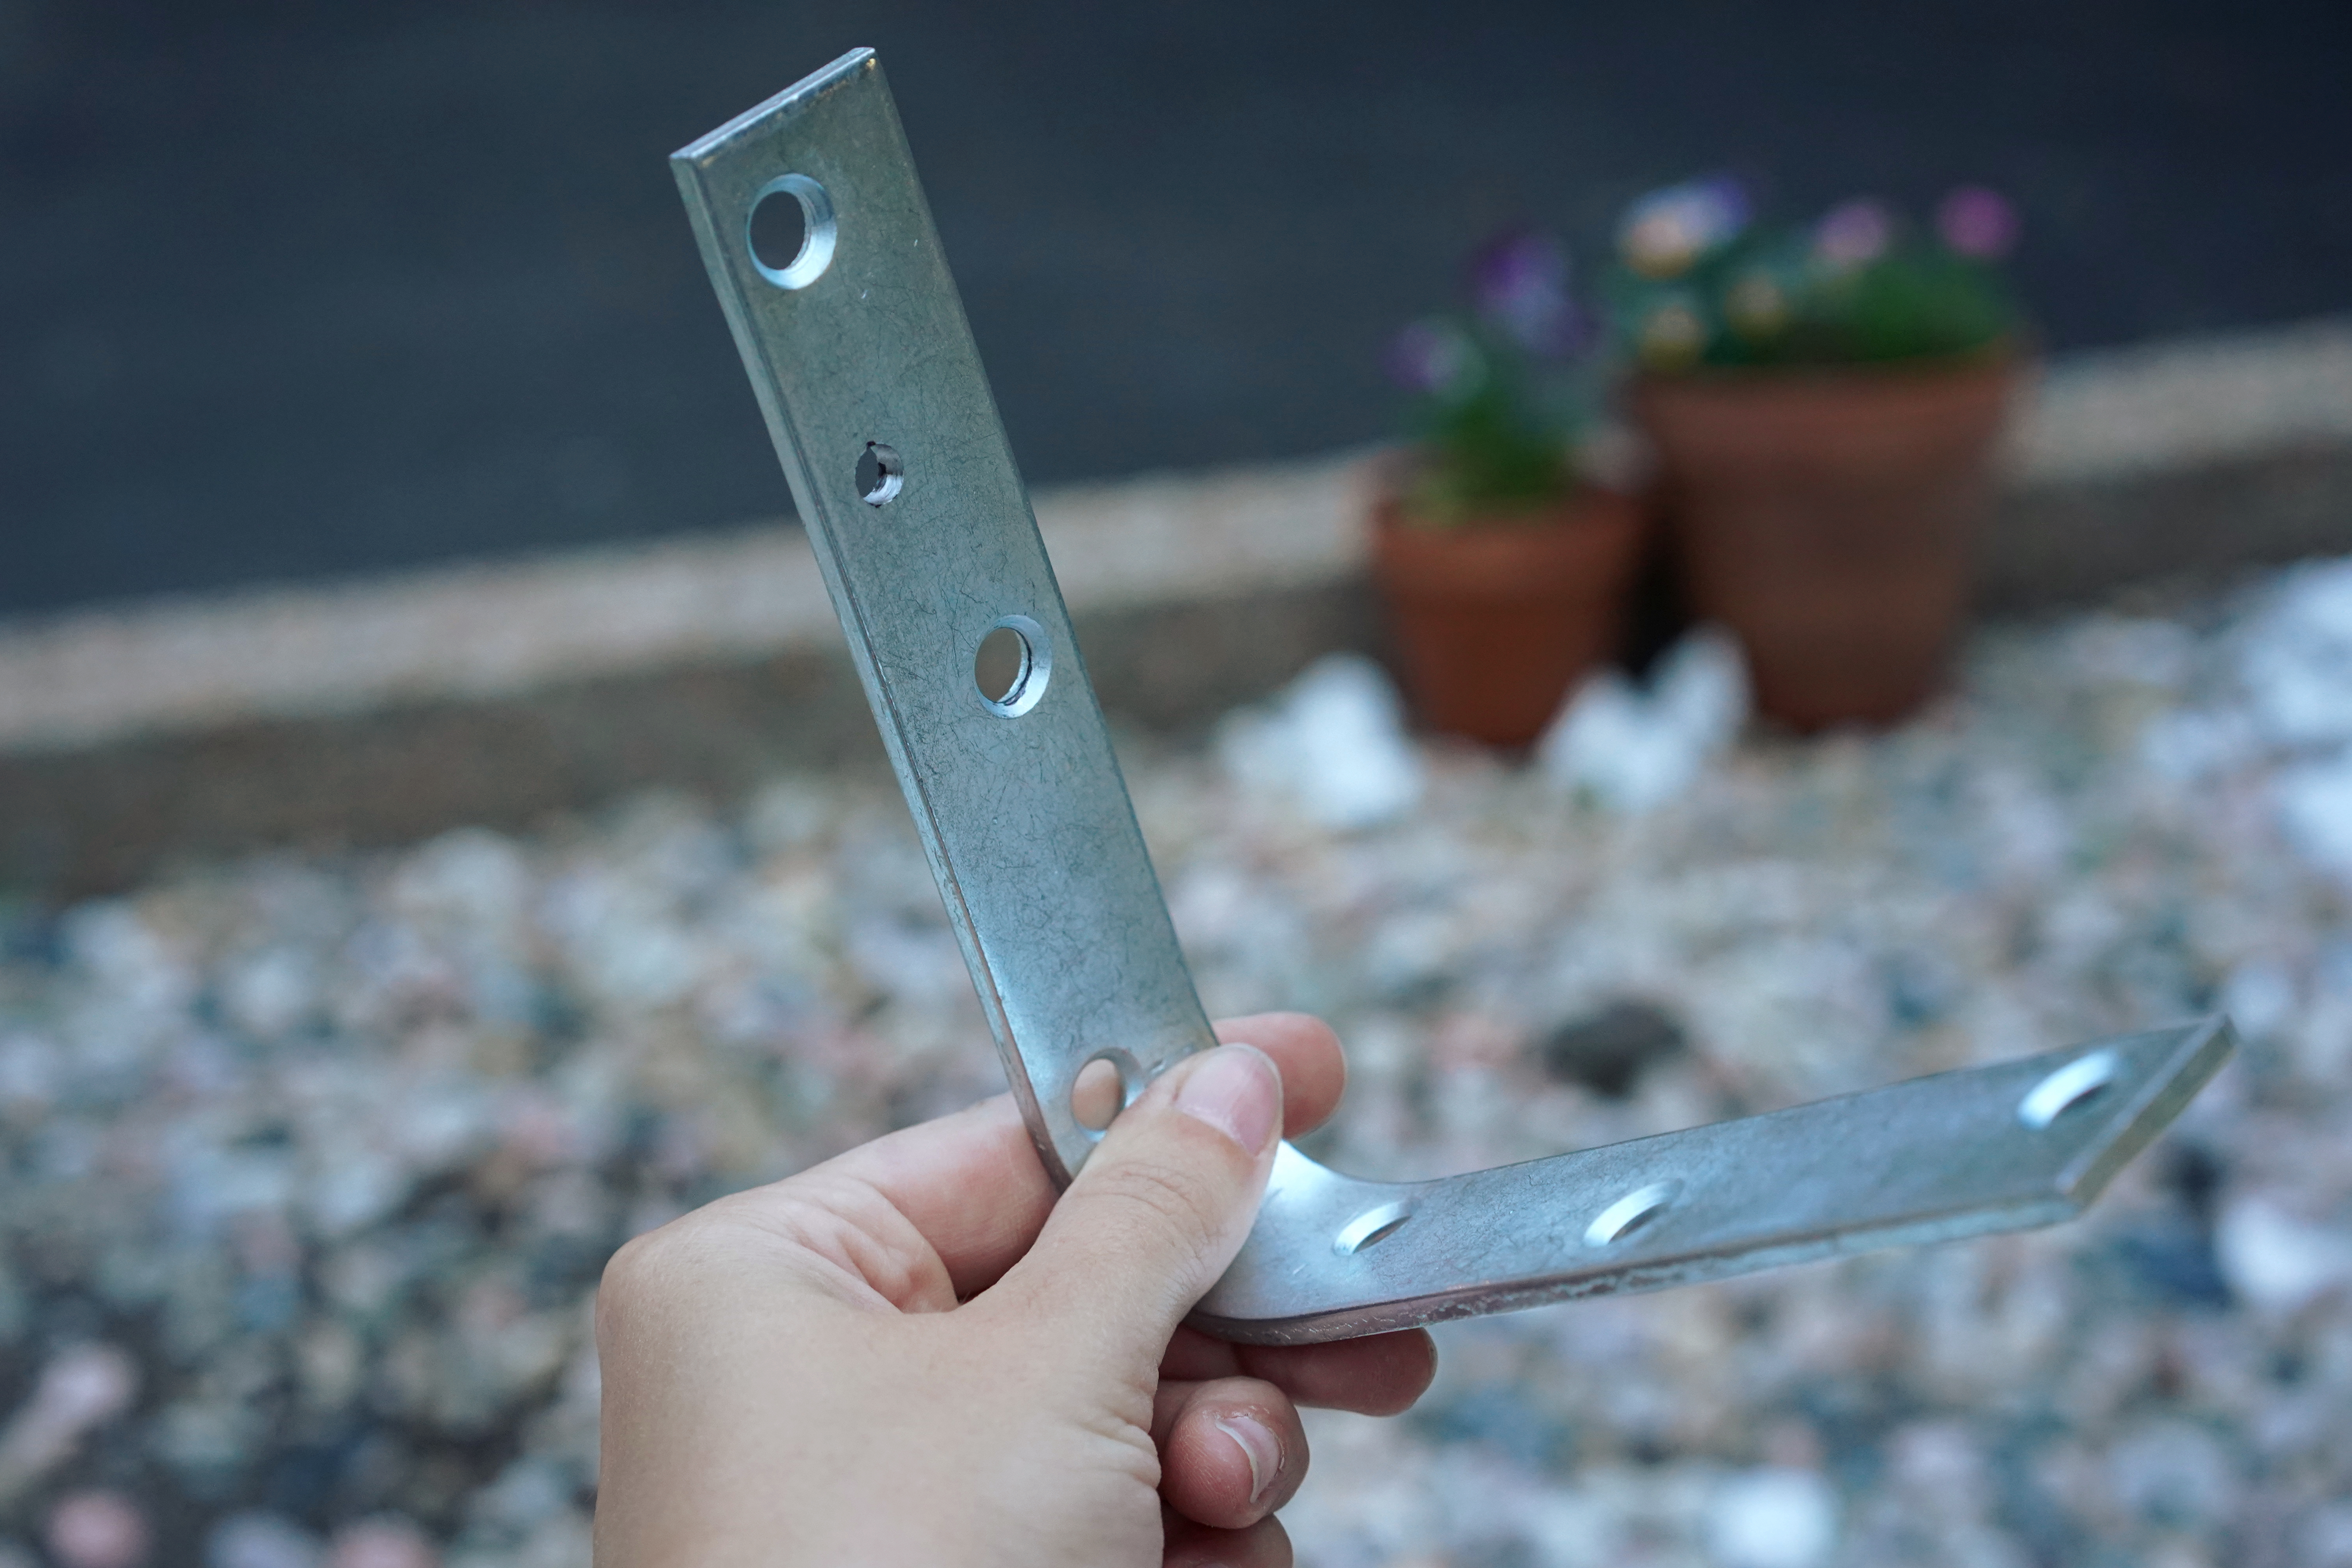
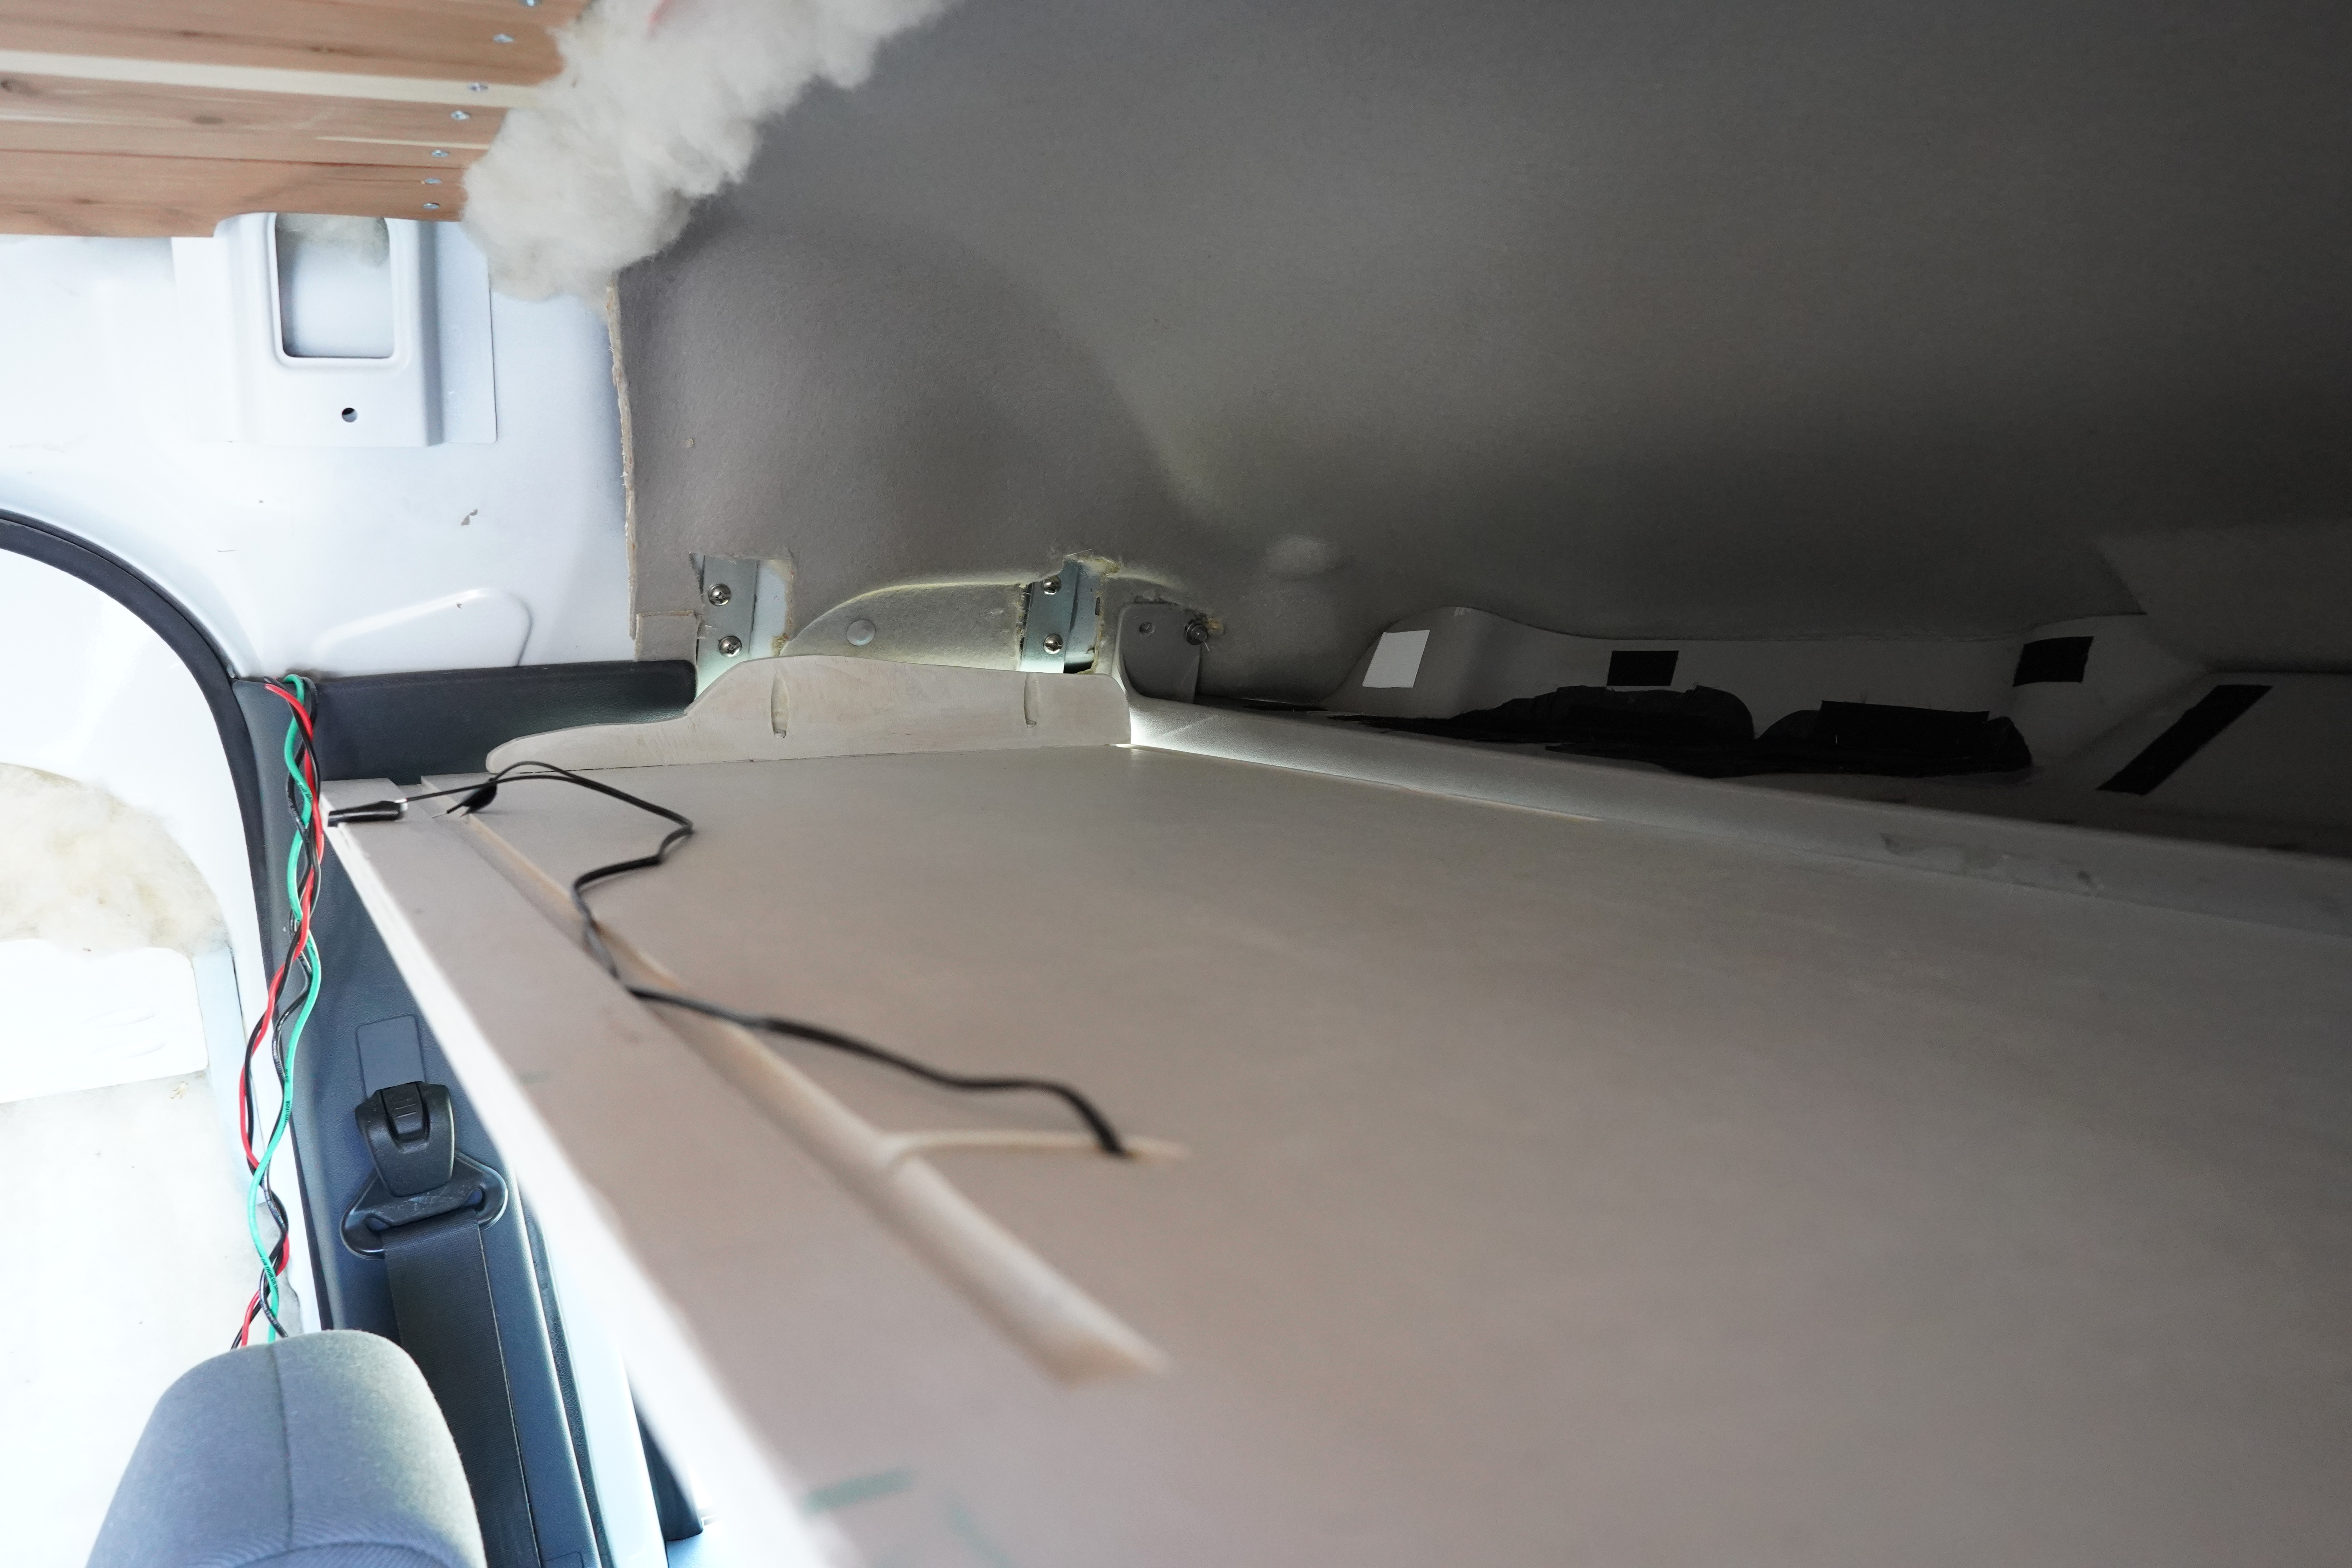
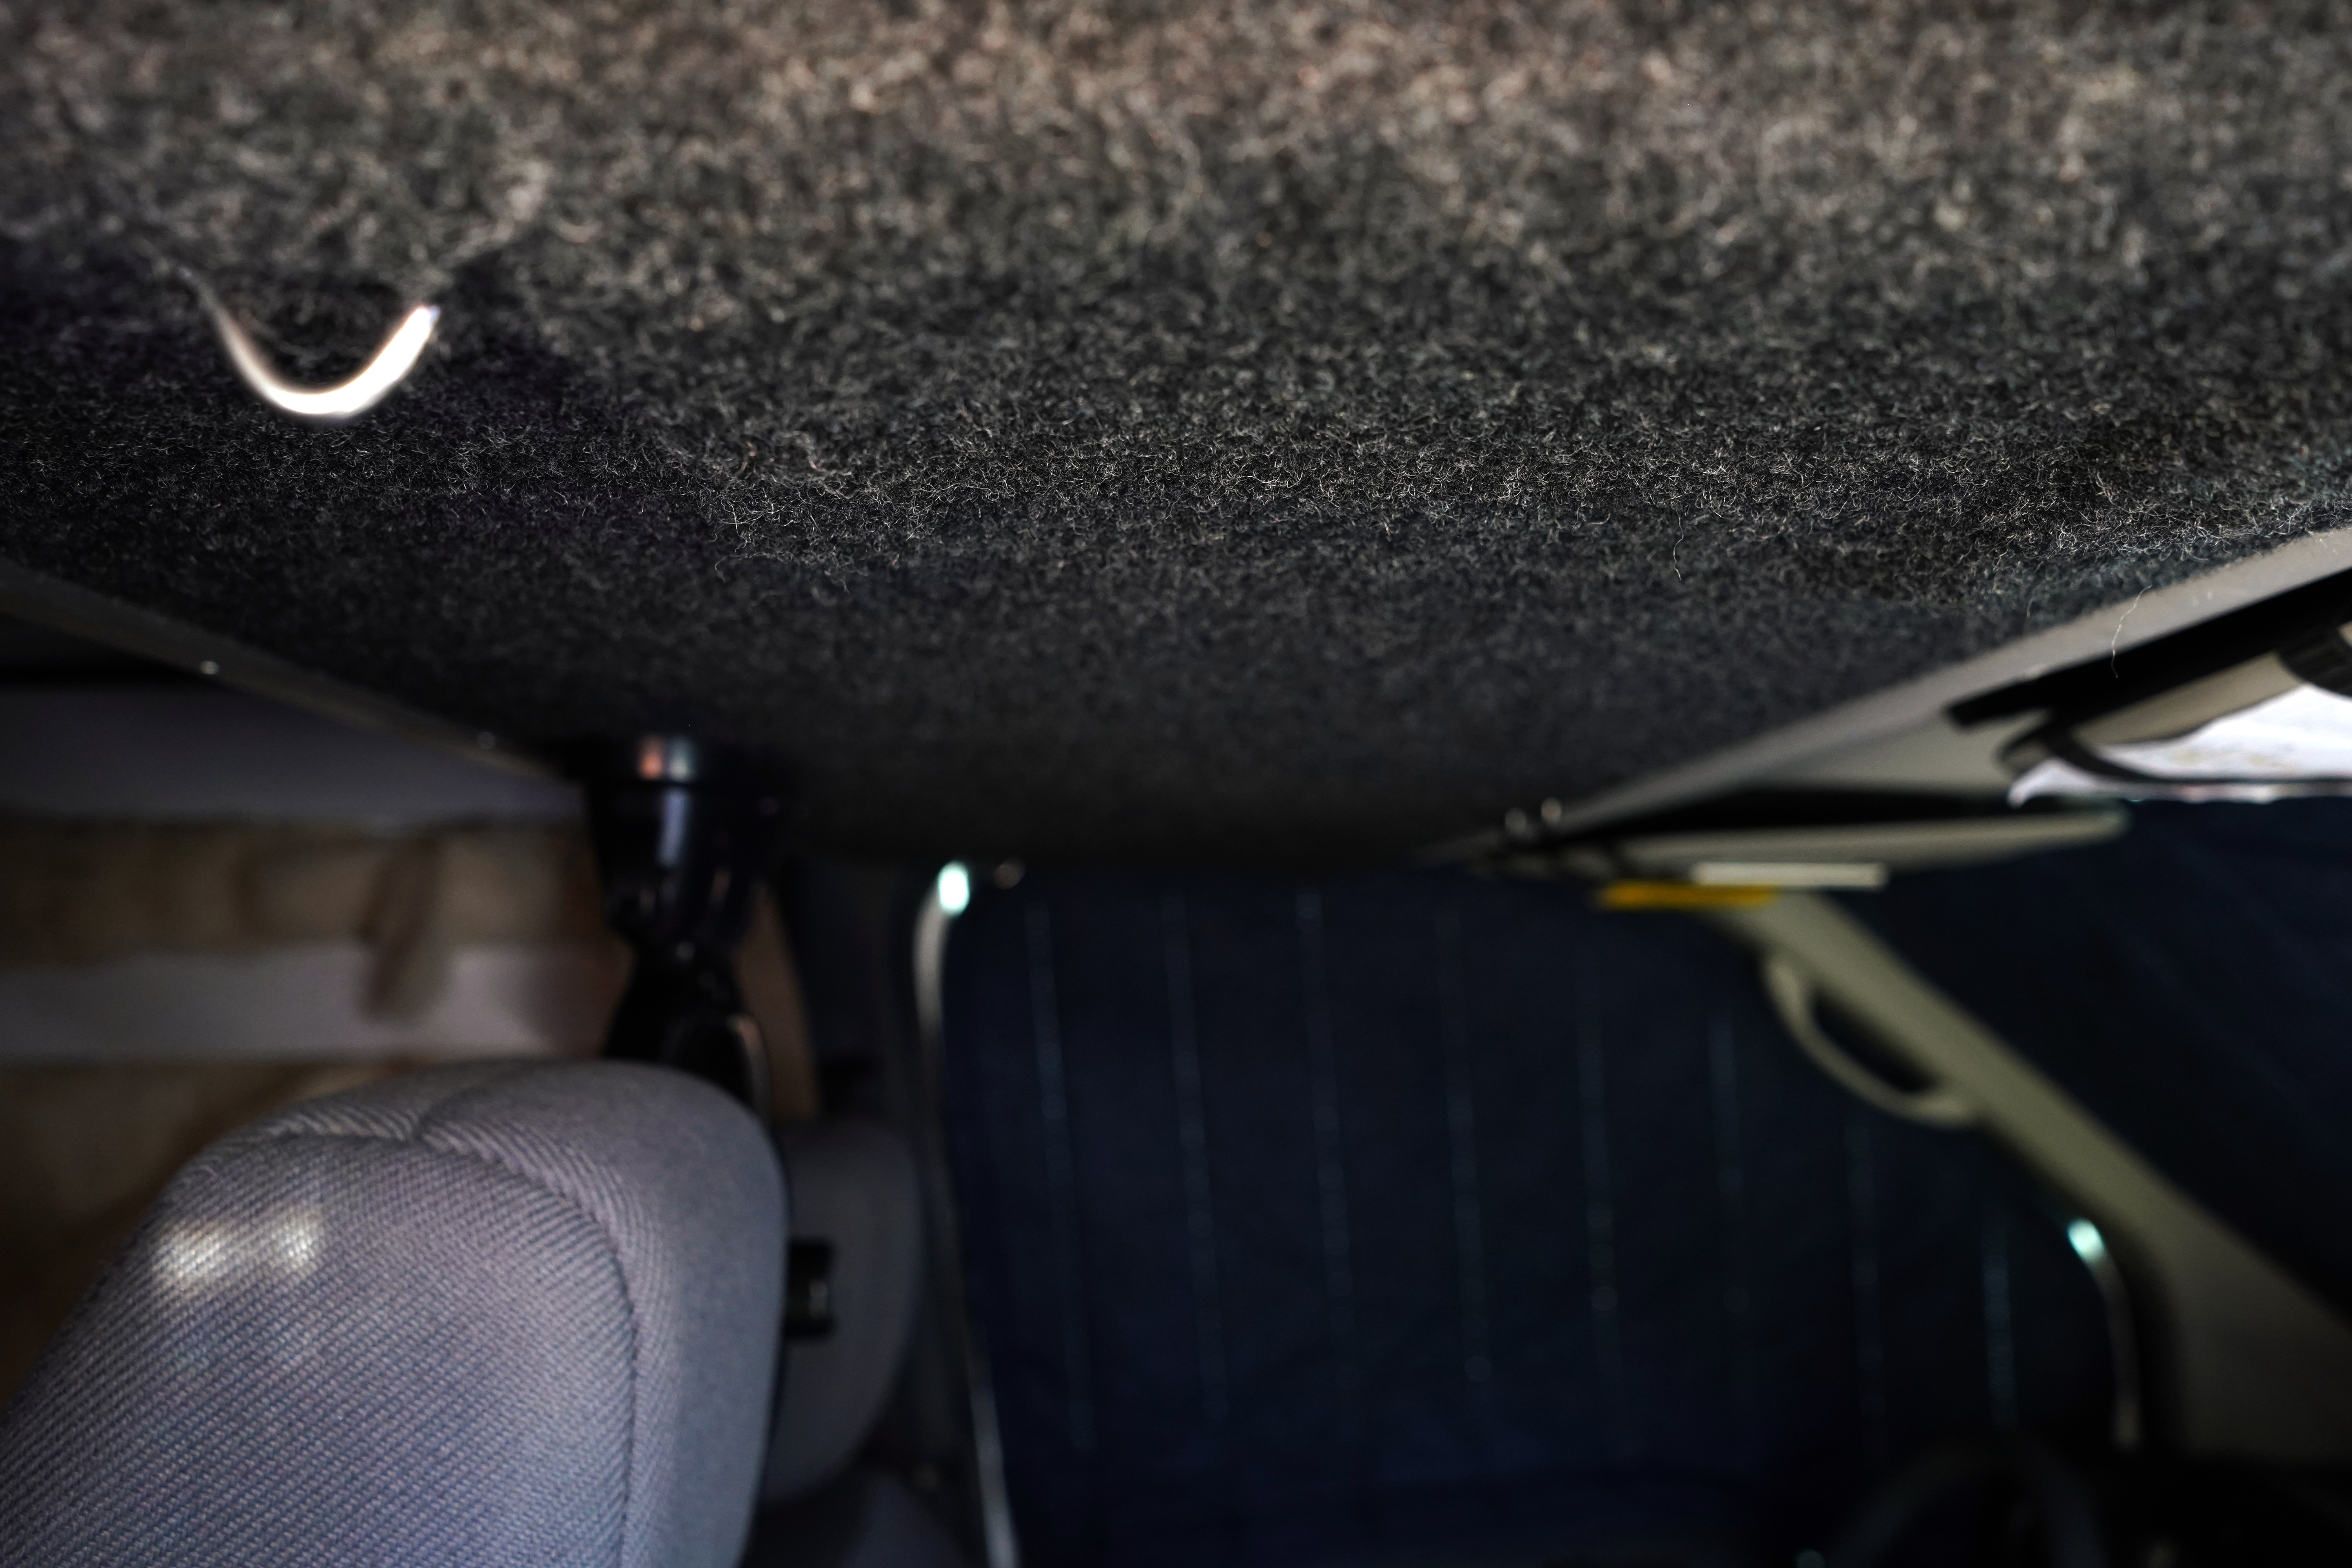
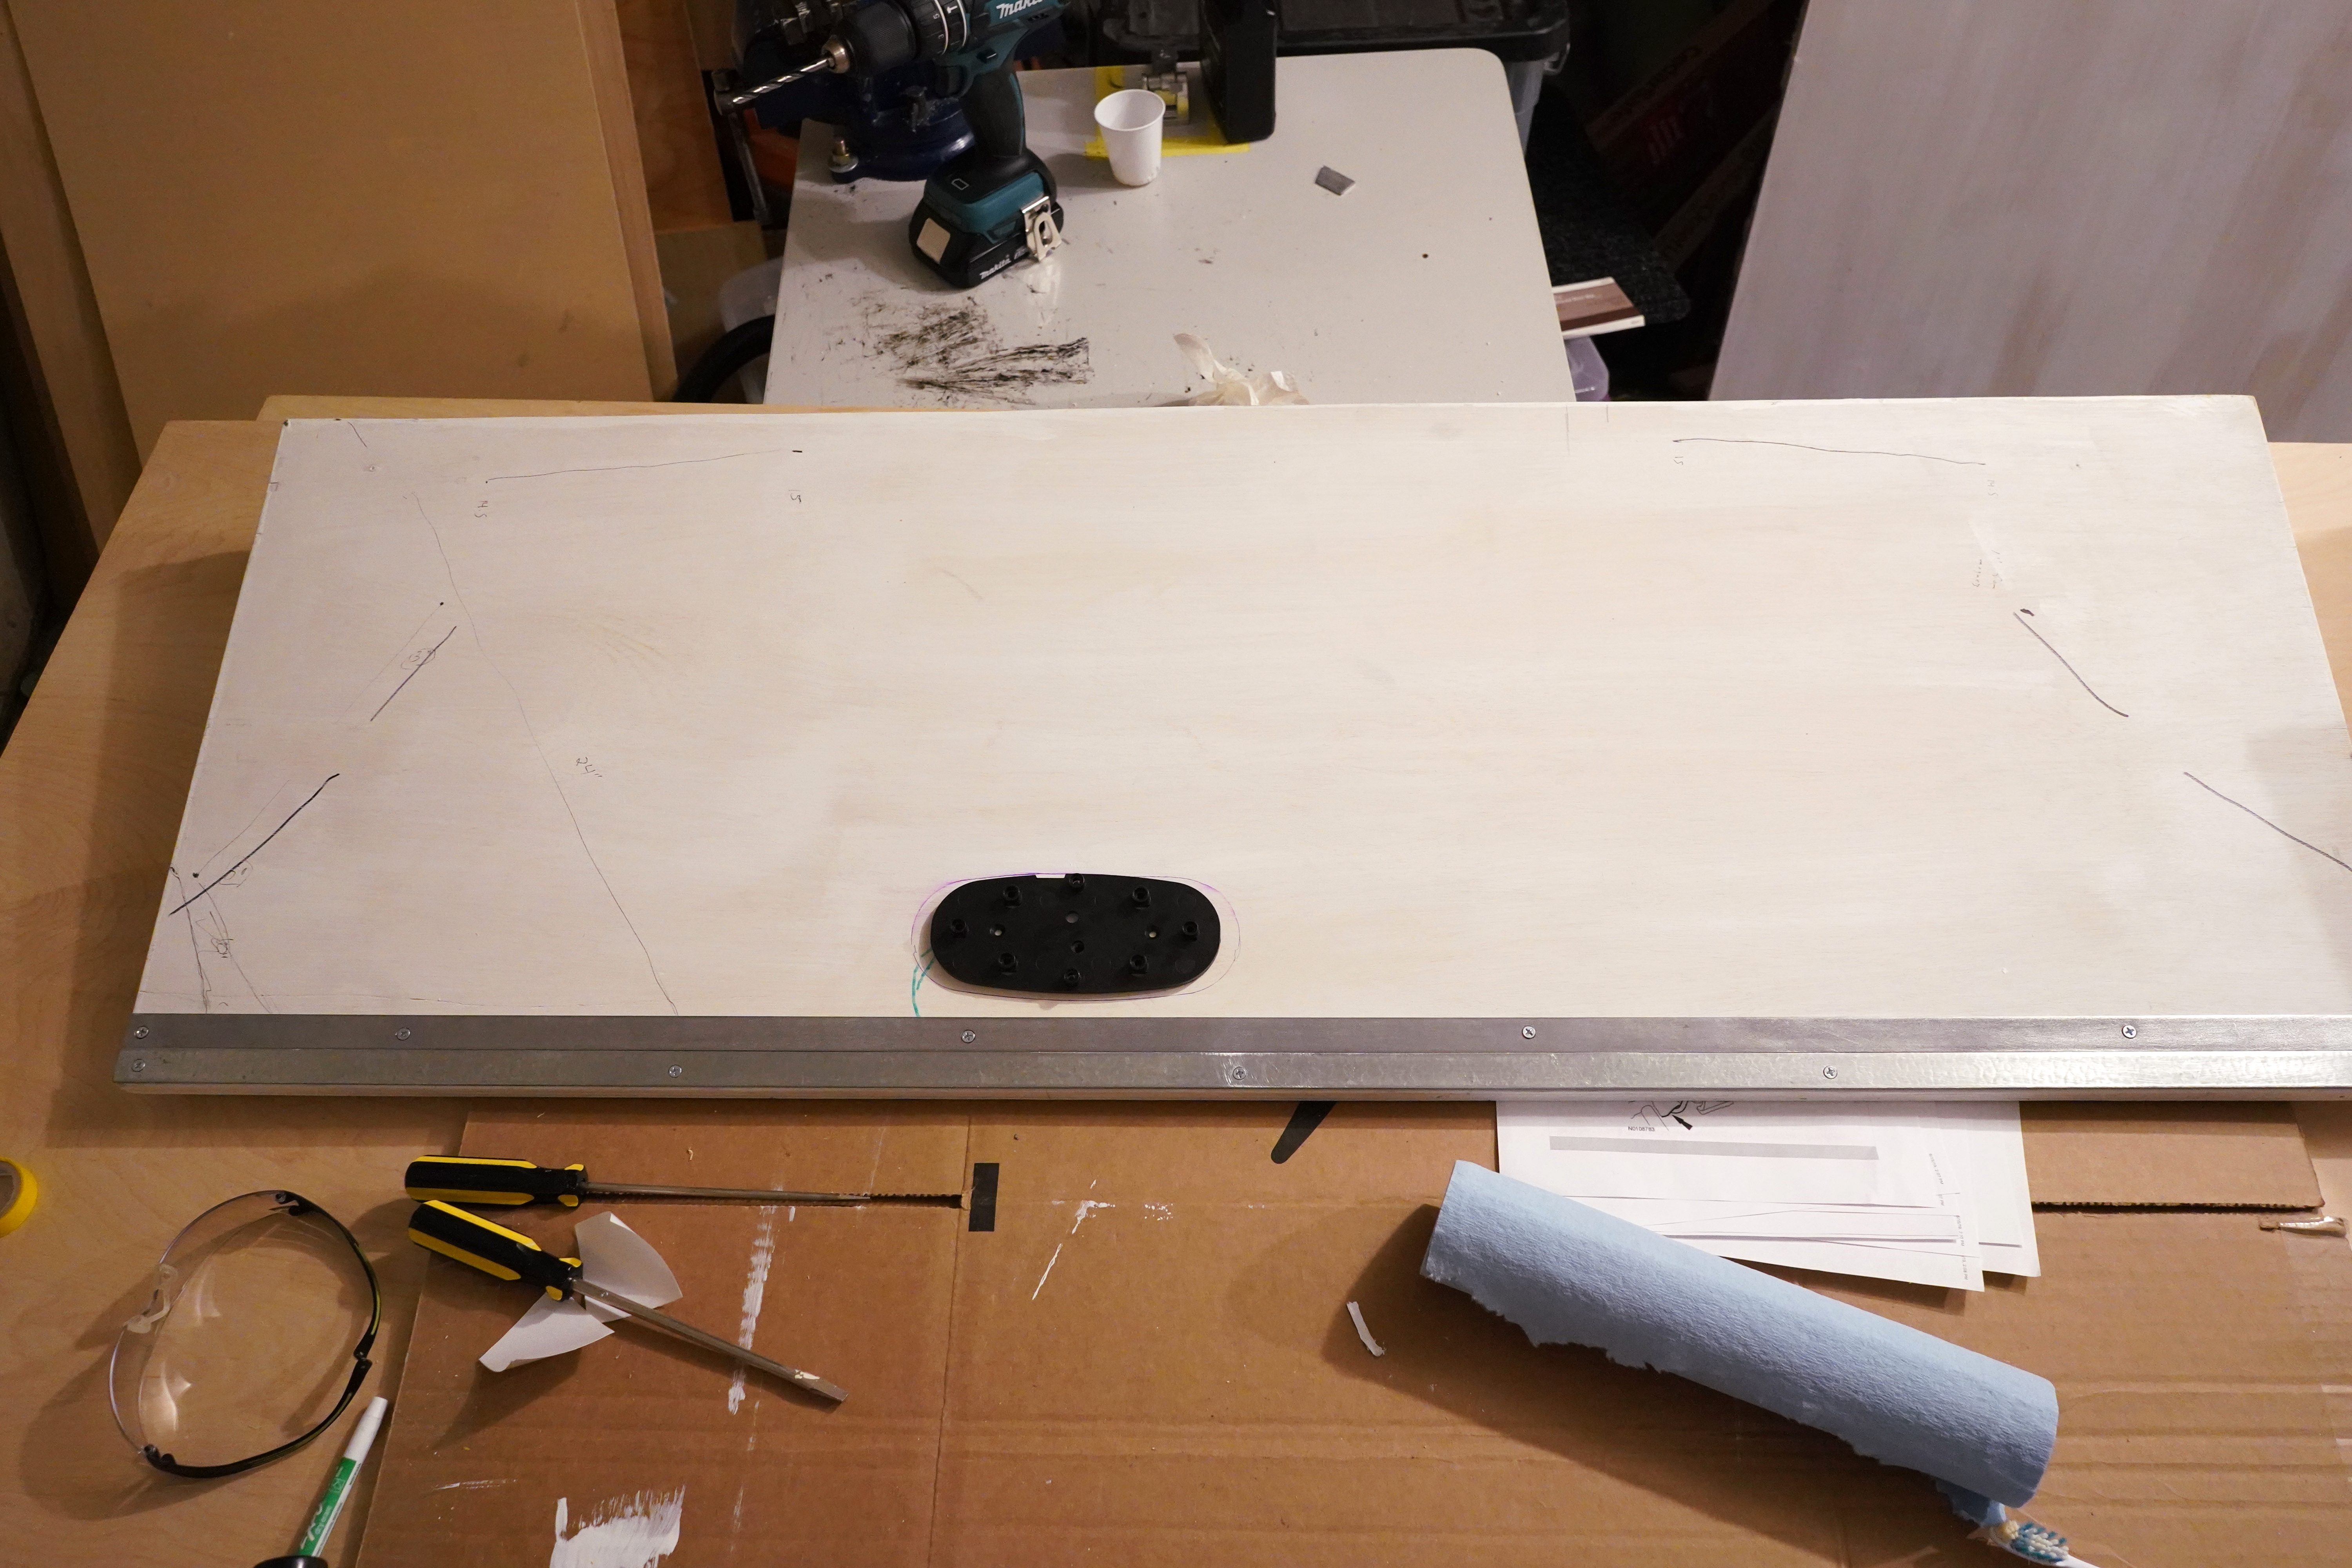
I didn’t come up with a plan B until I began building the cabin shelf that now sits above the passenger and driver’s seat. Here’s a quick rundown of how I built this shelf (plus a photo synopsis below): I cut some 3/4″ plywood to size and primed it with mold inhibitor. I attached this plywood shelf to the van’s walls using threaded nut rivets, bolts, and metal brackets, bending each bracket to the walls’ peculiar angles. I finished the bottom of the shelf with gray automotive trunk liner and installed various hooks and this sweet gimbal fan. I covered the top of the shelf with cedar planks. Then I added a recessed LED light and grooves that route the fan’s electrical wires underneath the cedar planks. As part of this job, I also reinstalled the van’s headliner, now primed with mold inhibitor (first photo below), and began lining that part of the ceiling with tan carpet (last photo).


Just before installing the shelf, I came up with my second big idea for storing the sunshades. This one would work!
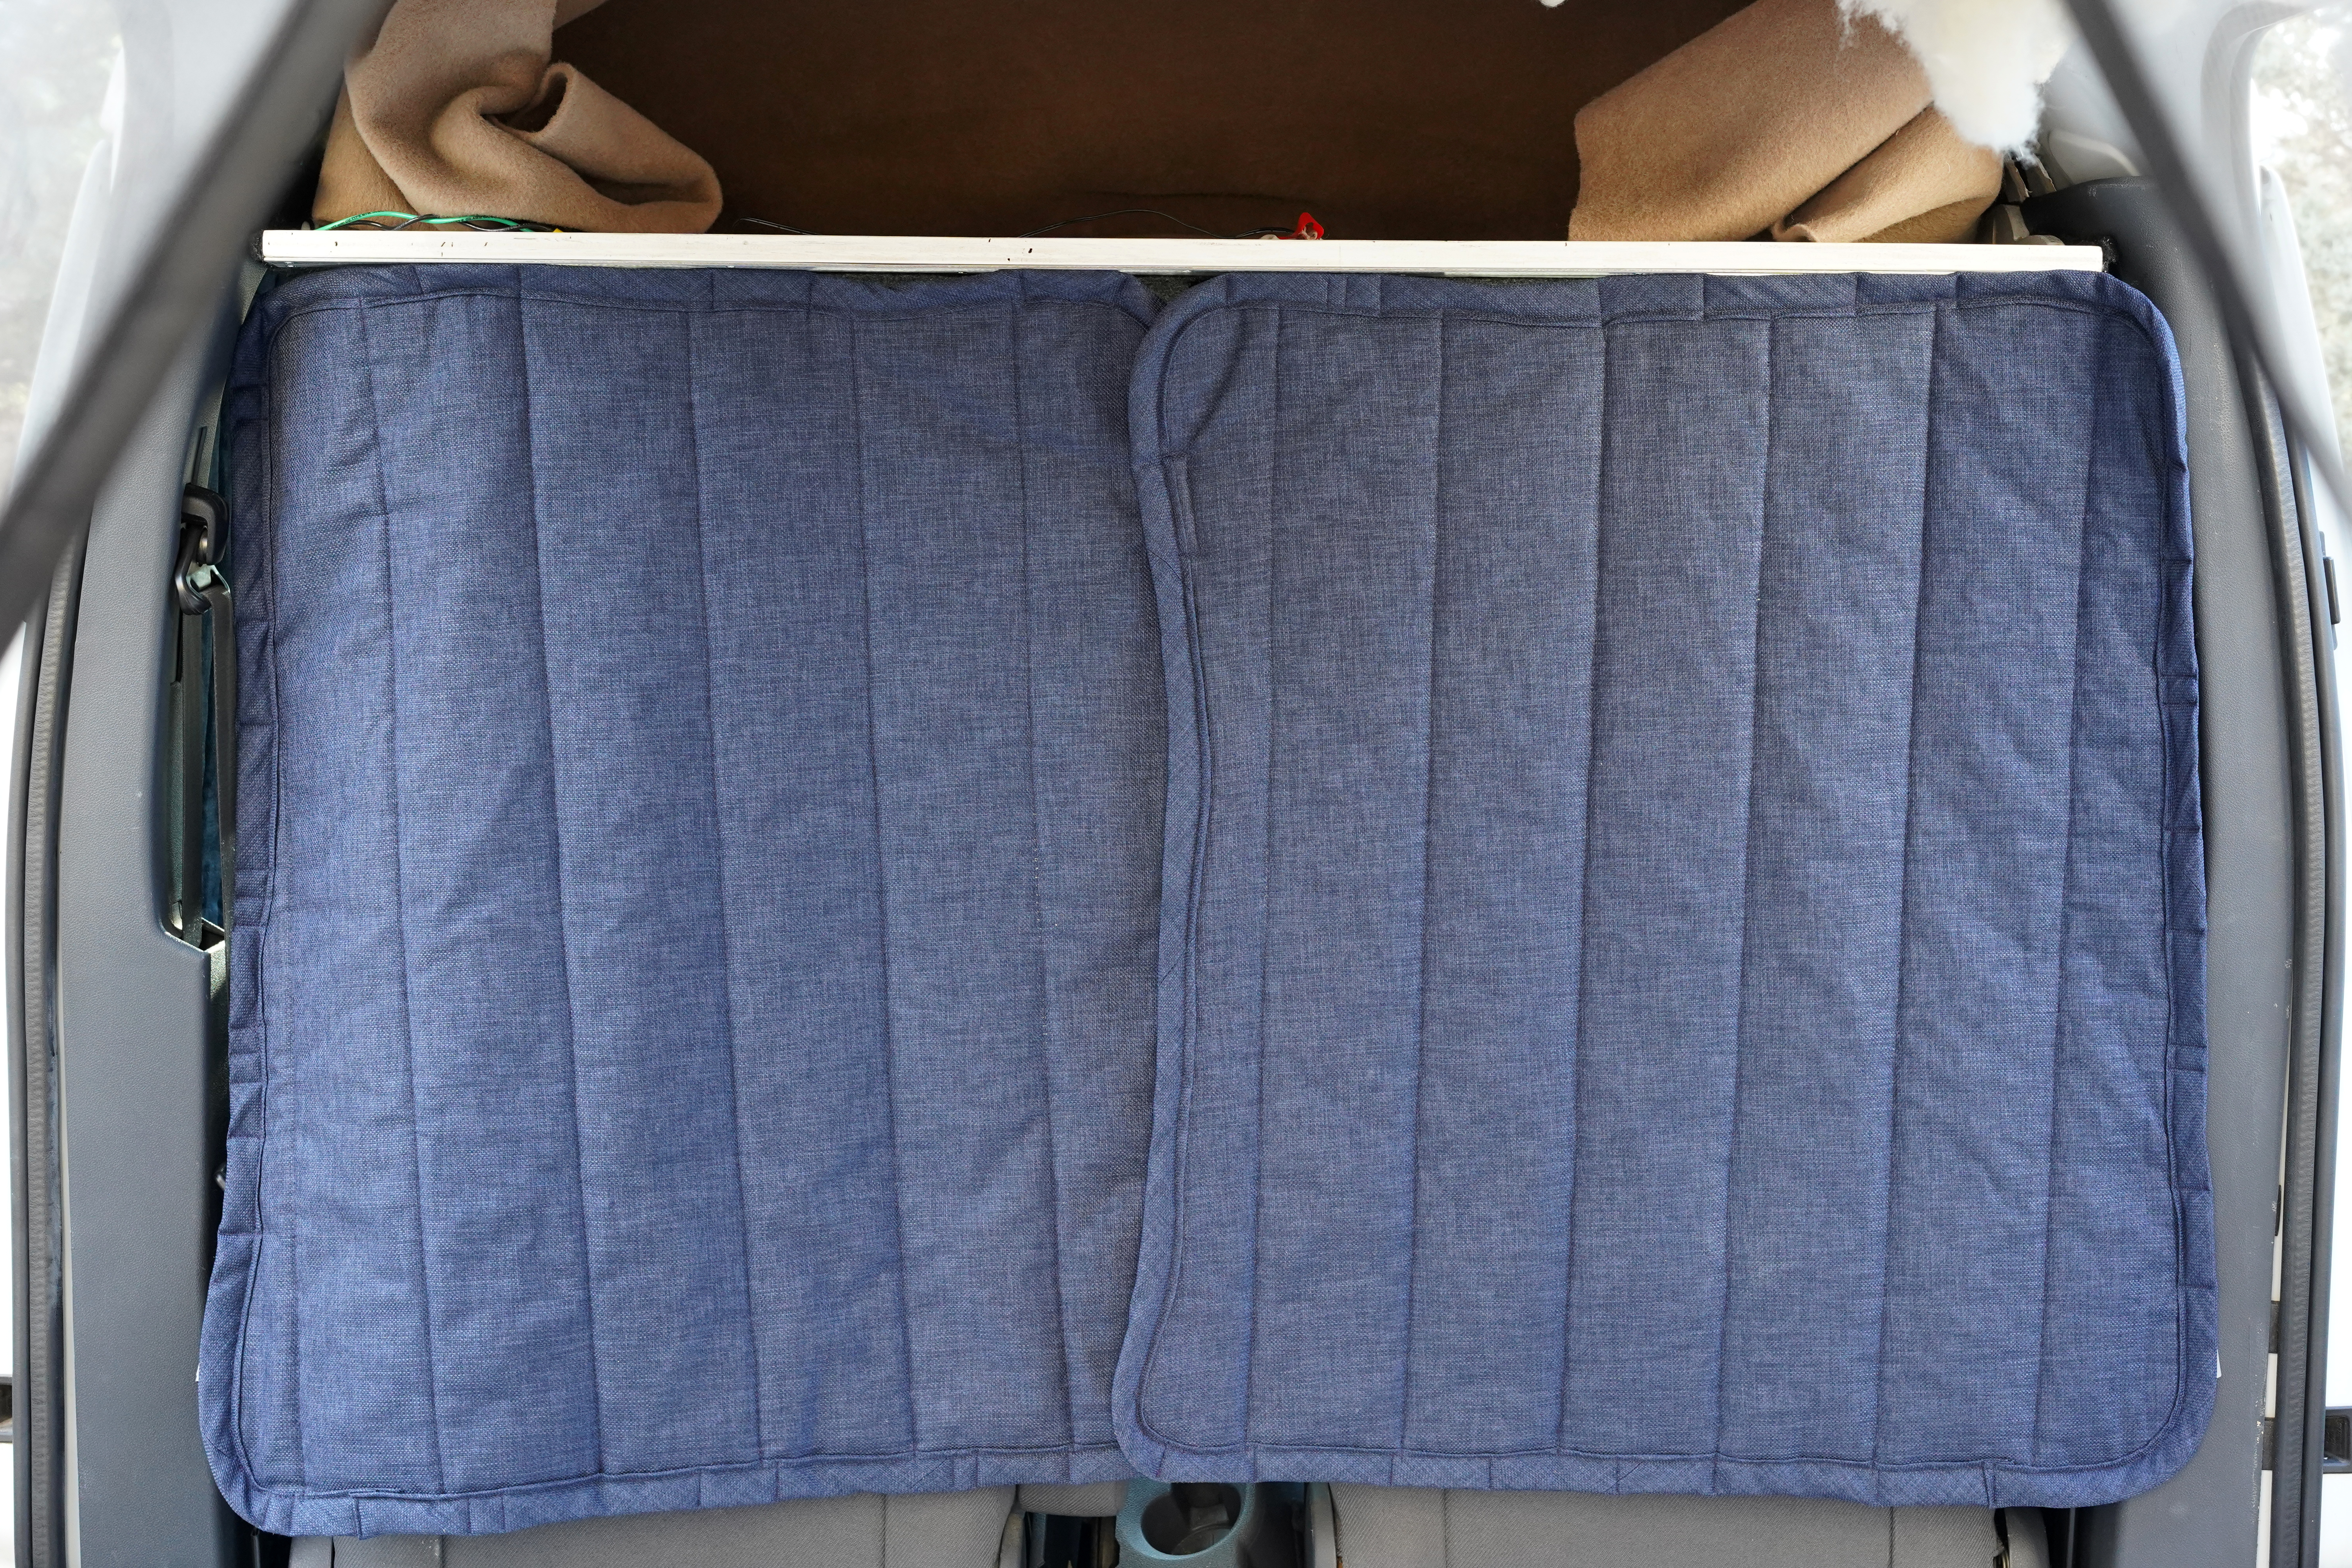

Here’s what I love about my one-of-a-kind window shade system: The covers attach to the windows in just seconds, and I’m able to reattach them to the shelf in even less time. Also, this system negates the need for a privacy curtain. Whether I choose to store the curtains behind the seats or hang them in the windows, lurkers won’t be able to see into my living quarters.
The biggest drawback of this design is that the seams let light through, which undoubtedly reduces the covers’ insulating properties.
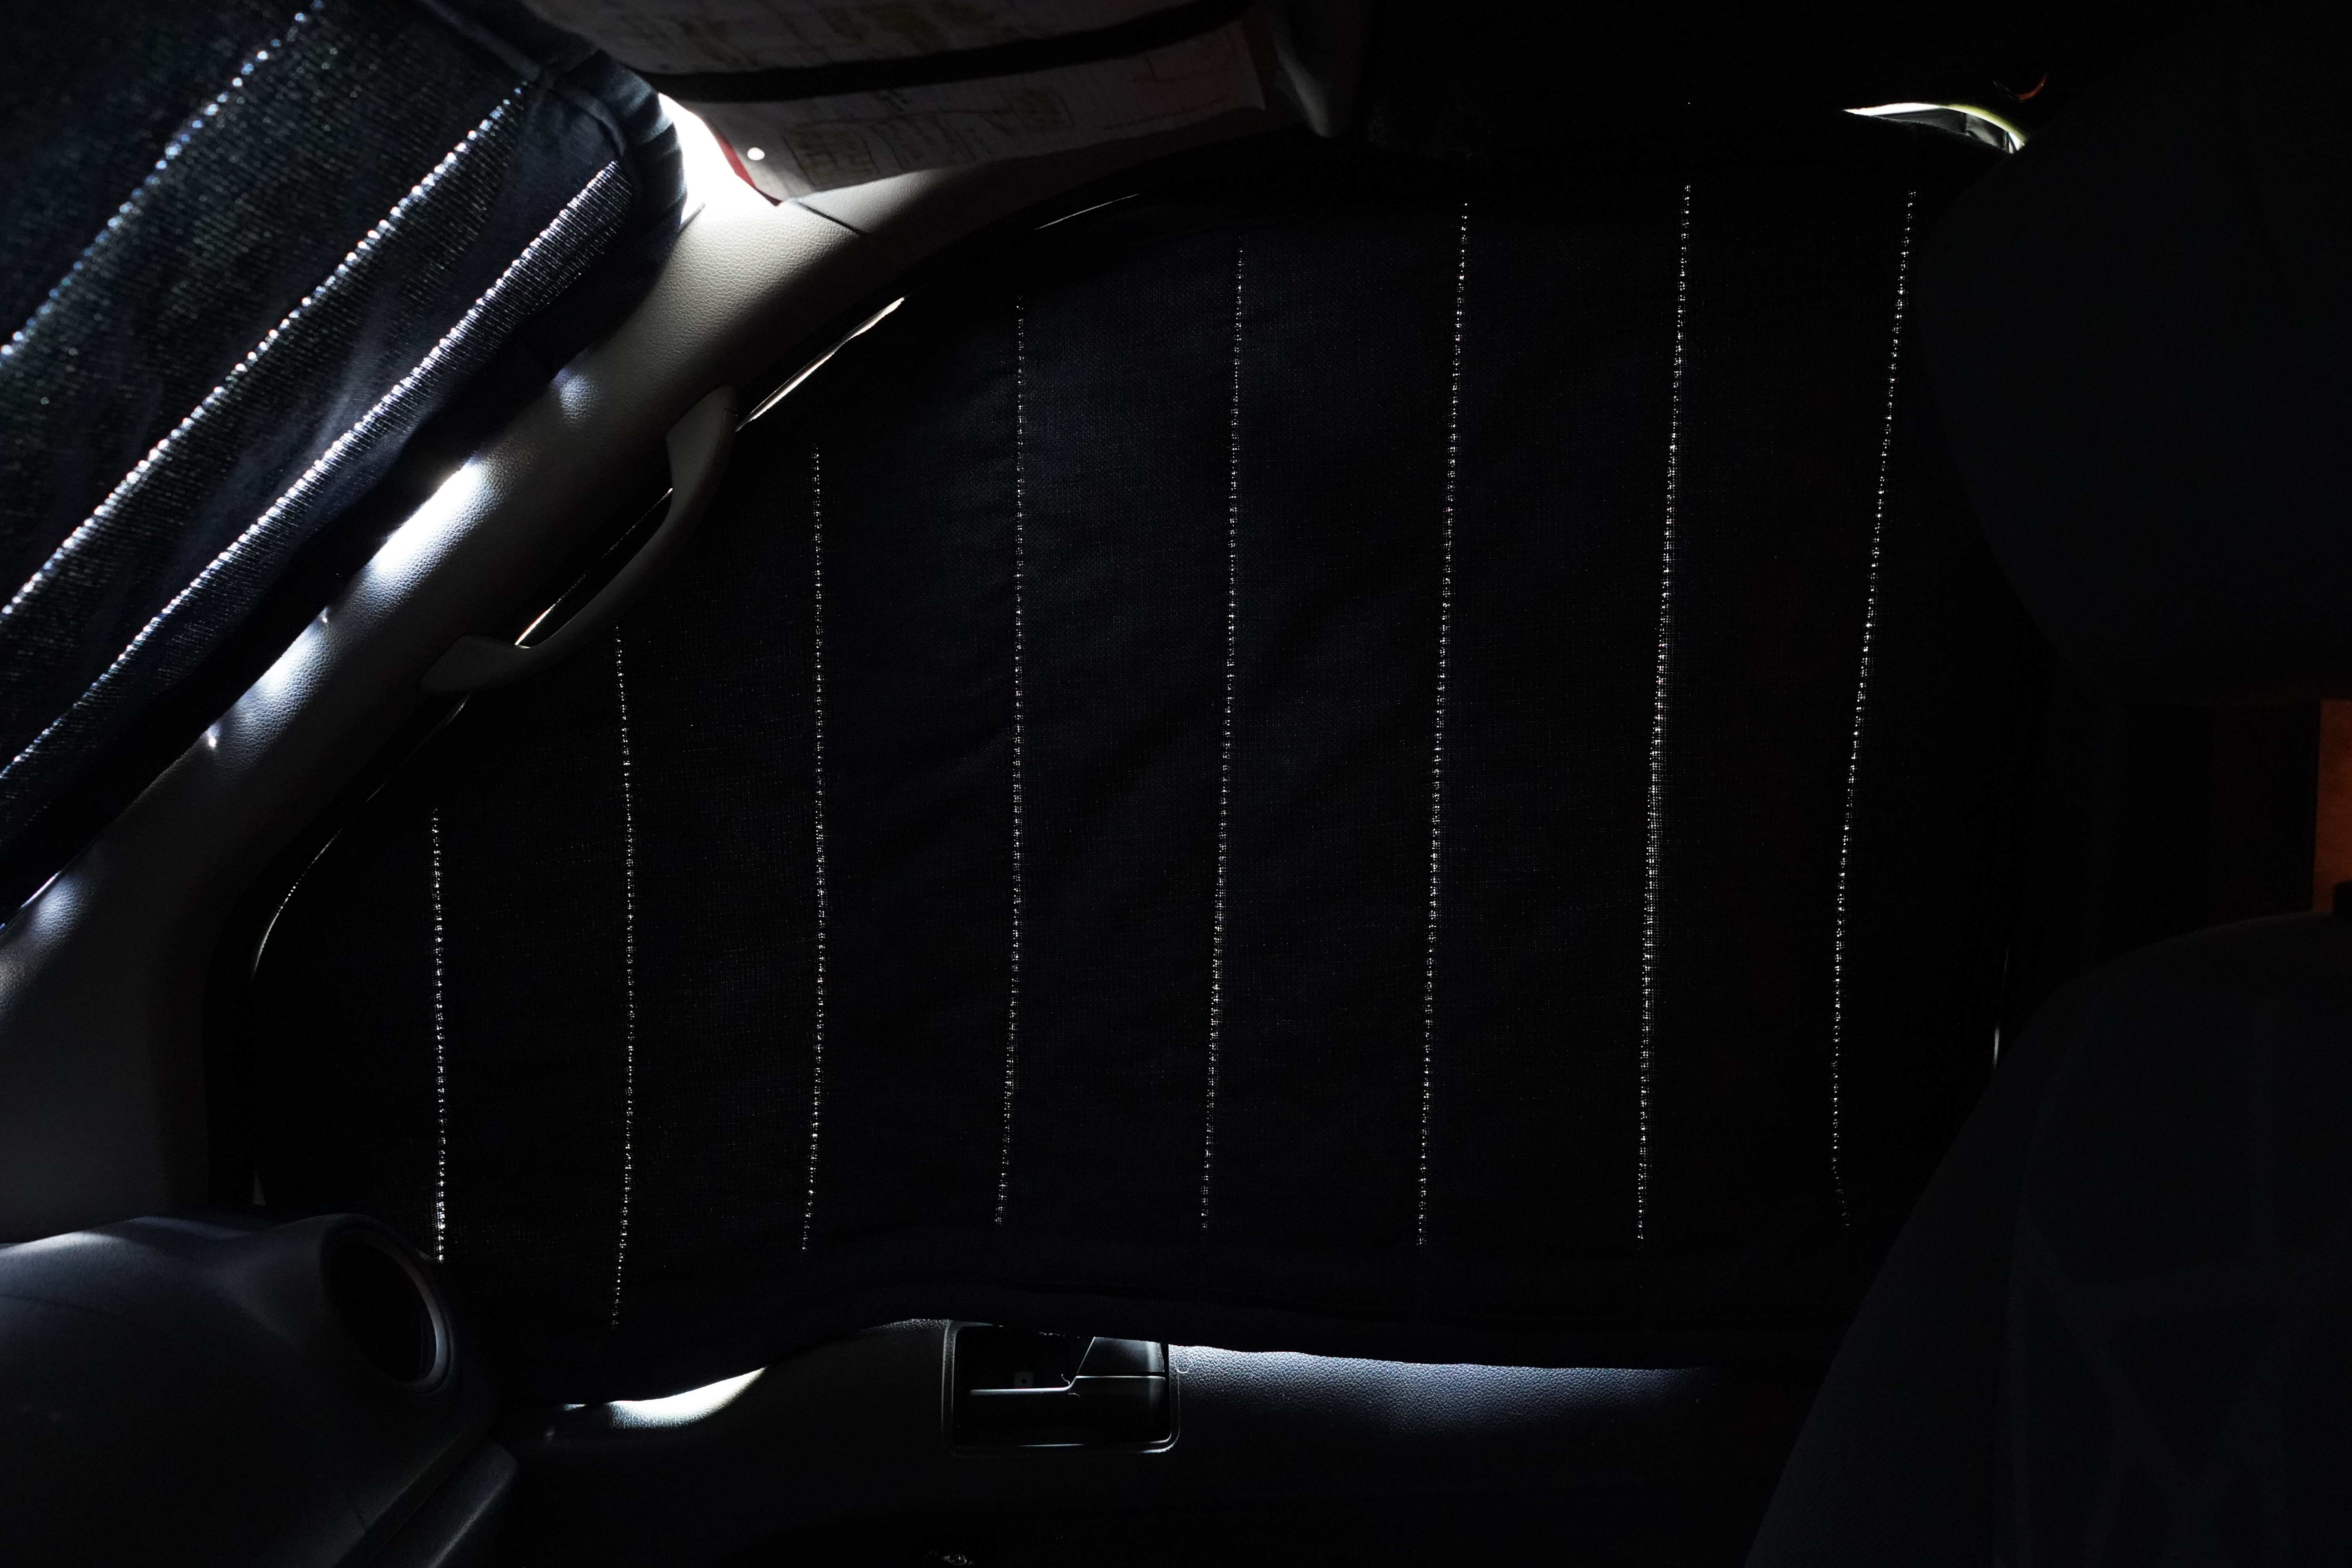
Allow me to apply the world’s cheesiest job interview tactic to these window shades: These shades’ greatest weakness are actually also their greatest strength. To me, these dots of light are fireflies, night skies, a break in a forest canopy. They’re pretty. I learned just one memorable thing during my brief stint as an architectural engineering major: The most sustainable builds aren’t necessarily the most efficient but the most beautiful. They’re the ones we joyfully upkeep instead of tearing down, the ones we refuse to grow out of. Recently, Mike and I have been talking about how to get out of renting—do we buy a house? build a house? build a bigger van? Secretly, I wish I could make this van so pleasant, we wouldn’t feel like we needed anything bigger.
But, you know, 27 square feet.

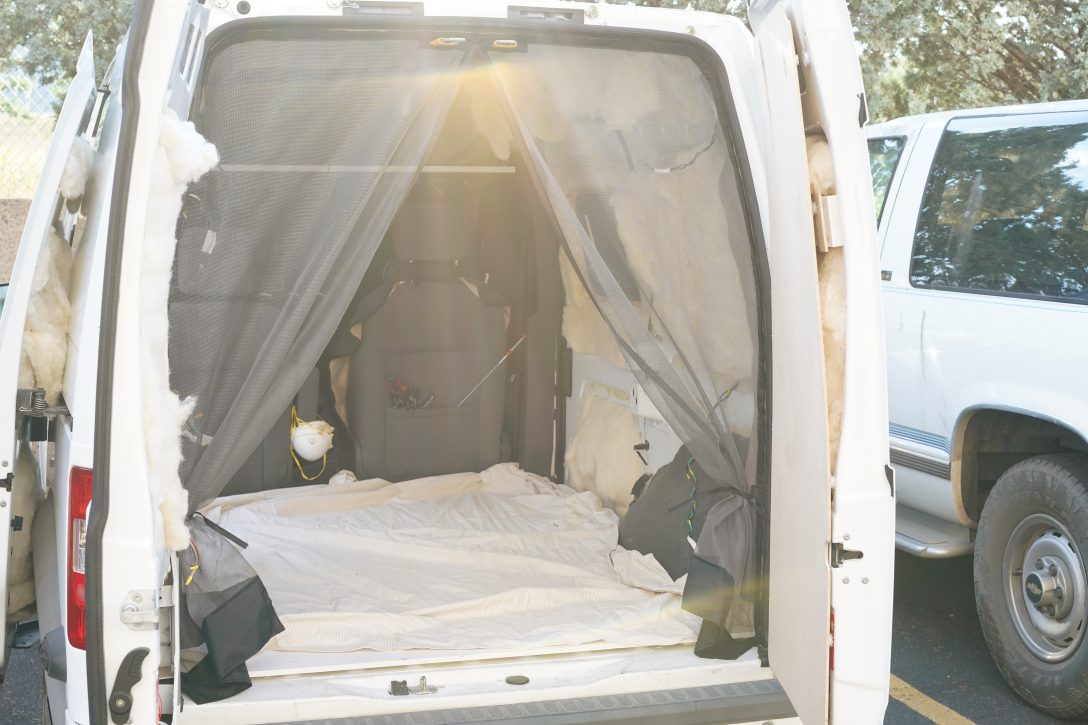
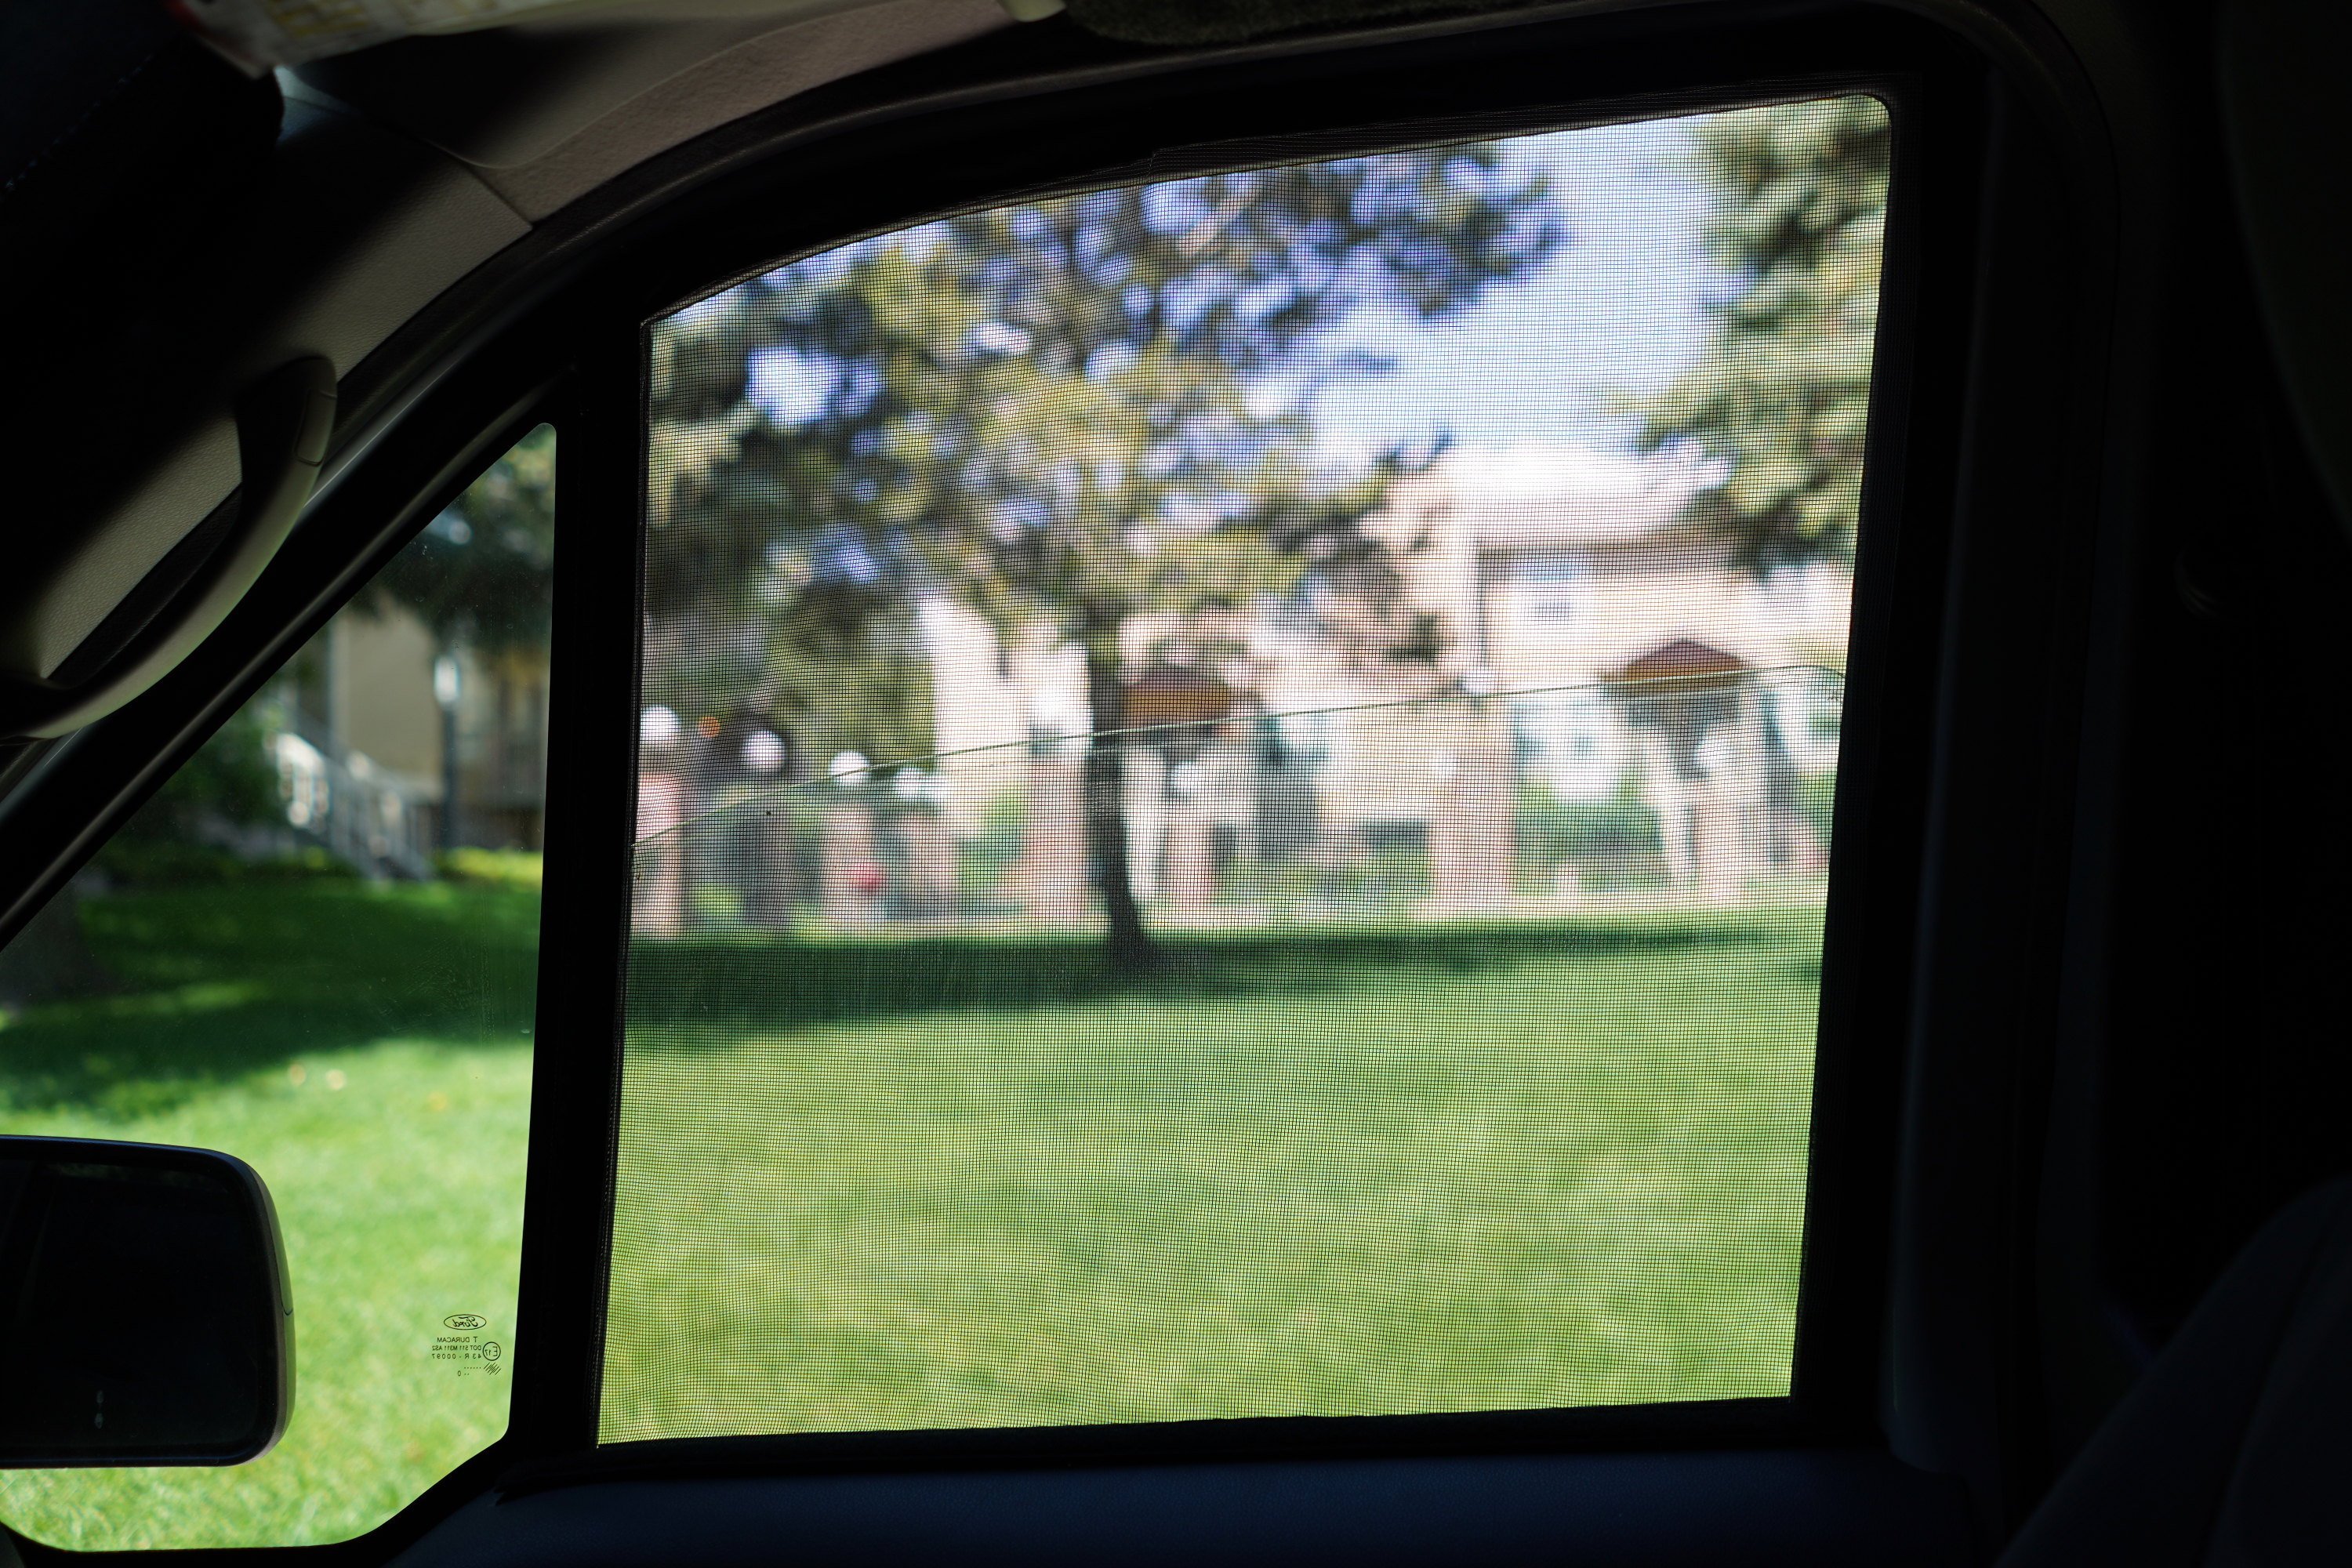
#3 Bug Net
Another reason I hate the sun is how it lures wasps out of their hidey holes. Here come the wasps, building a nest behind my car’s gas door, buzzing into each hole I drill as soon as my bit stops turning, catching a ride inside my van’s side mirrors … all as I hurry to finish my bug net.
Out of these three sewing projects, this bug net is the only project I’d hands-down recommend to any DIYer. This net is functional and professional looking, and it can be completed in just a weekend if you know what you’re doing (I didn’t, but now I do).
I prepped my van by lining the perimeter of the cargo opening with automotive carpet. Then I added the velcro that the bug net would attach to.
I did not make this bug net from scratch. I altered this fiberglass magnetic screen door. I like how this door easily separates when I walk through it and then immediately snaps back together behind me, denying wasps and other unwelcome creatures access. The fiberglass netting is impressively strong, yet easy to sew.
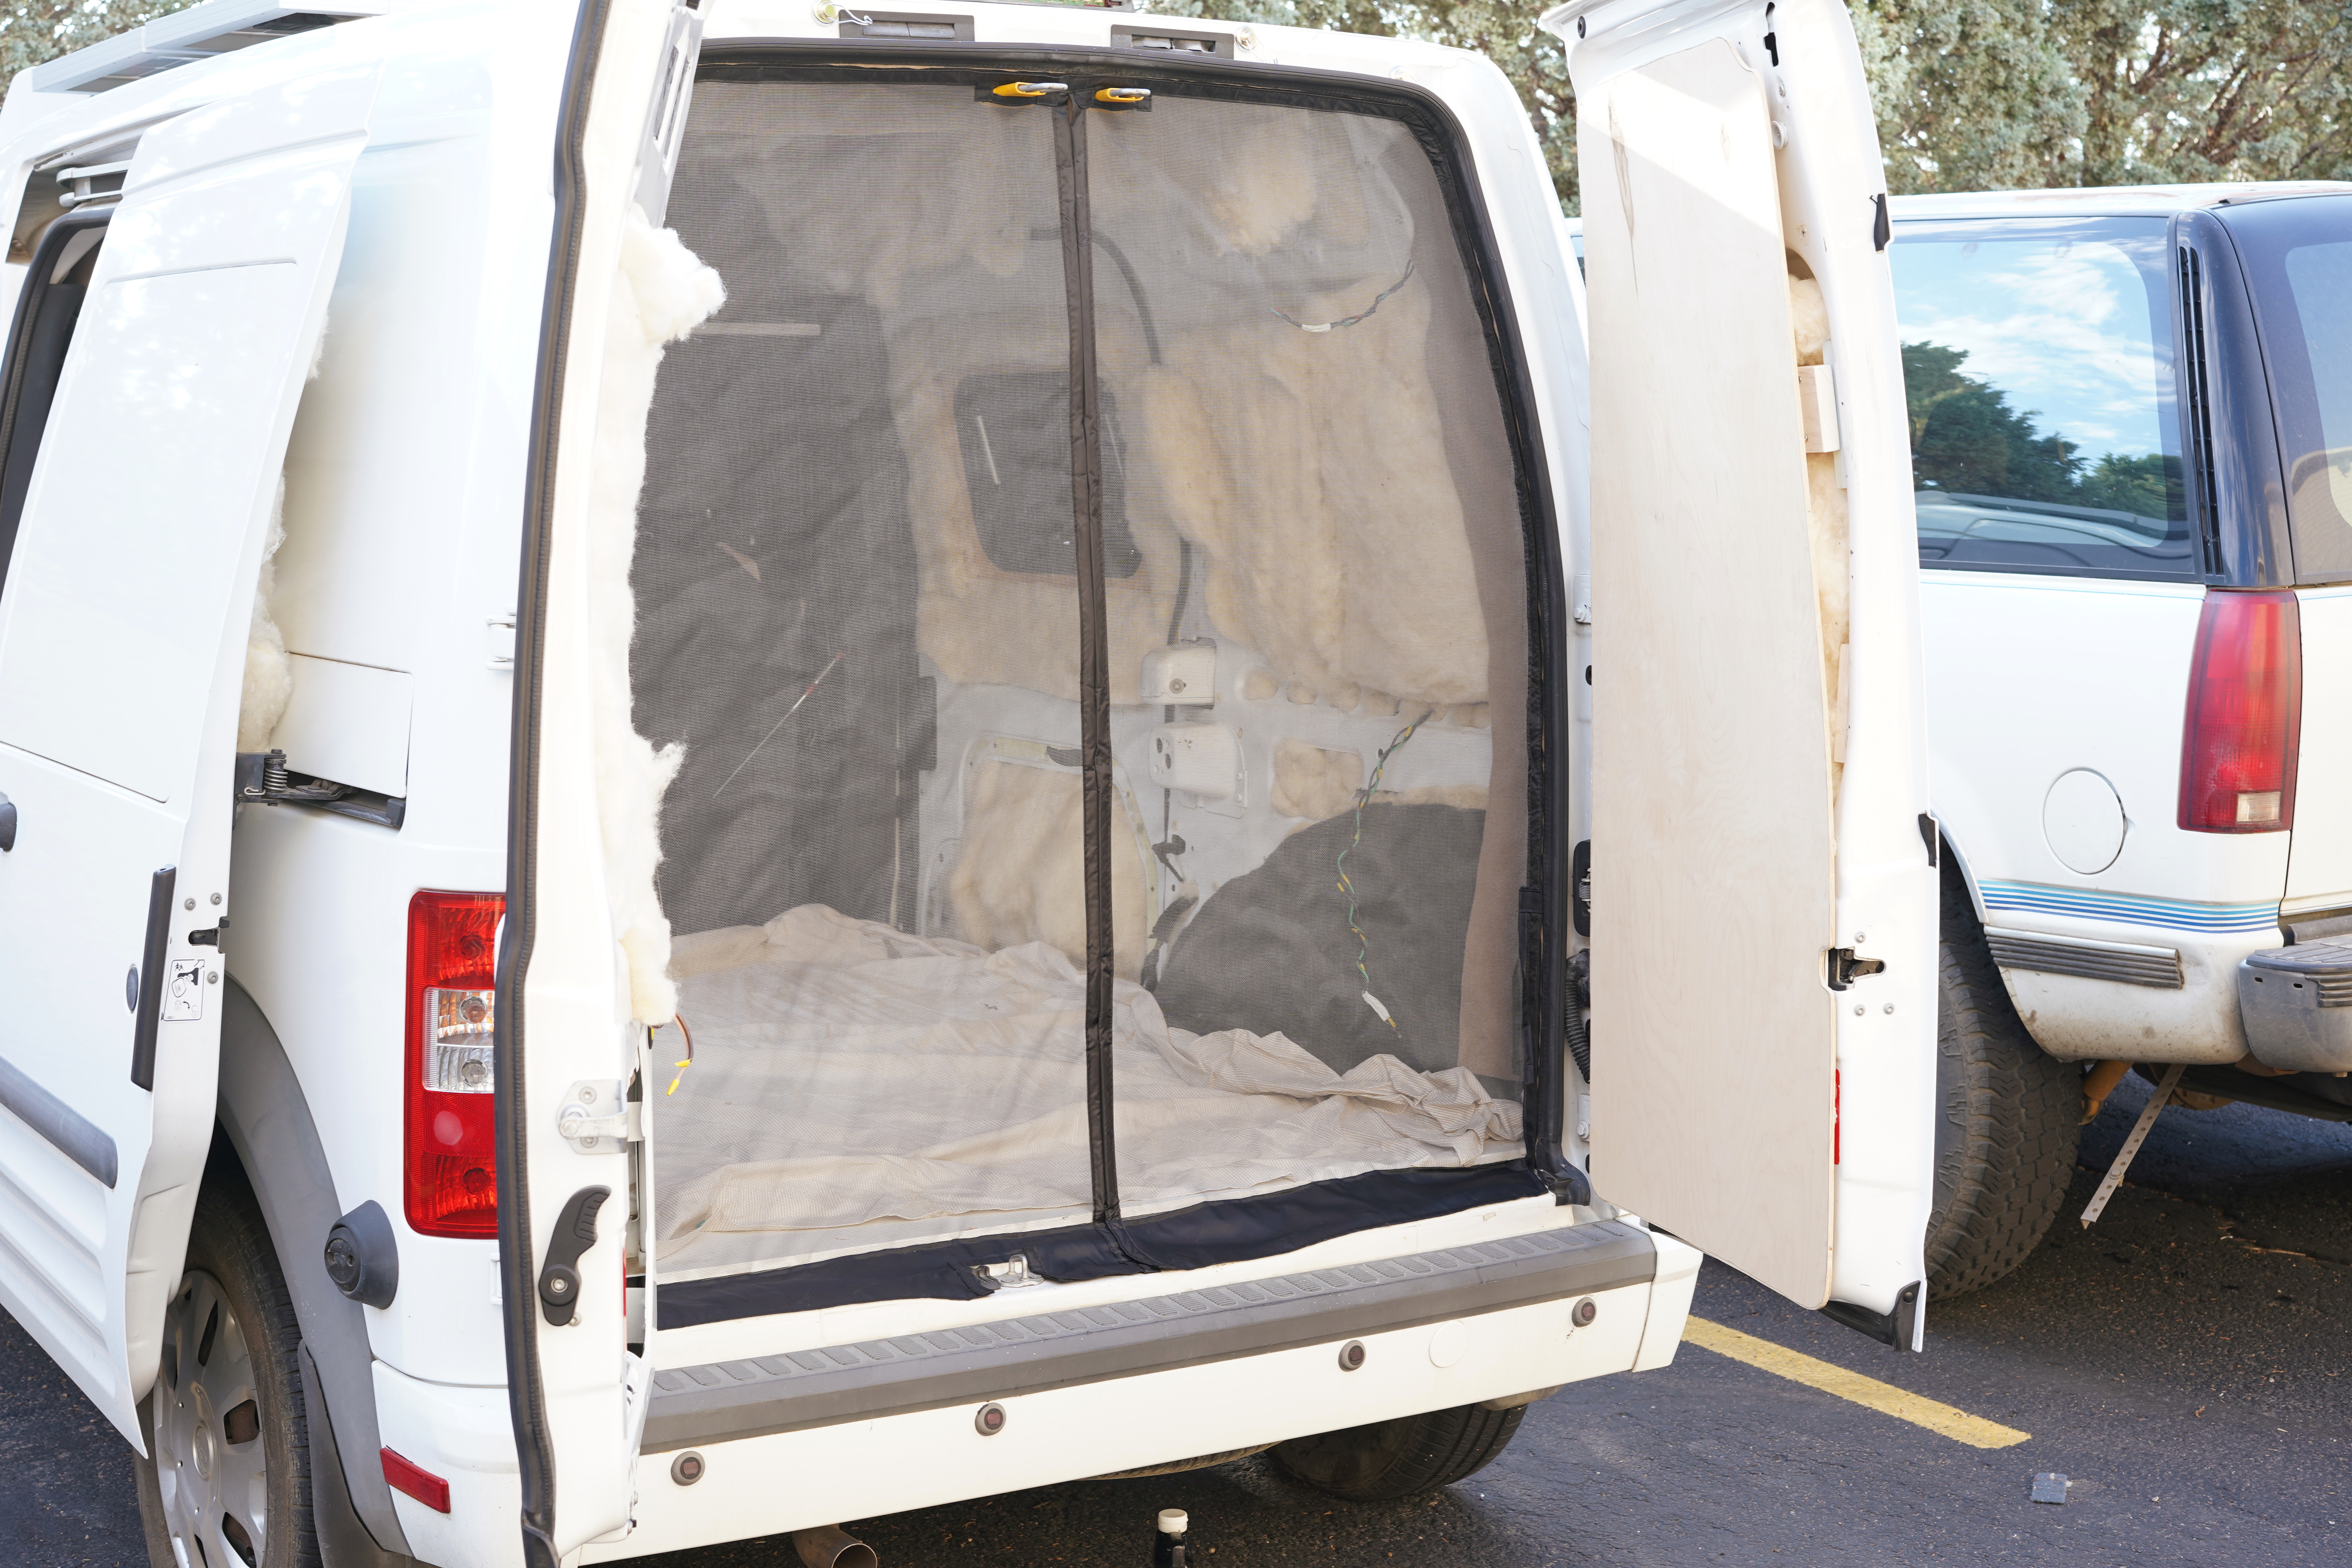
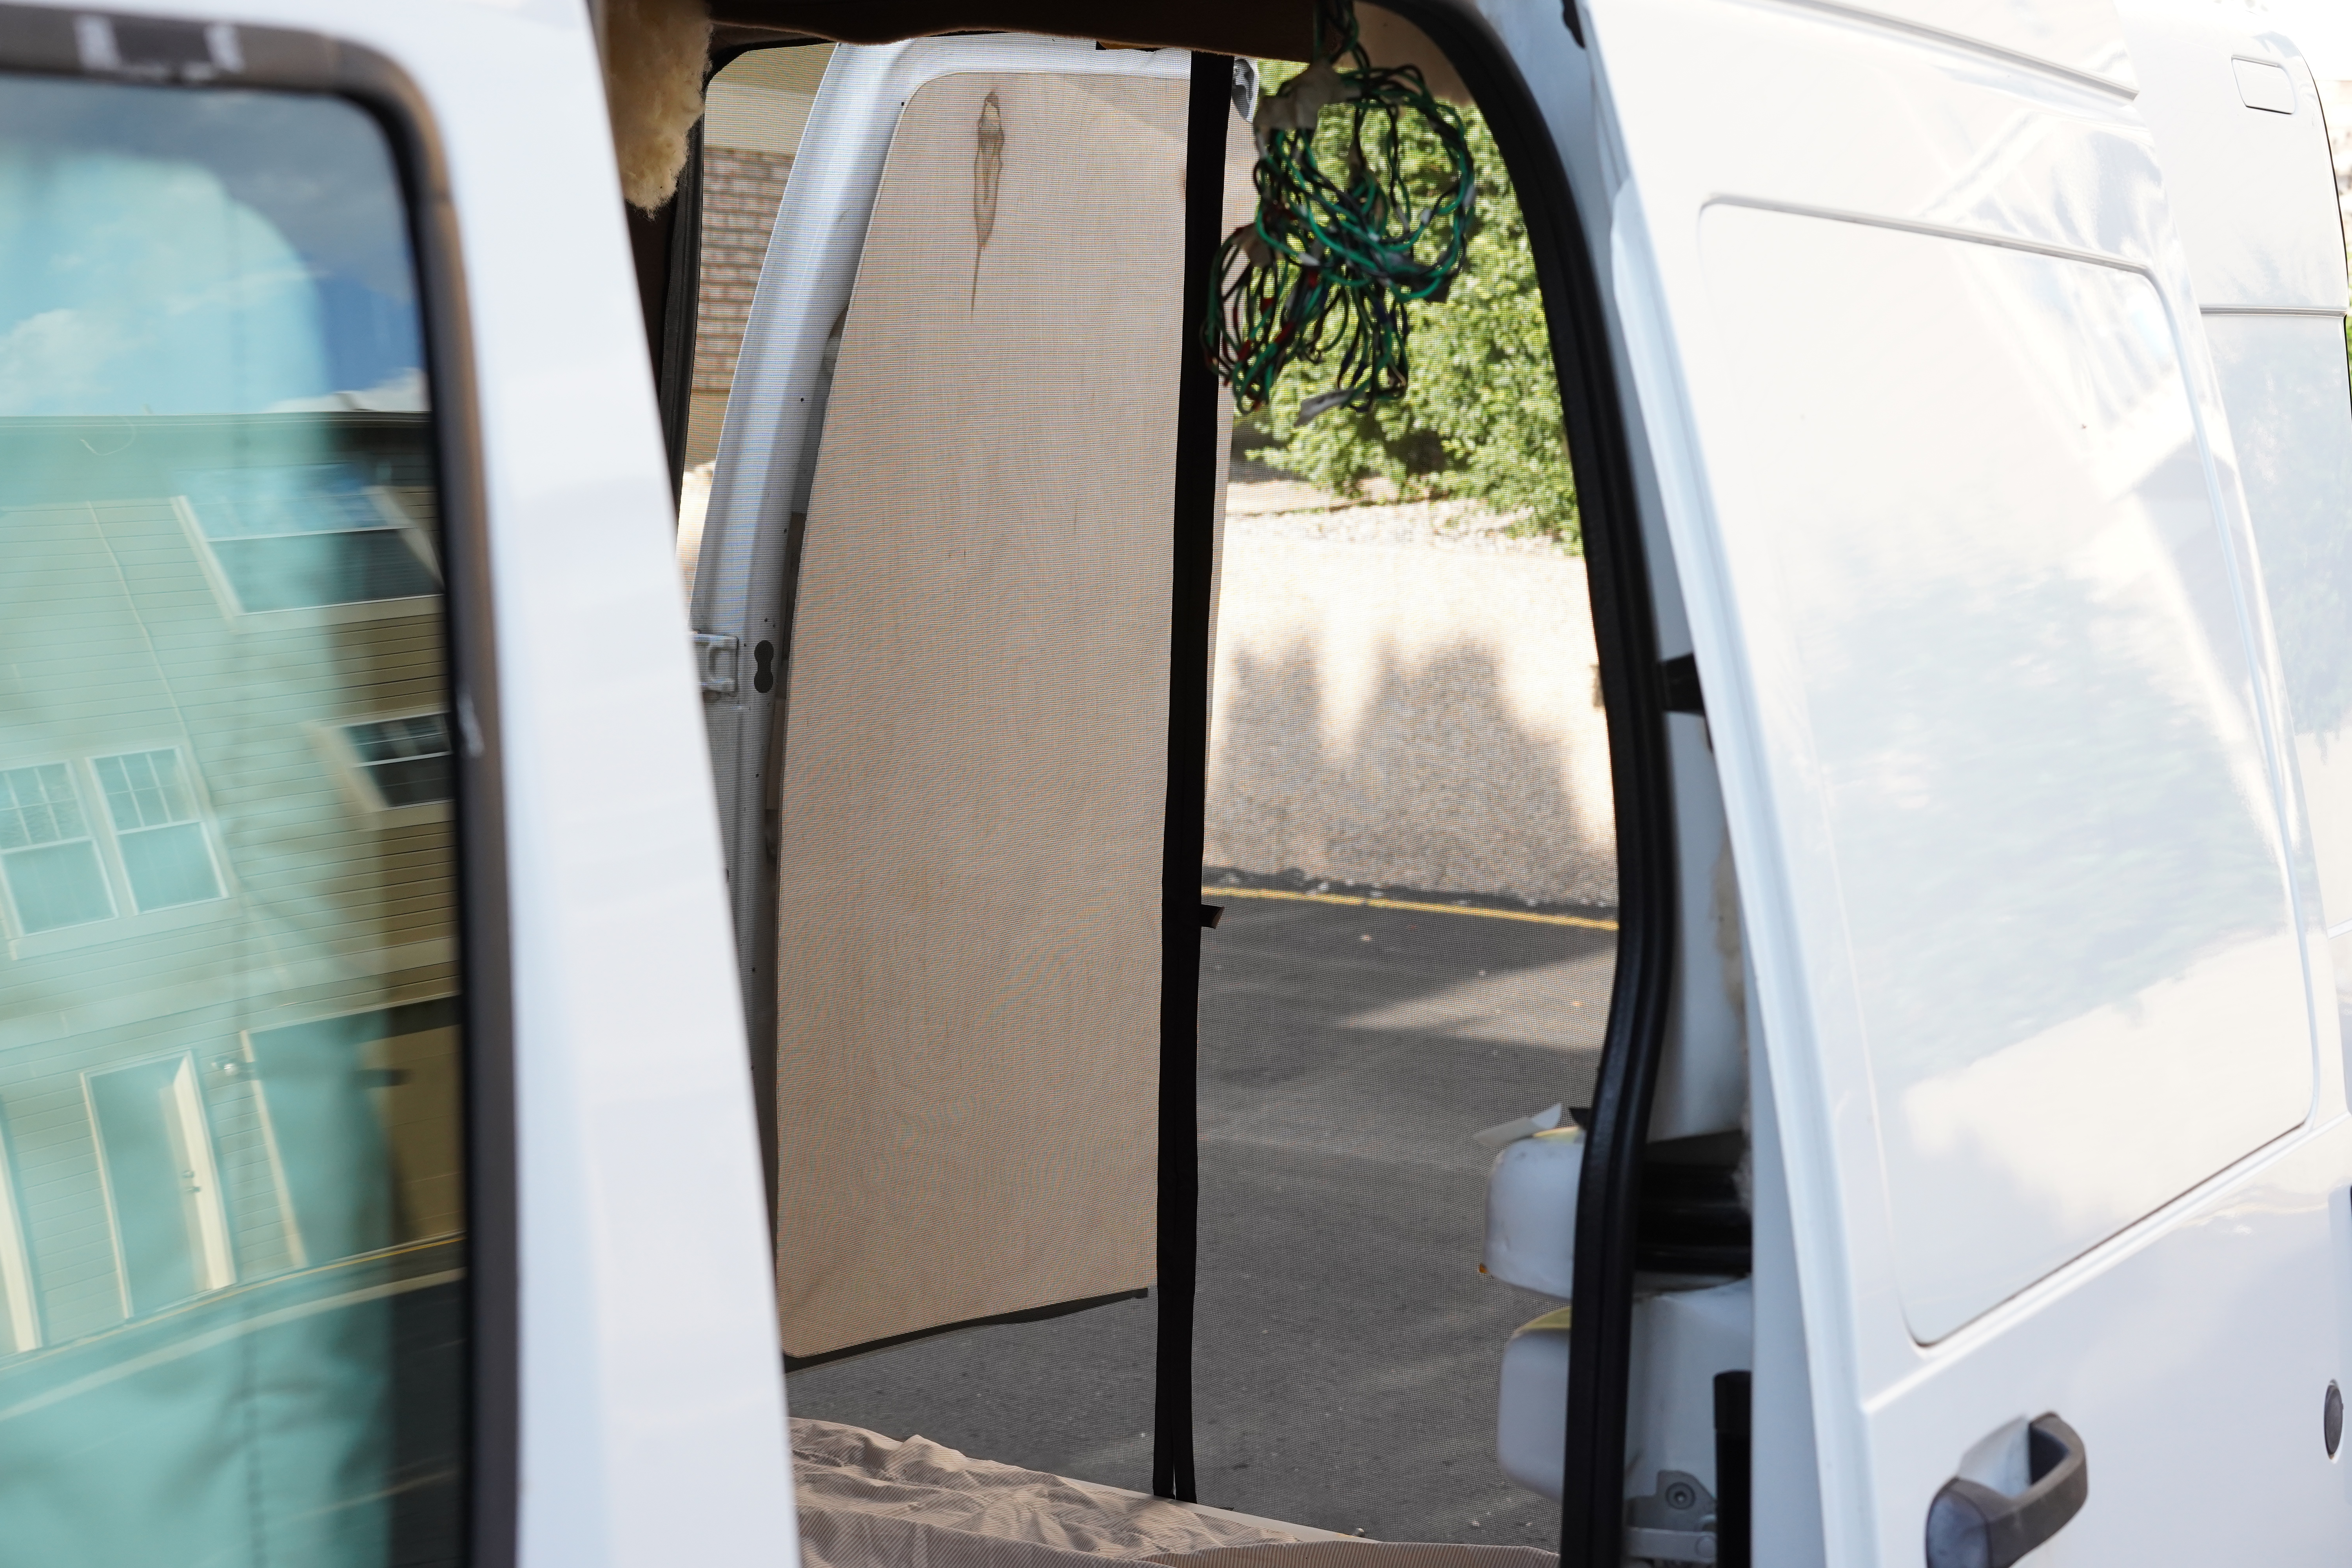
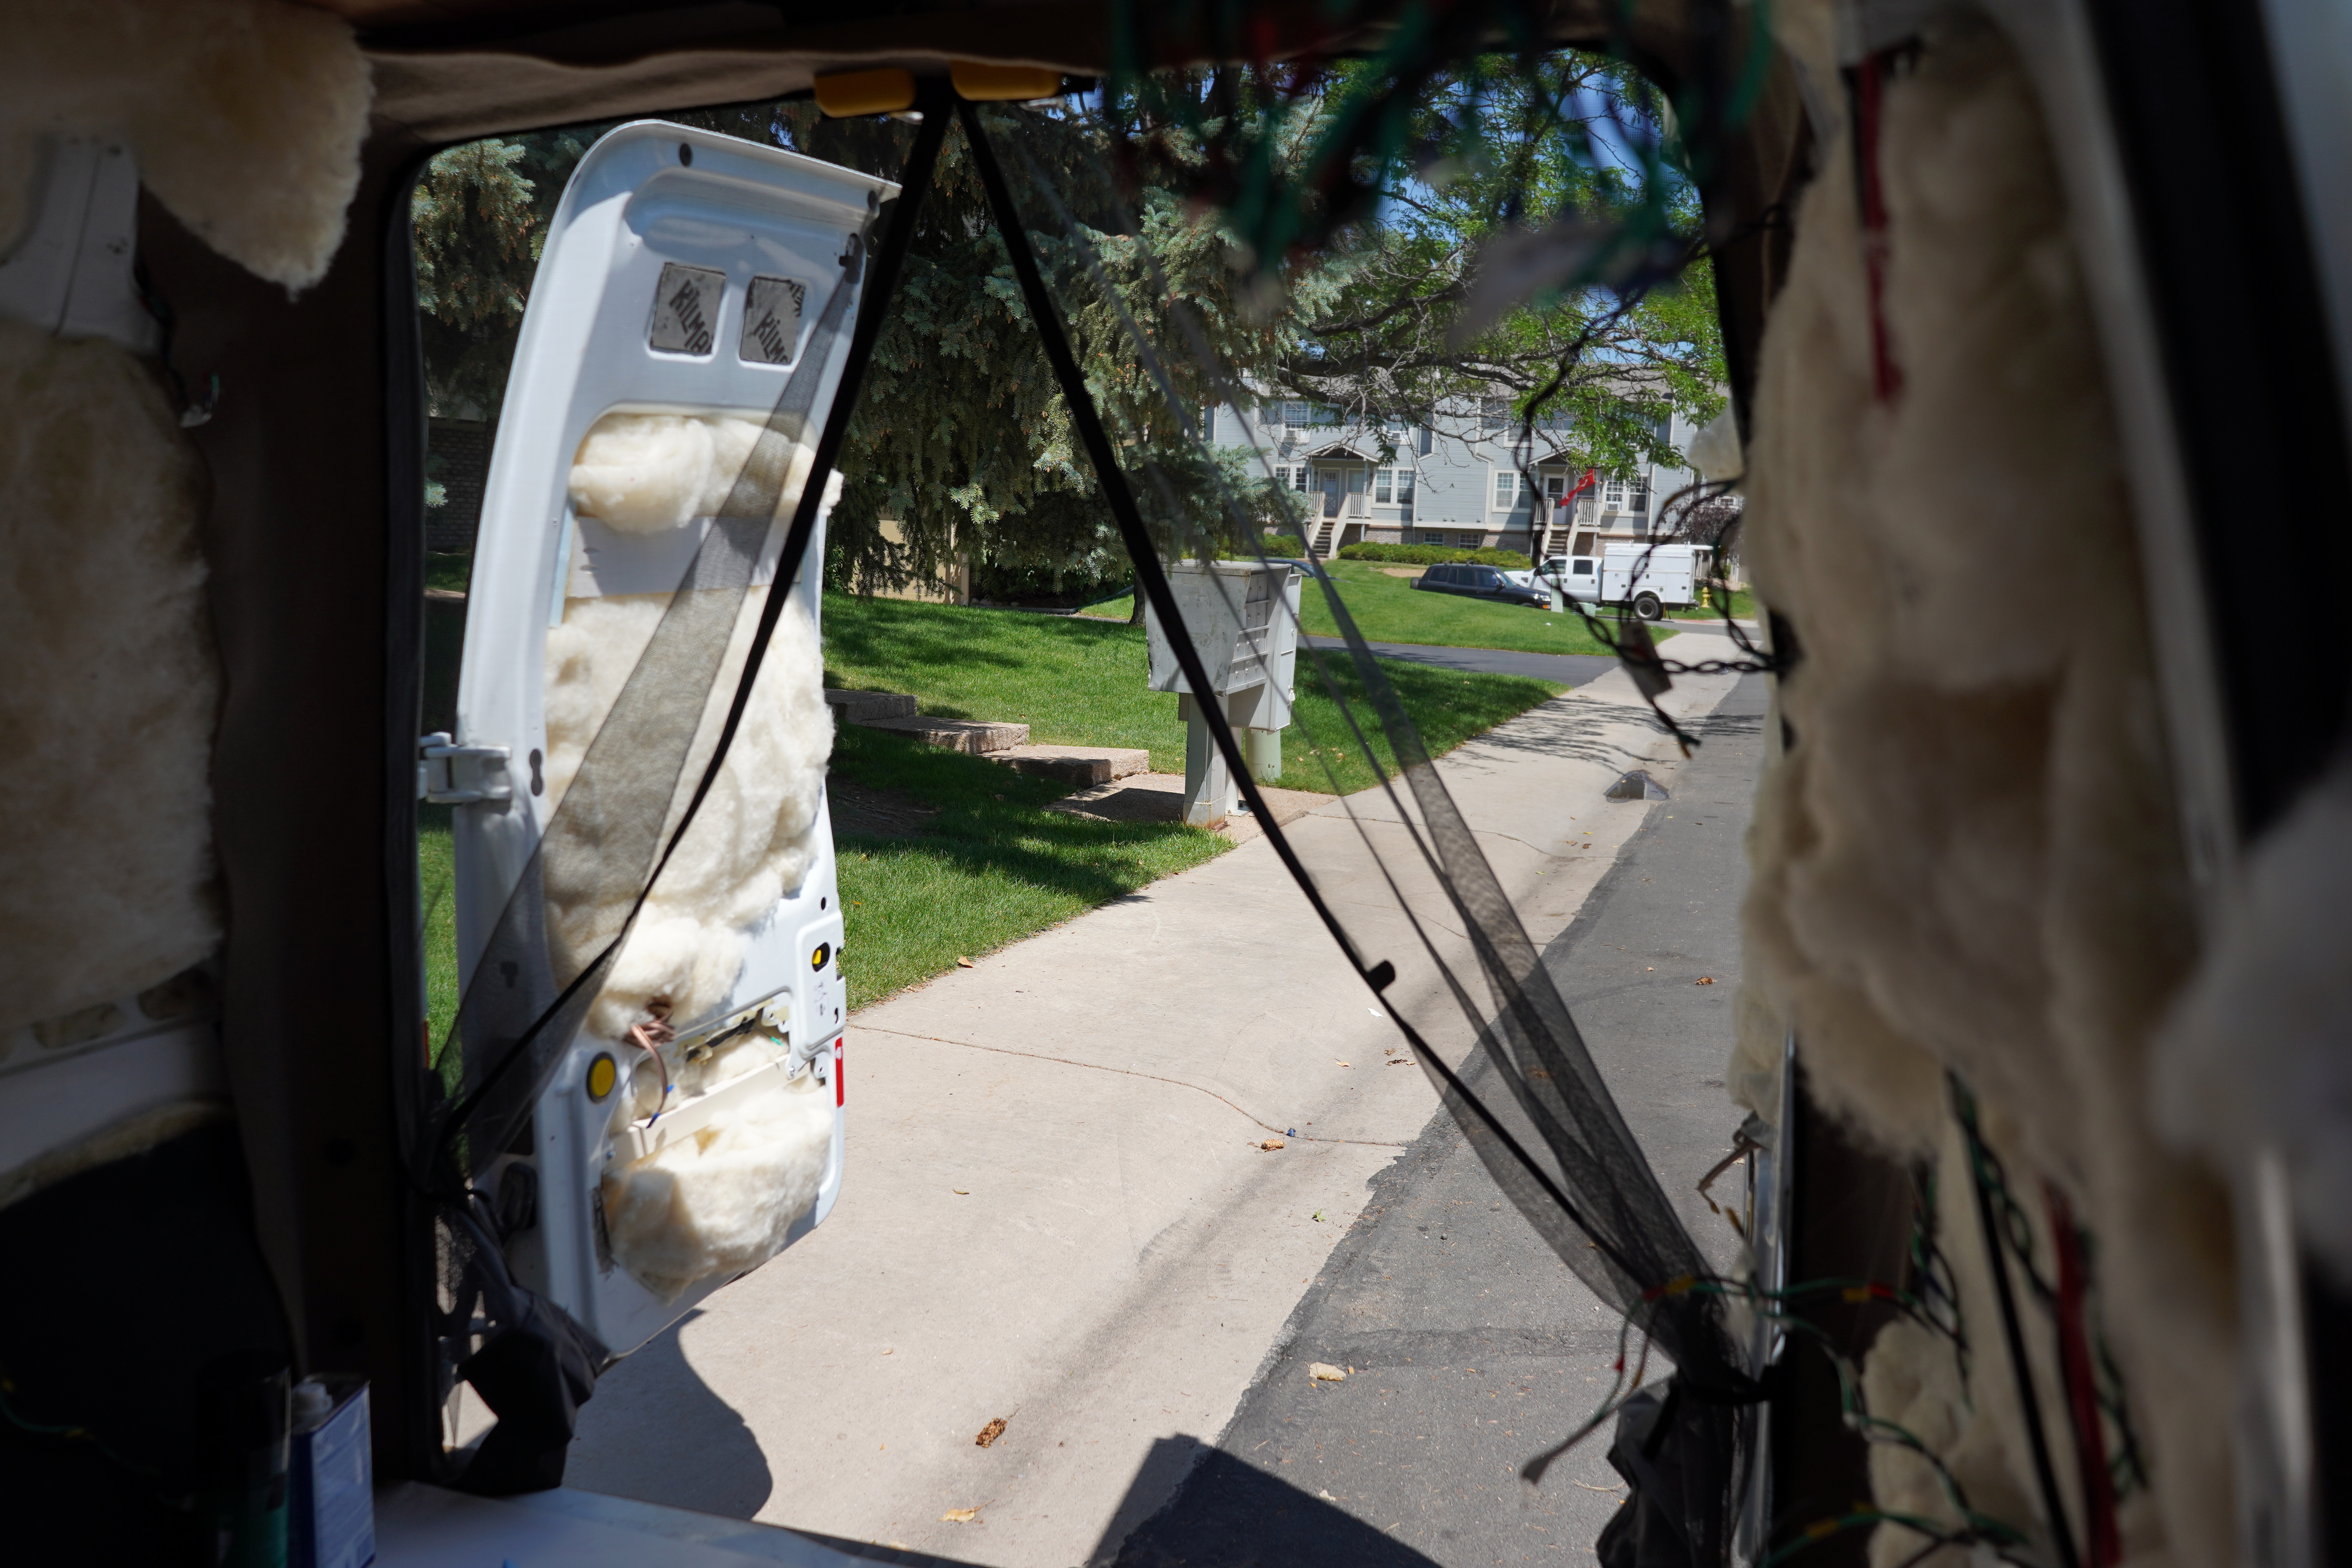
I like this net. It’s easy to open, easy to tie back, and easy to take down for winter. The cargo doors close around it. It’s not ugly.
There you have it, three projects motivated by hate. Hate of wasps, hate of Reflectix, and, of course, hate of sun. I celebrate these little hatreds because I can singlehandedly do something about them. One day next summer, I’ll be stuck in some hot-as-balls parking lot, my two fans running, my window covers secured, and my tarp up, and I’ll feel like I’ve done the impossible—controlled the brazen sun.
(Post title inspired by Will Smith, who accurately states in One Strange Rock, “[The sun] is not this big jolly ball of nice smiling down on us, wishing us all a good day. It is not our friend. The sun is a monster. A Natalya destroyer.” I mean, that’s basically what he says.)