I’m about 60% water, almost as much as a banana. While I slept in a McDonald’s parking lot in New Mexico the other week, the water vapor in my breath stuck to the van’s metal ribs and fogged up the windshield. It wasn’t a big deal. When I woke up, I opened the windows, and the cold air quickly cleared the glass.
But once I introduce natural materials into my van, moisture will be a big deal. If I let water accumulate on the van’s cedar-plank ceiling and cotton sheets, I’ll risk breeding mold. Don’t look at this photo of a man attacked by mold. I’m not a fearmonger because I told you not to look.
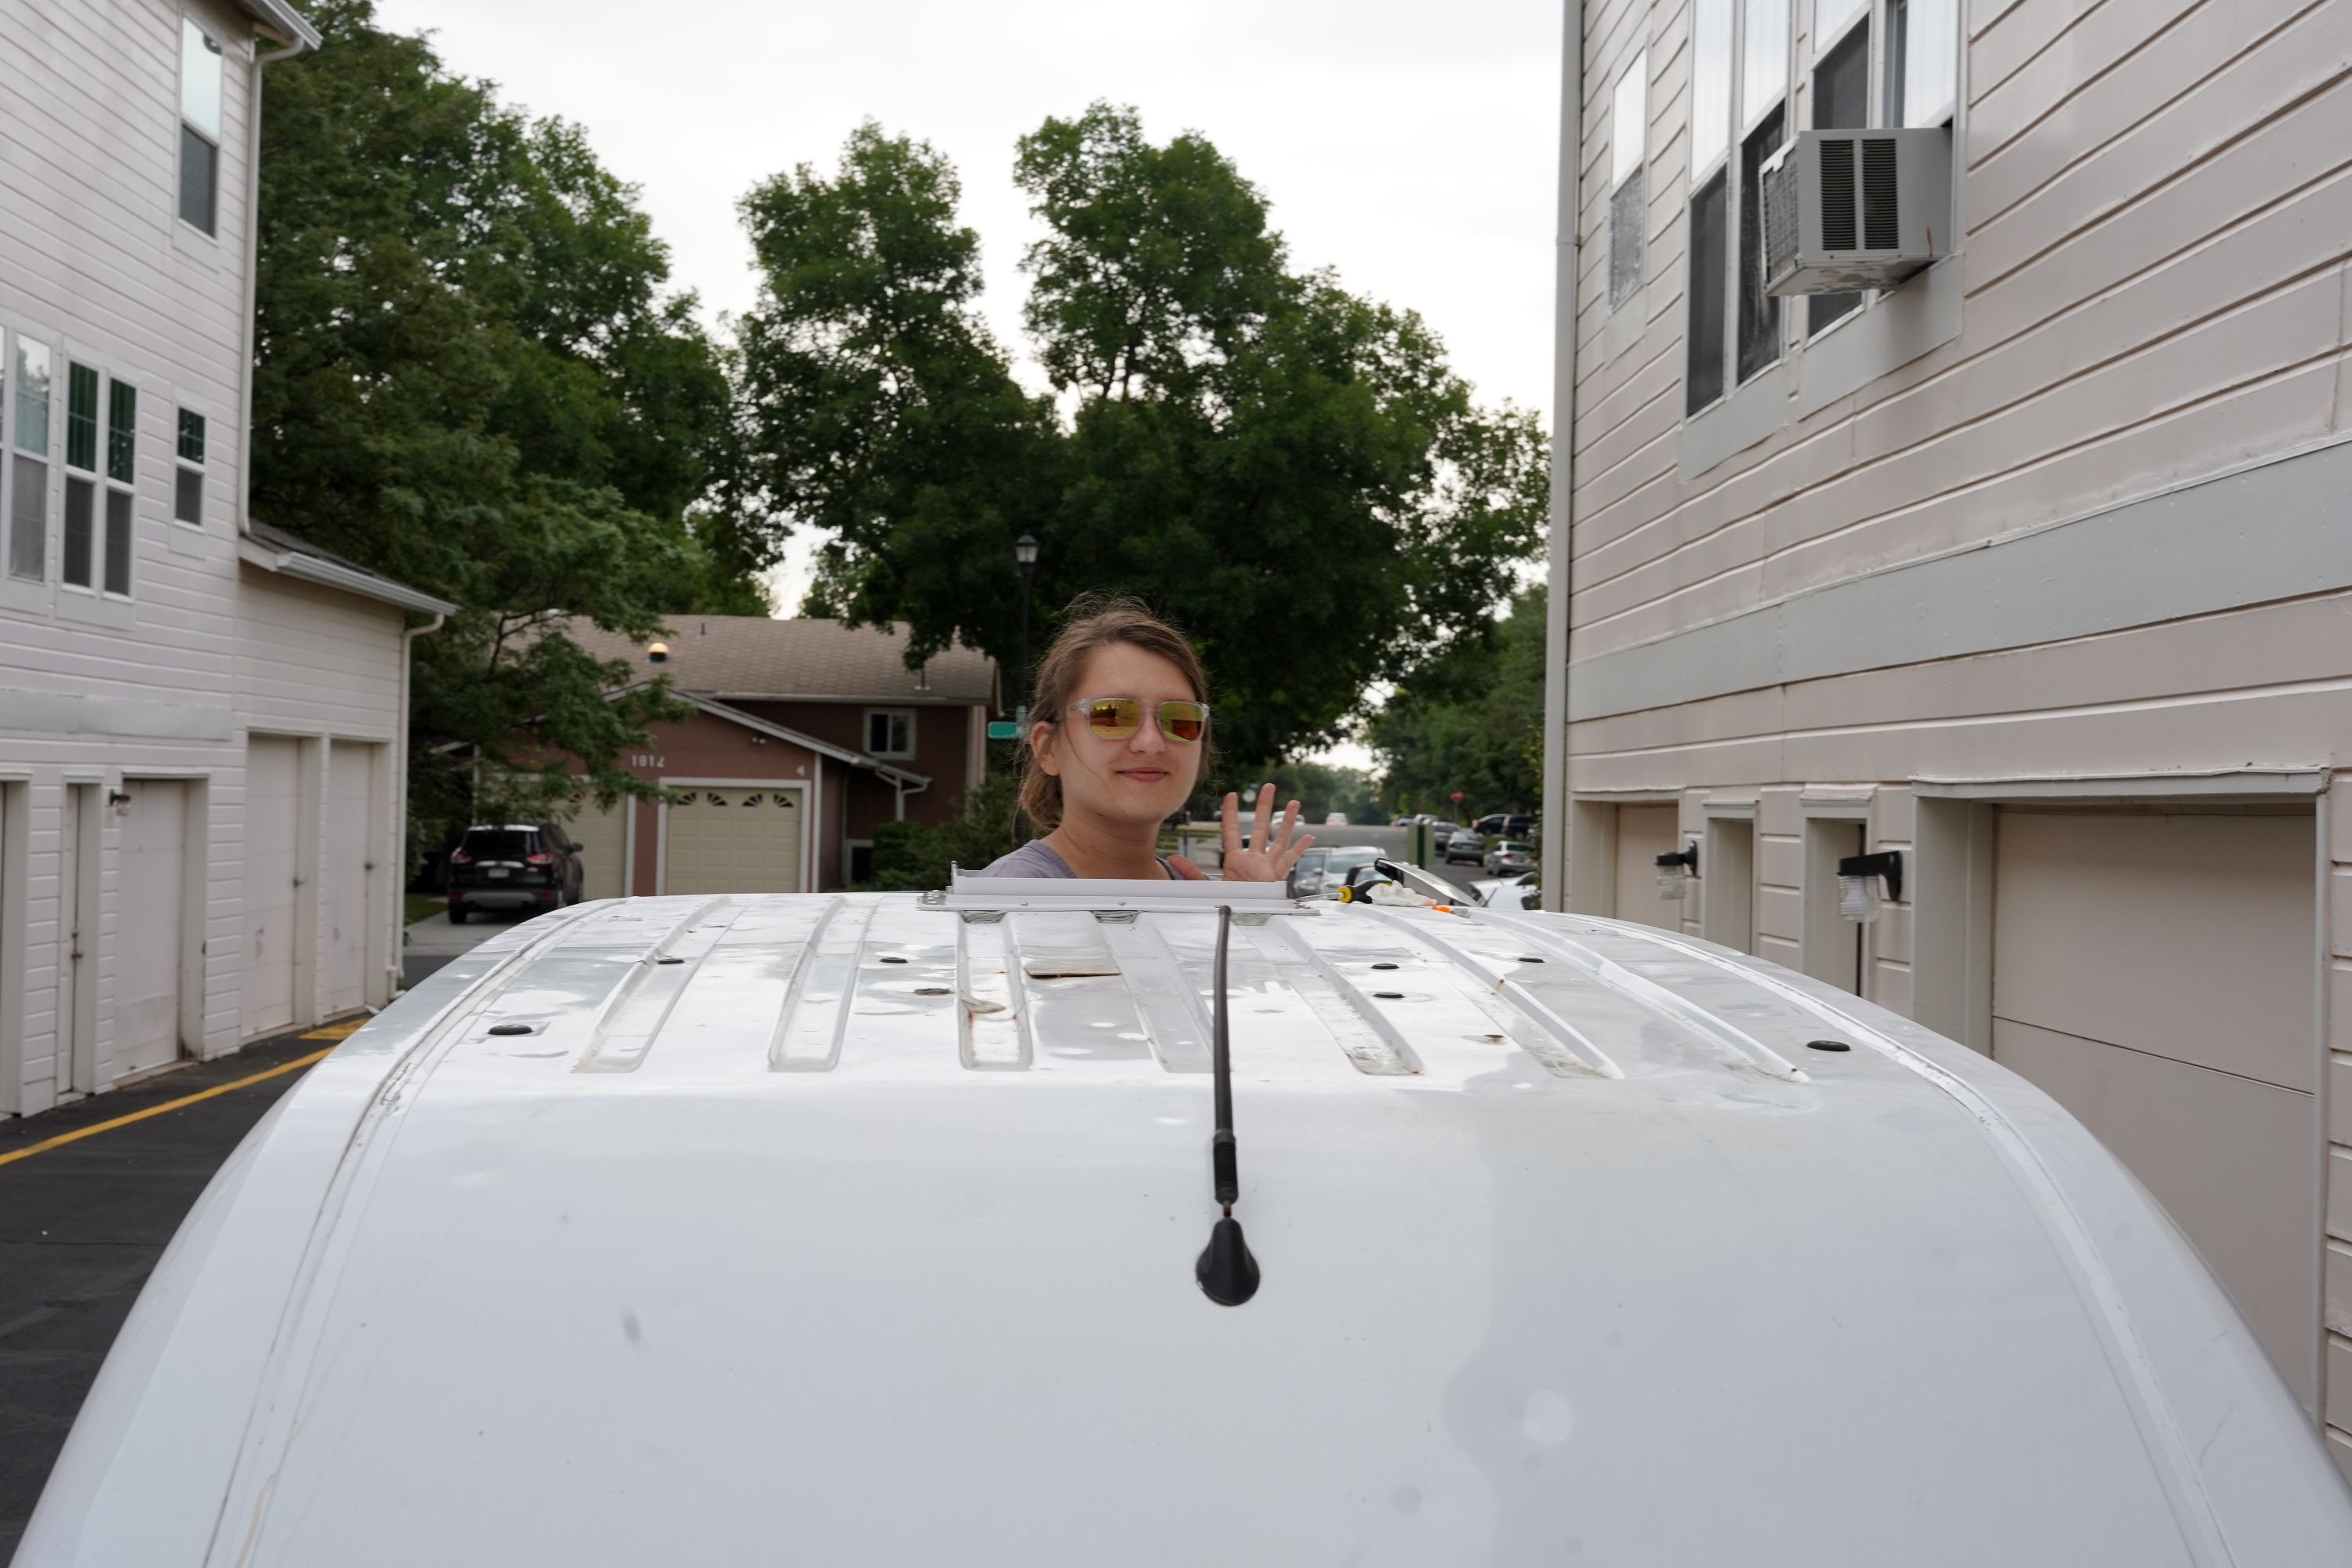
To reduce water buildup, I’ll be ventilating my van with a wall fan, an openable camper window, and a roof fan. First up, the roof fan. If you’ve read my other posts, you know my writing style is … creative, to put it positively. This post is different. It’s instructional. I won’t be detailing how to install a roof fan step-by-step, because the internet has already done that. But I will share tips that I hope are useful for those of you installing fans on vans, particularly Maxxair Fans on Transit Connects. For the rest of you, this post also contains some not-to-be-missed “highly qualified” investigative journalism (see tip #12).
Tip #1: Consider other fans
I installed a Maxxair Deluxe Fan, which many say is the best fan out there right now. It’s quiet. It runs in the rain. It really blows! It blows so much, I wonder if it might be overkill for my small van. After I bought this fan (but before I installed it), I began looking into smaller options, such as this Ventline. Here’s a similar model on a Transit Connect. This fan pulls only 100 cubic feet per minute (the Maxxair can do ten times that), but maybe that’s enough for a 135-cubic foot space. I like how the Ventline fan can be installed on one of the van’s rear doors, freeing up roof space for more solar panels.
In the end, I decided to stick with Maxxair because it was more than 100 degrees outside the day I made my decision, and I imagined Maxxair’s superior sucking power would cool the van down faster. (Also, my return window for the fan had closed.)

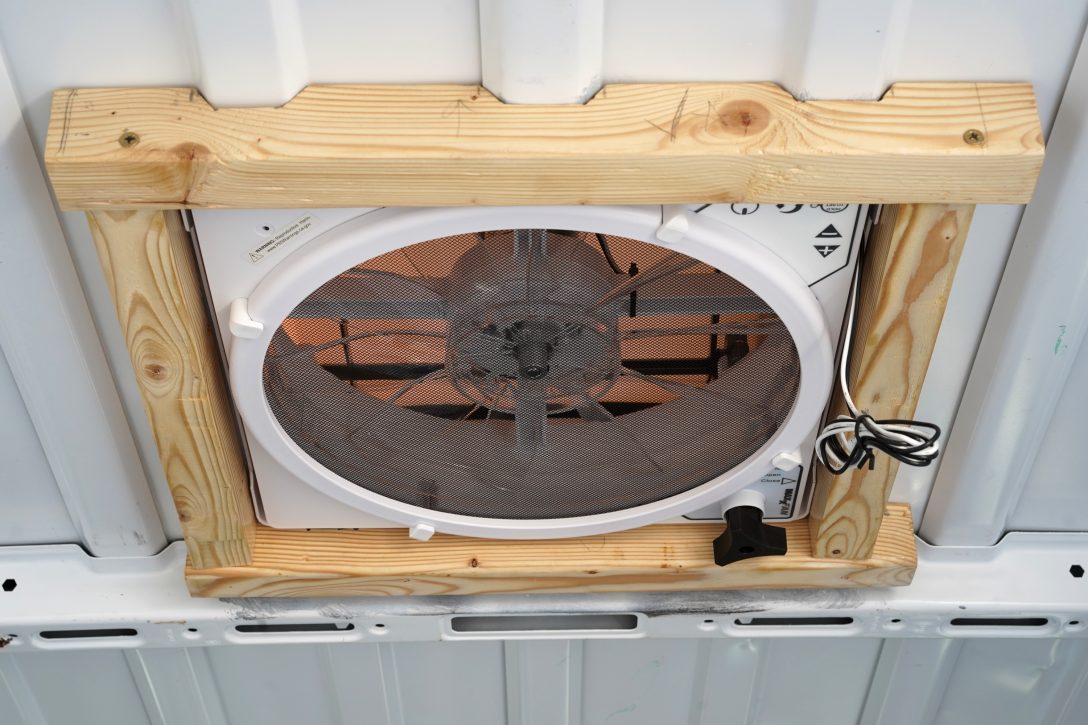
Tip #2: Build a wooden support
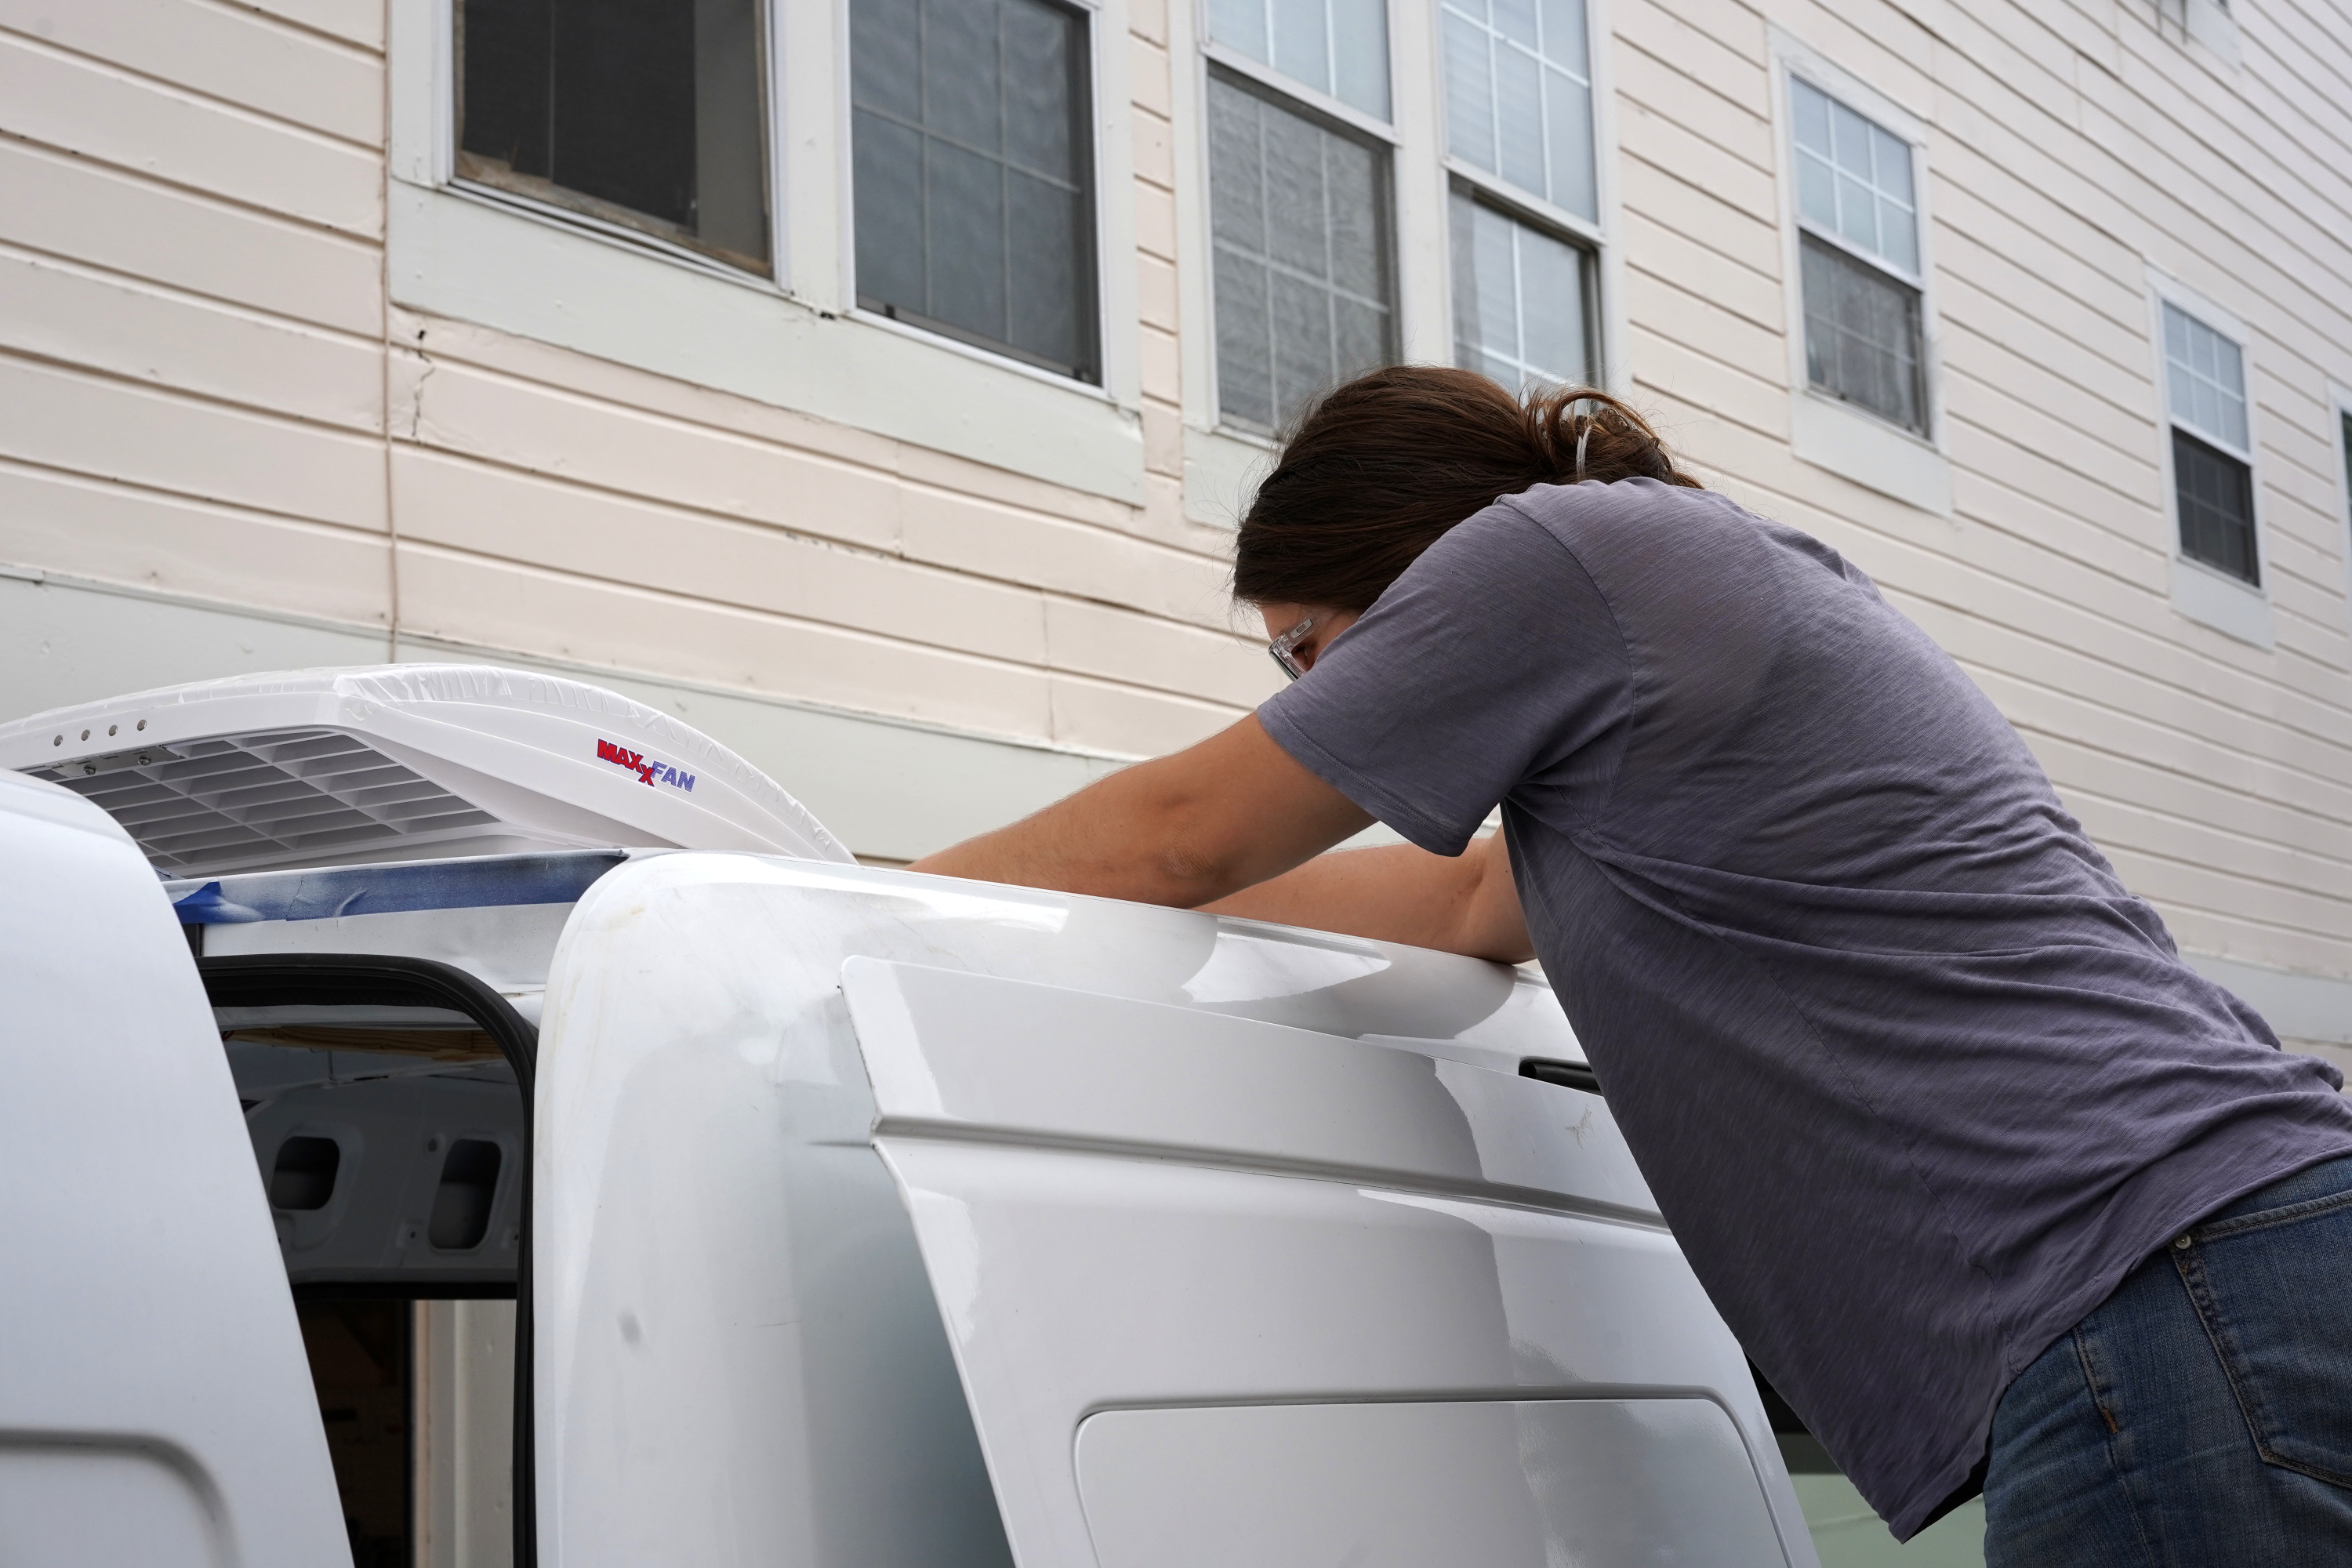
According to my fan’s instructions, “The MAXXFAN is designed for a minimum roof thickness of 1-1/8″… If your roof thickness is less than 1-1/8″, build additional thickness at the ceiling opening using wood or other suitable material.” I’ve noticed some YouTubers skip this step. I think that’s a mistake! Without a wooden support around the fan, your fan’s screws have nothing to dig into but your van’s 1/8″-thin roof. If you don’t know how to build a wooden square (no judgment here!), check out this video, in which Hobo Ahle describes the process in detail.
For a Transit Connect, you’ll have to make notches in the wooden support that match the van’s funky ceiling profile, as shown above.
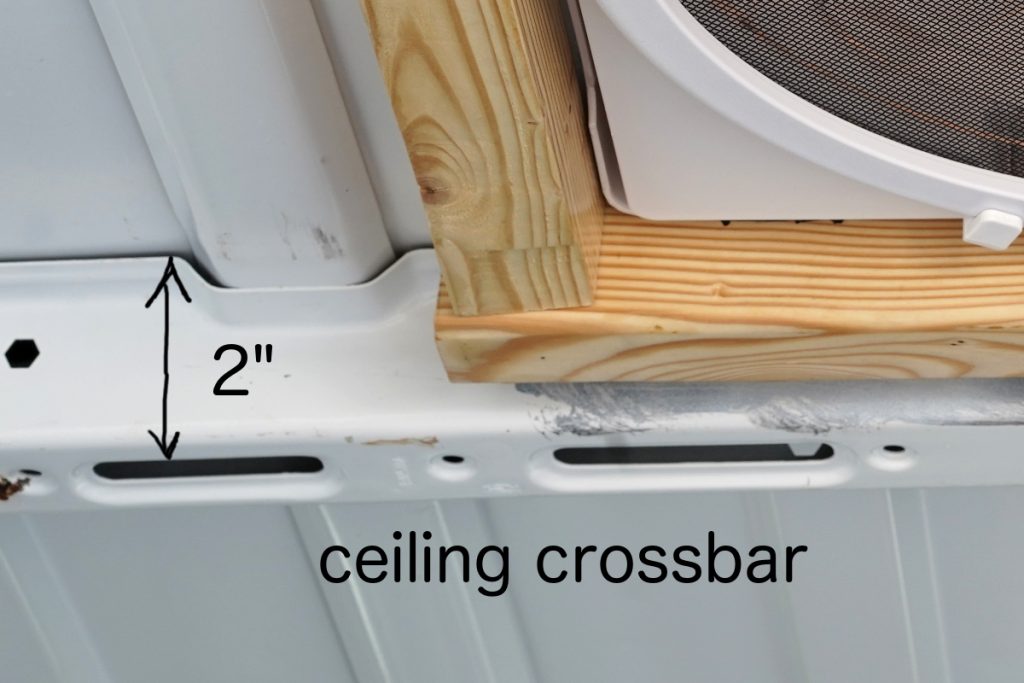
Tip #3: Plan ahead for your ceiling
My cedar-plank ceiling will press up against my van’s ceiling crossbar. With this in mind, I built the fan’s wooden support to the same height as the ceiling crossbar, which extends about 2″ down from the roof. This way, I’ll be able to use the wooden support as furring when installing the ceiling. (In other words, I’ll screw cedar planks into it.)
Tip #4: Don’t spend good money on wood
I gleaned my wood from a free scrap pile at Home Depot. My local HD also has a 70%-off pile.
Tip #5: Seal your wood
I sealed my wooden support with three coats of polyurethane, to prevent the wood from retaining moisture.
Tip #6: Mind the third brake light
The Maxxair fan requires a roof opening of 14″ x 14″. But the fan itself is actually much bigger than 14″ across; it overhangs the hole by about 8″ in back. This presents a problem in the Transit Connect, which spans a little over 22″ from the third brake light to the central ceiling crossbar, giving you no room for error. You should position the fan’s hole as close to the ceiling crossbar as possible. (Your wooden support should butt right against the crossbar.) If you position the fan any farther back, the installed fan will hit the van’s third brake light.
Tip #7: Stray off center, if you want
You have some leeway when positioning the fan left-to-right in the Transit Connect. I placed my fan a couple inches off-center, toward the driver’s side. If I were to place it dead-center, the fan would interfere with the floor-to-ceiling cabinet I plan to build on the passenger side of the van.
Tip #8: Boobs
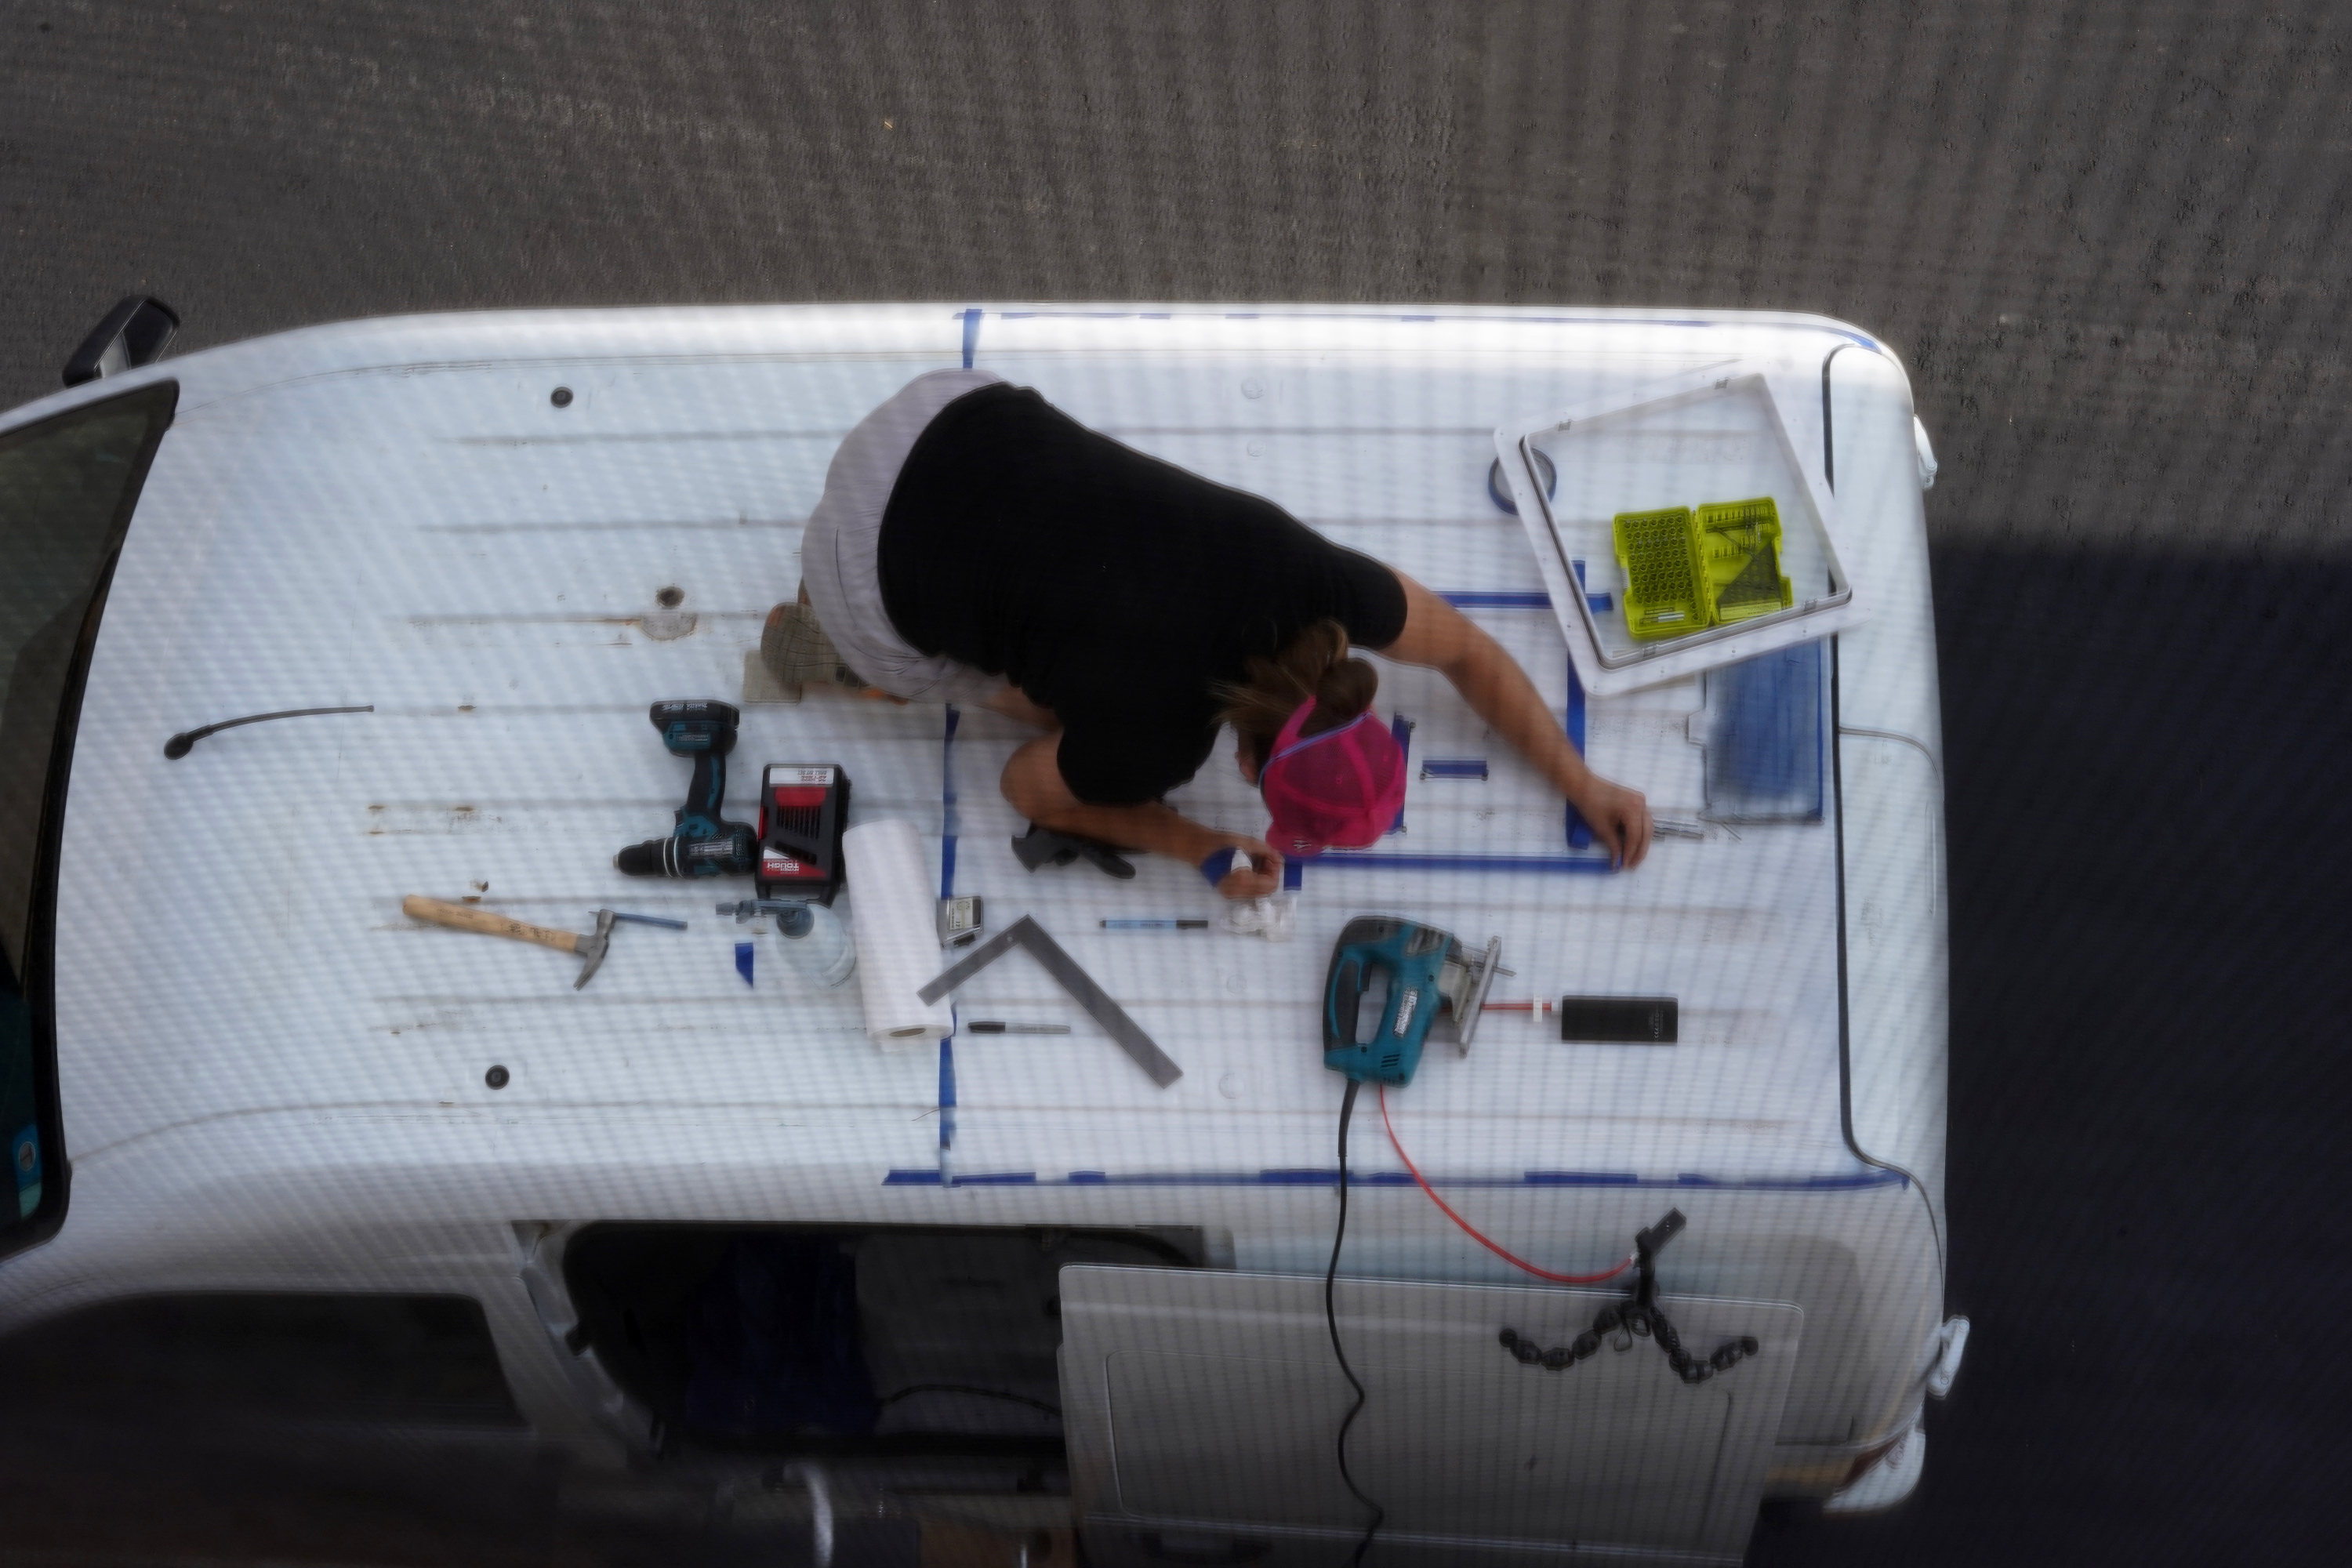
You could draw the hole’s final position onto the roof with a marker, but I don’t recommend it. The Transit Connect’s roof is ridged. Drawing a straight line on those ridges is about as hard as on a boob. Use painter’s tape instead, stretching the tape over the roof’s depressions.
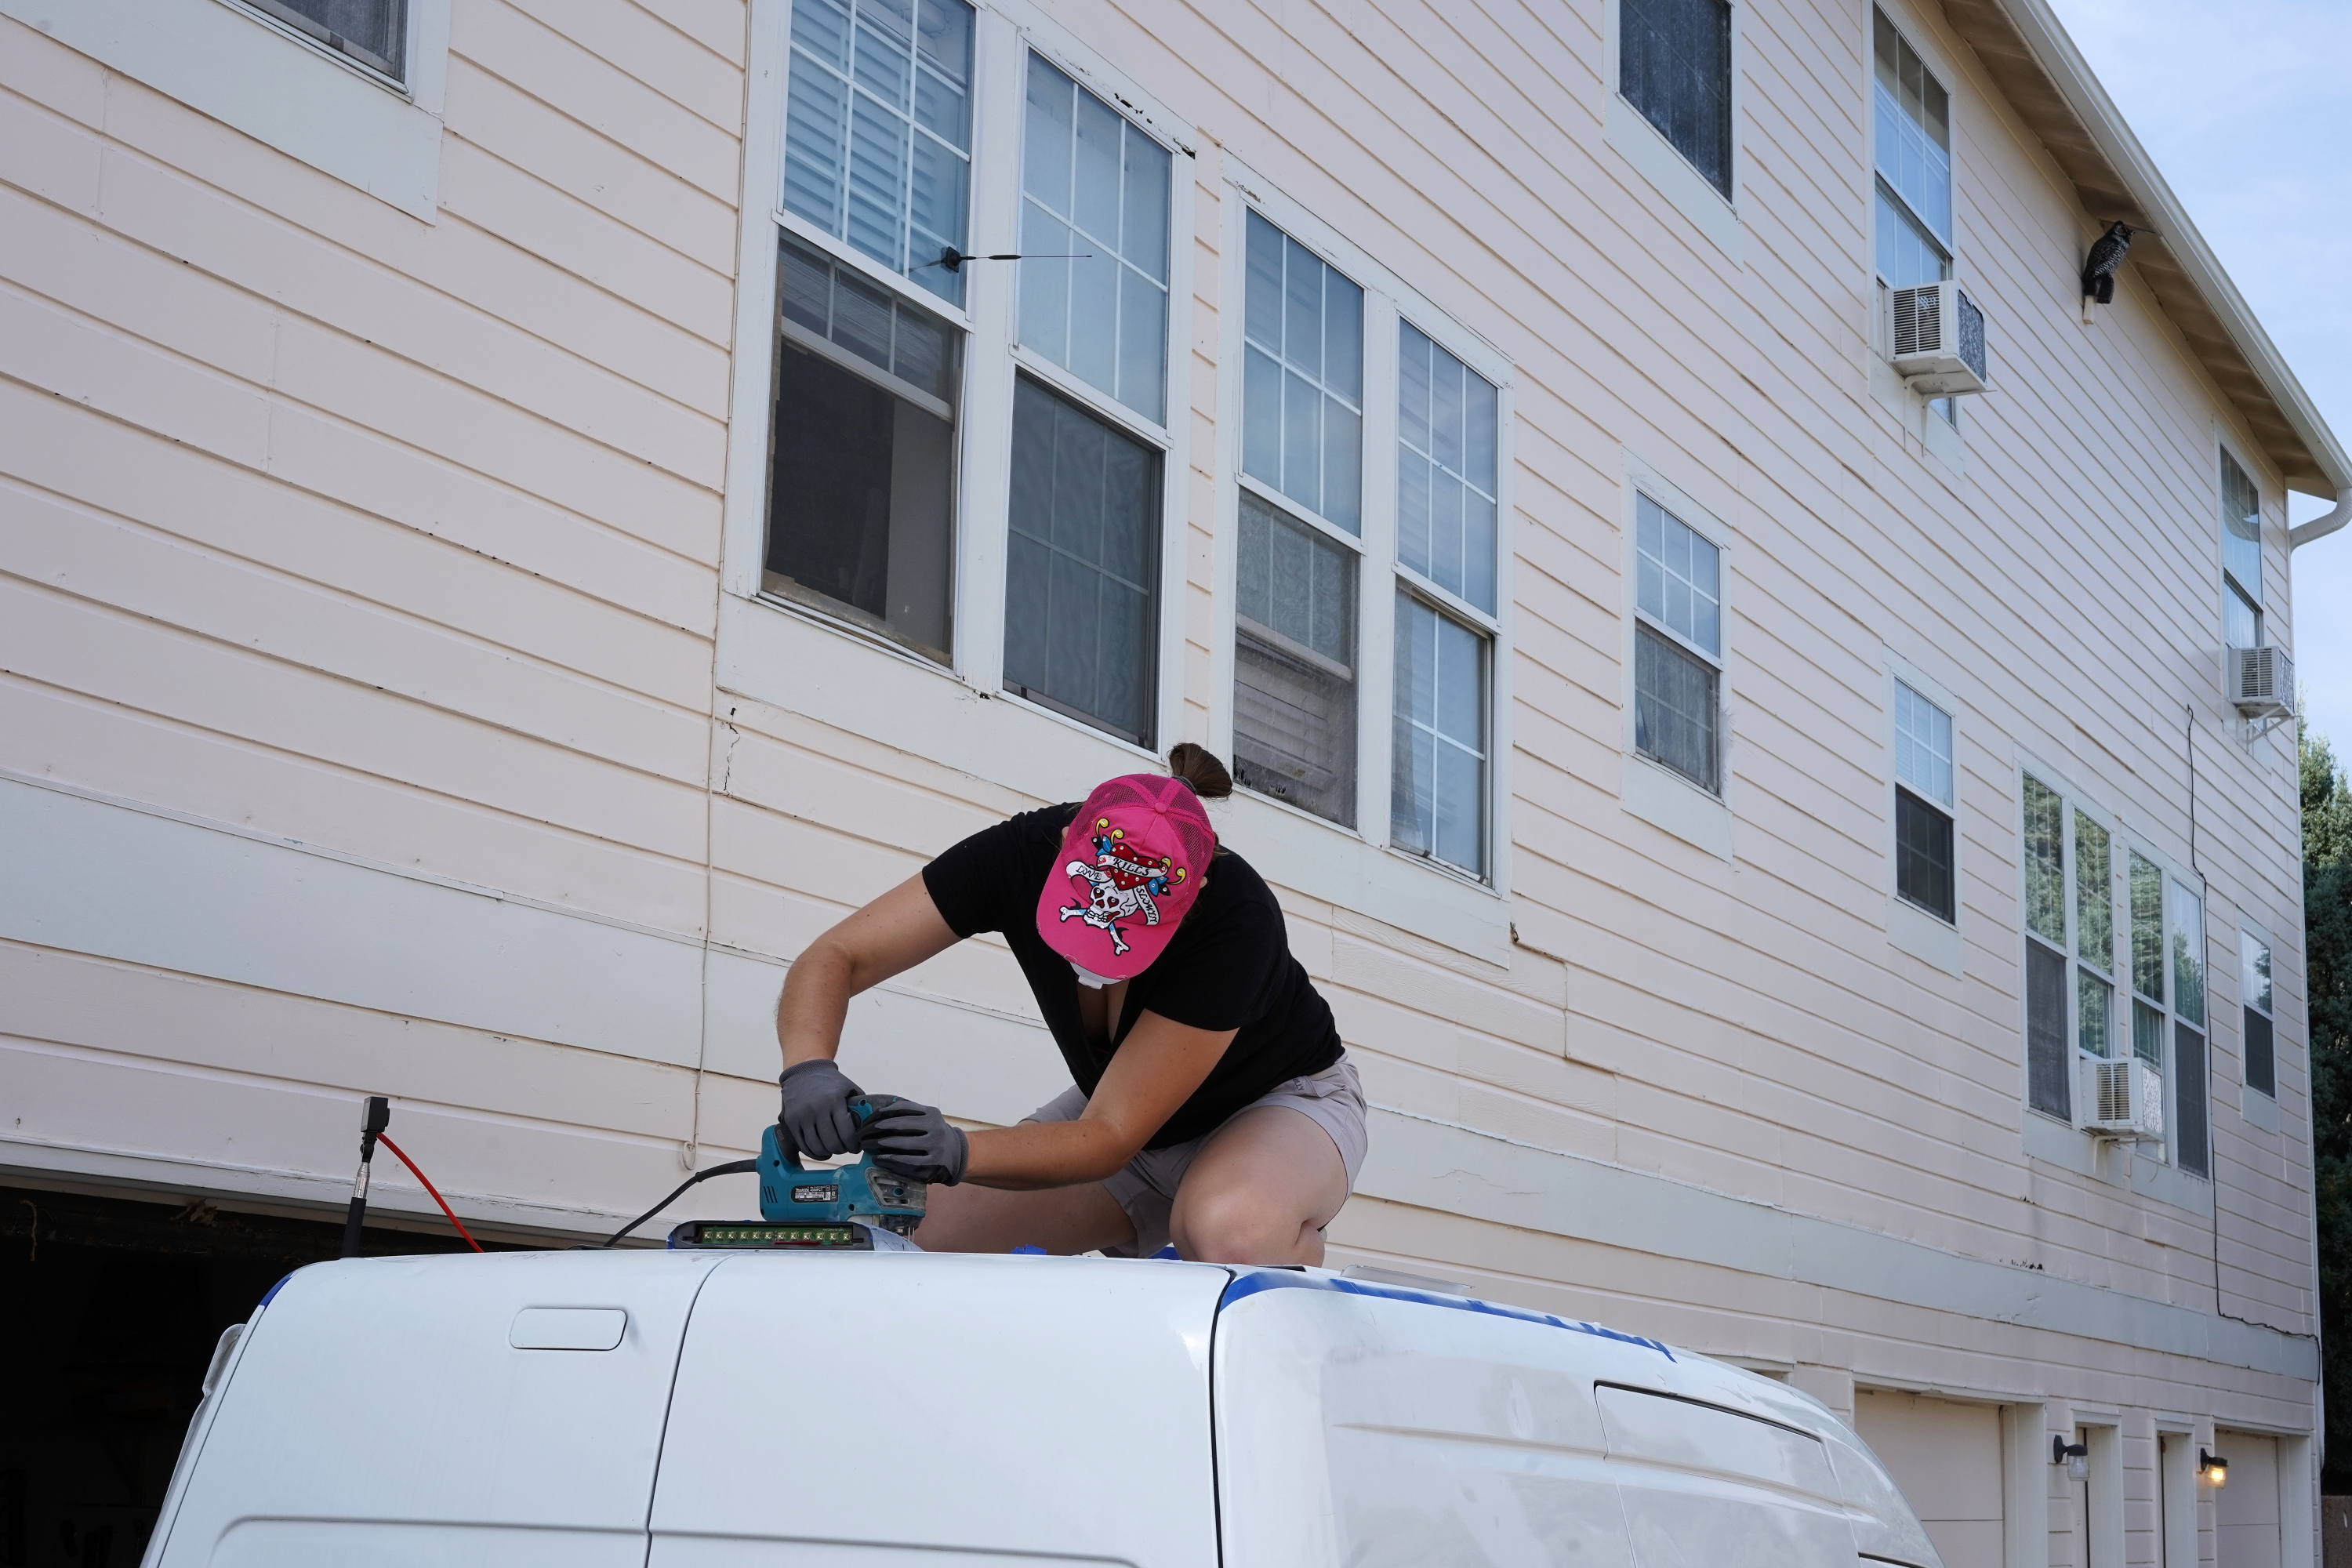
Tip #9: Turn off your jigsaw’s orbital setting
The less orbital action you use, the cleaner your cut.
Tip #10: Everything is going to be fine
Cutting a 14″ x 14″ hole in the roof of your van is not scary. This is scary.
Tip #11: Skip the roof adapter
Some people recommend getting this roof vent adapter, which levels out the van’s roof ridges. I think that adapter is a rip-off. It’s $63! If you really want a roof adapter, you could probably 3-D print one at your local library or maker space for less than $20. I chose to simply fill the roof’s depressions with several layers of butyl tape. So did this guy.
Tip #12: Randy my man
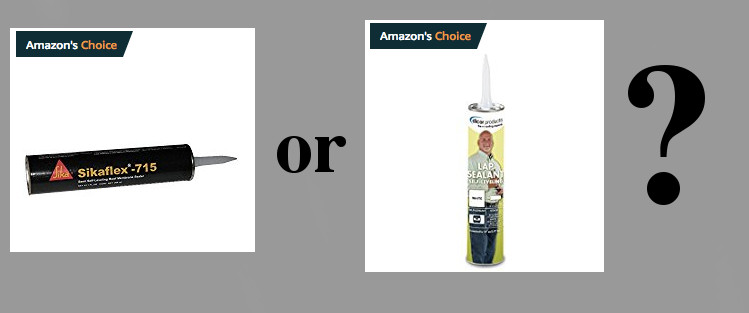
To create a moisture barrier around your fan, choose between two well-reviewed lap sealants, Sikaflex or Dicor. I went with Sikaflex. I don’t remember why. Sikaflex is more expensive. Maybe I was put off by Dicor’s label, which features a photo of a guy I assumed was Dicor’s founder. How big of a narcissist do you have to be to put your face on every single product you sell? I mean who does that.
After prolonged internet sleuthing, I can tell you that I misjudged this label. That guy is not the company’s founder. Dicor calls him “Randy, the answer man.” In real life, his name is Gary Dellmo. Gary is an Indiana-based actor who has also played a doctor, a car salesman, and a corn farmer whose business is doing so well he’ll be able to “take Jenny on that vacation she’s been talking about.” And talking about and talking about. Once, Gary played just a regular guy who loves bacon cologne and does not talk one bit, only screams and slaps. Gary also exists in bobblehead form. Acting is not Gary’s day job. Weekdays, he’s an elementary school principal in Indiana. The school’s website states, “Your child’s teacher is ‘highly qualified.'” Quotation marks around “highly qualified” are theirs. In 2007, the Dellmo family was involved in a car accident. The Tribune-Star found it appropriate to quote a family member describing Gary’s wife’s injured head as “a pumpkin busted open.”
Ok, that’s enough voyeurism for today.
I used Sikaflex to seal around my fan, but next time I’ll try Dicor. The Sikaflex did not level out as much as I’d hoped. I could have predicted this if I’d read both labels before buying. Dicor claims it’s “self-leveling” whereas Sikaflex says “semi self-leveling.”
Tip #13: Disobey
Before lowering the fan onto its plastic flange, “confirm the 4 metal mounting clips are firmly in place on the Roof Receiving Flange,” the MAXXFAN installation instruction manual states. That’s BANANAS. There’s no way you’re going to align that fan with its flange unless you shift all four metal mounting clips up by about 1/8″.
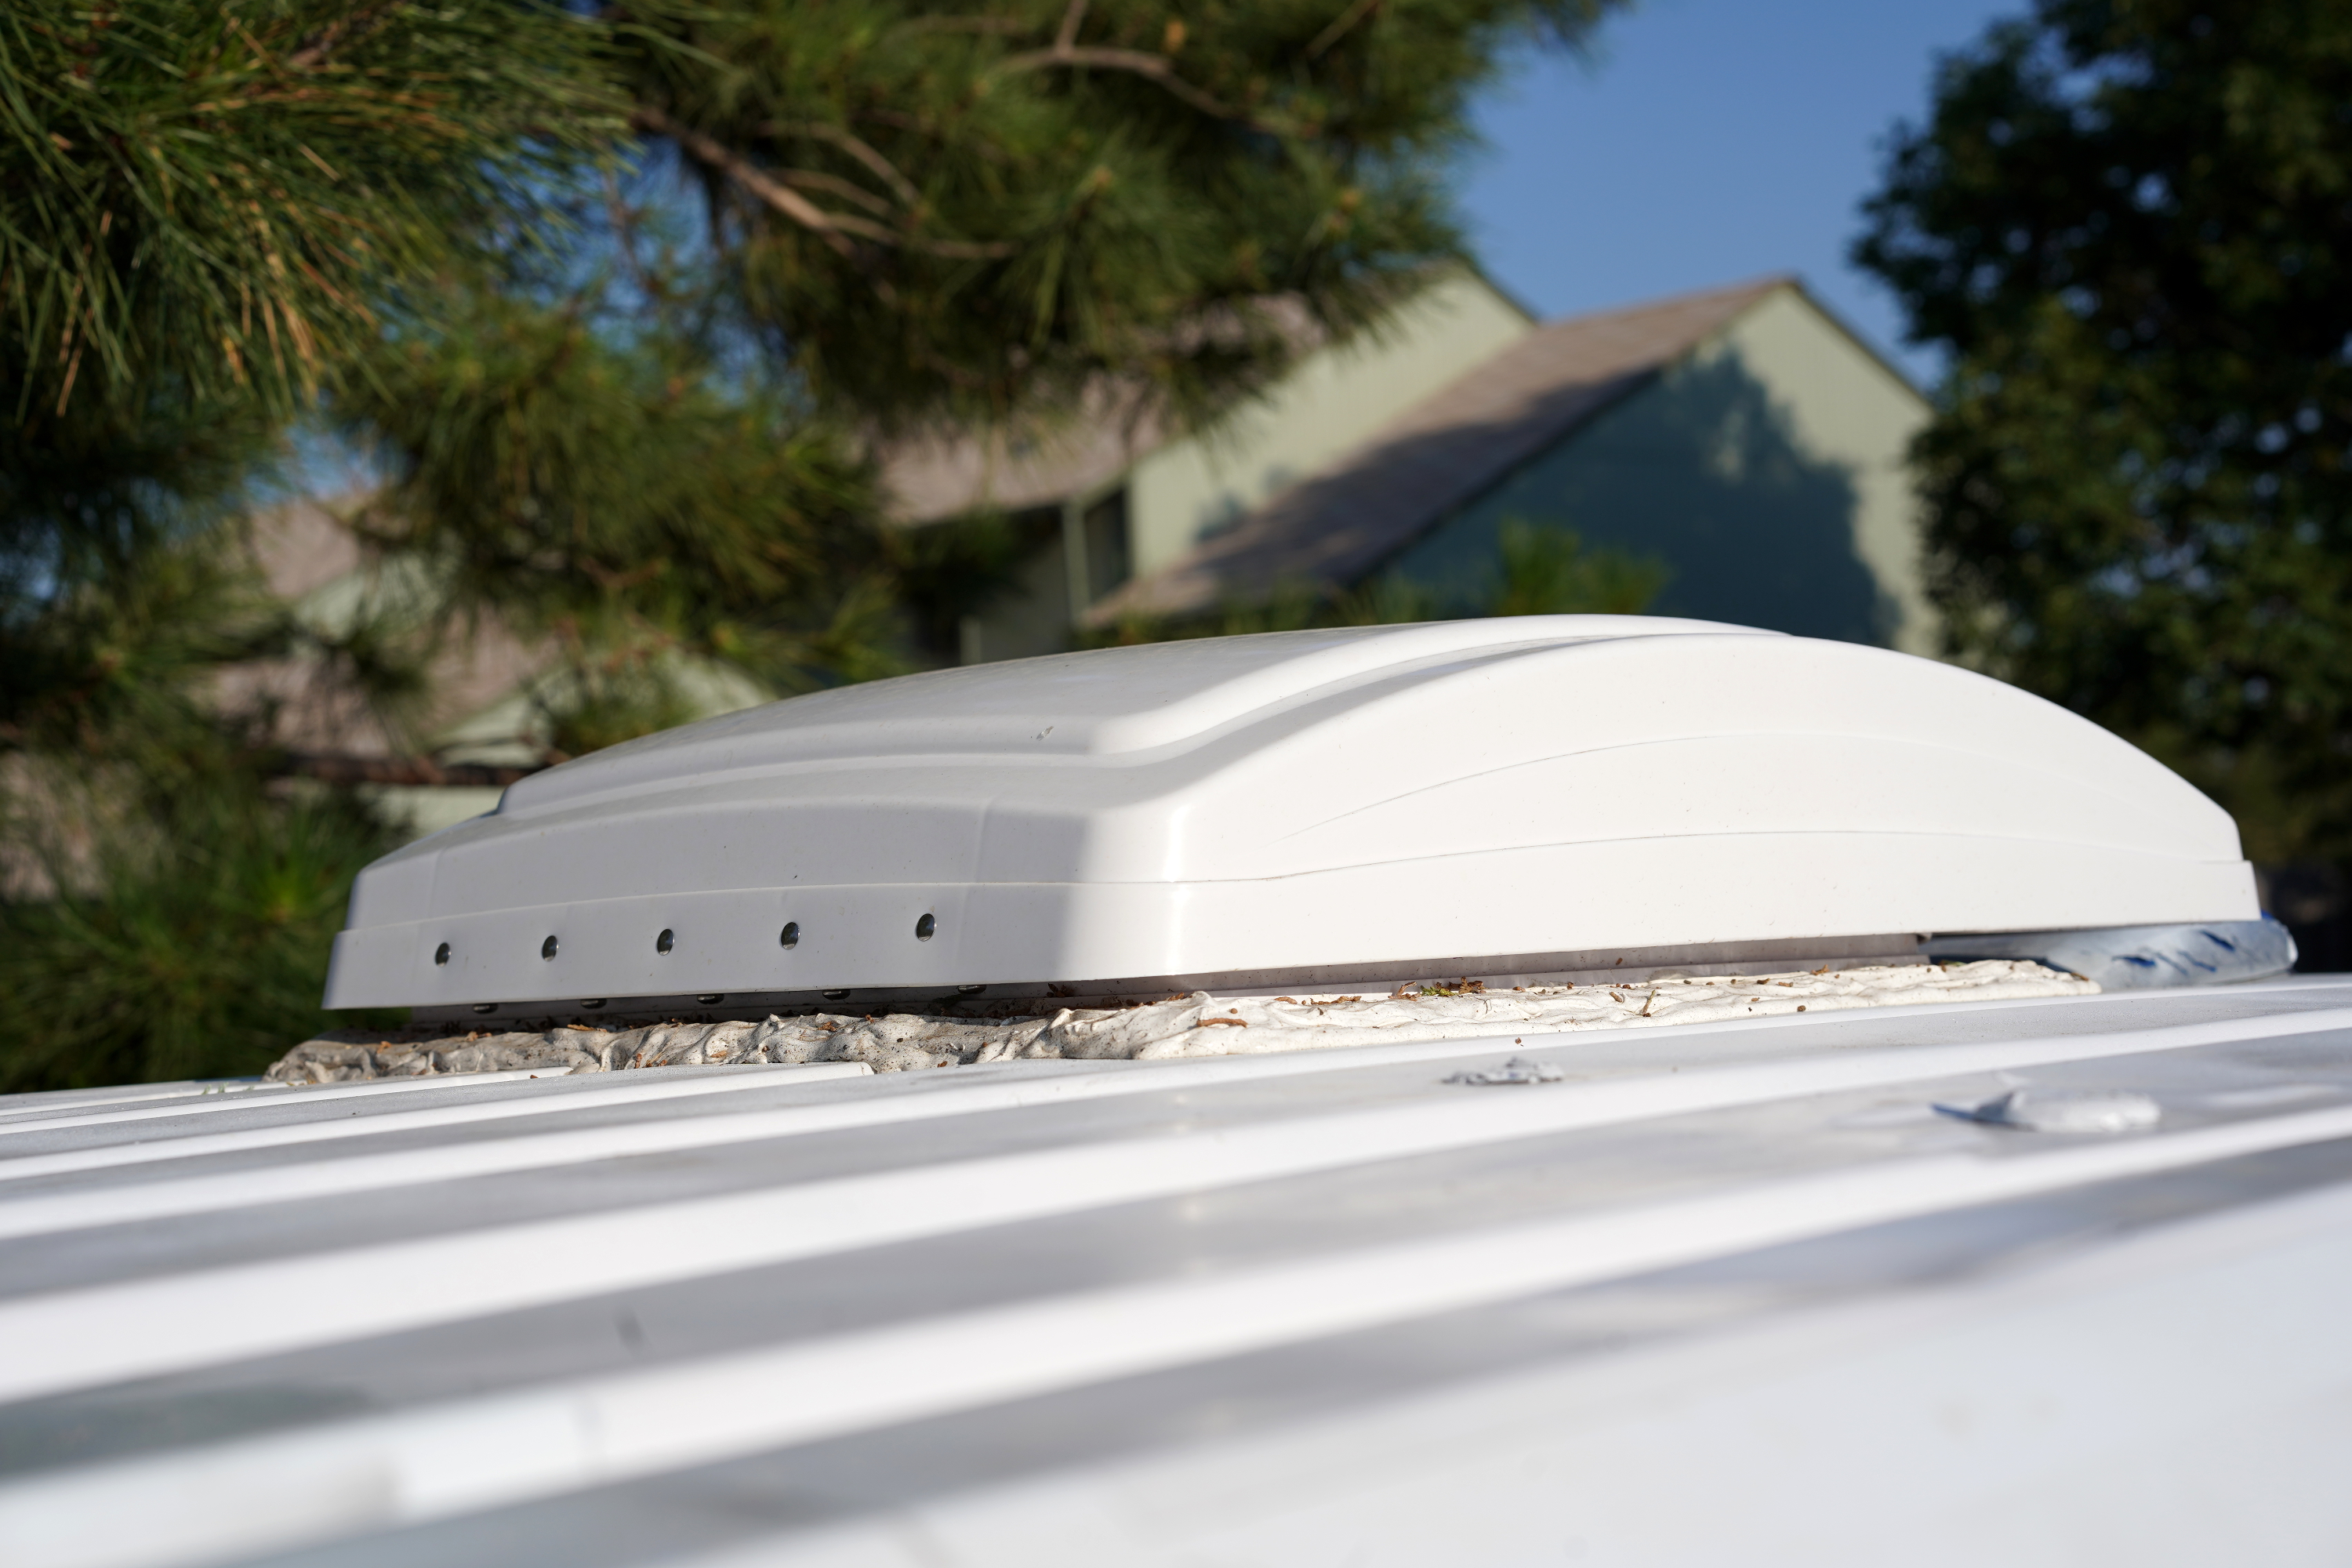
Tip #14: Get a roof
Lap sealant takes about a month to fully cure. In its first few days out of the tube, it’ll collect anything that blows its way—leaves, bugs, metal flakes produced by the welder I took the van to the day after I installed the fan. The debris stuck in the sealant is bothering me so much, I might redo the seal. If I do, I’ll try to find a garage or awning to park the van under for a few days after application.